
There’s just something so special about that burst of sunshine in a jar, isn’t there? When summer’s tomatoes are at their absolute best, I love to capture that flavor to enjoy all year long. This homemade salsa recipe is one of my absolute favorites for canning. It’s tried and tested right here in my kitchen, so you know it’s safe and delicious! You can totally tweak it to be as chunky or as smooth as you like, and dial up the heat if you’re feeling brave. It reminds me a little of my grandma’s kitchen – that cozy, happy place where good food and love were always simmering. Let’s get this party started and preserve some summer goodness!
- Why You'll Love This Homemade Salsa
- Gather Your Ingredients for Homemade Salsa
- Essential Equipment for Water Bath Canning Salsa
- Step-by-Step Guide to Making Homemade Salsa for Canning
- Tips for Perfect Homemade Salsa Every Time
- Storing Your Canned Salsa
- Frequently Asked Questions About Homemade Salsa
- Estimated Nutritional Information for Homemade Salsa
- Share Your Homemade Salsa Creations!
Why You’ll Love This Homemade Salsa
Honestly, why wouldn’t you want a jar of pure summer sunshine ready to go whenever the craving hits? Here’s why this recipe is a winner:
- So Easy! Seriously, it’s simple to whip up, even if you’re new to canning.
- Taste the Difference! Fresh ingredients just make everything better, and this salsa sings with flavor.
- Canning Confidence: It’s a tested water bath tomato salsa recipe, so you can feel totally secure putting it up on the shelf.
- Your Salsa Your Way: Love it chunky? Prefer it smooth? Want it mild or fiery? You’ve got total control!
Gather Your Ingredients for Homemade Salsa
Alright, let’s get our ingredients together for this amazing homemade salsa. It’s mostly fresh goodies from the garden or the produce aisle, and trust me, using the freshest stuff makes all the difference in the world. Here’s what you’ll need:
You’ll want:
- 6 cups of tomatoes, all peeled, cored, and chopped up nice. That’s about 3 pounds, so grab a good amount!
- 1.5 cups of onions, chopped small. One big onion usually does the trick.
- 1 cup of green bell peppers, also chopped. Two medium ones are perfect.
- 1/2 cup of jalapeño peppers, chopped. Use about 2 or 3 of them. Remember to take out the seeds if you don’t want it too spicy!
- 4 cloves of garlic, all minced up real fine.
- 2 tablespoons of fresh lime juice.
- 1 teaspoon of salt.
- 1 teaspoon of ground cumin to give it that lovely warm flavor.
- 1/2 teaspoon of dried oregano.
- And if you like a little extra zing, go ahead and add 1/4 teaspoon of cayenne pepper. Ooh, spicy!
Essential Equipment for Water Bath Canning Salsa
Alright, let’s talk gear! To make this canned salsa recipe like a pro, you’ll need a few things. Don’t worry, they’re pretty standard kitchen-y items:
- A big ol’ pot: For cooking all those yummy ingredients together.
- Canning jars, lids, and bands: Make sure they’re the right size, like pints or quarts.
- A water bath canner: This is your safety net for canning! It needs to be big enough to hold your jars with water covering them nicely.
- A ladle: For spooning that glorious salsa into the jars.
- A jar lifter: Super handy for getting those hot jars in and out of the canner without burning yourself.
Step-by-Step Guide to Making Homemade Salsa for Canning
Alright, my friends, this is where the magic really happens! Making your own homemade salsa for canning is super rewarding. We’re going to walk through this together, step-by-step, so you get a perfect water bath tomato salsa every single time. Don’t worry, it’s easier than you think! Remember that cozy feeling of my grandma’s kitchen? That’s what we’re creating right here.
Preparing Your Canning Station
First things first, let’s get our canning station ready. You want to fill up your water bath canner with water and get it to a simmer – keep it nice and hot. While that’s heating up, wash your canning jars, the lids, and the bands really well. It’s important for them to be clean and ready to go. Having everything prepped makes the whole process so much smoother!
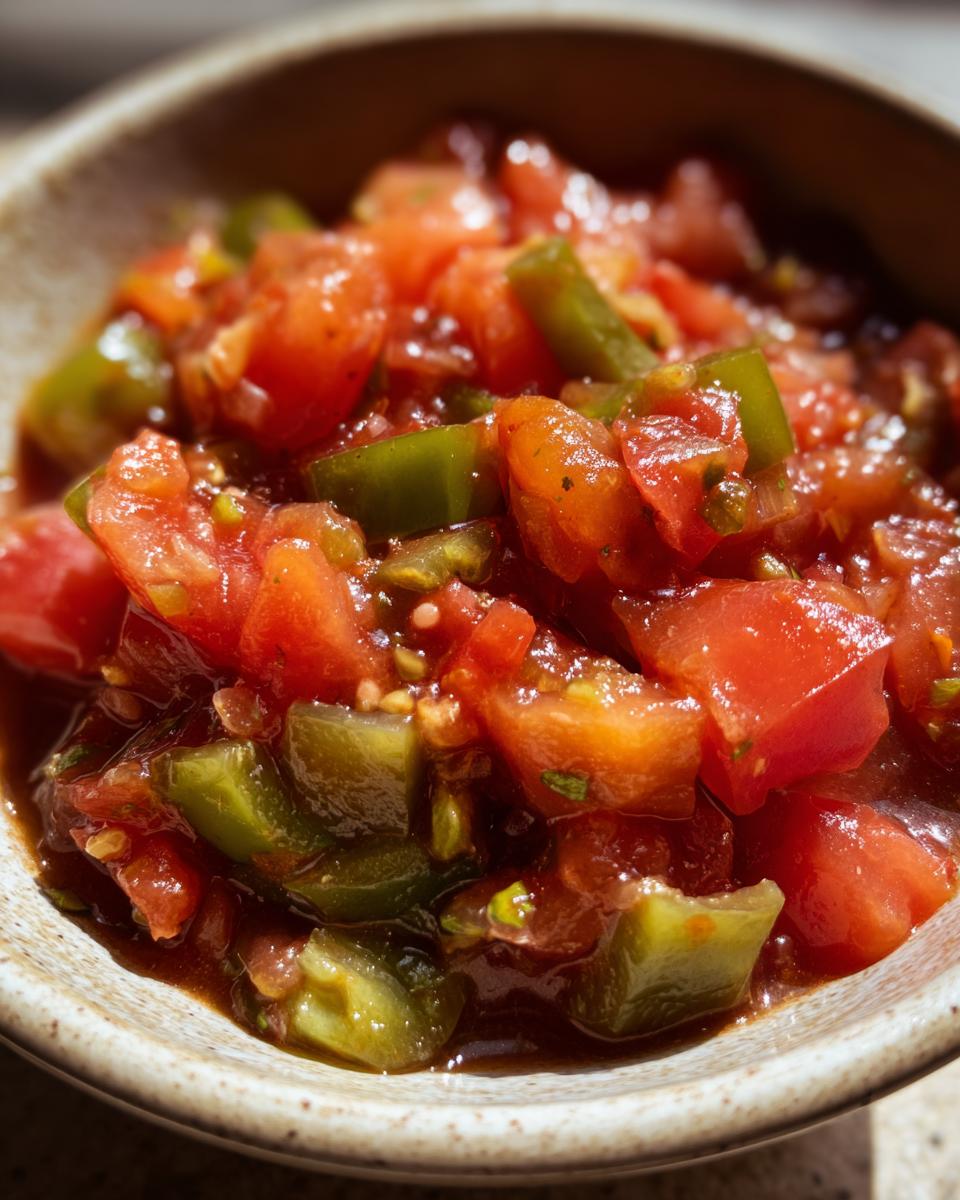
Combining Ingredients for Your Chunky Salsa Preserve
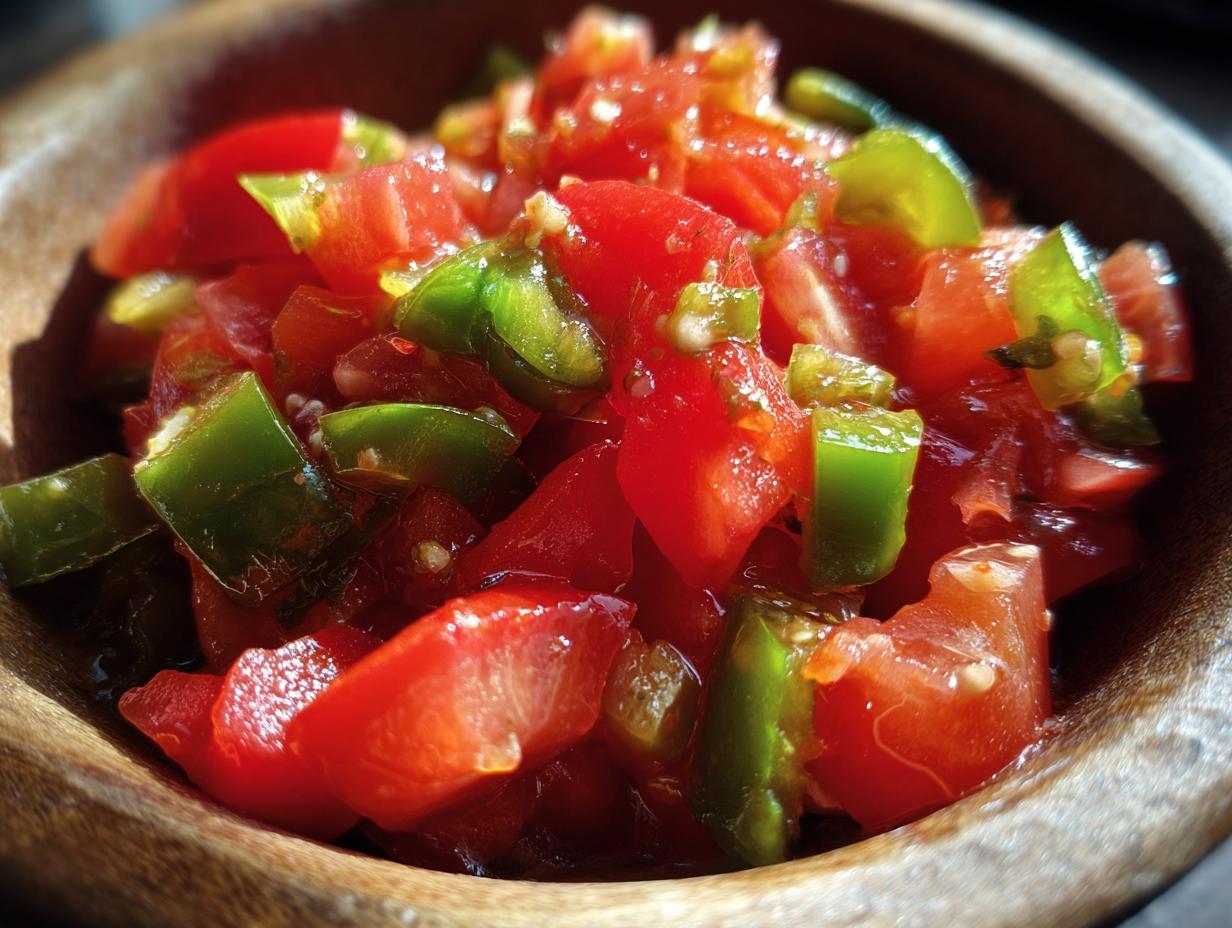
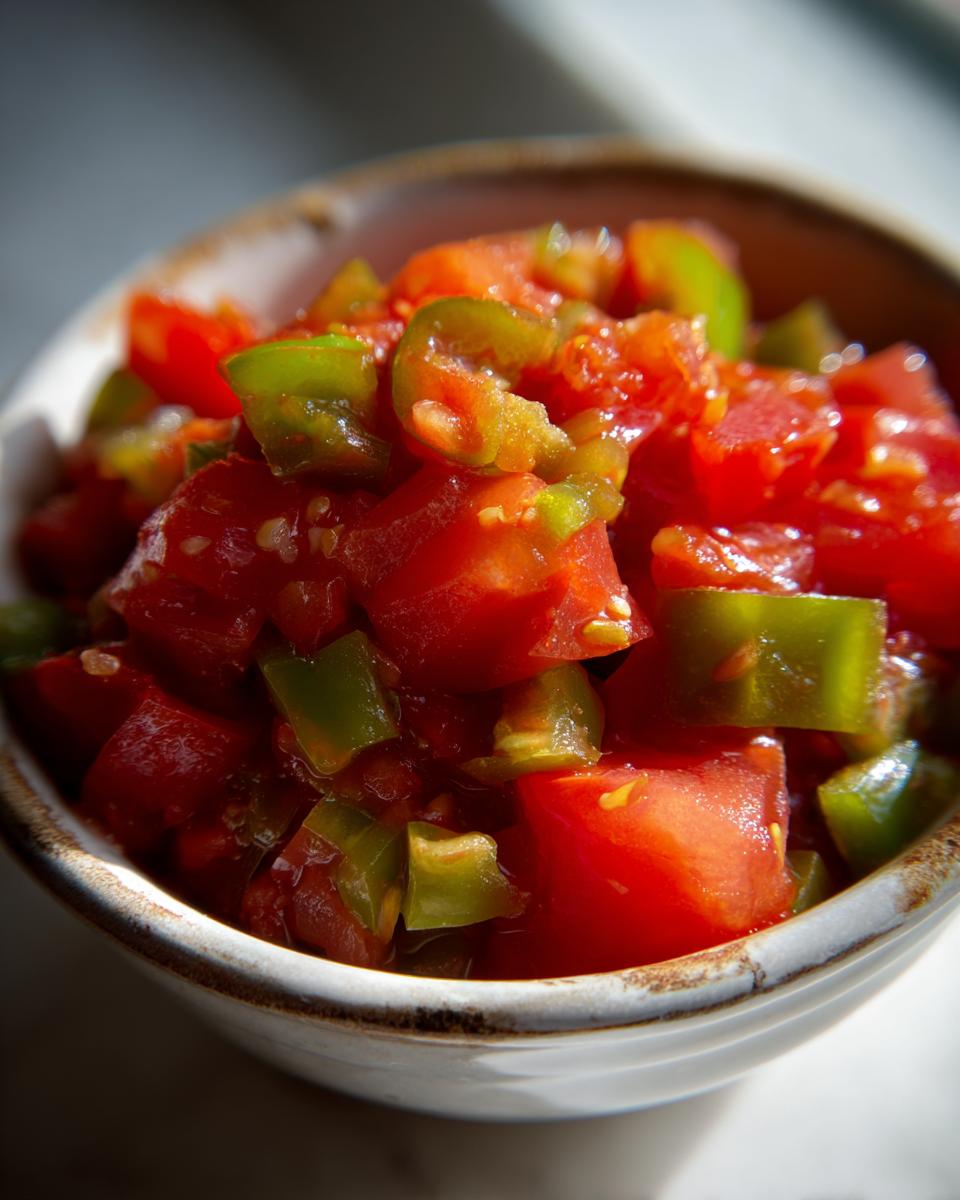
Now for the fun part – bringing all those beautiful ingredients together! Grab your big pot and toss in your chopped tomatoes, onions, green bell peppers, jalapeños (seeds out if you’re going mild!), and that lovely minced garlic. Give it all a good stir to get acquainted. This is the base for our delicious chunky salsa preserve. If you’re dreaming of a smoother salsa, you can totally pulse this mixture a few times with an immersion blender or in a food processor before you start simmering. Just a few pulses, don’t go too crazy! This method gives you control over the texture.
Simmering and Flavor Development
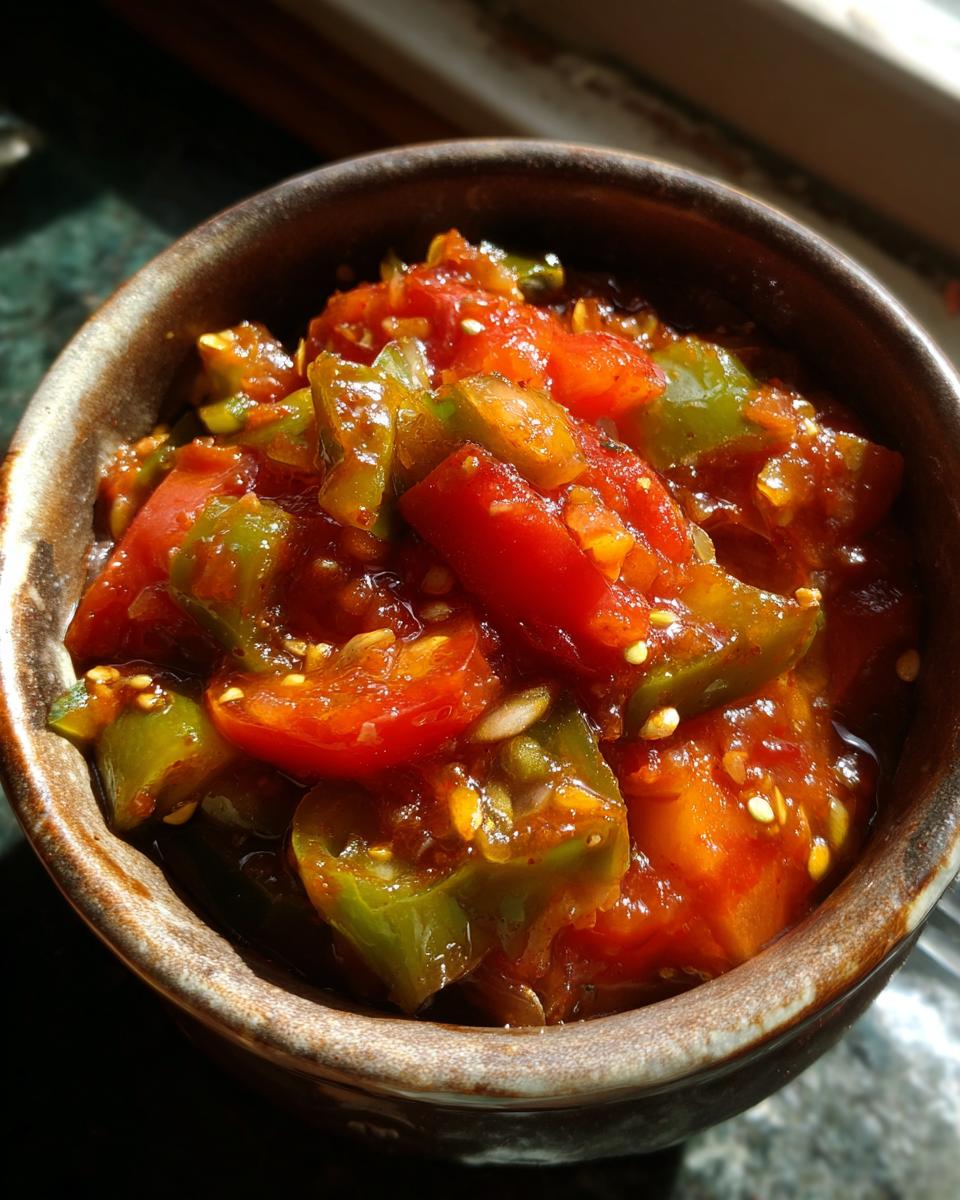
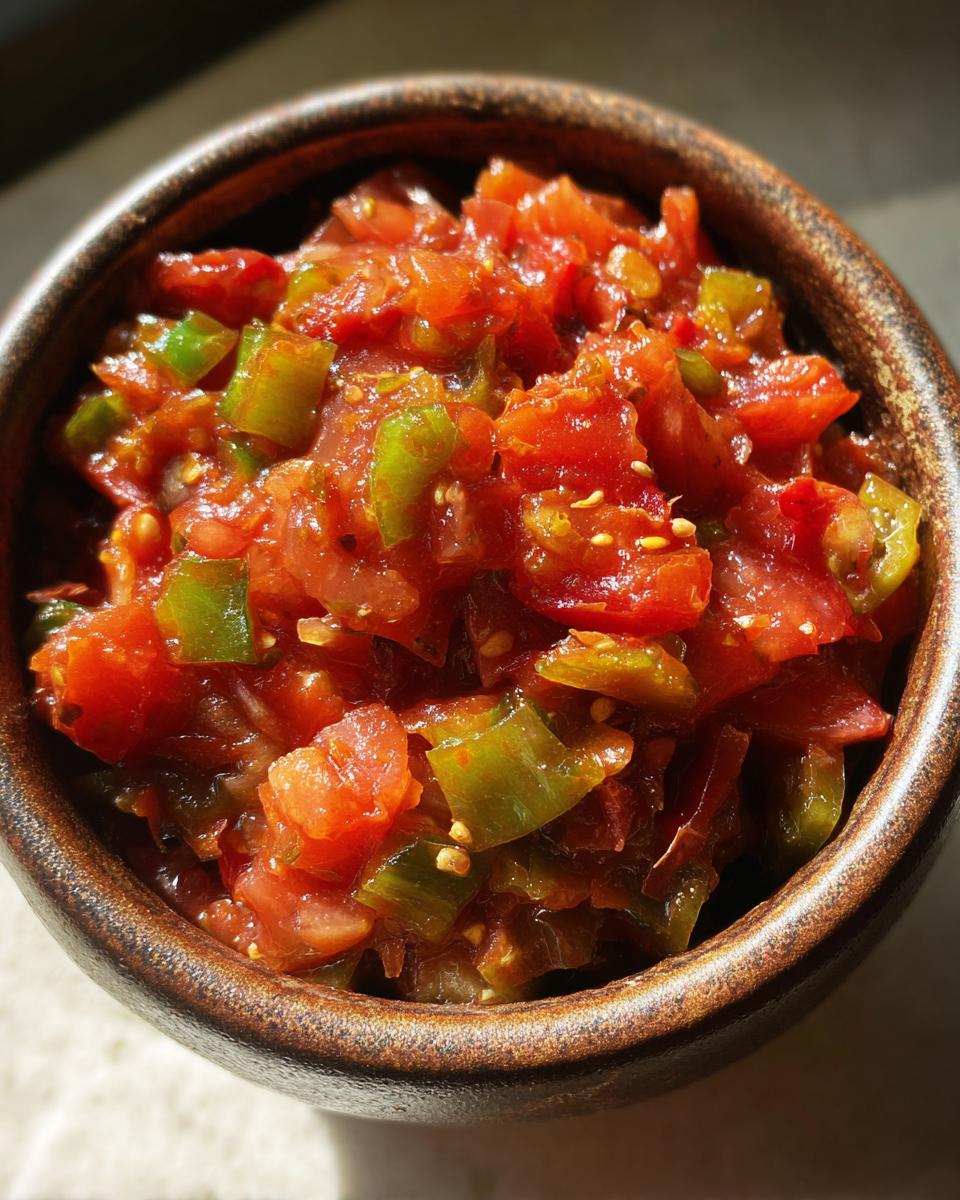
Okay, time to let those flavors meld. Add in your lime juice, salt, cumin, oregano, and that optional cayenne if you want a little kick. Stir everything really well. Bring this whole mixture to a boil over medium-high heat, giving it a stir now and then. Once it’s boiling, turn the heat down and let it simmer for a good 10 minutes. Keep stirring pretty often so nothing sticks. This step is crucial for developing that rich, garden-fresh flavor that makes our spicy garden salsa so special. You can even add some pickled jalapeños if you want a different kind of zing!
Filling and Sealing Jars Safely
Now, let’s get this gorgeous salsa into jars. Carefully ladle the hot salsa into your clean, sterilized canning jars. Make sure you leave about a half-inch of space at the top – that’s called headspace, and it’s super important for a good seal. Remember, this is a safe canning salsa recipe, so following these steps is key! Grab a damp cloth and wipe the rims of the jars really well; any little bit of salsa or dribble there can prevent a proper seal. Pop on your lids and screw on the bands, but just until they’re fingertip tight. You don’t want to overtighten them!
Water Bath Processing for Preservation
This is the canning part! Gently place your filled jars into that simmering water bath canner, making sure they’re all covered by at least an inch of water. If you’re using pint jars, process them for 15 minutes, and for quart jars, it’s 20 minutes. If you live high up, you’ll need to adjust that time a bit – check your local canning guidelines for altitude adjustments. Once the time is up, turn off the heat, take off the canner lid, and just let the jars hang out in the hot water for another 5 minutes. This little resting period helps prevent siphoning. After that, carefully lift the jars out with your jar lifter and set them on a towel-lined counter to cool completely. Listen for that magical ‘ping!’ – that’s the sound of a perfect seal!
Tips for Perfect Homemade Salsa Every Time
You know, the best part about making salsa from scratch is how totally customizable it is! It’s not like trying to get a fancy meal planning book to work for you; this is about your taste buds! I’ve picked up a few tricks over the years that really make a difference, so you can get that perfect homemade salsa vibe every single time you make a batch. It’s all about making it YOUR perfect salsa!
Achieving Your Preferred Salsa Texture
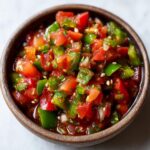
So, do you like your salsa with a bit of a bite, nice and chunky, or are you more of a smooth operator? For chunky perfection, just chop everything up nice and fine and don’t do anything else! If smooth is your jam, grab an immersion blender or a food processor. Just give the cooked salsa a few quick pulses before you start jarring it up. Don’t go wild with it, you just want to break it down a bit to get that lovely, consistent texture you’re looking for.
Customizing the Heat Level
This is my favorite part – tweaking the heat! If you’re sensitive to spice, remember to take out all those seeds and membranes from your jalapeños. That’s where most of the heat lives. For a milder salsa, maybe even use half a jalapeño or a milder pepper like a poblano. If you’re like me and love a good kick, go ahead and leave some seeds in, or even add that little pinch of cayenne pepper we talked about earlier. You can even add a few pickled jalapeños for an extra layer of spicy goodness!
Storing Your Canned Salsa
Alright, you’ve done the hard work and have a beautiful stash of homemade salsa! Here’s the scoop on keeping it just right. Store your sealed jars in a cool, dark place, like a pantry or cupboard, away from direct sunlight and heat. They’re good for about a year, give or take, for the best flavor. If a lid didn’t seal, don’t despair! Just pop that jar in the fridge and use it up within a few weeks. Easy peasy!
Frequently Asked Questions About Homemade Salsa
Got questions about making your own salsa? I totally get it! Canning can seem a bit tricky at first, but this recipe is designed to be super straightforward and safe. Here are some things folks often ask.
Is this a safe canning salsa recipe?
Absolutely! This safe canning salsa recipe has been tested for proper acidity and processing times, making it safe for water bath canning. We’ve made sure all the ingredient ratios are just right to ensure a safe and delicious product on your shelf.
Can I make this salsa smoother?
You betcha! If you’re not a fan of chunky salsa, just grab an immersion blender or a food processor and give the simmering mixture a few pulses before you fill the jars. It’ll give you that lovely, smooth texture you’re after in no time!
What if I don’t have fresh tomatoes?
Life happens, right? If you can’t get your hands on fantastic fresh tomatoes, you can totally use canned tomatoes for this canned salsa recipe. Just make sure they’re whole peeled tomatoes and drain them really well before chopping. It still works great!
Estimated Nutritional Information for Homemade Salsa
Okay, so let’s talk numbers for our yummy homemade salsa! Keep in mind, these are just estimates because, you know, fresh ingredients can vary a little. This is based on a 1/4 cup serving, which is a pretty good scoop!
Here’s a general idea:
- Calories: About 30
- Fat: 0g
- Protein: 1g
- Carbohydrates: 7g
- Sugar: 5g (mostly natural from the veggies!)
- Sodium: Around 200mg
- Fiber: 1g
It’s pretty darn healthy, right?
Share Your Homemade Salsa Creations!
Okay, now it’s your turn to shine! I can’t wait to hear how your homemade salsa turns out. Did you go super spicy? Keep it chunky? Let me know all about it in the comments below! If you loved this recipe, please give it a star rating – it really helps a ton. Happy canning, everyone!
PrintHomemade Water-Bath Salsa
A tested water-bath salsa recipe perfect for canning, with options for chunky or smooth textures and adjustable spice levels.
- Prep Time: 20 min
- Cook Time: 25 min
- Total Time: 45 min
- Yield: Approximately 4-5 pint jars 1x
- Category: Preserves
- Method: Water Bath Canning
- Cuisine: American
- Diet: Vegetarian
Ingredients
- 6 cups peeled, cored, and chopped ripe tomatoes (about 3 lbs)
- 1.5 cups chopped onions (about 1 large)
- 1 cup chopped green bell peppers (about 2 medium)
- 1/2 cup chopped jalapeño peppers (about 2-3, seeds removed for less heat)
- 4 cloves garlic, minced
- 2 tablespoons lime juice
- 1 teaspoon salt
- 1 teaspoon ground cumin
- 1/2 teaspoon dried oregano
- Optional: 1/4 teaspoon cayenne pepper for extra heat
Instructions
- Prepare your water bath canner by filling it with water and bringing it to a simmer. Sterilize your canning jars, lids, and bands.
- In a large pot, combine the chopped tomatoes, onions, green bell peppers, jalapeño peppers, and minced garlic.
- Add the lime juice, salt, cumin, oregano, and optional cayenne pepper. Stir well to combine.
- Bring the mixture to a boil over medium-high heat, stirring occasionally.
- Reduce the heat and simmer for 10 minutes, stirring frequently. If you prefer a smoother salsa, you can pulse it a few times with an immersion blender or in a food processor before this step.
- Ladle the hot salsa into the prepared canning jars, leaving a 1/2-inch headspace.
- Wipe the rims of the jars clean with a damp cloth. Place the lids on the jars and screw on the bands until fingertip tight.
- Carefully place the jars into the simmering water bath canner, ensuring they are covered by at least 1 inch of water.
- Process the jars for 15 minutes for pints or 20 minutes for quarts, adjusting for altitude if necessary.
- Turn off the heat, remove the canner lid, and let the jars sit in the hot water for 5 minutes.
- Carefully remove the jars from the canner and place them on a towel-lined counter to cool completely. You should hear the lids ping as they seal.
- Check seals after 12-24 hours. If a lid has not sealed, refrigerate the salsa and use it within a few weeks.
Notes
- For a smoother salsa, process the cooked mixture in a food processor or blender before jarring.
- Adjust the amount of jalapeño peppers and remove seeds for your desired heat level.
- Always follow safe canning practices for water bath processing.
- This recipe is a great base for meal planning.
Nutrition
- Serving Size: 1/4 cup
- Calories: 30
- Sugar: 5g
- Sodium: 200mg
- Fat: 0g
- Saturated Fat: 0g
- Unsaturated Fat: 0g
- Trans Fat: 0g
- Carbohydrates: 7g
- Fiber: 1g
- Protein: 1g
- Cholesterol: 0mg