

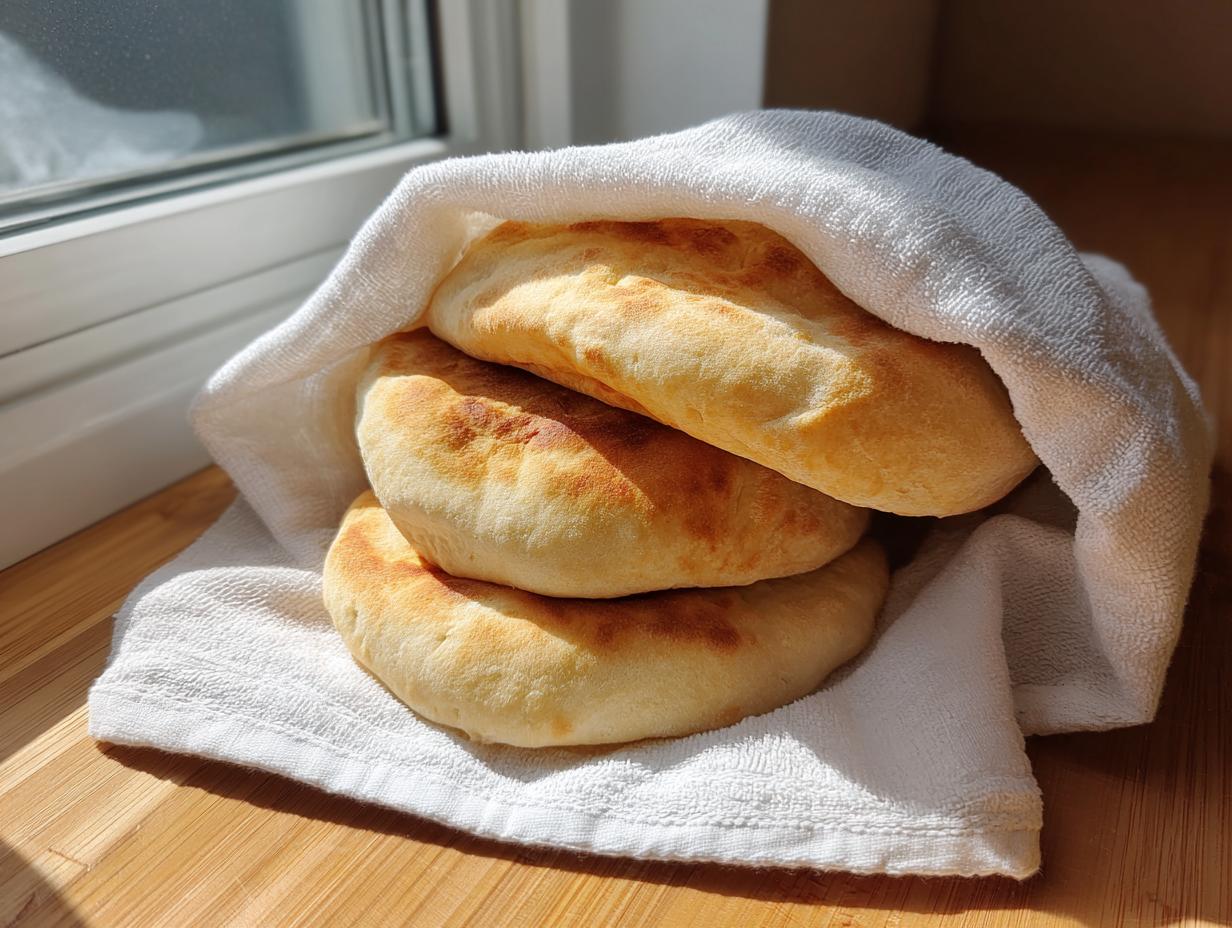
Are you tired of reaching for that plastic bag of dry, sad, store-bought pita bread only to find none of them have that glorious pocket? Me too! That’s why I had to perfect this recipe. I promise you, making **pita bread** from scratch is so much easier than you think, and getting that beautiful, fluffy puff is absolutely guaranteed if you follow along. It reminds me of my grandmother’s kitchen; she taught me that simple ingredients, when respected, create extraordinary meals. I’ve spent time testing this technique so you can trust that this homemade flatbread recipe will give you the softest, chewiest results every single time. Let’s ditch the pre-packaged stuff and get baking!
- Why You Will Love This Homemade Pita Bread Recipe
- Simple Ingredients for Perfect Pita Bread
- The Step-by-Step Guide to Easy Pita Bread Making
- Tips for Success: Guaranteeing Your Pita Bread Puffs
- Variations: Authentic Greek Pita Recipe and Garlic Pita Bread Ideas
- Serving Suggestions for Your Homemade Pita Bread
- Storage and Reheating Instructions for Pita Bread
- Frequently Asked Questions About Pita Bread
- Nutritional Estimates for This Pita Bread
- Share Your Homemade Pita Bread Creations
Why You Will Love This Homemade Pita Bread Recipe
Honestly, once you make these just one time, you’ll never go back to the store. I’m so excited for you to try them because they tick every single box a great piece of bread should. You’re going to wonder why you waited so long to bake your own yeast flatbread recipe!
- The Pocket is Real: We focus heavily on the heat needed to achieve that signature, beautiful puff every single time. No more disappointing flat discs!
- Incredibly Soft and Fluffy: We use simple techniques to develop just the right amount of gluten retention, giving you that light, chewy texture that store-bought versions just can’t match. They are perfect for rolling and stuffing.
- Simple Ingredients Only: You likely have everything you need right now! Just flour, yeast, salt, water, and a tiny bit of olive oil—that’s it for this vegan pita bread recipe.
- A Truly Easy Pita Bread Making Process: This recipe is broken down very clearly. If you can wake up your yeast, you can make this bread. Trust me!
- Versatility Galore: Whether you need pita bread for gyros, for dipping hummus, or just as a quick homemade bread for dinner, this base recipe is perfect.
- Cooks in Minutes: Once the dough is rested, the cooking process is ridiculously fast—only 2 to 3 minutes per pita bread! Talk about quick homemade bread!
Simple Ingredients for Perfect Pita Bread
No secret flours or fancy equipment needed here! This is the beauty of homemade pita bread—it relies on the fundamentals of simple bread making. Since this recipe is completely vegan, you don’t need eggs or dairy, keeping the ingredient list short and sweet. Everything here should be easy to grab on your next trip to the grocery store.
- 1 teaspoon active dry yeast
- 1 teaspoon sugar (feeds the yeast!)
- 1 cup warm water (make sure this is between 105-115°F—too hot kills the yeast, too cool wakes it up slowly)
- 2 1/2 cups all-purpose flour, plus more for dusting the surface
- 1 teaspoon salt
- 2 tablespoons olive oil
The Step-by-Step Guide to Easy Pita Bread Making
Now for the fun part! Making this pita bread is super straightforward, but the magic is really in the process—understanding what the dough needs helps you nail that perfect puff every time. We’re not doing anything complicated, just following the recipe precisely and paying attention to how the dough feels. It’s rewarding work, I promise!
Activating the Yeast and Mixing the Pita Bread Dough
This first step is non-negotiable, so don’t skip it! Grab a small bowl and mix your warm water, sugar, and active dry yeast. We have to wait about five to ten minutes until it gets foamy. Seeing those bubbles means your yeast is awake and ready to work its magic. If nothing happens, your water was likely too hot or too cold, and you’ll need to start over with fresh yeast. Once it’s foamy, whisk that lovely mixture into your flour and salt, add your olive oil, and mix it all up with a wooden spoon until it’s too tough to stir. It’ll look shaggy, like it’s barely holding together—that’s exactly right!
Kneading and The First Rise for Soft Fluffy Pita Bread
Time to introduce your hands to the dough! Turn that shaggy mass out onto your counter, lightly dusted with flour. Now, knead it. You need to work it for a solid five to seven minutes. You’re developing the gluten structure here, which is what traps the steam later to create that gorgeous pocket in your soft fluffy pita bread. Once it looks smooth and springs back slightly when you poke it, drop it into an oiled bowl. Cover it up and let it chill out in a warm spot for about an hour and a half, or until it has doubled in size. Patience pays off! If you’re waiting for your dough to rise and want something bubbly and refreshing to sip on, check out my recipe for sparkling honey lemonade soda.
Shaping and Preparing for Maximum Pita Bread Puff
Gently deflate that dough—don’t punch it like a toddler, just press the air out lightly! Divide the dough into eight equal pieces and roll each section into a neat little ball. Cover them again and let them relax for fifteen minutes; this helps them roll out easily. While they rest, put a pizza stone or a heavy cast-iron skillet right into your oven and crank the heat up to 500°F (260°C). It has to be screaming hot for the puff to happen! Once rested, roll each ball out into a 6 or 7-inch circle, aiming for about an eighth of an inch thick. Try not to stretch or play with the dough too much at this point.
Cooking Methods: Oven Baked Pita Bread vs. Skillet Pita Bread
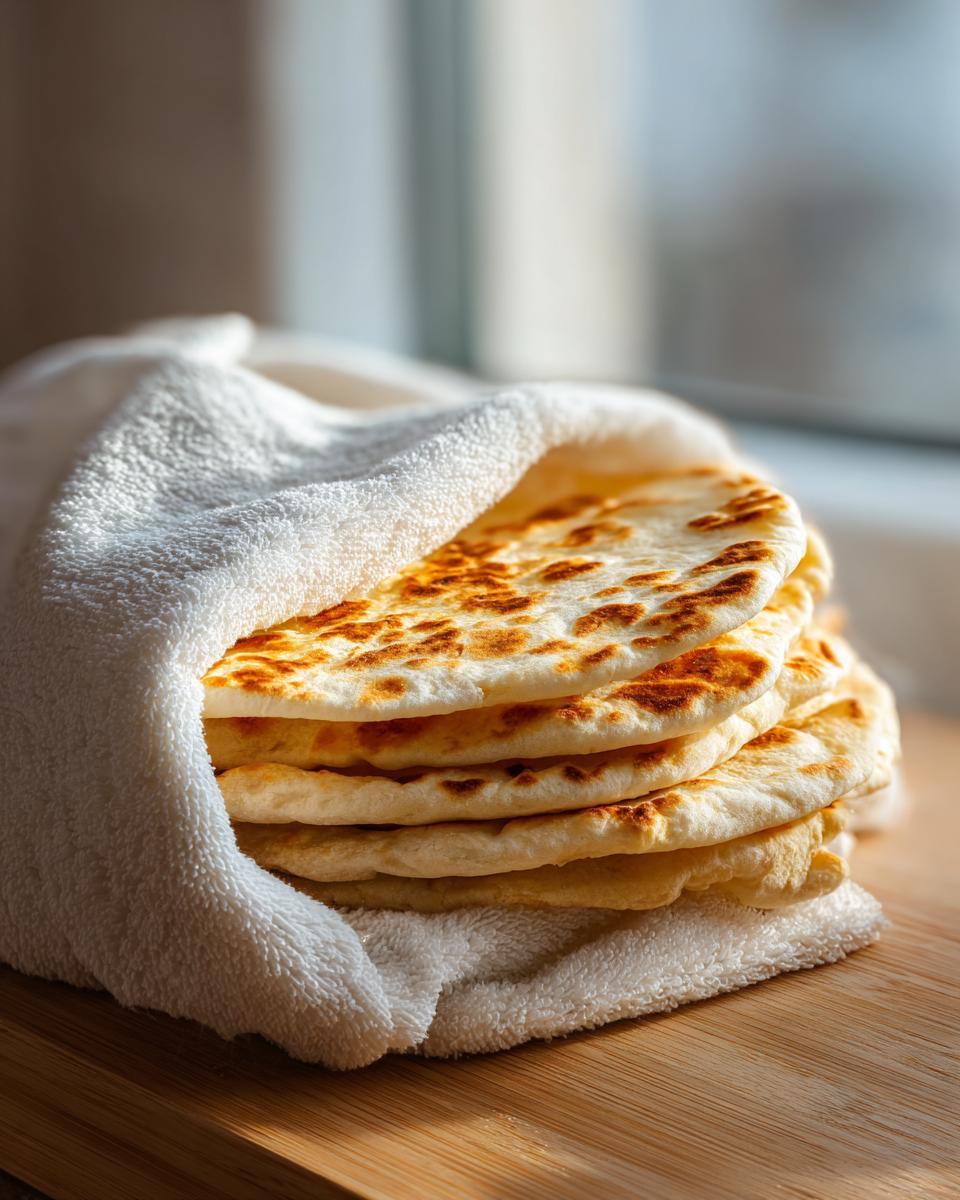
You have two great ways to cook your pita bread with pocket. First, the oven method: Slide one or two pitas right onto that scorching hot stone or skillet for just two to three minutes max. Watch it—it will inflate dramatically! For the stovetop method, just use that hot, dry skillet over medium-high heat. Cook the first side until bubbles form (about 30 seconds), flip it, cook until it puffs up completely on the second side, and flip one last time if needed for light browning. No matter which way you choose, remember: short, intense heat is the key to learning how to make pita bread puff!
Tips for Success: Guaranteeing Your Pita Bread Puffs
Listen, I know how deflating it is when you do all the work, and your beautiful dough just lays flat. The secret to that magical balloon effect in pita bread isn’t really a secret; it’s all about heat management and respecting the dough. If you follow these pointers, you’ll be turning out perfect pockets every time. This is what separates good homemade pita bread from the truly legendary stuff!
The single most important thing you can do is make sure your baking surface is screaming hot. I mean, almost smoking! The sudden blast of intense heat immediately turns the moisture in the dough into steam, and that steam has nowhere to go but up, forcing that pocket open. Don’t be shy about preheating that stone or skillet—give it at least 30 minutes at the full 500°F.
Here are a few other things I learned the hard way:
- Don’t Overwork the Roll: When you roll out your dough balls, be gentle! If you roll them too thin or press down too hard, you stretch the gluten too thin, and the steam just leaks out instead of inflating the center. Aim for that consistent 1/8-inch thickness without fussing over them too much.
- Keep Them Covered: As you roll out your eight balls of dough, keep the remaining ones covered with a towel. If the dough dries out on the surface, it will develop a skin that prevents the puff. We want supple, pliable dough ready to expand!
- Don’t Crowd the Oven: If you try to bake too many at once, the temperature of your stone or skillet drops instantly, and you’ll end up with flatbread instead of pita bread. Work in batches, and don’t put the next round in until the previous one has inflated and been removed.
- Humidity Matters: If it’s a really rainy or humid day, your dough might feel a little sticky. Don’t panic! Just add a tiny bit more flour to your kneading surface, but remember: too much flour makes the bread heavy and ruins the softness.
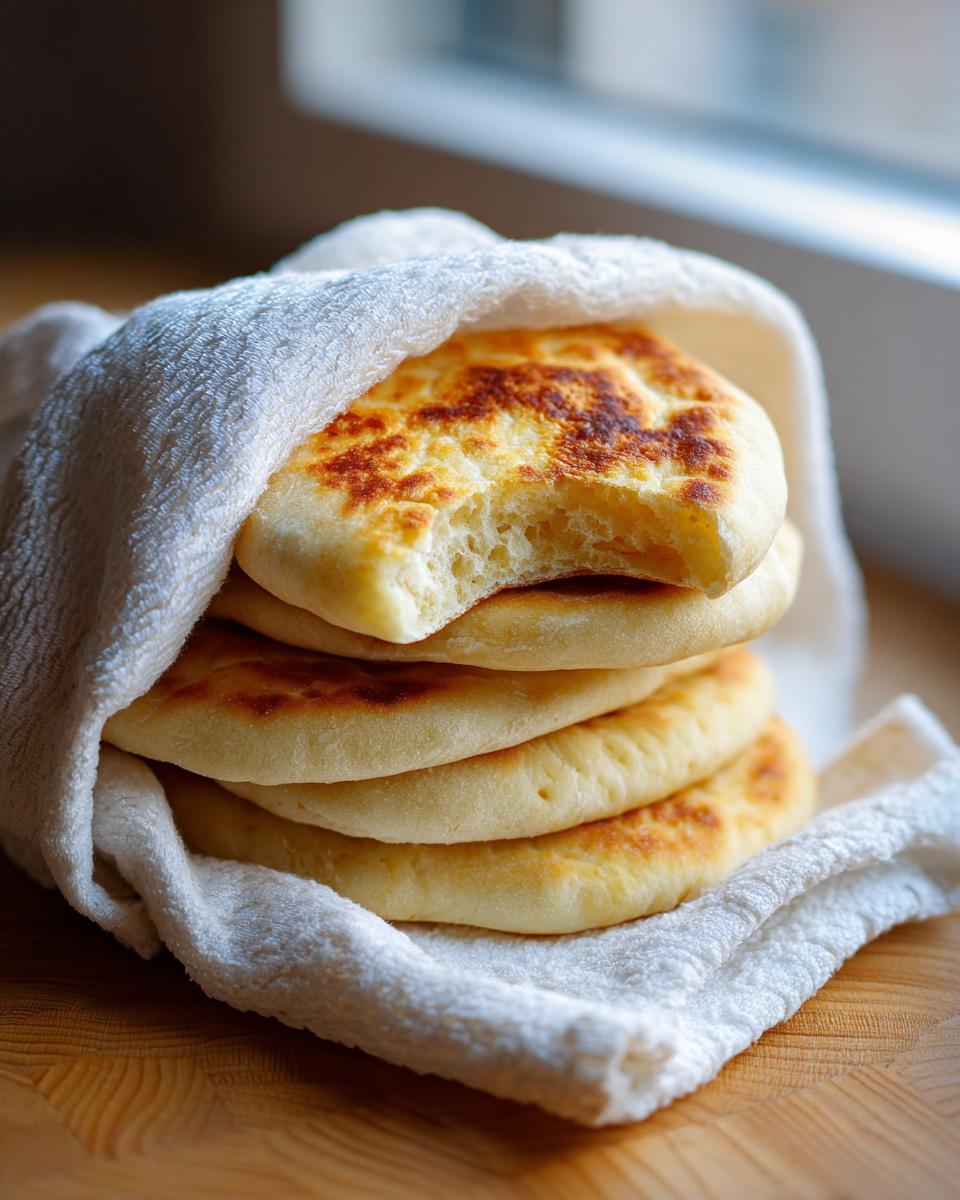
Keep the finished pitas stacked right next to your cooking station and wrap the entire stack tightly in a clean kitchen towel immediately. This traps the residual heat and steam, keeping them unbelievably soft fluffy pita bread until you are ready to serve. This simple trick is a lifesaver before you serve them up with something amazing, like my recipe for homemade tzatziki sauce.
Variations: Authentic Greek Pita Recipe and Garlic Pita Bread Ideas
I love this base recipe because it’s so flexible! If you’re aiming for that authentic Greek pita recipe style—so great for dipping or cutting into triangles—it’s super simple to adjust. You just need to cook them a little longer at a slightly lower temperature, maybe around 400°F, and you skip the full ballooning pocket. They stay soft and pliable, which is perfect for wrapping gyros.
But let’s talk flavor upgrades! Turning these into garlic pita bread ideas is my favorite thing to do for a big movie night. As soon as they come off the heat—while they are still piping hot—I brush them lightly with melted butter mixed with garlic powder and some fresh parsley. If you’re out of butter, brushing them with my garlic aioli before a quick reheat is just as heavenly. You can also check out the method for authentic Greek pita bread if you prefer no pocket at all!
Serving Suggestions for Your Homemade Pita Bread
What even is the point of making incredible, warm, pocketed pita bread if you don’t eat it immediately? In my house, they rarely make it past the kitchen counter wrapped in that towel! But seriously, the versatility of this simple flatbread recipe is unmatched. Because they are soft and chewy—not crispy like a chip—they are fantastic for building an entire meal around.
If you’re looking for the ultimate carrier for dips, this is it. Forget crackers! This is the perfect dipping flatbread recipe. Whip up a big bowl of tangy homemade guacamole or some spicy feta dip; trust me, scooping it up with warm, slightly charred homemade pita is a game-changer. Just brush them quick with that olive oil from the recipe before serving!
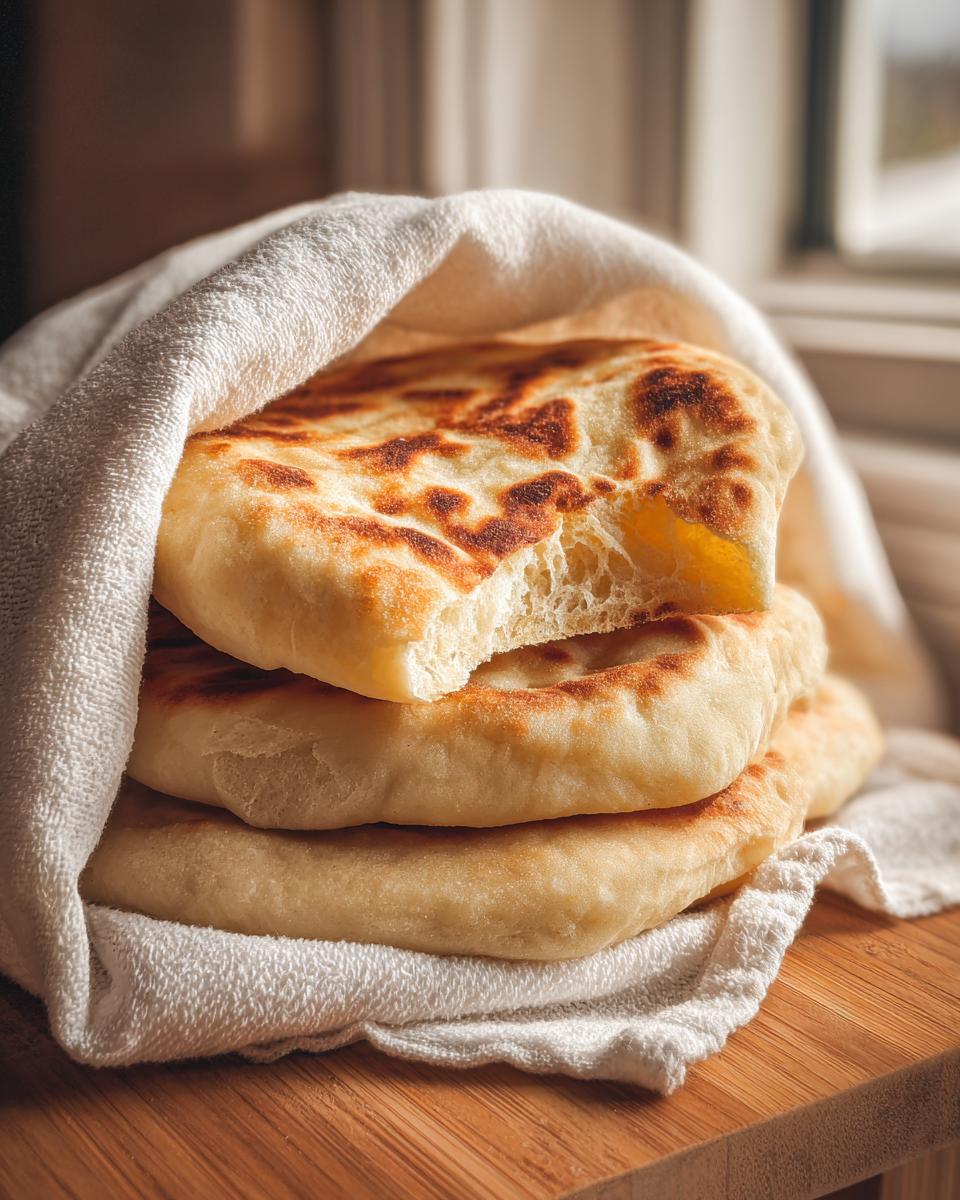
But my absolute favorite way, which I think everyone should try, is using them for wraps. If you’re making a Mediterranean feast, you absolutely have to use this bread for your pita bread for gyros. Stuff them generously with seasoned meat, fresh tomato, onion, and that leftover tzatziki we talked about earlier. They hold up so well; they won’t tear open when they are loaded up!
If you’re leaning toward a heartier meal, cut them in half and squash them open to make amazing little sandwiches. They work just as well for a hot Italian sandwich as they do for falafel. You could even use them as a base for a super quick pizza crust. They’re much better than the sad little flatbreads you find stuck to the bottom of a freezer bag. For another great handheld idea, check out my recipe for Italian sub sliders—you might just want to swap out standard slider buns for these!
Storage and Reheating Instructions for Pita Bread
This is where we finish strong! You’ve worked hard to make this incredible pita bread, and we do not want it turning brittle and stale overnight. The most important thing you can do is right after they come off the heat. Immediately stack all your cooked pitas right on top of each other, and wrap the whole stack tightly inside a clean, dry kitchen towel. That trapped steam is pure gold; it keeps them soft and pliable. Do not skip this step!
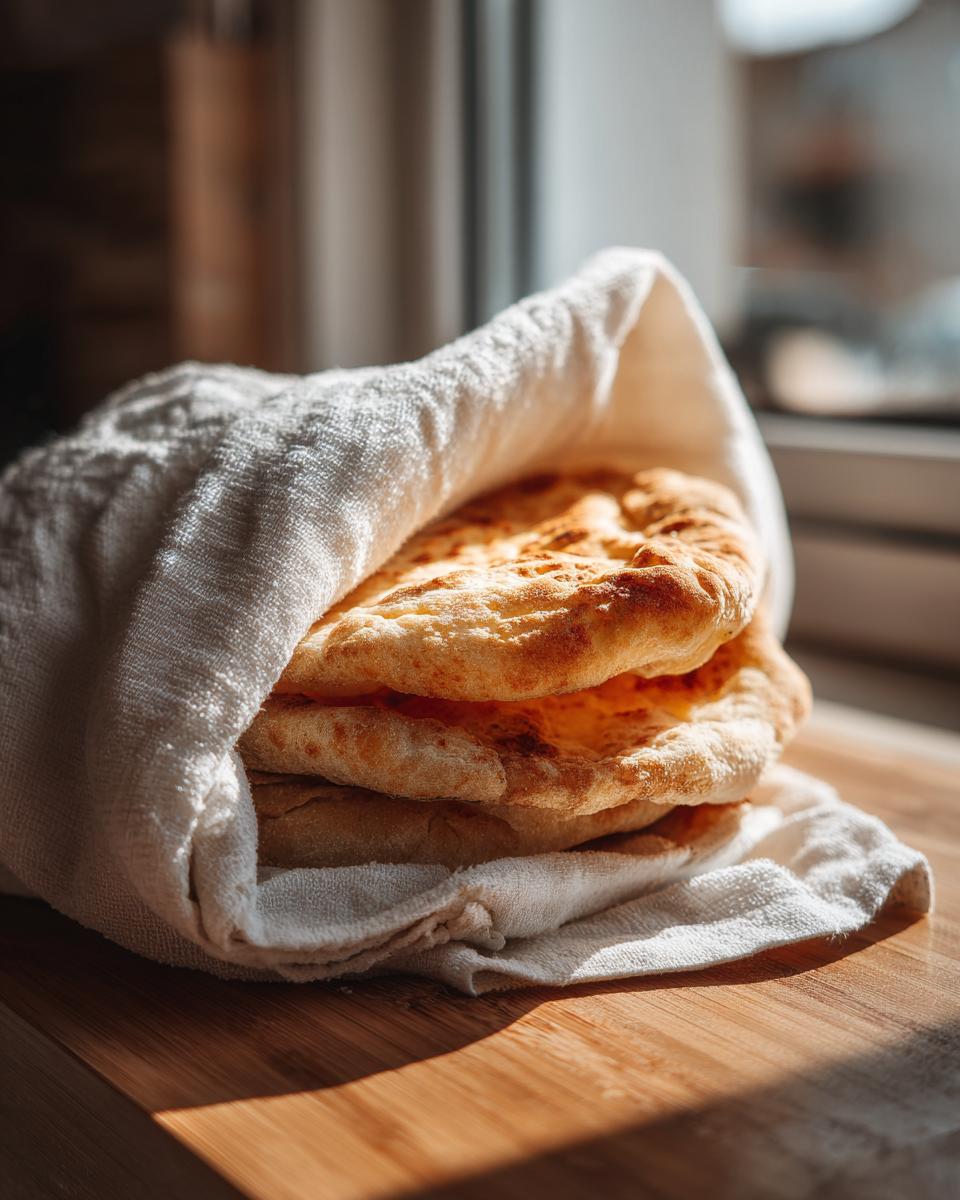
Once they have cooled down slightly, transfer them into a heavy-duty, airtight zip-top bag. If you seal them up right when they are just warm, they will stay super soft for several days at room temperature. I’ve never stored them longer than four days because they get eaten up too fast, but they should be fine for about that long in a pantry or bread box.
Now, what if you forgot and they’ve hardened up a bit? Don’t toss them! You can totally revive them. For a quick refresh, wrap a couple of pitas in a damp paper towel and microwave them for about 10 to 15 seconds. They’ll get soft right away. For reheating if you want that puff back, toss them back into a 350°F oven right on the rack for about 3 minutes—just enough time to warm through and maybe puff up just a little bit again. They’ll be just as good as when they first came off your stone!
Frequently Asked Questions About Pita Bread
I get so many questions about this pita bread recipe, especially from folks who have struggled with flatbreads before! Don’t worry, I’ve covered all the tricky spots in the instructions, but here are answers to some common concerns I hear all the time. Cooking should be fun, not frustrating, so let’s clear up any confusion about making that perfect pocket!
Can I make pita bread without an oven?
Absolutely, yes! And honestly, sometimes the skillet method gives you an even better scorch or char on the outside, which I love. This yeast flatbread recipe is designed to work beautifully on the stovetop. You just need a heavy skillet—cast iron is best—heated until it is ripping hot over medium-high heat. You still cook them fast, just like the oven method! The skillet just transfers heat directly to the bottom surface, forcing that steam to do its inflation work. It’s a fantastic technique for when you don’t want to heat up the whole house.
Why didn’t my homemade pita bread puff?
Ugh, this is the worst, but 99% of the time, it boils down to two things: heat or dough handling. If your pitas don’t puff, it means the steam inside escaped too fast or couldn’t generate enough pressure. This usually happens because your oven or skillet wasn’t hot enough—it needs to be scorching hot (500°F!) before that dough touches it. The other main culprit is under-kneading. Remember when we kneaded for 5 to 7 minutes? That develops the gluten net. If that net isn’t strong enough, the steam just seeps out through weak spots. Make sure you’ve given it that full kneading time.
Can I use whole wheat flour for this pita bread recipe?
You totally can mix in some whole wheat flour if you’re looking for a healthy whole wheat pita bread option. Whole wheat flour has those bran bits, which cut through the gluten strands a little, making the dough less elastic. This means you might struggle to get the huge, dramatic puff we see with all-purpose flour. My tip is: don’t swap it all at once! Try replacing only about a quarter of the all-purpose flour with whole wheat in the recipe. That gives you some nutritional boost without completely sabotaging the pocket formation. If you look at my recipe for avocado toast with feta, you’ll see I often recommend partial whole grain swaps there too!
Nutritional Estimates for This Pita Bread
I always get asked about the nutrition when folks see amazing yeast flatbread recipes like this one. I want to be upfront: these numbers are just estimates based on the standard ingredients listed above. Since we’re using simple, whole ingredients like flour, water, and oil, this truly is one of the better choices out there for a homemade flatbread, and it’s completely vegan, which is a huge bonus for many families!
We calculate this based on the full recipe yield of 8 pitas. Remember, these numbers can change slightly depending on the exact flour brand you use, but this gives you a great baseline for your meal planning. It’s always empowering to know exactly what you’re eating when you make something from scratch!
- Serving Size: 1 pita
- Calories: About 180
- Carbohydrates: 34g
- Protein: 6g
- Fat: 3g (mostly healthy fats from the olive oil!)
- Saturated Fat: 0.5g
- Fiber: 2g
- Sugar: 1g
- Sodium: 250mg
- Cholesterol: 0mg
Isn’t that great? Very little sugar and zero cholesterol, and still managing to be this incredibly soft and satisfying. Enjoy every warm bite knowing exactly what went into making this wonderful **pita bread**!
Share Your Homemade Pita Bread Creations
I truly feel like we’ve shared something special here today, stepping away from relying on those boxes and learning the magic to making pita bread right on our own stovetops or in our ovens. I hope you feel super confident about tackling this recipe now!
The absolute best part of my job here at Taste This Plate is hearing from you folks and seeing what you’re cooking up in your own kitchens. I’ve poured all my analytical knowledge and my heart into testing this dough so you get that perfect, fluffy result, and I would just love to know how yours turned out. Did you get a massive puff? Did you use them for gyros or dip them in hummus?
When you make these, please come back to this recipe and leave a rating—five stars if you loved them! Ratings really help others see that this recipe is trustworthy and that they can count on it for delicious results. And if you snap a picture when you serve them warm, please tag me on social media! Seeing photos of your successful, pocketed homemade pita bread honestly makes my entire week.
If you enjoyed learning the *why* behind this amazing yeast flatbread recipe, I encourage you to head over to the About Page to read a little more about our philosophy on cooking. Happy baking, friends, and I truly hope you enjoy sharing these warm, soft pitas with the people you love most!
PrintThe Ultimate Fluffy Homemade Pita Bread: Classic Recipe Guaranteed to Puff
Make soft, fluffy pita bread with a perfect pocket using this easy recipe. You only need simple ingredients to create this Middle Eastern bread that is much better than store-bought versions.
- Prep Time: 20 min
- Cook Time: 15 min
- Total Time: 1 hour 45 min
- Yield: 8 servings 1x
- Category: Bread
- Method: Baking/Skillet
- Cuisine: Middle Eastern
- Diet: Vegan
Ingredients
- 1 teaspoon active dry yeast
- 1 teaspoon sugar
- 1 cup warm water (about 105-115°F)
- 2 1/2 cups all-purpose flour, plus more for dusting
- 1 teaspoon salt
- 2 tablespoons olive oil
Instructions
- Activate the yeast: In a small bowl, combine the warm water, sugar, and yeast. Let it sit for 5 to 10 minutes until foamy. This shows the yeast is active.
- Mix dry ingredients: In a large bowl, whisk together the flour and salt.
- Combine: Pour the yeast mixture and olive oil into the dry ingredients. Mix with a wooden spoon until a shaggy dough forms.
- Knead: Turn the dough out onto a lightly floured surface. Knead for 5 to 7 minutes until the dough is smooth and elastic.
- First rise: Place the dough in a lightly oiled bowl, turning to coat. Cover the bowl with plastic wrap or a clean towel. Let the dough rise in a warm place for 60 to 90 minutes, or until doubled in size.
- Divide and rest: Gently punch down the dough. Divide it into 8 equal pieces. Roll each piece into a smooth ball. Cover the balls and let them rest for 15 minutes.
- Preheat: Place a pizza stone or heavy cast-iron skillet in your oven and preheat the oven to 500°F (260°C). If using a stovetop method, heat a heavy skillet over medium-high heat.
- Shape: On a lightly floured surface, roll each dough ball into a circle about 6 to 7 inches in diameter and about 1/8 inch thick. Do not overwork the dough.
- Cook (Oven Method): Carefully place 1 or 2 pitas directly onto the hot pizza stone or skillet in the oven. Bake for 2 to 3 minutes. The pita should puff up completely. Remove when lightly browned.
- Cook (Skillet Method): Place one rolled pita into the hot, dry skillet. Cook for about 30 seconds until bubbles appear. Flip and cook for another minute until it puffs. Flip again and cook briefly until lightly browned on both sides.
- Keep warm: Stack the cooked pitas and wrap them in a clean kitchen towel to keep them soft while you cook the remaining bread.
Notes
- For the best puff, your oven or skillet must be very hot before the dough touches the surface.
- If you want Greek pita bread (no pocket), cook them slightly longer at a lower temperature (around 400°F) until they are soft and pliable but do not fully inflate.
- To make garlic pita bread, brush the cooked pitas with melted butter mixed with garlic powder and fresh parsley.
Nutrition
- Serving Size: 1 pita
- Calories: 180
- Sugar: 1
- Sodium: 250
- Fat: 3
- Saturated Fat: 0.5
- Unsaturated Fat: 2.5
- Trans Fat: 0
- Carbohydrates: 34
- Fiber: 2
- Protein: 6
- Cholesterol: 0