
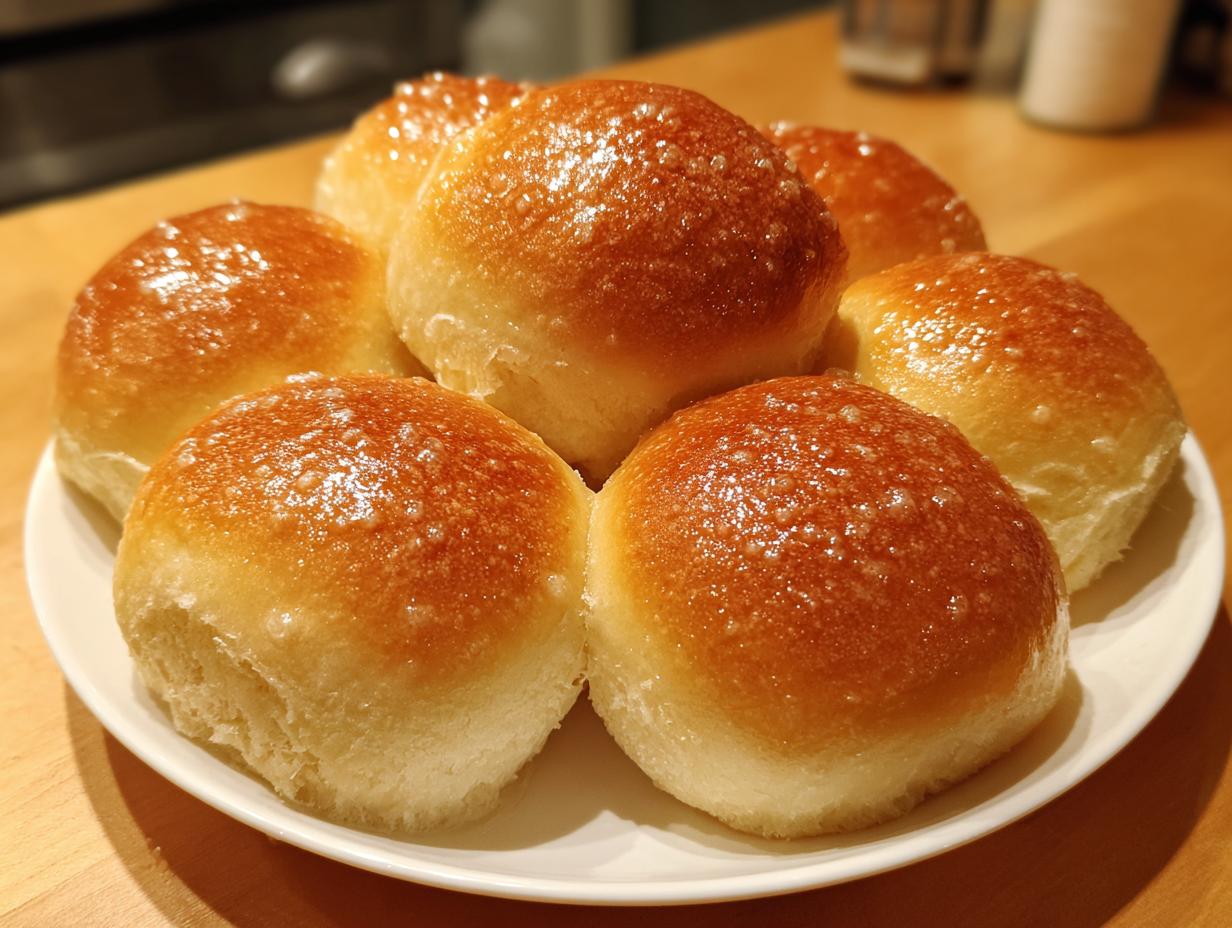
Oh, you guys! There is absolutely nothing that beats the smell of fresh-baked bread filling your kitchen, right? Seriously, it’s pure magic. I know baking your own bread seems intimidating, especially when you’re trying to get dinner on the table before everyone gets grumpy, but trust me on this one. These are the ultimate soft, fluffy, and buttery dinner rolls you will ever meet. They are quick enough if you start them in the afternoon, making them perfect for those busy weeknights. When I work on a recipe like this, I always think back to my grandmother’s kitchen; she and many others like her inspire everything we do here at Taste This Plate. She proved that even simple ingredients, handled with love, turn into something unforgettable. This recipe is proof that you truly can make bakery-quality, warm fresh bread right in your own home without needing hours of fuss.
- Why These Are the Best Homemade Dinner Rolls You Will Ever Make
- Ingredients for Fluffy Yeast Rolls
- Step-by-Step Instructions for Classic Buttery Rolls
- Baking and Achieving That Signature Buttery Finish on Dinner Rolls
- Variations: Making Restaurant Copycat Rolls and Sweet Honey Rolls
- Tips for Success with Quick Dinner Rolls Baking
- Storage and Reheating Instructions for Leftover Dinner Rolls
- Frequently Asked Questions About Soft Dinner Rolls Recipe
- Nutritional Estimates for Your Homemade Dinner Rolls
- Share Your Experience Making These Fluffy Dinner Rolls
Why These Are the Best Homemade Dinner Rolls You Will Ever Make
I promise you, once you try these, you’ll never go back to the plastic tube again! These rolls aren’t just good; they are special enough for Thanksgiving but fast enough for Taco Tuesday. They truly are the best homemade dinner rolls because they deliver on the texture and flavor you crave.
- They are unbelievably soft and fluffy—seriously airy inside!
- The melted butter brushed on top makes every bite rich and decadent.
- They are surprisingly fast, getting you that warm, fresh-baked feeling without all the waiting.
Check out some of my other favorite side dishes if you need inspiration for what to serve them with!
Achieving Ultimate Soft Dinner Rolls Recipe Texture
The secret to that cloud-like texture isn’t luck; it’s what we mix in. We use melted butter instead of cooling it down completely, which keeps the dough super rich from the jump. Plus, making sure those two eggs are at room temperature helps them incorporate smoothly into the dough, preventing any odd pockets or dense spots. It’s all about those ingredients talking nicely to each other!
Quick Dinner Rolls: Minimal Wait Time for Warm Fresh Bread
Listen, total time is just over an hour and a half, but your hands-on time is really short—maybe 20 minutes total! That means if you start them mid-afternoon, you’ll have perfect quick dinner rolls ready right when people start asking for them. That rapid rise time is huge when you’re hungry! No more waiting three hours for bread to be ready.
Ingredients for Fluffy Yeast Rolls
Okay, let’s talk essentials! Getting the right stuff is crucial, especially with yeast bread. You generally need the usual suspects, but the little details make all the difference between okay bread and spectacular dinner rolls. We’re using honey here, which is one of my favorite ways to add a little depth that sugar just can’t touch. Keep everything measured out before you start mixing!
- 1 cup warm water (It needs to be right around 105-115°F)
- 2 1/4 teaspoons active dry yeast
- 1 tablespoon granulated sugar
- 2 large eggs (They must be room temperature!)
- 1/2 cup unsalted butter, melted
- 1 teaspoon salt
- 3 1/2 to 4 cups all-purpose flour
- 1/4 cup honey
- 1/2 cup unsalted butter, melted (This is for brushing the tops later, don’t mix it up!)
Ingredient Notes and Substitutions for Perfect Dinner Rolls
Here’s where we get bossy, because this is how we guarantee success. That water temperature for the yeast? It has to be between 105 and 115°F. Too cold, and the yeast goes dormant; too hot, and you kill it! Test it with a quick dip of your finger—it should feel nicely warm, not scalding. Also, please use room temperature eggs. When eggs are cold, they shock the dough and make it heavier. Room temperature eggs mix in seamlessly, keeping those air pockets happy inside your dough for that wonderfully soft dinner rolls recipe texture we want.
Step-by-Step Instructions for Classic Buttery Rolls
Alright, buckle up! Now that we have all our beautiful ingredients ready, it’s time to make the dough. Don’t get intimidated by the yeast steps; they are our secret weapon for those light, fluffy results. Remember, great baking comes from following these steps closely, especially when we are aiming for these incredible dinner rolls. Don’t worry if you are planning on serving these with my famous garlic parmesan mashed potatoes; these rolls soak up gravy like a dream!
Activating Yeast and Mixing the Dinner Rolls Dough
First things first, we need to wake up that yeast! Take your warm water—remember, 105 to 115°F—and mix in the yeast and that first tablespoon of sugar. You absolutely must let this sit for 5 to 10 minutes until it gets all foamy and bubbly on top. If it doesn’t foam, your yeast is dead, and we toss it and start that step over—this foam is proof that your bread will rise! Once it’s happy, whisk in the honey, your room temperature eggs, and the first melted butter amount. Then, start adding your salt and the flour, 3 1/2 cups to start. Mix it until it just barely comes together into a shaggy mess in the bowl. Resist the urge to add all the flour!
Kneading and First Rise for Tender Dinner Rolls
Time to put in a little elbow grease! Turn that shaggy dough out onto a lightly floured surface. We knead this for about 5 to 7 minutes. You’ll keep adding that last bit of flour only if the dough is sticking horribly, aiming for it to be smooth, soft, and just barely tacky—not sticky! Pop that smooth ball into an oiled bowl, cover it tight, and let it hang out somewhere warm for 45 to 60 minutes. We are looking for it to double in size. This first rise is where the flavor and structure start building for your dinner rolls.
Shaping and Final Proofing of Your Dinner Rolls
Once doubled, gently punch the air out—don’t aggressively smash it; we just want to deflate it slightly. Now, divide your dough into 12 equal pieces. I usually weigh mine out so they bake evenly, but eyeball it if you trust your instincts! Roll each piece into a tight, neat ball, making sure the top seam is pinched tight, which helps them keep their beautiful round shape. Place all 12 of your dinner rolls close together in your greased 9×13 pan. Cover them up again and let them rest for just 30 more minutes before they hit the heat. They should look puffier when you go to bake them.
Baking and Achieving That Signature Buttery Finish on Dinner Rolls
Okay, here is the moment of truth! Getting these dinner rolls baked perfectly means we are keeping the temperature steady. Preheat your oven to 375°F (190°C) while your rolls are doing their final 30-minute puff. We don’t want to shock them once they go in, so make sure the heat is ready!
They bake fairly quickly because they are small, usually just 15 to 18 minutes. You’re looking for that beautiful, deep golden-brown color on the tops. If you see the edges starting to pull away slightly from the sides of the pan, that’s a good sign they are nearly done.
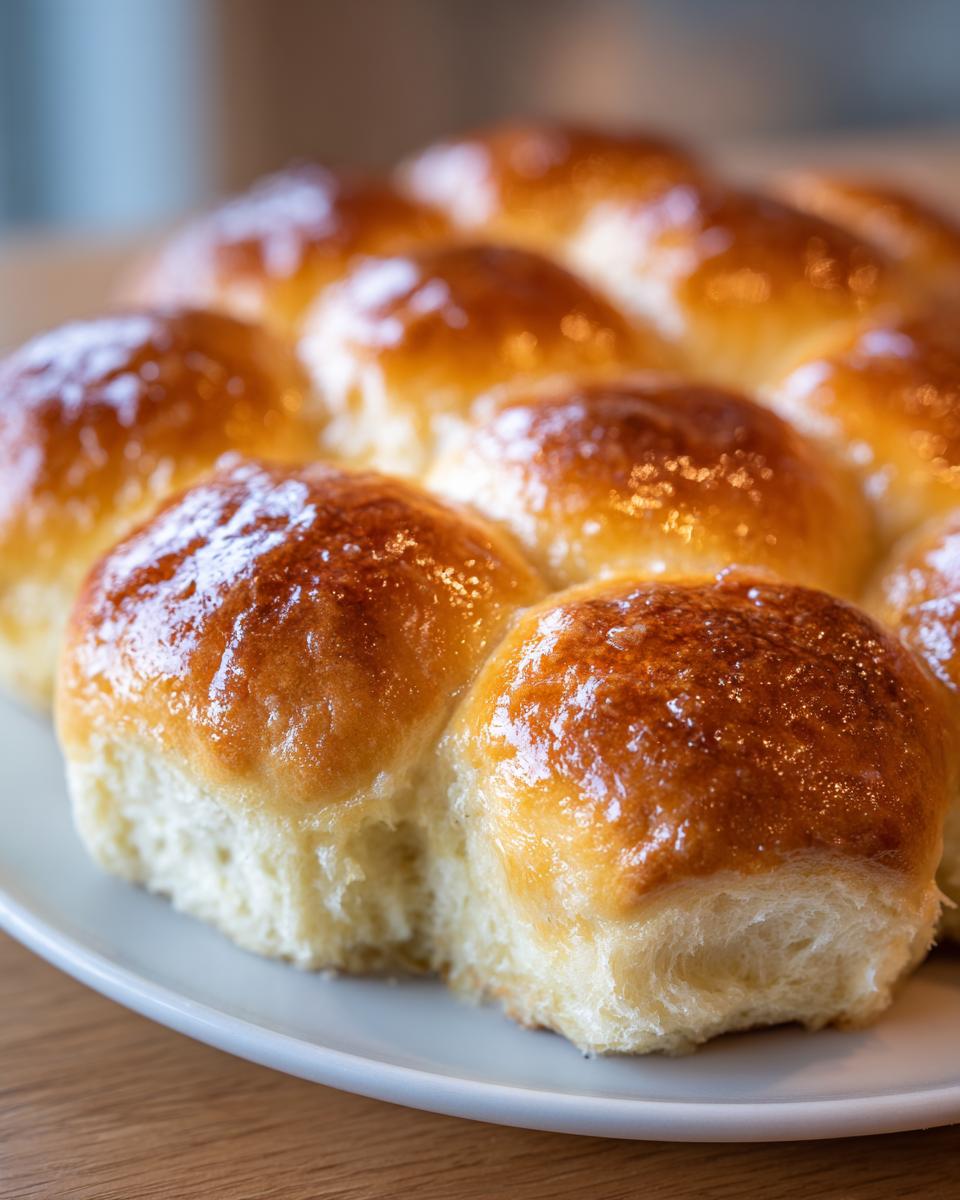
But wait—the absolute most important, non-negotiable final step that turns these into something legendary is the butter bath. The second those rolls come out of the oven, you grab that remaining half cup of melted butter and brush it generously all over every single roll while they are piping hot. Seriously, soak those tops!

This step is what locks in the moisture, gives them that irresistible sheen, and delivers on that huge promise of buttery goodness. If you skip this, you are missing out on 50% of the magic! Serve these dinner rolls immediately. They are best when they are still warm, soft, and dripping just a little bit of that melted butter. If you need more bread recipes for the future, check out my guide on easy bread recipes for more inspiration!
Variations: Making Restaurant Copycat Rolls and Sweet Honey Rolls
While this recipe stands strong on its own as a fantastic buttery side bread, I know you’re curious about switching things up! People always ask me about copying those famous restaurant rolls, and it’s super easy to do here. If you are dreaming of those slightly sweet, yeast-forward loaves, you’re already halfway there because we use honey!
For truly Restaurant Copycat Rolls—specifically leaning toward that Texas Roadhouse vibe—you just change the topping! After the rolls come out of the oven, skip the plain melted butter. Instead, whip up a quick garlic butter: melted butter whisked hard with a teaspoon of garlic powder and a tiny pinch of salt. Brush that all over while they steam. You can check out how I use garlic butter in my beef garlic butter linguine for inspiration! For the full breakdown on achieving that classic flavor profile at home, check out these tips on DIY Rhodes Rolls Recipes.
The base recipe already lends itself to making Sweet Honey Rolls because of the honey we put in the dough—it gives them this lovely, soft flavor profile. It’s perfect for a holiday meal when you want something a little richer than a standard biscuit!
Tips for Success with Quick Dinner Rolls Baking
Baking great dinner rolls isn’t about magic; it’s about knowing a few little secrets that make the process smoother and the final product softer. Since we are aiming for speed here along with that wonderful fluffy texture, paying attention to temperature is your secret weapon for quick results.
One thing I always stress is the temperature of your eggs. Seriously, don’t cheat this step! If your eggs are straight from the fridge, they chill the dough down before it even starts mixing properly. Using room temperature eggs ensures they blend in evenly, working with the active yeast instead of fighting it, which results in a noticeably softer texture. It really helps keep these quick dinner rolls airy instead of dense.
Also, remember that speed tip: using warm water in Step One is key to getting that initial yeast hike done quickly. If you’re baking on a cold day, don’t just dump the dough in a cold spot. Find a warm, draft-free place for the rise. I sometimes just turn my oven light on for a few minutes to warm it slightly, turn the oven off, and let the dough hang out in there—it creates the perfect little baking incubator for the best fluffy yeast rolls.
For future reference on yeast work in general, I’ve put together some thoughts on baking yeast essentials, but for these rolls, the biggest takeaway is patience during the initial proofing. That foam means success!
Storage and Reheating Instructions for Leftover Dinner Rolls
I rarely have leftovers, because let’s be honest, who can stop at one of these buttery delights? But when I do manage to save a few of these glorious dinner rolls, I treat them like gold because that fresh-baked texture is fleeting!
The absolute number one thing you must do is keep the air out. If these rolls sit on the counter uncovered, they’ll turn into little rubber bouncy balls by morning. As soon as they are cool enough to handle without burning your fingers—but still slightly warm is okay—tuck them into an airtight container or a big zip-top bag. If you’re packing them for lunch the next day, a simple plastic container works wonders for locking in that humidity that keeps them soft.
Now, the reheat is critical. Reheating them brings back that beautiful, melt-in-your-mouth softness we worked so hard for. You want them warm again, but not crunchy! Don’t even think about the microwave unless you are microwaving just one for about 8 seconds—and even then, I’m skeptical.
The best method, without a doubt, is the oven. Pop your leftover dinner rolls onto a baking sheet. You don’t even need to cover them that tightly, just loosely tent them with foil. Heat the oven to a low 300°F (150°C). Give them about 5 to 7 minutes. You’ll know they are perfect when you can press on them and they spring right back without yielding that hard, day-old texture. They’ll be almost as good as when they first came out!
These rolls are so good, they make any meal feel special. They are fantastic when you dip them into a big bowl of chili or a hearty stew, so if you need ideas for what to eat with your reheated bread, check out my collection of recipes for rolls for soup or stew!
Frequently Asked Questions About Soft Dinner Rolls Recipe
It’s totally normal to have questions when diving into yeast baking, especially when you’re looking for that perfect texture! Whether you’re a total beginner or just trying to tweak the recipe for a holiday gathering, these answers should help you master these soft dinner rolls.
Can I make these dinner rolls ahead of time?
Yes, absolutely! This is why I love them as holiday bread sides. You can mix the dough, knead it, and then pop it into a lightly oiled bowl, cover it tightly, and stick it right in the fridge overnight after the first rise. The cold temperature slows the yeast down drastically. The next day, let the dough warm up on the counter for about an hour, shape them, and proceed with the second rise! It means less work right before dinner time!
What is the best way to serve these rolls for a crowd?
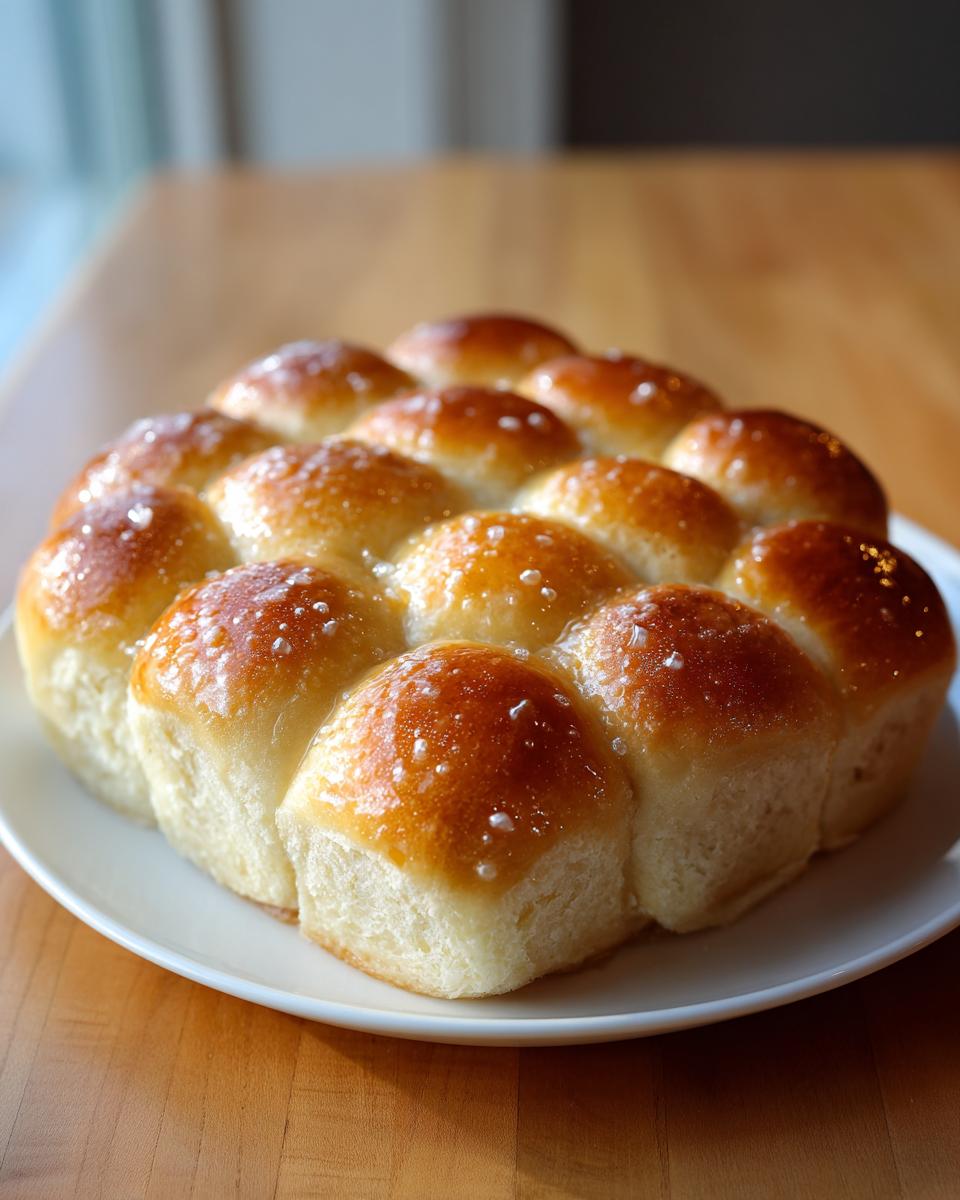
If you’re making a huge batch, I highly recommend baking them touching in a large sheet pan (like a 9×13 is already doing). When they bake touching, they steam each other’s sides, keeping them extra soft and moist! When you serve them, cut them apart right before they hit the table. They are just divine alongside something rich, like a holiday ham or a big casserole. They’re the perfect buttery side bread soak-up tool!
Can I substitute all-purpose flour for bread flour?
You totally can use bread flour if you want a slightly chewier texture, but I designed this recipe specifically around all-purpose flour. That flour, combined with the specific amount of creaming and kneading we do, gives you that signature pillowy, cloud-like crumb that makes these the ultimate soft dinner rolls. Stick to all-purpose unless you really prefer a slightly tougher roll!
Nutritional Estimates for Your Homemade Dinner Rolls
I know some of you are tracking macros or just curious about what you’re eating, so here is the breakdown for these amazing dinner rolls! Keep in mind, since we are using real butter and honey like real people do, these numbers are all estimates based on the standard ingredients I listed. I didn’t use any fancy low-fat substitutes, because, honestly, where’s the fun in that?
These details are based on one roll serving size, so if you’re like me and eat three, just multiply everything by three! We tried to keep things as transparent as possible here, because building trust is what we’re all about on this site.
- Serving Size: 1 roll
- Calories: 220
- Sugar: 4g
- Sodium: 250mg
- Fat: 9g
- Saturated Fat: 5g
- Unsaturated Fat: 4g
- Trans Fat: 0g
- Carbohydrates: 32g
- Fiber: 1g
- Protein: 5g
- Cholesterol: 35mg
This is just a quick guide, folks! If you substitute brands or use heavy amounts of the garlic butter variation, these figures will definitely change, but this gives you a good baseline for enjoying your fluffy yeast rolls responsibly!
Share Your Experience Making These Fluffy Dinner Rolls
I truly hope you’ve rolled up your sleeves and baked a batch of these incredibly soft dinner rolls! Honestly, seeing what you all create in your kitchens brightens up my whole week. We put a lot of love and testing into making sure this recipe is foolproof, but I always want to hear how it turned out for you!
Did you stick to the classic butter brush, or did you whip up a batch of that incredible garlic butter for a Texas Roadhouse feel? Let me know in the comments below! Rate this recipe—did it live up to the promise of speed and fluffiness? A star rating really helps other busy home cooks feel confident trying it next.
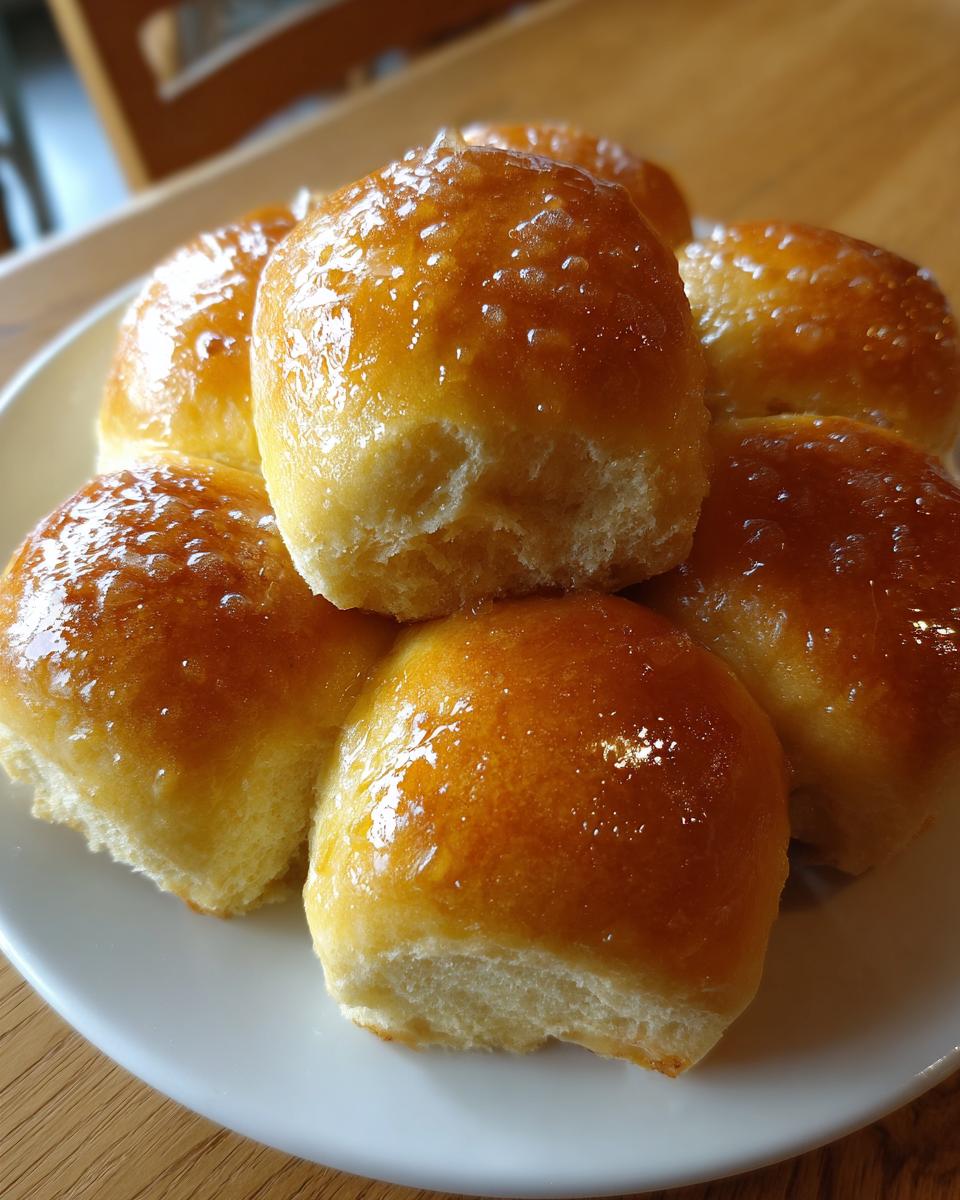
And please, if you snap a picture, share it on social media and tag me. I adore seeing those golden, buttery tops fresh out of the oven. It’s proof that making homemade dinner rolls from scratch isn’t hard at all!
If you have any questions that I didn’t cover in the FAQ, or maybe you just want to tell me how you served these with your stew, please drop me a line. You can always reach out privately through my contact page, too. Happy baking, my friends, and enjoy every single soft, warm bite!
PrintUltimate Soft and Buttery Homemade Dinner Rolls

Make incredibly soft, fluffy, and buttery homemade dinner rolls that taste better than store-bought. This recipe is quick enough for weeknight dinners but perfect for holidays.
- Prep Time: 20 min
- Cook Time: 18 min
- Total Time: 1 hour 53 min
- Yield: 12 rolls 1x
- Category: Side Dish
- Method: Baking
- Cuisine: American
- Diet: Vegetarian
Ingredients
- 1 cup warm water (105-115°F)
- 2 1/4 teaspoons active dry yeast
- 1 tablespoon granulated sugar
- 2 large eggs, room temperature
- 1/2 cup unsalted butter, melted
- 1 teaspoon salt
- 3 1/2 to 4 cups all-purpose flour
- 1/4 cup honey
- 1/2 cup unsalted butter, melted (for brushing)
Instructions
- In a large bowl, combine the warm water, yeast, and 1 tablespoon of sugar. Let this stand for 5 to 10 minutes until foamy. This confirms your yeast is active.
- Add the honey, 2 room temperature eggs, and 1/2 cup melted butter to the yeast mixture. Whisk until combined.
- Add the salt and 3 1/2 cups of the flour to the wet ingredients. Mix with a wooden spoon or stand mixer until a shaggy dough forms.
- Knead the dough on a lightly floured surface for 5 to 7 minutes, adding the remaining flour gradually until the dough is smooth and no longer sticky.
- Place the dough in a lightly oiled bowl, turning to coat. Cover the bowl with plastic wrap or a clean towel. Let the dough rise in a warm place for 45 to 60 minutes, or until doubled in size.
- Gently punch down the risen dough. Divide the dough into 12 equal pieces. Roll each piece into a smooth ball.
- Place the dough balls close together in a greased 9×13 inch baking pan. Cover the pan loosely and let the rolls rise again for 30 minutes.
- Preheat your oven to 375°F (190°C).
- Bake the rolls for 15 to 18 minutes, or until they are golden brown on top.
- While the rolls are still hot, brush the tops generously with the remaining 1/2 cup of melted butter. Serve warm for the best flavor.
Notes
- For Texas Roadhouse style rolls, increase the honey slightly and brush heavily with garlic butter (melted butter mixed with garlic powder and a pinch of salt) immediately after baking.
- If you are short on time, you can use warm water to speed up the initial yeast activation, which helps achieve quicker results.
- Room temperature eggs mix into the dough more evenly, resulting in a softer texture.
Nutrition
- Serving Size: 1 roll
- Calories: 220
- Sugar: 4
- Sodium: 250
- Fat: 9
- Saturated Fat: 5
- Unsaturated Fat: 4
- Trans Fat: 0
- Carbohydrates: 32
- Fiber: 1
- Protein: 5
- Cholesterol: 35