
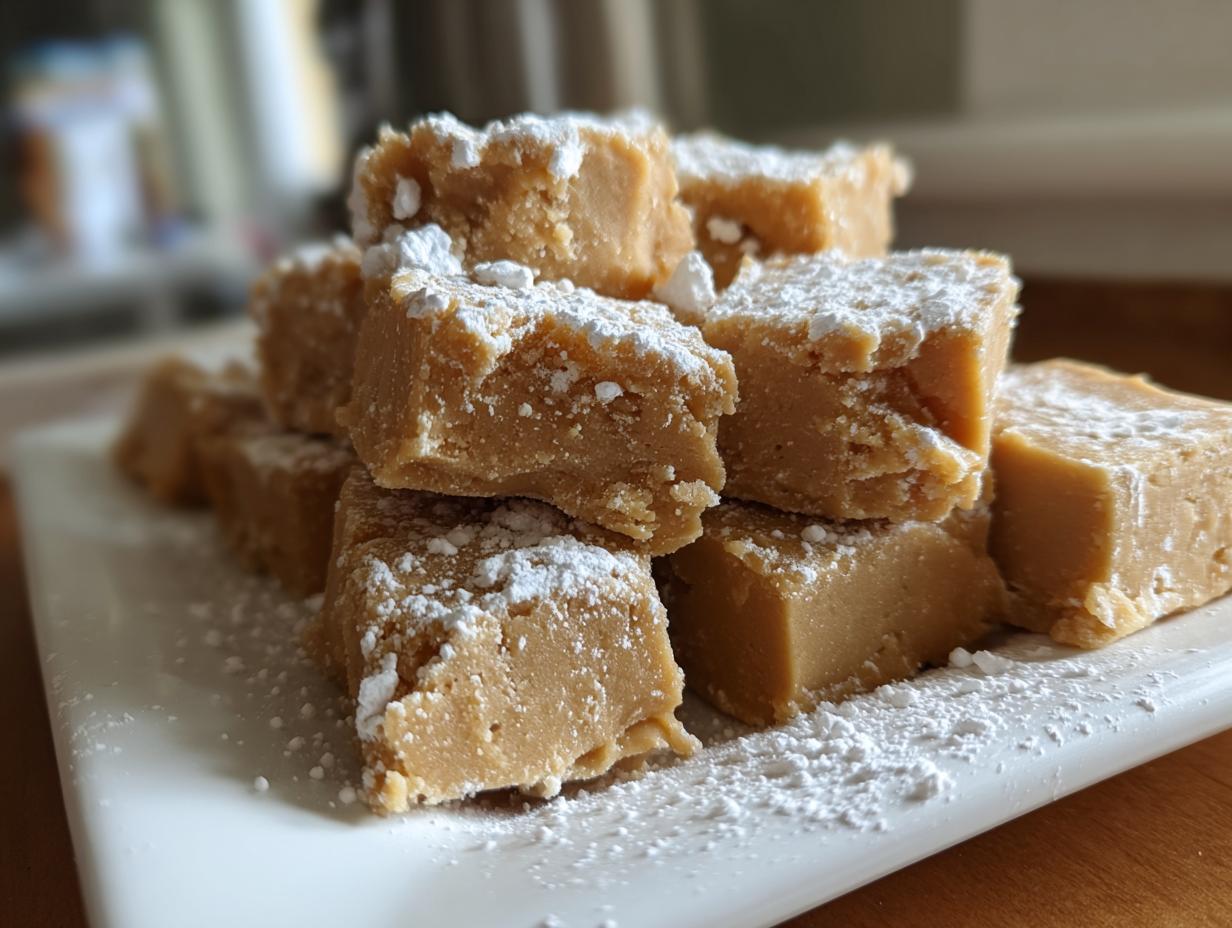
There’s just something magical about old-fashioned candy, isn’t there? It takes you right back to childhood holidays or maybe even your grandmother’s kitchen table. We all love those creamy, melt-in-your-mouth treats, but sometimes the recipes look intimidating! Well, I’m here to tell you that making sensational, smooth **Penuche Fudge** doesn’t require a fancy degree or specialized equipment. This is the definitive guide to making truly creamy brown sugar fudge. Trust me, I’ve tested this exact recipe over and over in my own kitchen—just like we do here at Taste This Plate when developing our recipes—to make sure it’s easy enough for everyone. We stick to simple, accessible ingredients because great food shouldn’t ever be stressful. Get ready for that gorgeous caramel flavor!
- Why This Old-Fashioned Penuche Fudge Recipe Works
- Gathering Your Ingredients for Smooth Penuche Fudge
- Step-by-Step Instructions for Old-Fashioned Penuche Fudge
- Tips for Success When Making Penuche Fudge
- Serving Suggestions for Your Homemade Penuche Fudge
- Storing and Keeping Penuche Fudge Fresh
- Penuche Fudge Variations and Add-Ins
- Frequently Asked Questions About Penuche Fudge
- Estimated Nutritional Data for Penuche Fudge
- Share Your Experience Making This Penuche Fudge
Why This Old-Fashioned Penuche Fudge Recipe Works
So, why should you trust this method over the dozens of **Penuche Fudge** recipes out there? It really comes down to respecting the natural process of crystallization. Many quick fudge recipes rely on things that mask texture issues, but this old-fashioned approach guarantees that smooth, velvety finish. It’s all about cooking it right and cooling it right before we beat it into submission!
- We hit that perfect soft-ball stage, which is where the magic happens for a stable texture.
- We absolutely nail the critical cooling step before beating the syrup.
Achieving the Perfect Creamy Fudge Texture
Grainy fudge is the absolute worst, right? It’s usually because people stir the syrup while it’s boiling, or they start beating it while it’s still too hot. When you let the syrup cool down undisturbed until it hits about 110 degrees Fahrenheit—meaning the bottom of the pan is just warm to your touch—those sugar crystals stay small and disorganized. That’s how we lock in that smooth **Penuche Fudge** texture that melts beautifully on your tongue. It builds confidence when you see that perfect sheen!
Simple Ingredients for Classic Penuche Fudge
You’ll see recipes calling for marshmallows or condensed milk sometimes when people want a quicker fix. But this recipe stays true to tradition using just sugar, milk, and butter! It aligns perfectly with our mission here: simple, easy-to-find ingredients making something truly extraordinary. This guarantees you’re making an authentic, delicious **easy homemade candy** treat without chasing down obscure products.
Gathering Your Ingredients for Smooth Penuche Fudge
Okay, let’s get our tools and ingredients ready. Because this is a candy recipe, precision matters way more than when we’re whipping up a casual cake batter. I want you to grab everything now before the stove goes on so you don’t panic later when things move fast! You’re going to be amazed at how few things you actually need to make this classic **Penuche Fudge**.
- Two cups of plain white granulated sugar.
- One cup of light brown sugar, packed nice and tight!
- One cup of whole milk—and yes, whole milk is necessary here. We need that fat content for creaminess, not the watery kind!
- Two tablespoons of real butter. No substitutes, please!
- One teaspoon of pure vanilla extract. This really defines the flavor.
- Just a pinch of salt to cut that intense sweetness.
- And if you want that wonderful crunch? Grab about one cup of chopped pecans or walnuts. They bake up beautifully in this.
Ingredient Notes and Substitutions for Penuche Fudge
Since we are going for that authentic, old-fashioned taste, we need to talk about what we *aren’t* using. You won’t see any sweetened condensed milk in this recipe! That’s what a lot of the super quick versions use, and it changes the flavor profile completely. We want that rich, caramelized taste from pure brown sugar.
When it comes to the brown sugar, I strictly stick to light brown sugar. Dark brown sugar has too much molasses, and it can actually interfere with the crystallization process, potentially leading to a slightly darker, maybe even grittier texture in your final **Penuche Fudge**. It throws off the color we are aiming for, which should be that beautiful, pale caramel shade. Also, make sure that milk is whole. Using anything lower just means you aren’t getting the necessary fat content needed to create that luxurious, smooth mouthfeel we keep talking about. It’s one of those simple rules that makes all the difference when you’re learning the fine art of **retro candy making**!
Step-by-Step Instructions for Old-Fashioned Penuche Fudge
Grab your heavy-bottomed saucepan and your candy thermometer because we are walking through this together, step by step. The success of this **Penuche Fudge** truly hinges on following these thermal checkpoints exactly. Don’t worry about rushing; rushing is the enemy of good candy making!
First thing: get your 8×8 pan ready by lining it with parchment paper and lightly greasing that paper. Also, combine your white sugar, brown sugar, milk, and butter in the saucepan. Heat this over medium heat, stirring continuously until everything dissolves, and you see the first tiny bubbles starting to boil. Then, this is crucial: stop stirring completely!
Cooking the Penuche Fudge Base to Temperature
Once that mixture comes to a steady boil, clip on your candy thermometer and just let it do its thing. We are cooking this mixture undisturbed until that little gauge reads exactly 234 degrees Fahrenheit. That temperature is the soft-ball stage, and it’s the golden ticket for perfect **Penuche Fudge**. Anything lower, and it won’t set right. Anything higher, and you risk getting a grainy or crumbly texture later on. Watch it closely; it usually takes about 10 to 15 minutes once it starts bubbling.
The Critical Cooling and Beating Phase of Penuche Fudge
When it hits 234°F, pull that pot right off the heat immediately. Do not scrape the sides—that’s how crystals start! Let it cool down without touching it until the thermometer dips to 110°F. If you don’t have a thermometer, just feel the bottom of the pan with clean fingers; it should feel just warm, not hot. Now, stir in your vanilla and salt, and get ready to beat! You have to beat this mixture vigorously with a wooden spoon or mixer on low speed. You’ll see the glossy syrup turn dull and thick—that means it’s transforming into beautiful **brown sugar fudge**. Beat until it holds its shape, then quickly pour it into your prepared pan. Don’t press it down, or you’ll flatten all that lovely air we just beat in! If you need a reminder on a similar process involving baked goods, check out how I handle my dump cake—patience is key there too!
Tips for Success When Making Penuche Fudge
Making candy can feel fussy, but I promise that once you understand *why* we do certain things, you’ll be churning out perfect **Penuche Fudge** every single time. Since I’ve messed up batches testing for the perfect recipe, I can give you the inside track on avoiding those little disasters. Remember, the goal here is that silky, smooth texture that says, “This is quality, homemade candy.”
My biggest piece of advice, which I’ve mentioned before but bears repeating, is about stirring during the boil. Resist the urge! If you stir while the sugar mixture is heating up and boiling, those tiny sugar grains clinging to the side of your pot get knocked back into the syrup. They act like seed crystals, and suddenly your perfectly smooth syrup crystallizes too fast, giving you a gritty mess instead of creamy **Penuche Fudge**. Let the heat do the work up to that 234°F mark.
Now, let’s talk about the dreaded “too hard” situation. This sometimes happens if your room temperature is too cool, or maybe you waited an extra minute getting ready to beat it. If you find yourself trying to beat the mixture and it just freezes solid before it goes dull, don’t throw it out! That’s a recoverable situation. Just place that pan back on a very low burner—and I mean *low*—and stir gently until it softens just enough to beat again. You might lose a tiny bit of that perfect air pocket, but you can usually save the batch rather than ending up with hard candy.
Also, think about your beating method during that crucial thickening stage. If you are using a stand mixer, keep it on the absolute lowest speed setting. We are trying to transition the syrup from a high-gloss liquid to a dull, thick solid. If you beat it on medium or high, you might incorporate too much air too quickly, which can sometimes lead to a drier fudge rather than that characteristic dense, creamy bite. It takes patience, usually five to ten minutes of steady, low-speed beating, but watching it transition from shiny to dull is incredibly satisfying. It’s worth sticking with it for that guaranteed smooth **brown sugar fudge** conclusion!
Serving Suggestions for Your Homemade Penuche Fudge
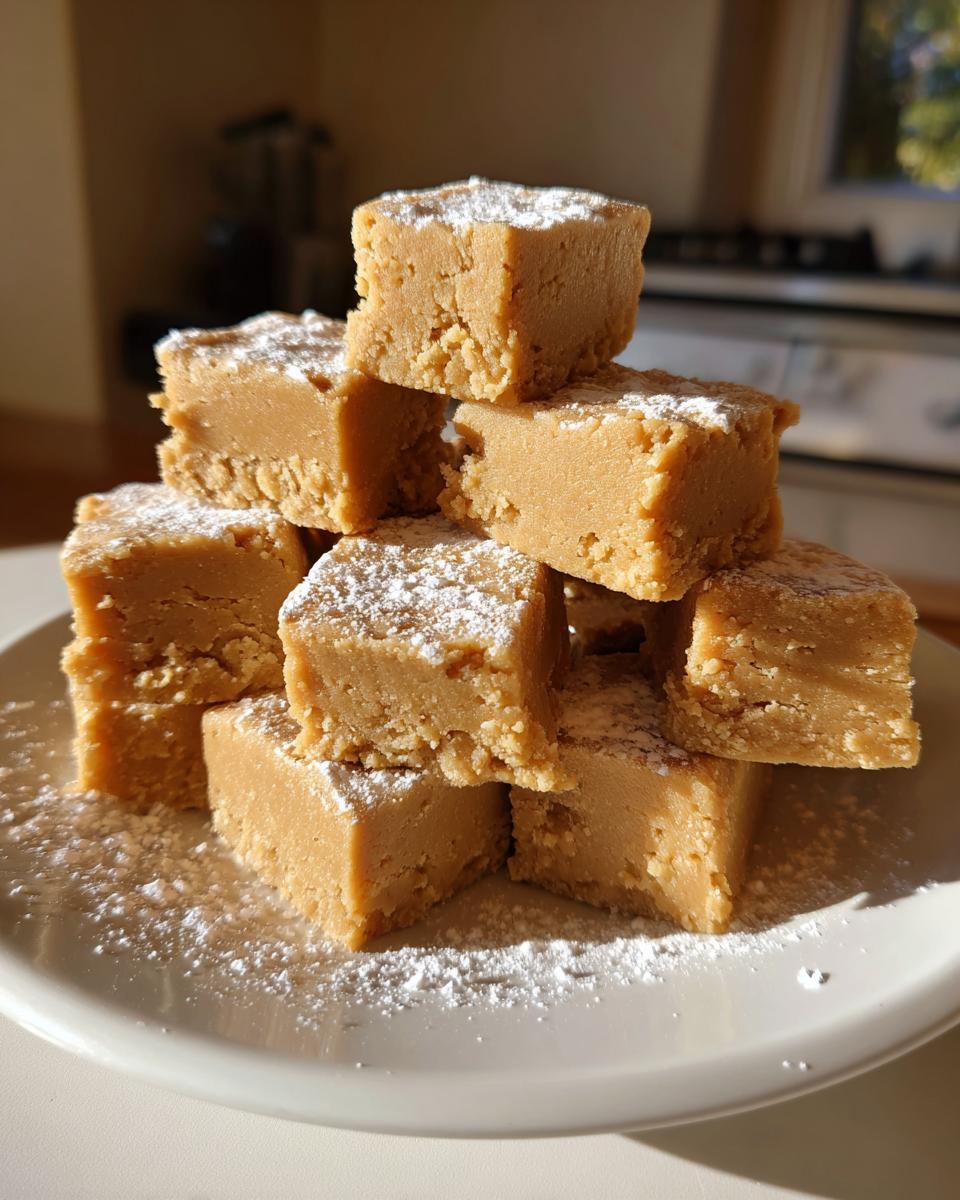
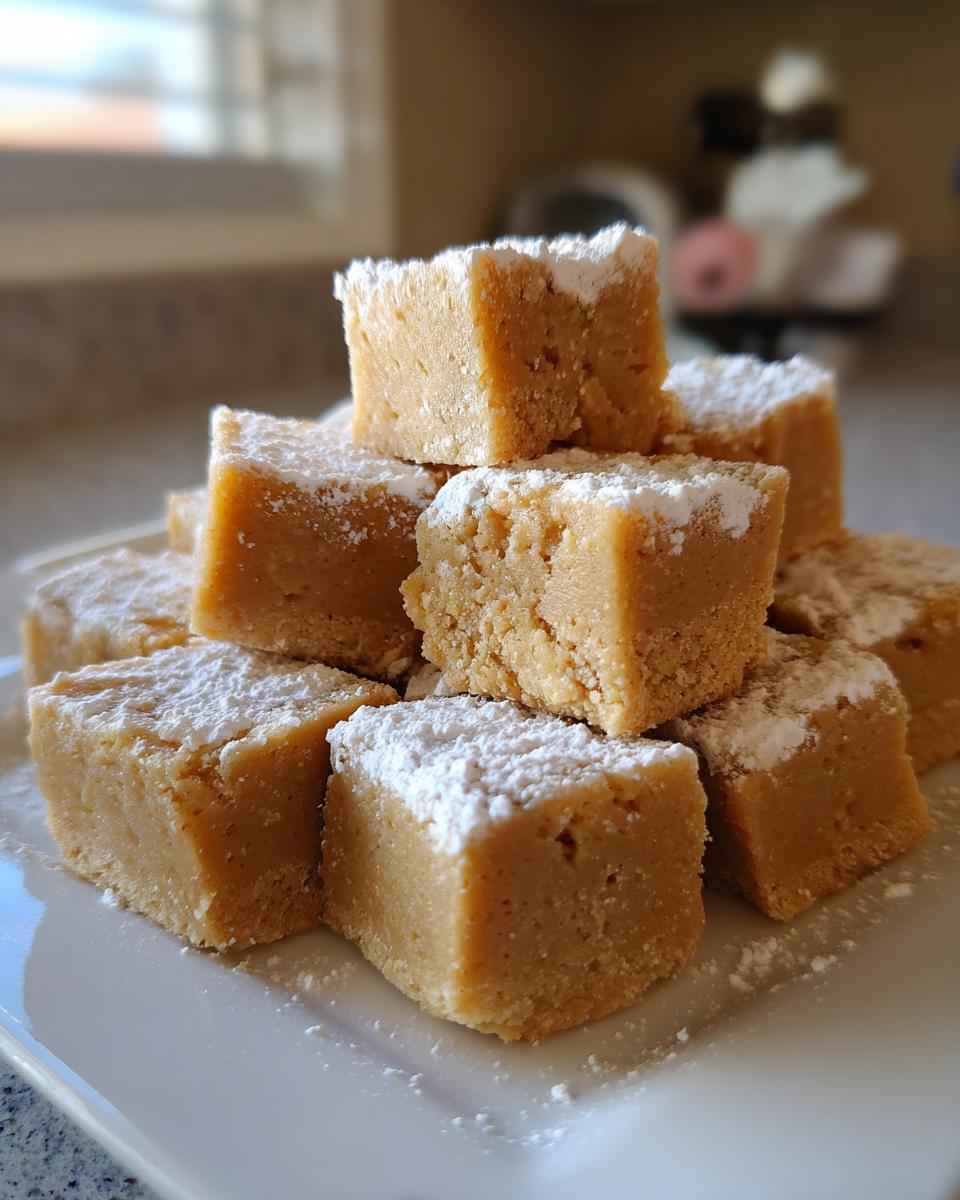
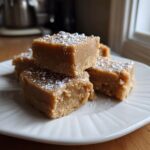
Once you have that perfectly smooth, soft-brown creation set up in your square pan, the next fun part is deciding how to serve it! This **vanilla fudge** has such a distinct, comforting flavor—that warm, deep sweetness from the brown sugar—that it really shines on its own. It’s rich, so you don’t need much, which is perfect for satisfying those sweet cravings without feeling heavy.
For the absolute best way to enjoy your **Penuche Fudge**, keep it simple. A small square on a plain white plate lets that beautiful caramel color do all the talking. It’s divine with a cup of hot, black coffee; the slight bitterness of the coffee really complements the molasses notes in the fudge. Honestly, this is one of my favorite easy desserts to bring to a gathering because everyone stops and asks what it is. They expect chocolate, and then they get this creamy burst of brown sugar goodness!
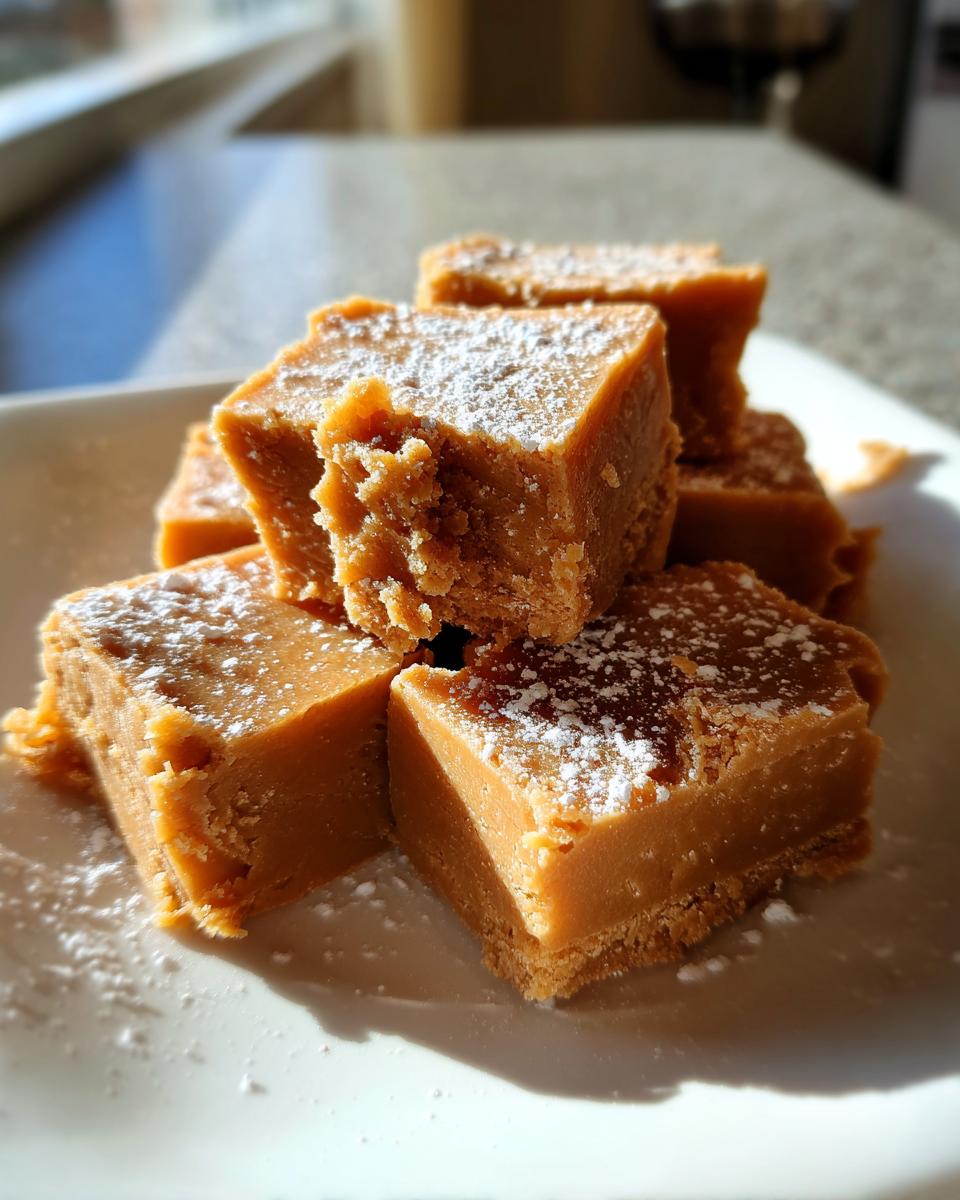
This fudge is a star player on any holiday candy tray, especially when you mix in those chopped pecans. Since it’s so distinctive, it stands out next to the bright reds and greens of other Christmas cookies. If you are putting together a treat box for neighbors or teachers, cut these squares a little smaller than you think you need to—they are surprisingly rich! And speaking of holiday baking, if you want something slightly tangy that cuts through the richness of the fudge, you absolutely have to try my recipe for cranberry sugar cookies. They make a wonderful counterpoint on the dessert table next to this rich **brown sugar fudge**.
Another way I sometimes serve it is slightly warmed—and I mean slightly, just for a second or two in the microwave—and topped with a tiny sprinkle of flaky sea salt. That salt just pops the sweetness and warms up the butter flavor just enough to make it feel incredibly decadent, perfect for a lazy Sunday dessert.
Storing and Keeping Penuche Fudge Fresh
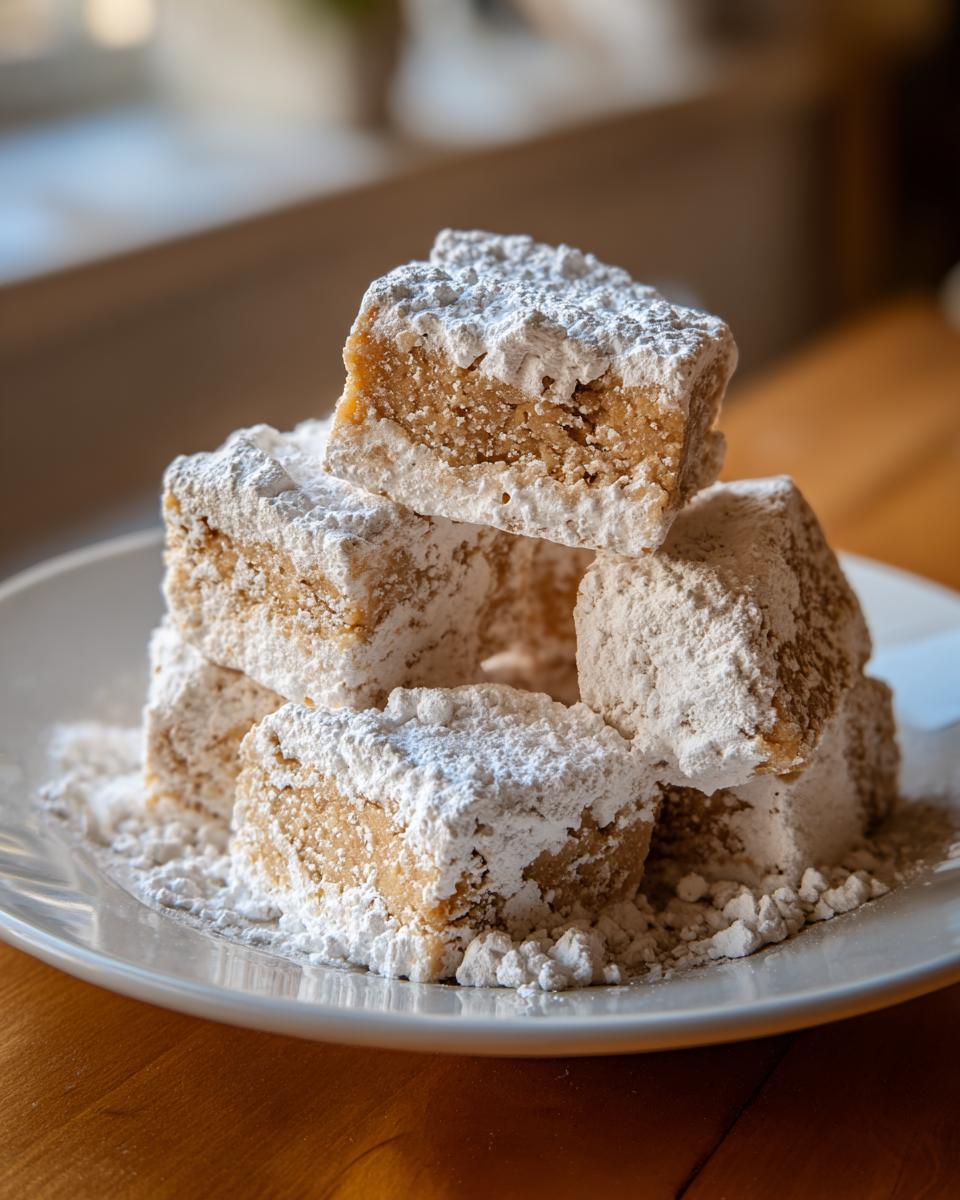
Now that you’ve got this perfect batch of **Penuche Fudge**, we need to keep it safe! Candy making is an investment of time, especially waiting for that cooling period, so we definitely don’t want it going stale or developing a weird texture on us. The great news about this traditional recipe is that it stores beautifully because of that high sugar content. Think of it like a preserved good!
For day-to-day snacking, I strongly recommend keeping your **Penuche Fudge** right on the counter at room temperature. I use an airtight container, of course. Wax paper or parchment paper between layers is a must to stop them from sticking together. If you stack them directly, you risk having them bond into one giant, brown sugar brick overnight!
If you’re making this ahead of time, maybe for a big holiday bake sale or gifts you want to stash away, you can absolutely refrigerate it. The cooler temperature will make the fudge firmer, which some people actually prefer! Just wrap those squares tightly—maybe in plastic wrap first, then into a container—so they don’t absorb any fridge odors. They should last really well in the fridge for up to three weeks, easily. When you pull them out, let them sit on the counter for about 30 minutes before serving so they soften up just a little bit back to that perfect, creamy melt-in-your-mouth texture.
What if you’ve had them too long or they’ve gotten a little dry? Don’t panic! You can gently refresh this **brown sugar fudge**. Pop a square or two onto a microwave-safe plate and hit it for just 5 second bursts. You’re not trying to melt it, just warm it enough to release some of that buttery flavor again. It brings it right back to life! This method works wonders, especially if you plan on using any leftovers as a *very* soft **fudge frosting ideas** topper—just a warm dab over a plain slice of plain cake or even toast!
Penuche Fudge Variations and Add-Ins
Part of the fun of an **old fashioned fudge recipe** like this is knowing that the base is so sturdy and flavorful that you can easily tweak it! While I absolutely adore this recipe pure and simple—that classic brown sugar note shines best on its own—I know you folks like to customize, and that’s great. Changing up the add-ins is a fantastic way to keep this **Penuche Fudge** interesting throughout the holidays.
The most popular variation I see people trying involves nuts. We already talked about tossing in pecans or walnuts during the cooling stage, which gives you a lovely crunch that contrasts beautifully with the soft texture. Just follow the instructions: stir them in right before you start beating the mixture vigorously. Since we are using quality ingredients, the nuts toast up ever so slightly as the fudge sets, enhancing that warm, buttery backdrop.
Now, let’s tackle the peanut butter question, because I see that popping up constantly! If you want to turn this into a sort of **butter pecan fudge** hybrid but with peanuts, you can do that! You can’t just dump peanut butter in while you are beating, though; it will mess up the temperature we worked so hard to achieve. You need to wait until the fudge has cooled down to that 110-degree mark, right before you add the vanilla.
At that cooling stage, you can gently melt about a half cup of creamy peanut butter separately—just a few seconds in the microwave—and then drizzle it in while you gently fold the mixture. Do not beat it hard if you add melted peanut butter; just fold it until you get those gorgeous swirls. This makes for a fantastic peanut butter swirl effect! For even more ideas on mixing things up, especially if you’re looking at making something with pecans, check out my recipe for gooey butter pecan cake—it involves similar comforting, rich flavors.
If you’re using peanut butter as a swirl, you might prefer to use less nuts, or skip them entirely, or vice versa. Remember that you can also turn this delicious base into a fantastic topping. While it won’t be a traditional **fudge frosting ideas** topping unless you keep it very soft and pliable, a slightly warmer batch of this **vanilla fudge** mixture is incredible spread over brownies or even plain yellow cake. For the absolute best guidance on adding peanut butter swirls specifically, I always point folks toward checking out how others handle it, like this helpful guide on adding pecans or peanut butter. It’s all about having fun with that incredible brown sugar foundation we established!
Frequently Asked Questions About Penuche Fudge
I always get a ton of questions once people realize how deceptively easy this candy can be! It’s natural to have a few queries when dealing with anything that requires reaching a specific temperature. Here are the ones I hear most often about mastering this **Penuche Fudge** recipe.
Can I make this Penuche Fudge without a candy thermometer?
Yes, you absolutely can, but you need to be mindful! This is the secret to pulling off an **old fashioned fudge recipe** when you’re missing that specific tool. Instead of relying on the thermometer reading of 234°F, you’ll use the cold water test. Right around the time you *think* it should be done, drop a small teaspoon of the hot syrup into a glass of ice-cold water. If you take that syrup out of the water and you can roll it between your fingers into a soft, pliable ball that squishes slightly when you press it, you’ve hit the soft-ball stage and it’s ready! If it stays liquid or forms a hard, brittle shape, it needs more cooking time. It takes practice, but it’s a core skill in **retro candy making**!
Is Penuche Fudge the same as vanilla fudge?
That’s a great clarification! Think of it this way: Penuche is a *type* of **vanilla fudge**, but not all vanilla fudge is Penuche. The defining characteristic of Penuche is that primary flavor—it has to be made primarily with brown sugar, which gives it that signature deep, slightly molasses-y, caramel flavor. If you used only white granulated sugar and vanilla, you’d have a different kind of simple fudge, occasionally called ‘White Fudge’ or ‘Vanilla Fudge.’ So, while ours has vanilla, the essential brown sugar base makes it Penuche!
Is this considered a no bake fudge recipe?
It’s a bit of a gray area, but generally, no, this one requires cooking. A true **no bake fudge** usually relies on ingredients like melted chocolate chips combined with sweetened condensed milk or something similar that sets up firmly in the fridge without heat. Since our **Penuche Fudge** requires boiling the sugar and milk mixture up to the soft-ball stage (234°F) and then beating it, it definitely requires stovetop cooking time. Don’t let that scare you, though—the actual prep time is incredibly short!
What if my fudge sets up too hard while cooling?
Oh, that happens to the best of us! If you check the bottom of the pan and it’s already cool to the touch, but you haven’t beaten it yet, and it feels like concrete, don’t worry. Grab that saucepan, set it on the lowest heat setting, and gently warm it again, stirring constantly until it softens back up to that warm-to-the-touch stage (around 110°F). Then, pull it off the heat, add your vanilla, and beat it vigorously until it loses that shine and thickens up. You might lose a tiny bit of the loftiness, but you save the batch!
Estimated Nutritional Data for Penuche Fudge
I always love sharing this information because it helps you plan if you’re serving this **Penuche Fudge** on a big holiday tray or just sneaking a piece late at night! Remember, this is an old-fashioned candy recipe, so it is going to lean toward the sweeter side, naturally, since that brown sugar is the star of the show along with the butter.
These numbers are based on dividing the recipe into 36 small squares, which is how I traditionally cut mine. But please keep in mind that this is just an estimate! How long you cook it, the exact brand of milk you use, and even the size of those pecan pieces you toss in can change the final count slightly. We always aim for accuracy here at Taste This Plate, but candy making has a few variables!
Here is the estimated breakdown per square of homemade **brown sugar fudge**:
- Serving Size: 1 square
- Calories: 150
- Sugar: 28g
- Sodium: 30mg
- Fat: 4g
- Saturated Fat: 2.5g
- Unsaturated Fat: 1.5g
- Trans Fat: 0g
- Carbohydrates: 29g
- Fiber: 0g
- Protein: 1g
- Cholesterol: 10mg
See? Pretty straightforward—mostly sugar and fat because that’s what makes it taste like heavenly **easy homemade candy**! If you are concerned about any specific dietary aspects, especially the sugar content, just remember you can serve these squares smaller. A half-square satisfies that craving perfectly!
Share Your Experience Making This Penuche Fudge
Alright, now that you’ve conquered the science of candy making and created your very own batch of beautiful, creamy **Penuche Fudge**, I really want to hear about it! This community thrives on sharing successes, tips, and even the occasional wobble we all encounter in the kitchen. Did you nail that soft-ball stage on the first try? Are you drooling over how perfectly smooth your **brown sugar fudge** turned out?
Please take a moment to leave a rating for the recipe down below—five stars if it blew your mind! And share any little wins you had in your comments. Did you use pecans? Did you struggle with the cooling temperature? Hearing what worked for you helps the next person who is nervous about trying this **old fashioned fudge recipe** for the first time.
Honestly, seeing your photos is the absolute best part of my day. If you made these gorgeous squares, snap a picture and tag us online! It means the world to me and Kate to see that our tested, simple recipe made it into your home and contributed to your sweet memories. Happy making, and I can’t wait to read your feedback on this absolutely irresistible **vanilla fudge**.
PrintOld-Fashioned Penuche Fudge with Brown Sugar
Make classic, creamy Penuche Fudge using simple ingredients like brown sugar and butter. This old-fashioned candy recipe results in a smooth, sweet dessert perfect for holidays or everyday treats.
- Prep Time: 15 min
- Cook Time: 20 min
- Total Time: 35 min
- Yield: About 36 small squares 1x
- Category: Dessert
- Method: Stovetop Cooking
- Cuisine: American
- Diet: Vegetarian
Ingredients
- 2 cups granulated sugar
- 1 cup packed light brown sugar
- 1 cup whole milk
- 2 tablespoons butter
- 1 teaspoon vanilla extract
- Pinch of salt
- Optional: 1 cup chopped pecans or walnuts
Instructions
- Line an 8×8 inch baking pan with parchment paper, leaving an overhang for easy removal. Lightly grease the paper.
- Combine the granulated sugar, brown sugar, milk, and butter in a heavy-bottomed saucepan.
- Stir the mixture constantly over medium heat until the sugar and butter dissolve and the mixture just begins to boil.
- Stop stirring once it boils. Insert a candy thermometer.
- Cook the mixture without stirring until it reaches 234 degrees Fahrenheit (soft-ball stage). This usually takes about 10 to 15 minutes.
- Remove the pan from the heat immediately. Do not scrape the sides of the pan.
- Let the mixture cool undisturbed until it reaches 110 degrees Fahrenheit on the thermometer, or until the bottom of the pan feels warm, not hot, to your hand. This cooling step is important for texture.
- Add the vanilla extract and salt. If using nuts, stir them in now.
- Begin beating the mixture vigorously with a wooden spoon or an electric mixer on low speed. Continue beating until the fudge loses its glossy shine and becomes dull and thick enough to hold its shape. This takes about 5 to 10 minutes.
- Quickly pour the thickened fudge into the prepared pan. Do not spread or press it down.
- Let the fudge set completely at room temperature for several hours, or until firm.
- Lift the fudge out using the parchment overhang, cut into squares, and serve.
Notes
- For the smoothest texture, avoid stirring the sugar mixture while it is boiling to prevent sugar crystals from forming on the sides of the pan.
- If you do not have a candy thermometer, test for the soft-ball stage by dropping a small amount of syrup into cold water; it should form a soft, pliable ball.
- If the fudge becomes too hard to beat, gently reheat it slightly on the stove, stirring until it softens, then cool again before beating.
Nutrition
- Serving Size: 1 square
- Calories: 150
- Sugar: 28g
- Sodium: 30mg
- Fat: 4g
- Saturated Fat: 2.5g
- Unsaturated Fat: 1.5g
- Trans Fat: 0g
- Carbohydrates: 29g
- Fiber: 0g
- Protein: 1g
- Cholesterol: 10mg