
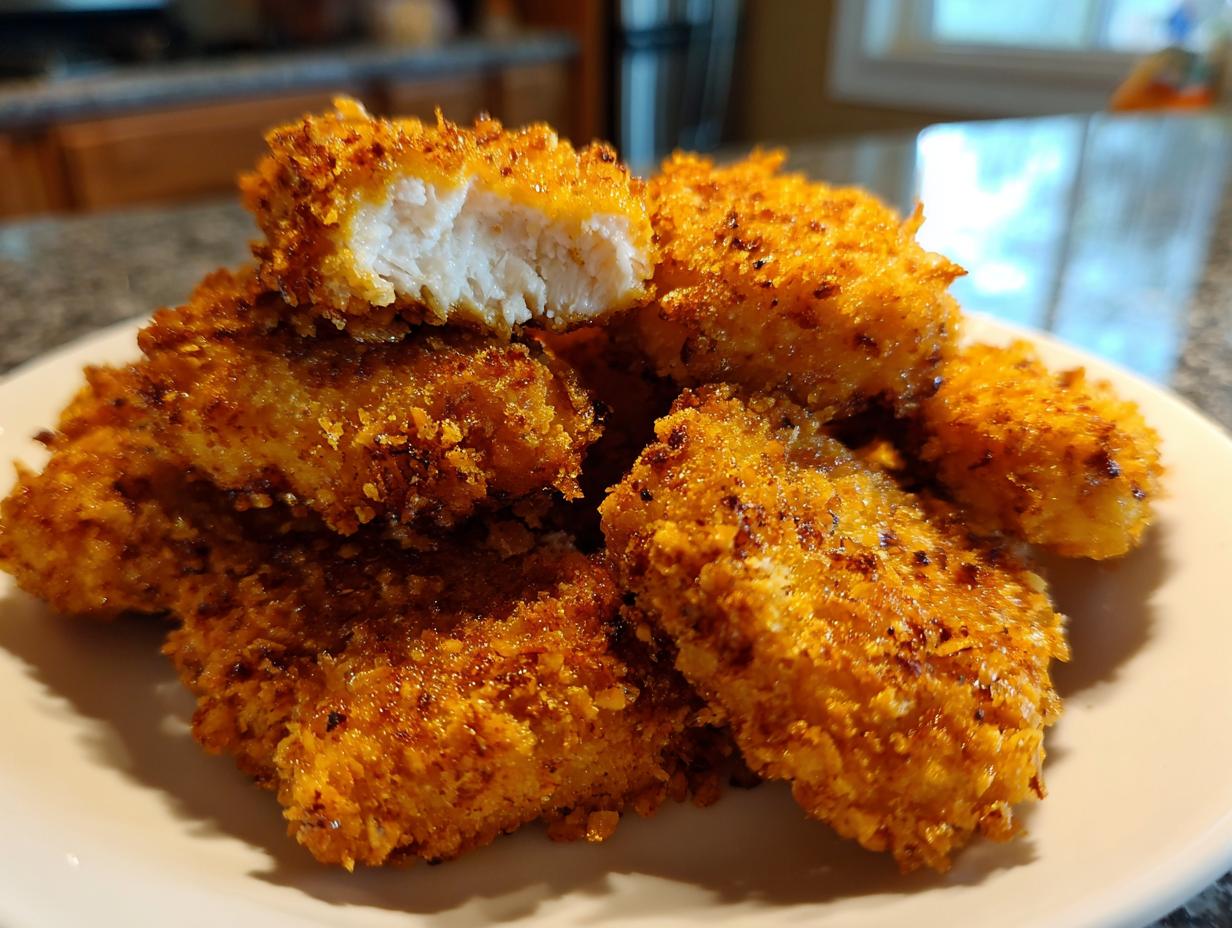
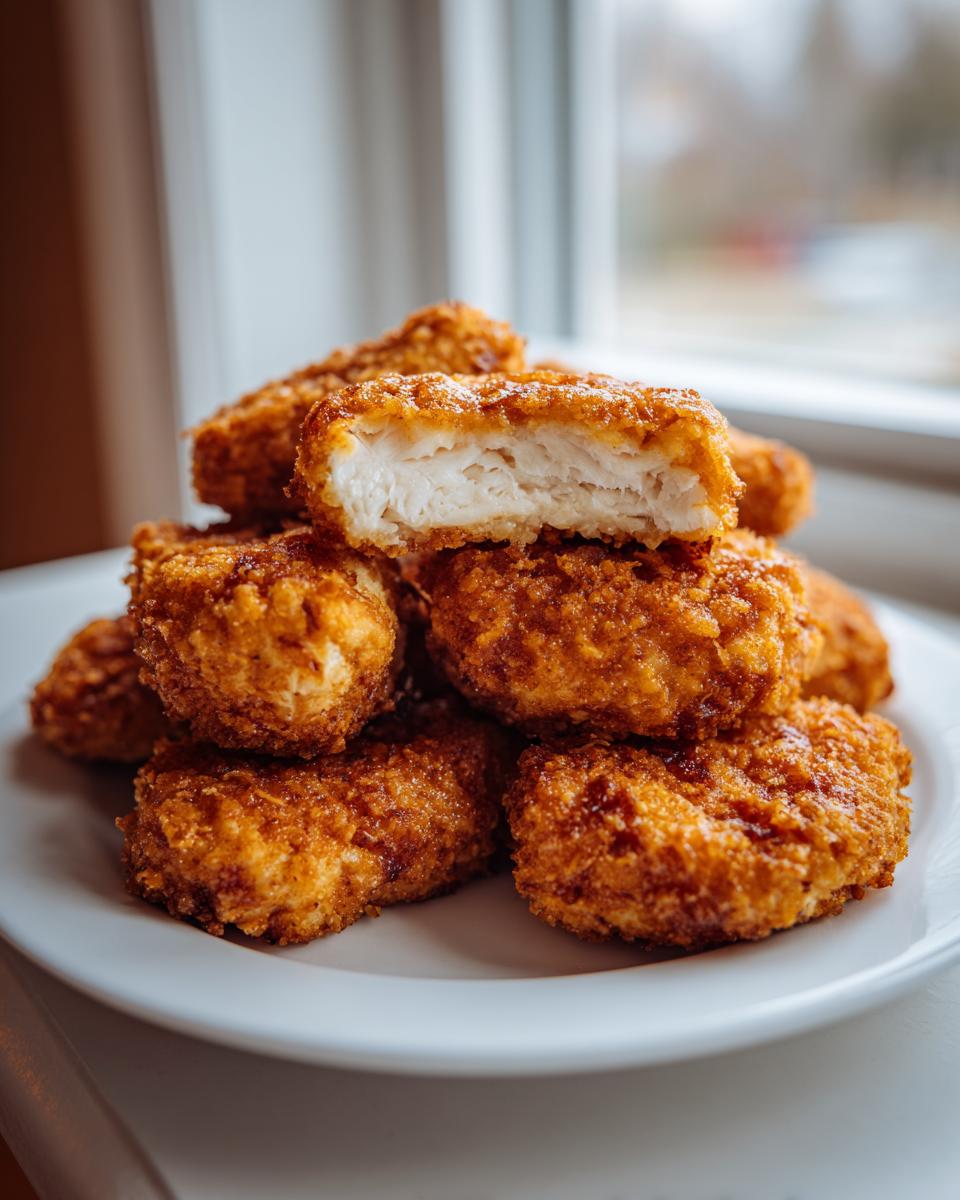
Oh, the eternal struggle! You want that perfect crunch that only deep-fried delights usually deliver, but you absolutely do not want to deal with gallons of oil splattering all over your stovetop. I totally get it. Food should bring joy, not a major clean-up session afterward! That’s why I spent ages tinkering until I landed on what I absolutely stand by: **The Best Crispy Baked Homemade Chicken Nuggets**.
When I think about the meals I cherish most, they are the simple ones—the ones we eat together without stress. These homemade chicken nuggets are exactly that: simple, trustworthy, and made with real ingredients you feel great serving. Forget dry, sad freezer versions. We are aiming for golden, perfectly seasoned, and impossibly juicy on the inside, all thanks to a clever baking trick. Trust me on this; these are going to become your new weeknight hero for any appetizers or snacks rotation.
- Why You Will Love These Crispy Homemade Chicken Nuggets
- The Essential Ingredients for Perfect Homemade Chicken Nuggets
- Setting Up Your Breading Station for Homemade Chicken Nuggets
- Step-by-Step Instructions for Crispy Baked Homemade Chicken Nuggets
- Tips for the Best Homemade Chicken Nuggets Every Time
- Serving Suggestions for Your Homemade Chicken Nuggets Recipe
- Storing and Reheating Homemade Chicken Nuggets
- Frequently Asked Questions About Homemade Chicken Nuggets
- Share Your Best Homemade Chicken Nuggets Experience
Why You Will Love These Crispy Homemade Chicken Nuggets
Honestly, I developed this recipe because I needed a chicken nugget that my picky eaters would devour *and* that I wouldn’t feel guilty about serving before 6 p.m. It checks all the boxes, which is why I’m so excited for you to try it. Here’s what makes this recipe a total winner for our family’s main dishes.
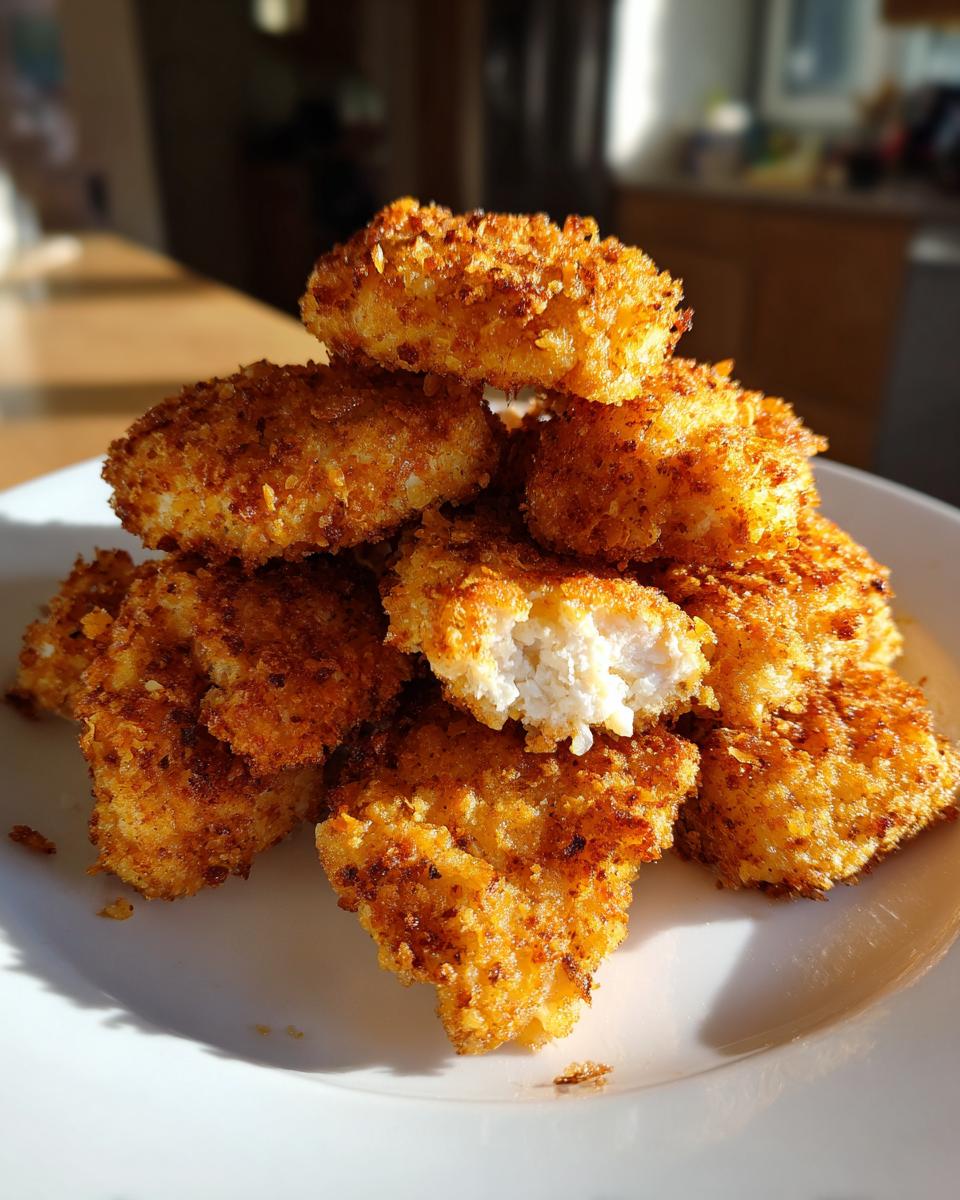
- Incredible Crunch Without the Fryer: This is my favorite part! We use Panko breadcrumbs, and when combined with a good spray of oil and the right oven temperature, you get that satisfying shattering crunch that rivals takeout. No greasy clean-up needed!
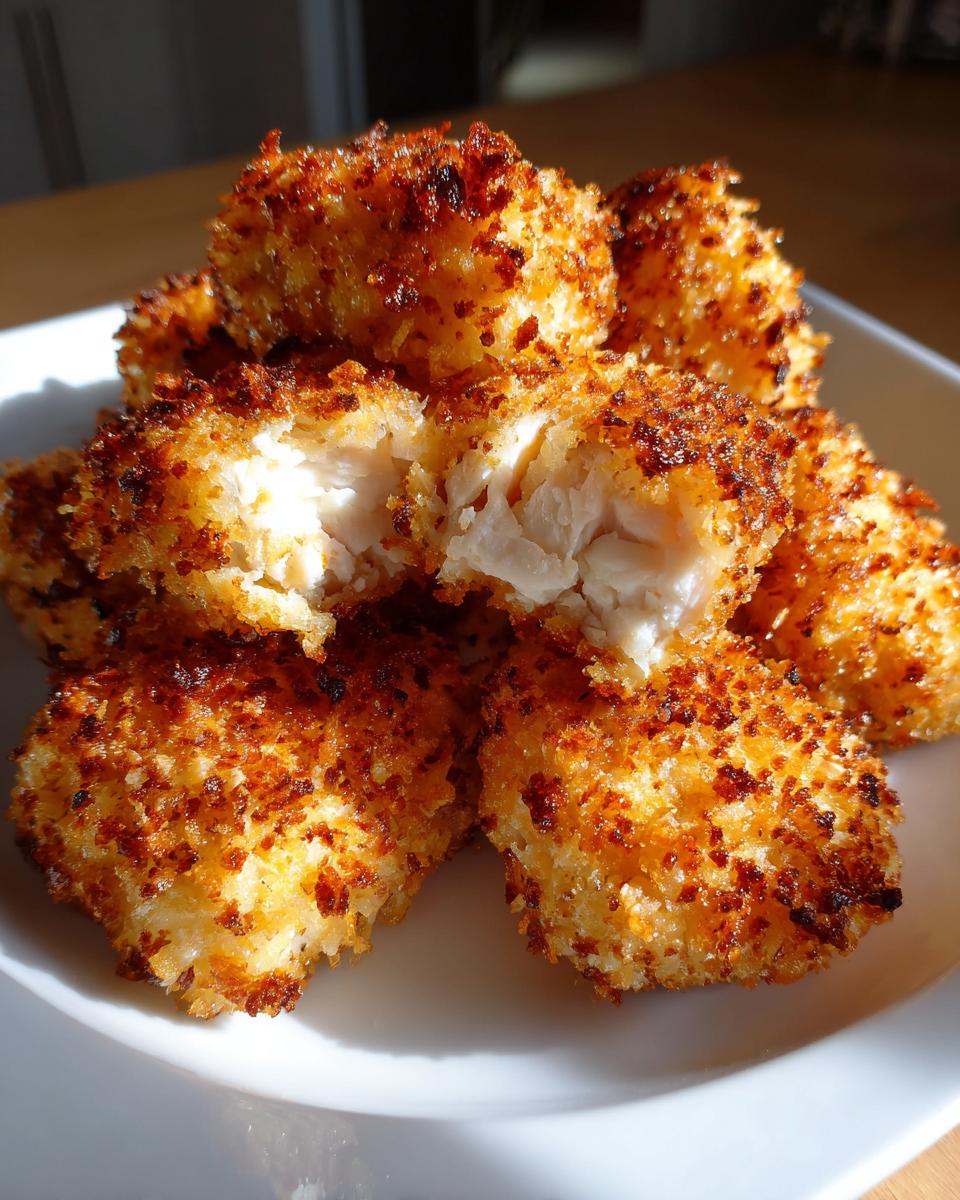
- Juicy, Never Dry Chicken: I know that’s always the worry with homemade breast meat, but we have secrets built right into the method that lock in moisture. They stay delightfully tender even when they cool down a touch.
- Lightning Fast for Weeknights: From thinking about making nuggets to having them on the table takes about 35 minutes total. That’s essential for any busy weeknight when you need a quick chicken dinner solution.
- Totally Kid-Friendly (and Toddler Approved!): My little ones stand right by the cooling rack waiting for these. They are customizable, easy to dip, and the perfect size for little hands learning to feed themselves.
- Healthier Than Takeout, Guaranteed: You control every single ingredient that goes into the coating and the chicken itself. It’s simple comfort food made with real care.
The Essential Ingredients for Perfect Homemade Chicken Nuggets
Part of my food philosophy here at Taste This Plate is using accessible ingredients, but knowing which ones matter is key. For these **homemade chicken nuggets**, we’re keeping the list simple, which is why they work so well for a quick dinner. You’ll need chicken breast, your standard breading powders (flour, egg wash), and the coating star: Panko breadcrumbs.
Why Panko? This is where we nail that authentic, shatteringly crisp texture without deep frying. Panko uses larger, airy flakes, which absorb less moisture and brown up beautifully in the oven. It’s the secret weapon for amazing **crispy chicken nuggets**!
Ingredient Notes and Substitution Tips
Let’s talk about keeping that chicken breast tender. If you have an extra 30 minutes, please listen to me: soak your cut chicken pieces in about a quarter cup of pickle juice before you even season them. It sounds strange, I know, but that brine tenderizes the meat beautifully and guarantees those **juicy chicken nuggets** we are aiming for. It’s a non-negotiable step in my book!
Now, if you are short on time or prefer using ground meat, that’s completely fine, too! If you opt for **ground chicken nuggets**, just pulse your chicken in a food processor until it’s coarsely ground—think texture, not paste. Then, form those into little shapes and proceed right along with the breading process. It makes for a slightly different texture, but it’s still delicious comfort food!
Setting Up Your Breading Station for Homemade Chicken Nuggets
Okay, this is where the magic (and the mess, if you aren’t careful!) happens. To make sure your coating sticks perfectly and you get those gorgeous, shatteringly crisp bites every single time you make **homemade chicken nuggets**, you absolutely need a proper breading station. Think assembly line cooking—it keeps everything orderly and ensures every piece gets fully coated.
You need three shallow dishes, and they must be set up in the correct order. First dish: the flour. This is where the chicken dries off the initial moisture so the egg wash has something to grab onto. Second dish: the egg wash—just egg and a splash of water, whisked well. This is our sticky glue. Third dish? Our star player: the Panko breadcrumbs.
The most critical step here is in that third dish. Once you dip your floured, egg-washed chicken into the Panko, do not just lightly toss it! You need to use your hands—wash them first, of course—and press that Panko onto the chicken piece firmly from all sides. Really hug that breading onto there. This ensures maximum crispiness when baking and stops the coating from magically falling off when you move the nugget to the tray. It takes an extra second per nugget, but I promise, seeing the difference in the finished product is worth the effort!
Step-by-Step Instructions for Crispy Baked Homemade Chicken Nuggets
Now that our breading station is looking professional and ready for action, let’s make some delicious **homemade chicken nuggets**! It moves fast once you get into the rhythm of dredging. First things first: turn your oven on! We need that 400°F heat ready to go, and make sure you’ve lined your baking sheet with parchment paper. This is cheating just a little, but trust me, clean-up is half the battle won!
Start by taking your seasoned chicken pieces—did you soak them in pickle juice? Good!—and follow that breading line we just set up. Dredge thoroughly in the flour first, making sure it’s fully covered. Next, dip it into that egg wash, letting the extra drip off the bottom. Then, the very important step: press it hard into the Panko breadcrumbs! You want these crumbs glued on tight.
Place the coated nugget onto your prepared sheet. Repeat this process until your tray is full, but please don’t let them touch! Give them a little space. Here’s a tip I learned the hard way: you must spray or brush the tops lightly with oil before they go in. This is what helps them brown nicely; otherwise, they look a little pale.
Into the hot oven they go for about 15 to 20 minutes. But wait, don’t walk away! About halfway through, you need to flip every single nugget over. This ensures that both sides get that amazing crunch. If you want my advice on perfect cooking, check out how I handle a similar method for my lemon pepper chicken thighs—the timing principles are similar!
Achieving Golden Brown Perfection in the Oven
That spraying step I mentioned? That’s crucial for getting those beautiful **baked chicken nuggets** that look fried without the actual frying! That little bit of added fat on the outside is what makes the Panko toast up golden and crispy, not just dry and pale. You’re looking for a deep, appealing brown color.
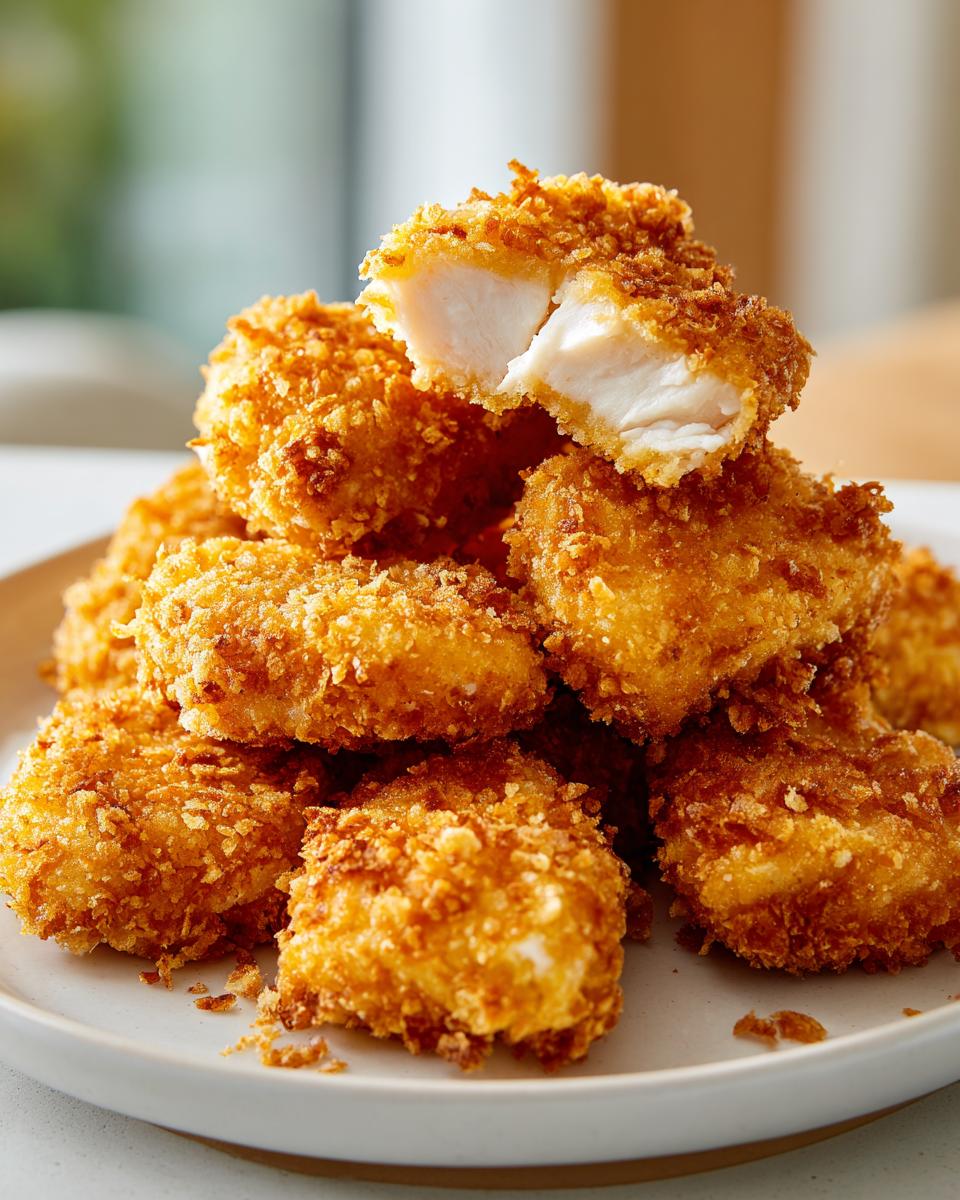
But color isn’t everything; we need to make sure they are cooked through and safe. This is where we rely on temperature, not just guesswork. Always, always check the internal temperature with a meat thermometer if you have one. For chicken, we stop cooking only when it hits 165°F (74°C) right in the center. This guarantees you aren’t serving anything undercooked, and since we are baking breasts, hitting that perfect temperature ensures the meat is safe yet hasn’t dried out from sitting in the heat too long. It’s how you build confidence in your cooking!
Tips for the Best Homemade Chicken Nuggets Every Time
You’ve got the technique down, but trust me, a few small habits can take these **homemade chicken nuggets** from great to legendary. When I’m batch-cooking these for the week, I stick to a few non-negotiable guidelines. This is the stuff they don’t always put in the recipe card, but it’s what makes the difference between a good batch and the best batch!
First up: uniformity! If you cut your chicken pieces randomly, some will be tiny and dry out before the big thick ones are even done! Try to keep all your 1-inch pieces as close to the same size as possible. This ensures even cooking, which means every single one of those **crispy chicken nuggets** reaches that perfect internal temp safely at the same time. Consistency is flavor, I always say!
Second tip for crispiness: keep things cold! This might sound odd, but if your chicken pieces are super cold when they hit the breading station, they hold up to the flour and egg wash much better. Cold chicken hitting hot air in the oven creates fantastic results. If you’re making a huge batch, try breading just a few pieces, placing them on the tray, chilling the tray in the fridge for ten minutes, and then spraying them and baking. That little chill time helps the coating set perfectly!
And please, please, please do not overcrowd your baking sheet. I know it’s tempting when you have a lot of nuggets to cook, but if they are touching, they actually start steaming each other instead of baking. They end up soft on the sides instead of getting that beautiful, all-around Panko crunch. If you have to bake in two batches, trust me, it’s better than trying to cram them all onto one tray! If you prefer sticking with an air fryer for maximum speed, I’ve got a little advice over here on my air fryer chicken wings recipe that can easily be adapted here! Just pop them in at 380°F for about 10 to 12 minutes, flipping halfway, and you’re golden!
Serving Suggestions for Your Homemade Chicken Nuggets Recipe
Now that you have this basket of perfectly crunchy, juicy goodness, the real fun begins: deciding what to serve them with! Since these are destined to be a huge hit for any **kid friendly dinner**, I always focus on sides that are just as easy for me but feel like a real treat for them.
Dipping sauces are non-negotiable, of course. My crew demands ketchup, obviously, but I always try to sneak in something homemade, like a quick honey-mustard or a creamy ranch dip. Keep a few options out—it lets everyone customize their plate!
For an easy, balanced meal that doesn’t take forever, pairing these with vegetables is the way to go. Roasted broccoli or steamed green beans dusted with a little garlic powder work beautifully and cook right alongside the nuggets if you time it smartly. But honestly, nothing beats pairing these with some great potatoes!
If you happen to be making my recipe for crispy potato wedges, you can toss those in the oven right after the first batch of nuggets is done—they use the same high heat and will be ready just in time. Suddenly, you’ve gone from no dinner plan to a fully satisfying, comforting meal faster than you can pick up takeout!
For the lighter days, a simple side salad where the dressing is just lemon juice and olive oil works perfectly to cut through the richness of the coating. The goal here is to make the meal feel complete without adding complexity to your cooking time. We want happy bellies and clean counters!
Storing and Reheating Homemade Chicken Nuggets
What do you do when you miraculously have leftover **homemade chicken nuggets**? Well, first, I’m impressed! I rarely manage to save any, but when I do, I treat those golden guys with extreme care so they taste nearly as good the next day. The absolute most important rule here is—do NOT use your microwave if you care about texture!
When you microwave that crispy coating, it steams, and you instantly lose everything we worked so hard for during the breading process. That beautiful crunch turns into something… sad. We are aiming for crispy perfection again, so we need dry heat for reheating.
The best way to bring these back to life is either in a toaster oven or, even better, the air fryer. If you use the toaster oven, preheat it to about 375°F (190°C) and lay the nuggets on a wire rack over a small baking sheet if you have one—this helps air circulate underneath. Pop them in for about 5 to 8 minutes until they are heated through and the crust is crisp again. If you use the air fryer settings that we talked about earlier, just set it to around 350°F (175°C) for only 4 or 5 minutes. They come out absolutely stellar!
If you are saving them for later in the week, make sure they cool completely on a wire rack first before storing. Storing warm food traps steam, which makes the breading soggy right away. Once completely cool, seal them up in an airtight container—plastic or glass works fine—and they will keep happily in the fridge for three to four days. Enjoy those delicious **homemade chicken nuggets** again soon!
Frequently Asked Questions About Homemade Chicken Nuggets
I know sometimes you have specific needs or dietary questions when you’re trying out a new recipe, especially for something as beloved as a solid, **from scratch chicken nugget**. Because we want these to work for *your* family, I wanted to quickly address the most common things people ask me after they save this **Homemade Chicken Nuggets Recipe**!
Can I make these Healthy Chicken Nuggets using air fryer?
Oh, you absolutely can! If you have an air fryer, you basically have my permission to skip the regular oven entirely, although both methods are fantastic for making **healthy chicken nuggets** compared to deep-frying. For perfect results and that golden, crispy exterior, set your air fryer to 380°F (195°C). You’ll need to cook them for about 10 to 12 minutes total, but make sure you remember to pull the basket out halfway through and flip every nugget. That ensures they get nicely browned on both sides!
What is the secret to making sure my homemade chicken nuggets stay juicy?
That is the million-dollar question for any recipe using chicken breast! We covered the top secret weapon already, but to reassure you: the absolute best trick is that quick 30-minute soak in pickle juice before seasoning. It’s a brine that works magic on the meat, keeping it super moist. If you skip that, then the *next* secret is simple timing. Don’t walk away from the oven! As soon as they hit that 165°F internal temperature, pull them out immediately. Overcooking is the quickest way to turn a perfectly juicy nugget into a chewy one.
We want these to be the star of your next quick meal, like maybe alongside this amazing chicken bacon ranch casserole sometime soon! If you still have questions, drop them below!
Share Your Best Homemade Chicken Nuggets Experience
That’s it, friend! We’ve done the work, we’ve mastered the breading station, and now you have the blueprint for making truly exceptional **homemade chicken nuggets** right in your own oven. I hope you feel empowered and excited to swap out the drive-thru for something made with love right here in your kitchen.
Now comes the part I truly look forward to—hearing from you! Did you soak them in pickle juice? Did Panko prove to be your new best friend? I want to know every detail about how these turned out for your family’s next quick chicken dinner adventure.
Please take a moment to leave a star rating right down below the recipe card. That little rating helps other cooks who are looking for a trustworthy, crispy recipe feel confident trying this out for themselves. And if you snap a picture while you’re dipping and devouring, tag me on social media! I always love seeing your beautiful home cooking pop up on my feed.
If this recipe worked for you, I hope you’ll stick around Taste This Plate! We have so many simple, crowd-pleasing recipes waiting for you. If you want to see more ideas on making classic comfort food better, check out some other favorites over here. Happy cooking, and thank you so much for inviting this recipe into your kitchen!
PrintThe Best Crispy Baked Homemade Chicken Nuggets
Make crispy, juicy homemade chicken nuggets without deep frying. This simple baked recipe uses Panko breadcrumbs for a crunch everyone loves, making it a perfect, quick family dinner.
- Prep Time: 15 min
- Cook Time: 20 min
- Total Time: 35 min
- Yield: 4 servings 1x
- Category: Dinner
- Method: Baking
- Cuisine: American
- Diet: Low Fat
Ingredients
- 1.5 lbs boneless, skinless chicken breast, cut into 1-inch pieces
- 1 teaspoon salt
- 1/2 teaspoon black pepper
- 1/2 teaspoon garlic powder
- 1/4 teaspoon paprika
- 1 large egg
- 1 tablespoon water
- 1 cup all-purpose flour
- 1.5 cups Panko breadcrumbs
- Cooking spray or 2 tablespoons olive oil for brushing
Instructions
- Preheat your oven to 400°F (200°C). Line a baking sheet with parchment paper and lightly spray with cooking spray.
- In a medium bowl, combine the chicken pieces with salt, pepper, garlic powder, and paprika. Toss to coat evenly.
- Set up a standard breading station with three shallow dishes. Place the flour in the first dish.
- In the second dish, whisk together the egg and water until combined. This is your egg wash.
- Place the Panko breadcrumbs in the third dish.
- Take one piece of seasoned chicken and dredge it thoroughly in the flour, shaking off any excess.
- Dip the floured chicken piece into the egg wash, letting excess drip off.
- Press the chicken piece firmly into the Panko breadcrumbs, coating all sides completely. This step is key for maximum crispiness.
- Place the coated nugget on the prepared baking sheet. Repeat with all remaining chicken pieces.
- Lightly spray the tops of the coated nuggets generously with cooking spray or brush lightly with olive oil. This helps them brown evenly.
- Bake for 15 to 20 minutes, flipping the nuggets halfway through the cooking time. They are done when they are golden brown and the internal temperature reaches 165°F (74°C).
- Serve immediately with your favorite dipping sauces for a quick chicken dinner.
Notes
- For extra flavor, you can marinate the chicken pieces in 1/4 cup of pickle juice for 30 minutes before seasoning. This helps keep the chicken juicy.
- If you prefer an air fryer, cook the nuggets at 380°F (195°C) for 10 to 12 minutes, flipping halfway, until golden and crisp.
- To make these ground chicken nuggets, pulse the chicken breast in a food processor until coarsely ground, form into small shapes, and then proceed with the breading steps.
Nutrition
- Serving Size: 6 nuggets
- Calories: 280
- Sugar: 1
- Sodium: 350
- Fat: 8
- Saturated Fat: 2
- Unsaturated Fat: 6
- Trans Fat: 0
- Carbohydrates: 18
- Fiber: 1
- Protein: 32
- Cholesterol: 85