

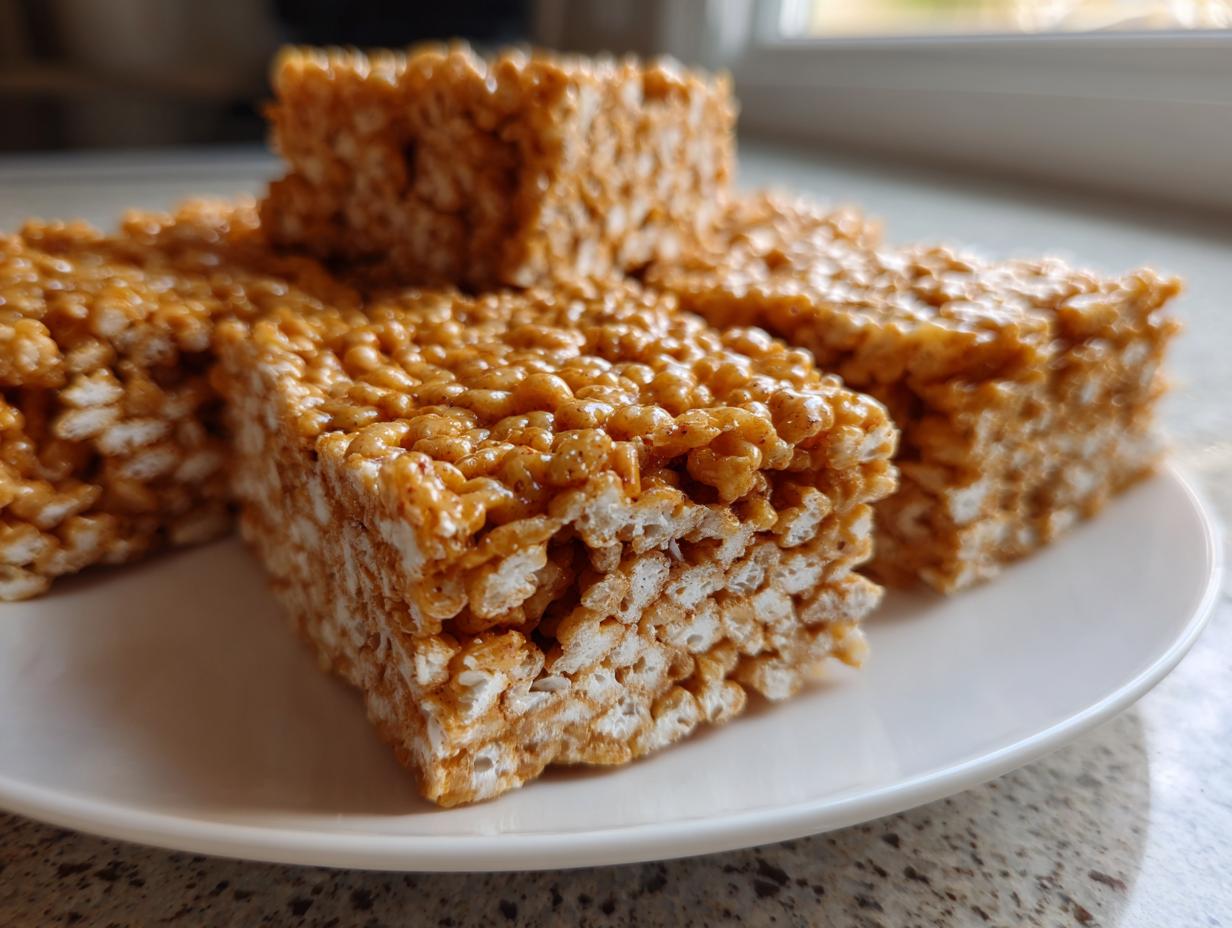
Oh, how I love the smell of melted marshmallows and the promise of something utterly nostalgic! In my world, the best food memories aren’t the complicated ones—they’re the simple, satisfying classics you can whip up when a craving hits hard. That’s why I spent so much time deconstructing the perfect version of the Rice Krispie treat for you. Trust me, these aren’t the dry, crumbly squares you sometimes end up with! We’re aiming for rich, gooey, and perfectly chewy. I’ve analyzed every step of the process to bring you what I genuinely believe are the best easy, chewy peanut butter rice krispie treats. They come together in minutes, proving that homemade love doesn’t need hours in the oven.
As I often say in my kitchen experiments back here at Taste This Plate, understanding the *why* behind a recipe makes all the difference. For these bars, the ‘why’ ensures that gorgeous, satisfyingly gooey texture that keeps everyone reaching for a second square. This recipe delivers that classic comfort flavor with the added depth of creamy peanut butter.
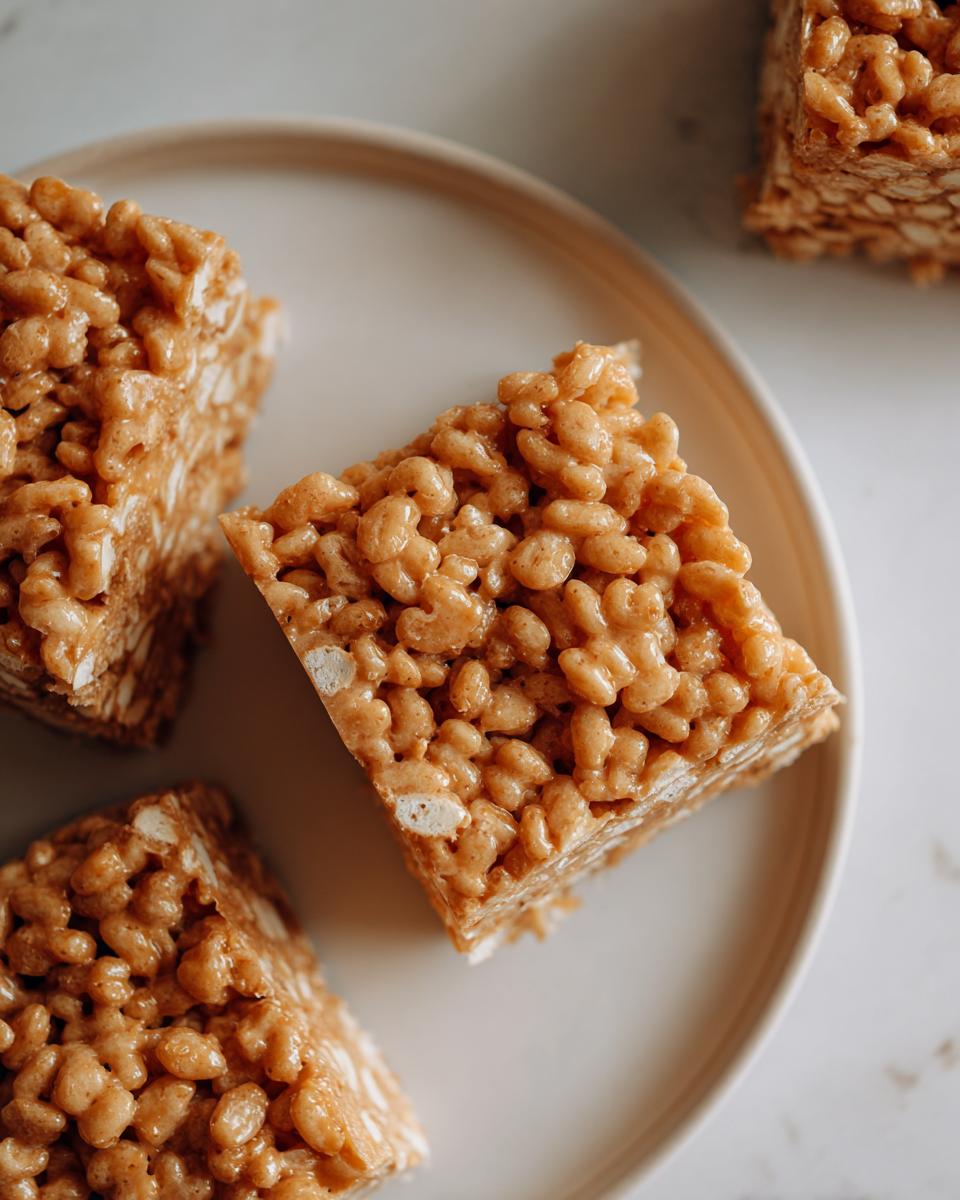
- Why You Will Love These peanut butter rice krispie treats
- Gathering Ingredients for Your peanut butter rice krispie treats
- Expert Tips for Gooey peanut butter rice krispie treats
- Step-by-Step Instructions for Chewy peanut butter rice krispie treats
- Variations on Classic peanut butter rice krispie treats
- Storing Your Chewy peanut butter cereal treats
- Frequently Asked Questions About peanut butter rice krispie squares
- Nutritional Estimates for peanut butter marshmallow treats
- Share Your Family Friendly Dessert Recipes
Why You Will Love These peanut butter rice krispie treats
I know you’re busy, so I designed these treats to be incredibly straightforward. They are the ultimate solution when you just need a sweet fix, fast!
Here is why these bars earn a permanent spot on my family’s dessert rotation:
Speed and Simplicity
These truly are a 15 Minute Peanut Butter Dessert. With just a few ingredients and no oven time required, you have an Easy No Bake Peanut Butter Dessert ready to impress. They are the perfect Quick Peanut Butter Snack when you need something right now.
Perfect Chewy Texture
Forget those hard-as-a-rock store-bought squares! My method guarantees a gooey Rice Krispie Bars Recipe that is soft, stretchy, and perfectly moist from edge to edge. No crumbling here, I promise!
Nostalgic Flavor
This combination brings me right back to my childhood. The salty, creamy peanut butter mixed into warm, sweet melted marshmallows is pure magic. If you love Nostalgic Childhood Treats, this upgraded classic is for you but it tastes way better now!
Gathering Ingredients for Your peanut butter rice krispie treats
Getting ready to mix is half the fun, and organization is key when working with melting marshmallows! You always want to measure everything out first so you can move quickly when the heat is on. This recipe keeps things super simple, which is why one of my favorite things about making these is just how accessible the list is.
Base peanut butter rice krispie treats Components
You’ll start by grabbing your butter—we need six tablespoons of it—and about one full cup of the creamy kind of peanut butter. Don’t try to use natural peanut butter here; it gets too oily! For the sticky stuff, make sure you use a whole standard 10 ounce package of miniature marshmallows. Then, of course, six cups of your crispy rice cereal are needed to give us that perfect puff.
Optional Chocolate Drizzle Ingredients
If you want to take these over the top into true indulgence territory, you’ll want some semi-sweet chocolate chips for melting right over the top. If you’re feeling really fancy and want to lean into that Scotcharoos Recipe Easy vibe, you can add butterscotch chips to that topping mix too. But honestly, just the chocolate alone is heavenly!
Expert Tips for Gooey peanut butter rice krispie treats
Okay, this is where the magic happens, and frankly, where most people mess up their Gooey Rice Krispie Bars Recipe! If you want those perfect, stretchy bites, you need to pay attention to heat and pressure. I borrowed a lot of notes from folks who really nail the texture, like the tips I found over at this great resource, because texture matters more than anything here.
The Marshmallow Melting Secret
The biggest mistake? Blasting the heat to melt those marshmallows quickly. You must keep the heat low—medium-low at most—when you combine the peanut butter and marshmallows, and I always pull the whole pan *off* the burner before adding the fluff. If you cook the marshmallows too much, they seize up, and your treats turn rock hard later. We want them soft and creamy, not browned at all!
Pressing for Chewiness
Once the cereal is folded in, it’s tempting to really smash the mixture into the pan to make them look neat. Don’t do it! Seriously, put the spatula down gently. Packing them down too firmly squeezes out all the air you spent making earlier, and that air is what gives you that delightful soft chew. You just want to gently spread them out so they are mostly level. Think of it as patting a baby, not tucking in a bed!
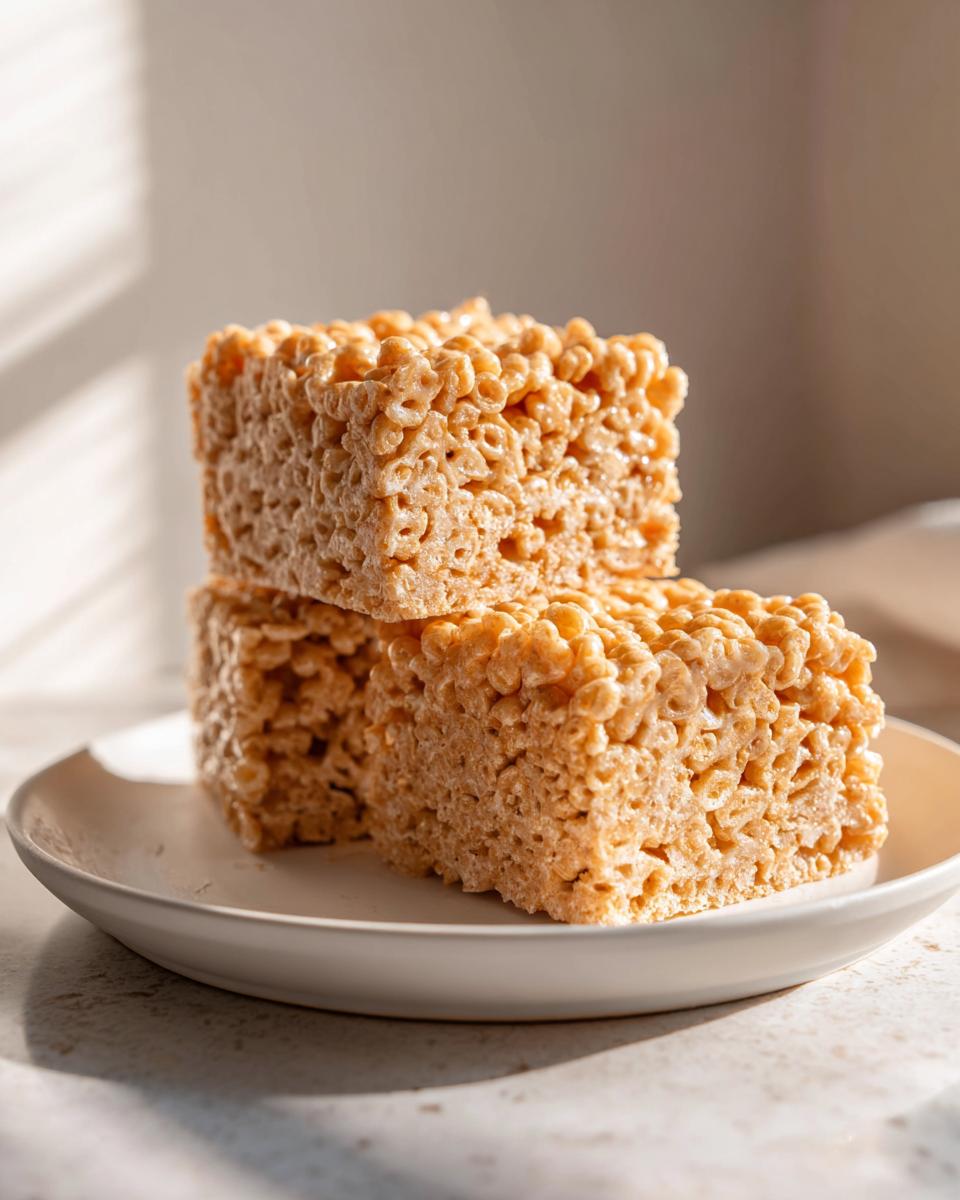
Step-by-Step Instructions for Chewy peanut butter rice krispie treats
Now that we have our ingredients lined up and we know the secrets to that perfect gooiness, let’s get this assembled! Since these are a no-bake classic, speed is important once things start melting, so have every last thing ready before you turn on that burner. You can find a quick list of my go-to savory dips and snacks over here if you need ideas for what to serve alongside these sweet bars: my favorite appetizers and snacks.
Prepare the Pan and Melt Fats
First things first, grab that 9×13 inch pan. I honestly prefer lining mine with parchment paper and leaving an overhang—it makes lifting these sticky beauties out later so much easier! Next, set your burner to medium-low heat. Pop in that butter and let it melt down completely in your large saucepan. Don’t let it sizzle too much, we just want it smooth.
Combining Peanut Butter and Marshmallows
Once the butter is liquid, stir in that full cup of creamy peanut butter until everything is one beautiful, smooth mixture. Now, here’s the crucial moment: take the pan completely OFF the heat before you add your marshmallows. Start stirring that entire bag in right away. You need patience here! Keep stirring until every last marshmallow is fully melted and you don’t see any clumps; we need this base perfectly uniform.
Folding in Cereal and Pressing
When your marshmallow-peanut butter goo is silky smooth, gently pour in all six cups of your crispy rice cereal. Take your rubber spatula and just fold it in softly. We are coating the cereal, not mixing dough! Do not overmix, or you are asking for tough bars. Once it’s just combined, scrape that mixture into your prepared pan. Remember what I said? Use a piece of wax paper or a lightly greased spatula to gently spread it evenly. Do not press hard!
Optional Topping and Setting
If you are making those irresistible chocolate peanut butter rice krispies, sprinkle those chips right over the warm mixture. Let them sit for five minutes untouched while the warmth does the work. Then, spread that melted chocolate thinly and evenly across the top. The final, and hardest, step is waiting! You must let these cool and set completely, which takes about an hour, before you slice them into squares.
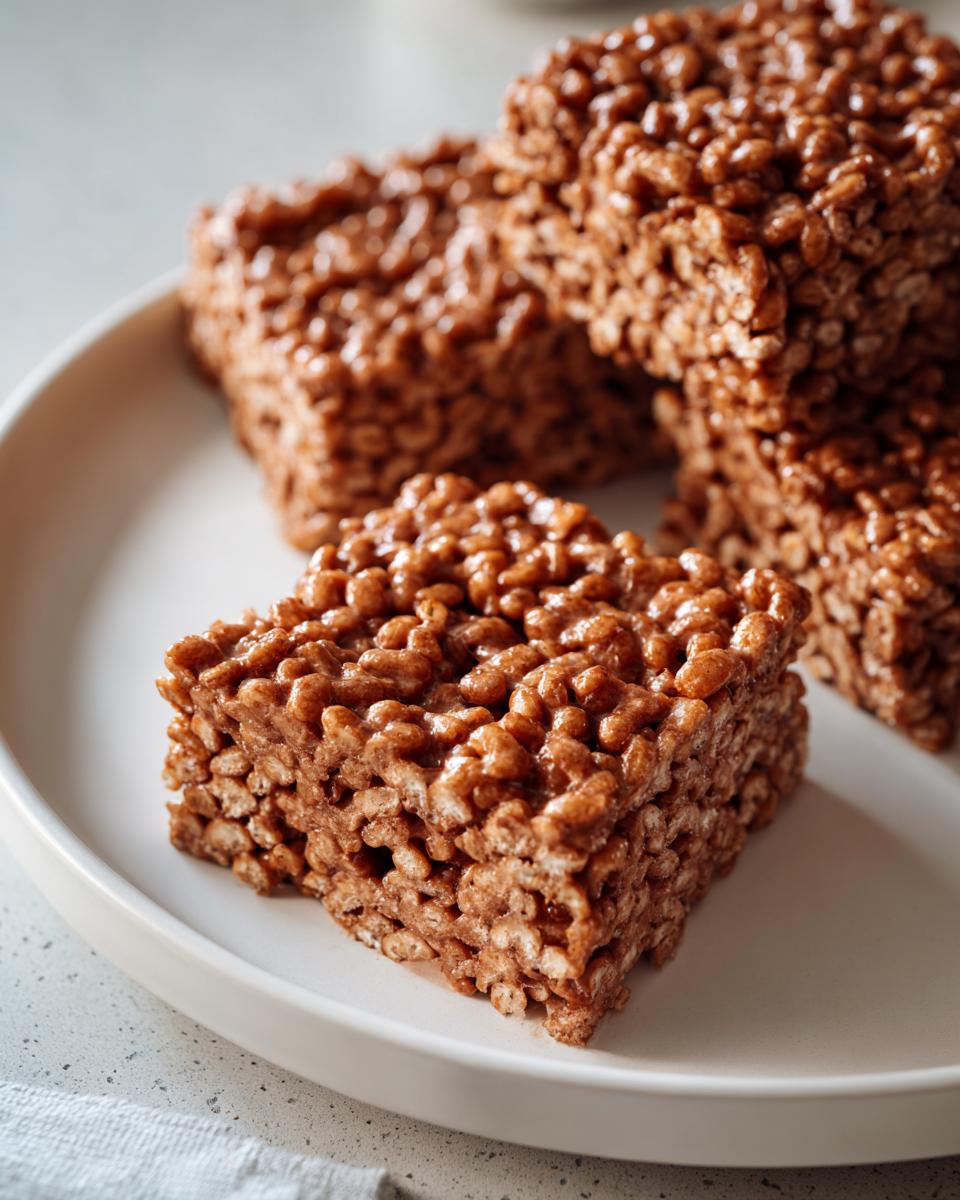
Variations on Classic peanut butter rice krispie treats
These peanut butter rice krispie treats are fantastic just as they are, but sometimes we need to shake things up a little, right? Luckily, this base recipe is a dream for creating Homemade Rice Krispie Variations. You can easily take these beyond the basic square!
The Scotcharoos Twist
If you’ve ever had a Scotcharoo, you know exactly what I’m talking about! This is a must-try upgrade, especially if you’re making these for a party. Instead of just melting chocolate chips for the top layer, you make a mixture of melted chocolate chips, butterscotch chips, and just a touch of vegetable oil. It creates this gorgeous, swirled tapestry over the peanut butter layer. That salty-sweet combination is just unbeatable. You can see a great example of what I mean over at this spot!
Adding Texture and Flavor
You don’t always have to change the topping, either. Want an extra layer of texture in the actual bar? Try folding in about a half cup of mini semi-sweet chocolate chips right along with your cereal! They melt just slightly when they hit the warm marshmallow mixture, giving you lovely pockets of chocolate throughout. Also, if you like a little more bite, swap out your creamy peanut butter for the crunchy kind. That extra crunch against the soft marshmallow? Wow, it’s fantastic.
Storing Your Chewy peanut butter cereal treats
Because these are no-bake bars, keeping them soft and chewy after that first amazing day takes just a tiny bit of planning! The good news is that these peanut butter rice krispie treats are actually wonderful for making ahead of time for parties or school lunches.
Mine always stay perfectly fresh when I store them in an airtight container. I try not to layer them too much, but if I have to stack them, I always put a piece of parchment paper or wax paper between the layers so they don’t stick together and ruin that beautiful, gooey top layer.
Keep them right there on the counter at room temperature—don’t worry about the fridge! Cold temperatures always make marshmallow treats stiffen up and lose that lovely chew we worked so hard to achieve. They actually taste best on day two, honestly!
Frequently Asked Questions About peanut butter rice krispie squares
It’s totally normal to have questions when you are trying out a brand new recipe, especially one where texture is everything! I answer a lot of these questions over on my main dessert page here, but I’ll tackle the most common ones about making these perfect, No Bake Sweet Bars right now. If you’re looking for a quick fix because you’re craving something right now, definitely check out the tips at Julie’s site too!
Can I substitute the peanut butter type?
This is a big one for Simple Peanut Butter Bars! I highly recommend sticking to regular, creamy peanut butter—you know, the kind that needs a good stir when you first open the jar. Natural peanut butter usually separates; it has more oil, and that oil doesn’t mix into the marshmallow goo the same way. If you use natural, your finished bars might get a little greasy or—worse—crumble apart because they lack the structural integrity of the standard kind. Stick to creamy for the best chew!
How do I prevent my peanut butter rice krispie treats from getting hard?
Listen, nobody wants a jawbreaker! The two biggest culprits for hardened treats are using older/stale marshmallows and using too much heat. Always make sure your marshmallows are fresh; older ones dry out and won’t melt completely smooth. And remember that golden rule from the expert tips: pull the pan *off* the stove before you even think about adding the marshmallows. Low and slow melting equals maximum goo factor!
Can these be made ahead of time?
Absolutely, yes! In fact, I think they are even better the next day once they’ve fully set up and the flavors have settled in. Storing them wrapped up against the air on your counter (not chilled!) keeps them perfectly soft for days. My kids always end up stealing the ones I made the day before!
Nutritional Estimates for peanut butter marshmallow treats
Now, I know most of us aren’t whipping these up for their health benefits—they are treats, after all! But I always like to keep track of what we’re serving up, even for our favorite sweets. Since everything relies on the exact brand of peanut butter or marshmallow you grab, these numbers are truly just a general guide for a single square based on the ingredients listed above.
Here’s a quick glance at what’s generally in these delicious peanut butter marshmallow treats. Remember, these are estimates, so they are based on standard versions of the ingredients we mentioned for this recipe.
- Serving Size: 1 square
- Calories: About 250 per square; definitely worth it!
- Fat: Approximately 12g (That’s where the peanut butter richness comes from!)
- Carbohydrates: Roughly 34g
- Sugar: Around 18g (Mostly from the marshmallows, naturally.)
- Protein: About 6g of nice little boost from the peanut butter.
Just know that the moment you add that optional chocolate topping or decide to use honey instead of the standard marshmallows, those numbers are going to shift! Enjoy them as the wonderful, simple comfort food they are, and don’t worry too much about the details!
Share Your Family Friendly Dessert Recipes
I truly hope you give these peanut butter rice krispie treats a whirl the next time you need a super quick, guaranteed crowd-pleaser. Making these easy, sweet bars is such a wonderful way to involve the kids and create those little culinary memories we hold onto. If you make them, please come back and leave a star rating—it helps me know I nailed that perfect chewy texture for you!

We love hearing about your kitchen adventures. If you tried a fun variation, drop me a line via my contact page! Happy cooking, and enjoy sharing these wonderful Family Friendly Dessert Recipes with your own table!
PrintThe Best Easy, Chewy Peanut Butter Rice Krispie Treats
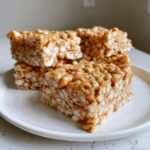
Make these simple peanut butter Rice Krispie treats for a nostalgic, gooey, and chewy dessert that comes together fast. This no-bake recipe uses just a few ingredients.
- Prep Time: 10 min
- Cook Time: 5 min
- Total Time: 1 hour 15 min
- Yield: 12 large squares 1x
- Category: Dessert
- Method: No Bake
- Cuisine: American
- Diet: Vegetarian
Ingredients
- 6 tablespoons unsalted butter
- 1 cup creamy peanut butter
- 1 (10 ounce) package miniature marshmallows
- 6 cups crispy rice cereal
- Optional: 1 cup semi-sweet chocolate chips for topping
Instructions
- Lightly grease a 9×13 inch baking pan or line it with parchment paper, leaving an overhang for easy removal.
- In a large saucepan over medium-low heat, melt the butter.
- Add the peanut butter to the melted butter and stir until completely smooth. Remove the pan from the heat.
- Add the entire package of marshmallows to the peanut butter mixture. Stir constantly until the marshmallows are fully melted and the mixture is smooth. This step requires patience to keep the heat low and prevent the marshmallows from hardening too quickly.
- Pour the crispy rice cereal into the marshmallow mixture. Fold gently with a rubber spatula until the cereal is evenly coated. Do not overmix, as this can make the treats tough.
- Transfer the mixture to the prepared baking pan. Lightly press the mixture evenly into the pan using the spatula or a piece of wax paper. Do not press down too firmly, as this affects the chewiness.
- If using the chocolate topping, sprinkle the chocolate chips over the warm bars. Let them sit for 5 minutes to soften, then spread them evenly over the top.
- Allow the treats to cool and set completely, about 1 hour, before cutting into squares.
- Lift the bars out of the pan using the parchment paper overhang, if used, and cut into squares.
Notes
- For the chewiest texture, use fresh marshmallows. Older marshmallows tend to result in harder treats.
- If you prefer a chocolate topping like Scotcharoos, melt 1 cup of chocolate chips with 1/2 cup of butterscotch chips and 1 teaspoon of vegetable oil, then drizzle or spread over the top layer.
- To prevent sticking when pressing the mixture into the pan, lightly grease your hands or the back of a spoon with cooking spray or butter.
Nutrition
- Serving Size: 1 square
- Calories: 250
- Sugar: 18
- Sodium: 150
- Fat: 12
- Saturated Fat: 4
- Unsaturated Fat: 8
- Trans Fat: 0
- Carbohydrates: 34
- Fiber: 1
- Protein: 6
- Cholesterol: 10