
Oh, you know the feeling! You’ve spent ages getting those sugar cookies cut out perfectly—maybe for a holiday tray or a big party—only to ruin all that hard work when you try to stack them. Suddenly, your beautiful decorations slide right off, or worse, they stay tacky forever! I used to get so frustrated watching my carefully piped designs smear. That’s why I spent so many weekends tinkering, trying to figure out the magic to a brilliant, bakery-style finish. I’m Kate, and I want to share my absolute favorite secret weapon: a recipe for sugar cookie icing that hardens beautifully. Trust me, achieving that glossy, stackable result is so much simpler than you think, and it just takes the stress out of cookie decorating!
- Why This Is the Best Sugar Cookie Icing That Hardens
- Ingredients for Your Hard Sugar Cookie Icing Recipe
- How to Prepare Sugar Cookie Icing That Hardens
- Tips for Success When Making Icing That Dries Hard
- Storage and Make-Ahead Tips for Your Powdered Sugar Cookie Decoration
- Serving Suggestions for Cookies with Hard Setting Cookie Icing
- Frequently Asked Questions About Sugar Cookie Icing That Hardens
- Estimated Nutritional Information for This Icing
- Share Your Beautifully Decorated Cookies
Why This Is the Best Sugar Cookie Icing That Hardens
When I finally landed on this simple glaze, I realized I didn’t need fancy royal icing recipes—I just needed the right balance! This is the icing I grab every single time I need cookies to survive a road trip or a crowded cookie exchange. It’s genuinely strong.
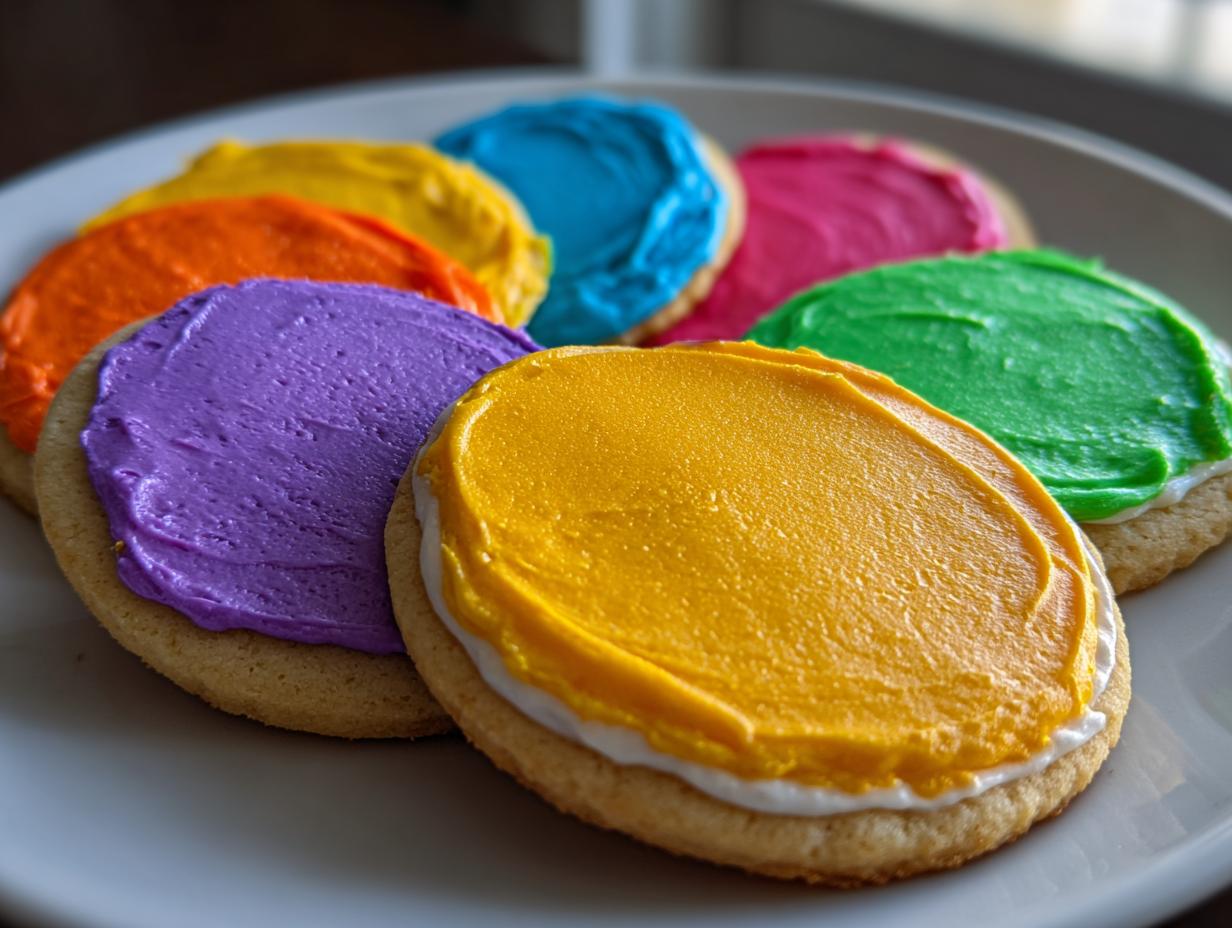
- It sets up hard, so you can stack them high without dents!
- The finish is beautifully smooth—no gritty texture here.
- It stays that gorgeous, shiny glaze look, even after drying for a day.
You can check out how others are using their beautiful results on Pinterest for inspiration, but I promise, this recipe is the secret sauce.
Achieving That Perfect Hard Setting Cookie Icing
The real hero here? Light corn syrup! Don’t skip it, seriously. Most simple powdered sugar glazes just dry stiff, but they often stay slightly soft or gummy to the touch. The corn syrup is non-negotiable if you want that true hard setting cookie icing that won’t smear when you touch it. That extra ingredient ensures your beautiful work stays perfect.
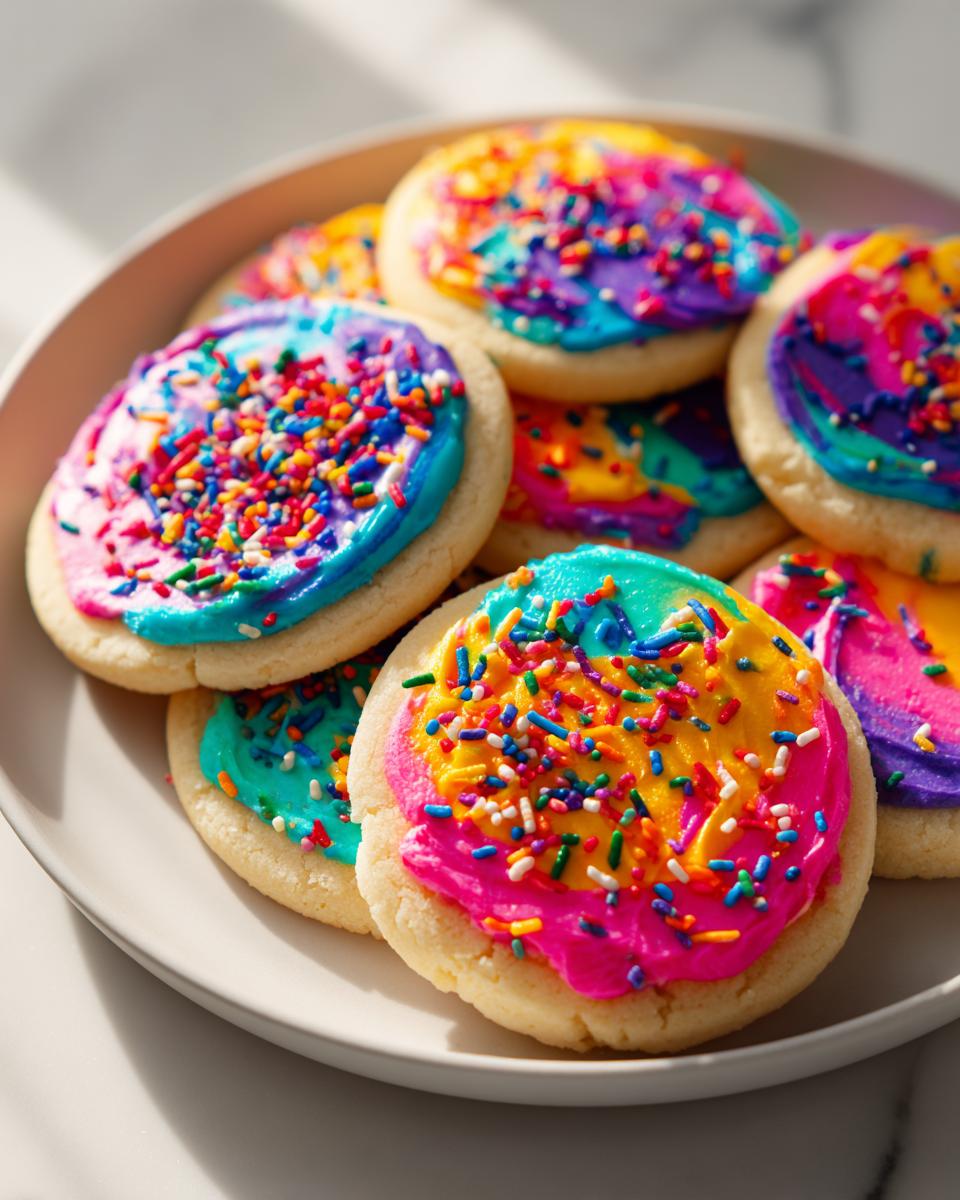
Glossy Cookie Icing Tutorial for a Professional Look
You know those professional cookies that practically gleam? That’s the look we’re going for. A basic powdered sugar and water mix dries totally flat and matte. But when you use this recipe, you get that high-shine finish. This glossy cookie icing tutorial ensures your homemade treats look like they came straight from a fancy bakery case every single time you decorate!
Ingredients for Your Hard Sugar Cookie Icing Recipe
Honestly, this recipe uses nothing fancy, which is why I love sharing it! You only need a handful of very accessible things to create this amazing sugar cookie icing that hardens. Just make sure you sift that powdered sugar first—seriously, it saves you so much frustration later when you’re trying to get that smooth, lump-free base.
- 2 cups powdered sugar, sifted
- 3 tablespoons milk (whole milk works best)
- 1 tablespoon light corn syrup
- 1 teaspoon vanilla extract
- Gel food coloring (optional)
Ingredient Notes and Substitutions for Sugar Cookie Icing That Hardens
Ingredient quality matters here, even in something this simple. Please reach for light corn syrup, not dark; the dark variety can end up making your icing a weird beige color. Next up, food coloring: skip the standard liquid droppers from the grocery store! They add too much moisture, which thins your icing and ruins that perfect drying time. You must use gel food coloring; it packs the pigment without flooding the mixture. If you absolutely must use water instead of milk, know that it will dry slightly less opaque, but it will still set firm because of that vital corn syrup!
How to Prepare Sugar Cookie Icing That Hardens
Okay, now for the fun part—mixing! Getting this right is all about patience, especially when we’re aiming for that sugar cookie icing that hardens perfectly. You want to whisk slowly, not whip! If you beat it too fast, you introduce air, and air bubbles lead to craters later when the icing dries. We want smooth perfection here, not meringue peaks.
First, combine everything in your bowl: the sifted sugar, milk, corn syrup, and vanilla. Stir it gently until it *just* comes together and looks smooth. That’s the base! Don’t feel rushed, but definitely don’t power-mix it. It should look thick, like pudding almost. The real technique comes next when we adjust it for decorating. You can see some great tips on getting this icing ready for any use over at CincyShopper!
Mastering the Consistency for Flooding and Outlining
Here is where the magic happens, and it all comes down to how you use your whisk. For outlining those crisp edges, you want the icing to be pretty thick—it should hold its shape when you lift the whisk out. For flooding (filling in those beautifully outlined areas), you need to thin it just a touch by adding milk half a teaspoon at a time.
The test is called the 10-second rule! Once you stir the thinned icing, lift your whisk over the bowl. The icing should fall back into the bowl in a thick ribbon. Count it out: that ribbon should slowly disappear back into the rest of the icing within about 10 seconds. If it disappears instantly, it’s too thin! If it sits on top for way longer, add a drop more milk.
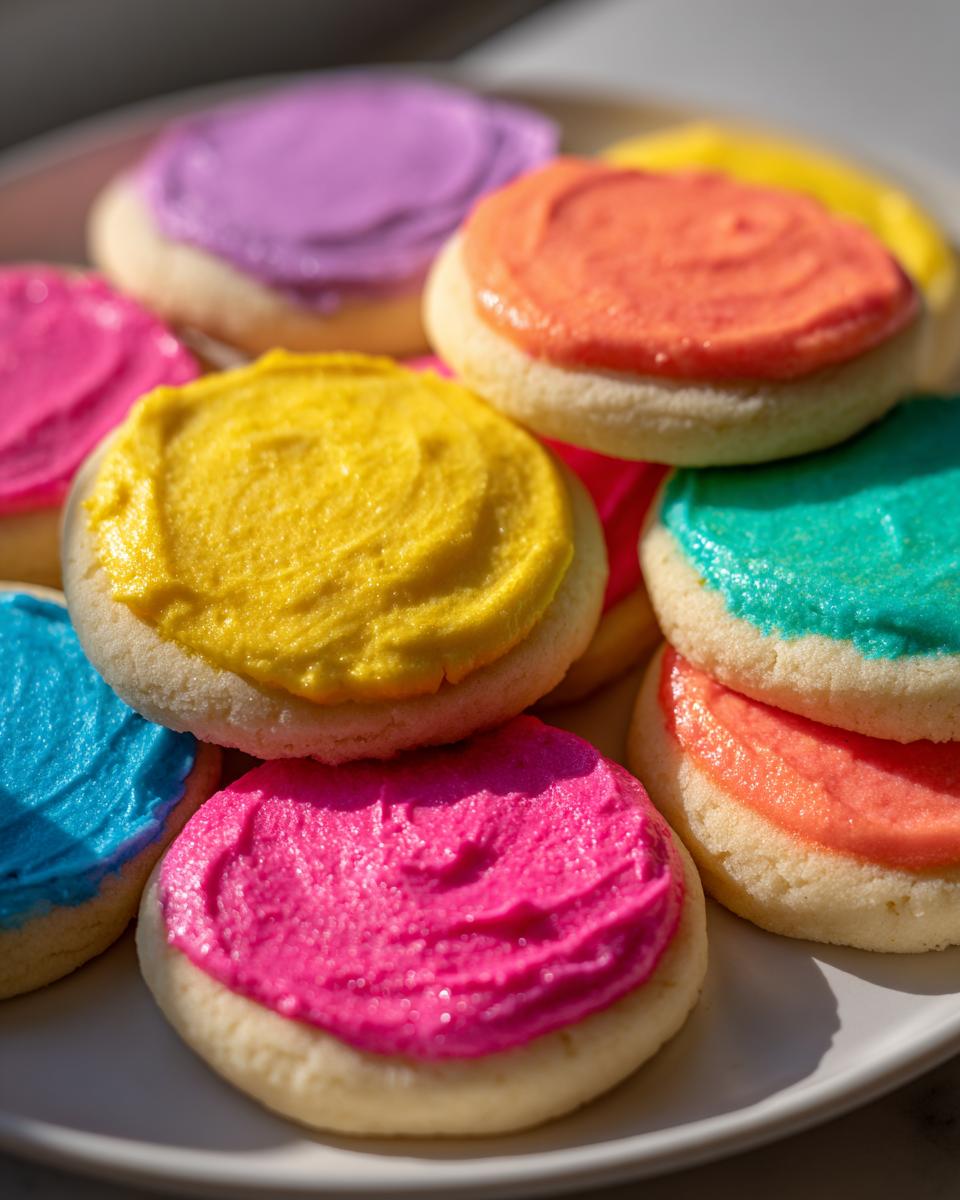
Coloring Your Stackable Sugar Cookie Frosting
If you’re going for vibrant holiday shades, make sure you use gel food coloring. I cannot stress this enough! Liquid colors dissolve too easily and end up thinning your mixture right when you’ve achieved that perfect consistency for stackable sugar cookie frosting. Gel colors are potent; a tiny dab gives you amazing color payoff.
If you need several colors, divide your plain white batch first before adding the color. It’s much easier to dilute a small bit of color than to try to thicken an entire large batch that got splashed with too much bright red dye!
Tips for Success When Making Icing That Dries Hard
Even when you nail the 10-second ribbon test, decorating takes time, and sometimes your icing gets temperamental! That’s totally normal. If you step away for five minutes and the icing looks a little too stiff for piping, don’t panic and throw it out. Just stir in a few drops of milk—literally just a few! That small amount of liquid is usually enough to loosen it right back up so you can resume decorating without destroying the overall structure.
Now, if you accidentally go too far the other way and your icing looks runny, don’t sweat it. This is where having extra powdered sugar on hand pays off! Whisk in just a tablespoon of sifted powdered sugar at a time until you gently return it to that perfect thickness. It’s all about small adjustments to keep that beautiful, durable finish. If you want more tricks to keep things looking professional, check out the great advice over at Emma’s Cake Studio!
Storage and Make-Ahead Tips for Your Powdered Sugar Cookie Decoration
One of the things I adore about this hard sugar cookie icing recipe is that it’s fantastic for planning ahead! If you have leftover icing, you absolutely need to keep air out. Put it in a small, airtight container, but here’s the trick: press a piece of plastic wrap directly onto the surface of the icing before you seal the lid. This stops it from developing that nasty crust.
As for the actual cookies, once they are completely dry—and I mean truly rock hard—they hold up beautifully! You can safely store decorated cookies in a sealed container at room temperature for nearly a week. I’ve even had success packaging them up for shipping using this recipe because of how firm the powdered sugar cookie decoration sets.
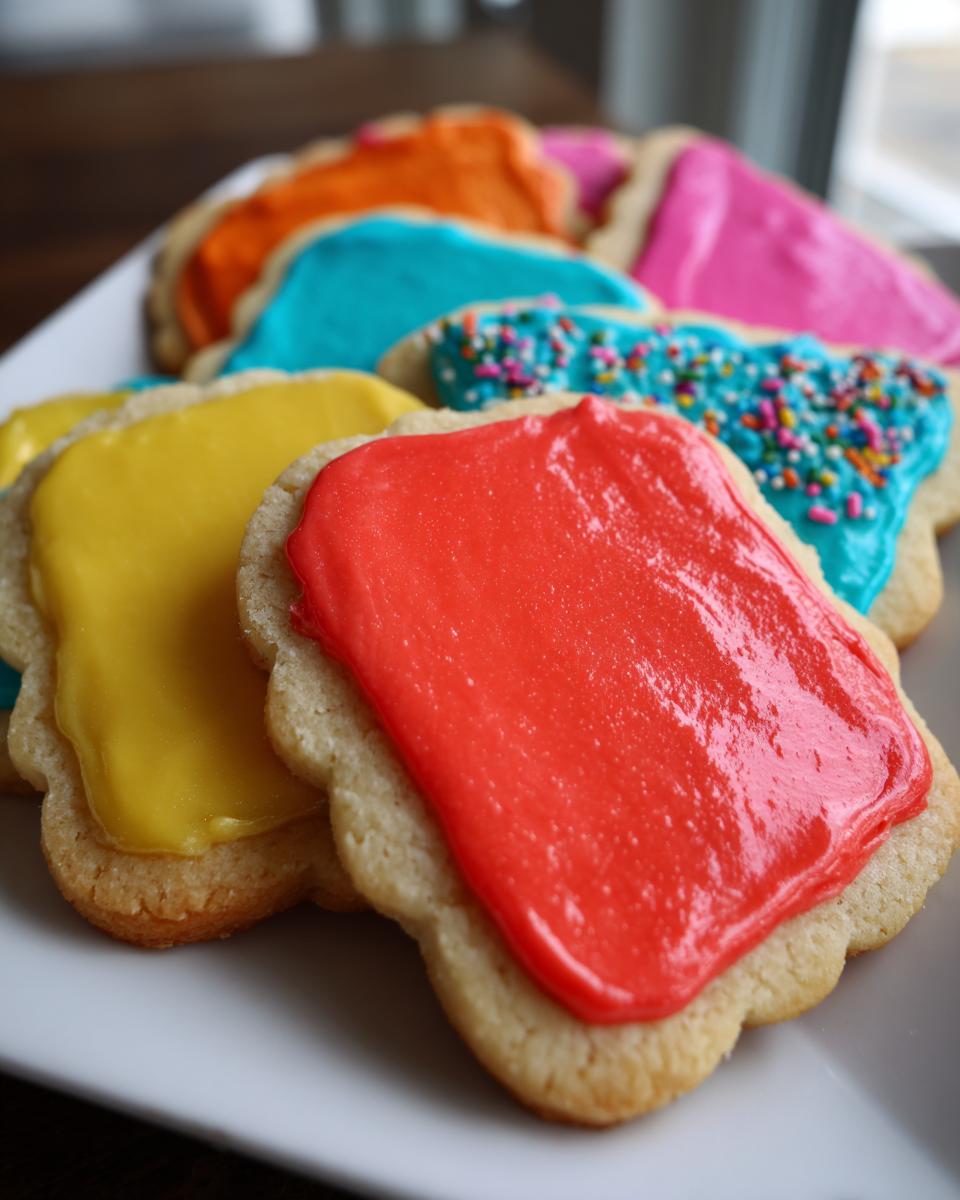
Serving Suggestions for Cookies with Hard Setting Cookie Icing
Because this is such reliable hard setting cookie icing, it opens up so many possibilities beyond just eating them right off the cooling rack! If you’re making cookies for a gift basket or sending them through the mail, this is your go-to recipe. They simply won’t stick together or smudge!
This also makes them perfect for creating those gorgeous, layered cookie tins during the holidays. I’ve found that a deep red piped edge filled with white icing looks so classic. If you need some more festive inspiration on what colors to use, take a look at this wonderful guide. This durable glaze handles everything!
Frequently Asked Questions About Sugar Cookie Icing That Hardens
I get so many questions about the drying process, and honestly, I understand why! When you’re baking for an event, you need reliable timing. Here are a few things folks always ask me about getting this sugar cookie icing that hardens just right.
How long does sugar cookie icing that hardens actually take to dry?
This is the million-dollar question! For a thin layer, give it at least three to four hours at room temperature. But honestly, if you’ve flooded the cookies or it’s a super humid day where you live, you should plan on leaving them overnight to dry completely hard. Humidity is the enemy of a quick dry!
Can I use this easy cookie decorating icing without corn syrup?
You technically *can*, but then it stops being the hard setting cookie icing you were looking for! If you swap the corn syrup for more milk or water, you’ll end up with a standard, shiny glaze that probably won’t dry fully hard—it’ll stay a little soft or tacky on the surface.
What is the secret to achieving bakery style cookie icing?
It’s a two-parter, really! First, you absolutely need that light corn syrup to lock in the gloss and help it set firm. Second, you have to nail that 10-second ribbon consistency when you thin out the batch for flooding. That perfect flow means you get that smooth surface instead of a bumpy texture.
Estimated Nutritional Information for This Icing
Now, I always say baking is about love, not counting calories, but I know some of you like to keep track! Since this icing is basically pure sugar magic, the numbers reflect that. Please remember this is just an estimate based on the ingredients I use and a standard serving size. It’s a treat, for sure!
- Serving Size: 1/4 cup icing
- Calories: 180
- Sugar: 45g (Yep, that’s where all the deliciousness comes from!)
- Fat: 0g
- Protein: 0g
This information is a general guideline, as the exact values can change slightly depending on the brand of powdered sugar or milk you happen to grab! Enjoy every single bite!
Share Your Beautifully Decorated Cookies
I truly hope this recipe helps you create the most stunning, stackable cookies ever! Once you finish decorating, please come back and leave a rating—it helps other bakers like you find this perfect sugar cookie icing that hardens. And if you share your gorgeous, glossy creations online, tag me! I’d love to see what you made. You can find more great advice on making icing easy over at Kinsley Recipes, and don’t forget to check out inspiration from folks using this icing right now on All Foodie Recipes!
PrintGlossy Sugar Cookie Icing That Hardens Perfectly

Learn how to make bakery-style sugar cookie icing that dries hard and smooth. This simple recipe uses basic ingredients to create a glossy, stackable finish ideal for decorated holiday cookies.
- Prep Time: 10 min
- Cook Time: 0 min
- Total Time: 10 min plus drying time
- Yield: Coats about 2 dozen medium cookies 1x
- Category: Dessert Topping
- Method: Mixing
- Cuisine: American
- Diet: Vegetarian
Ingredients
- 2 cups powdered sugar, sifted
- 3 tablespoons milk (whole milk works best)
- 1 tablespoon light corn syrup
- 1 teaspoon vanilla extract
- Gel food coloring (optional)
Instructions
- In a medium bowl, place the sifted powdered sugar.
- Add the milk, light corn syrup, and vanilla extract to the sugar.
- Whisk the ingredients together slowly until the mixture is smooth and lump-free. Do not overmix, as this can introduce too much air.
- Check the consistency. For outlining cookies, the icing should be thick enough to hold its shape. For flooding (filling in the outline), add milk, one half teaspoon at a time, until the icing flows slowly off the whisk in a thick ribbon that disappears back into the bowl after about 10 seconds. This consistency is key for a hard setting cookie icing.
- If you are coloring the icing, divide it into separate bowls and mix in gel food coloring until you reach your desired shade. Gel colors work better than liquid because they do not thin the icing.
- Use the icing immediately to decorate your cooled sugar cookies.
- Allow the decorated cookies to sit at room temperature until the icing is completely dry and hard to the touch. This usually takes several hours, or overnight for thick layers.
Notes
- For icing that dries hard and glossy, the addition of corn syrup is important. It helps the icing set firm and prevents a dull finish.
- If the icing becomes too thick while you are decorating, stir in a few drops of milk to restore the correct consistency.
- If you need a thinner icing for flooding, add milk slowly. If it becomes too thin, add a tablespoon of sifted powdered sugar.
- This recipe is perfect for creating stackable sugar cookie frosting that holds up well for gifting.
Nutrition
- Serving Size: 1/4 cup icing
- Calories: 180
- Sugar: 45g
- Sodium: 5mg
- Fat: 0g
- Saturated Fat: 0g
- Unsaturated Fat: 0g
- Trans Fat: 0g
- Carbohydrates: 45g
- Fiber: 0g
- Protein: 0g
- Cholesterol: 0mg