
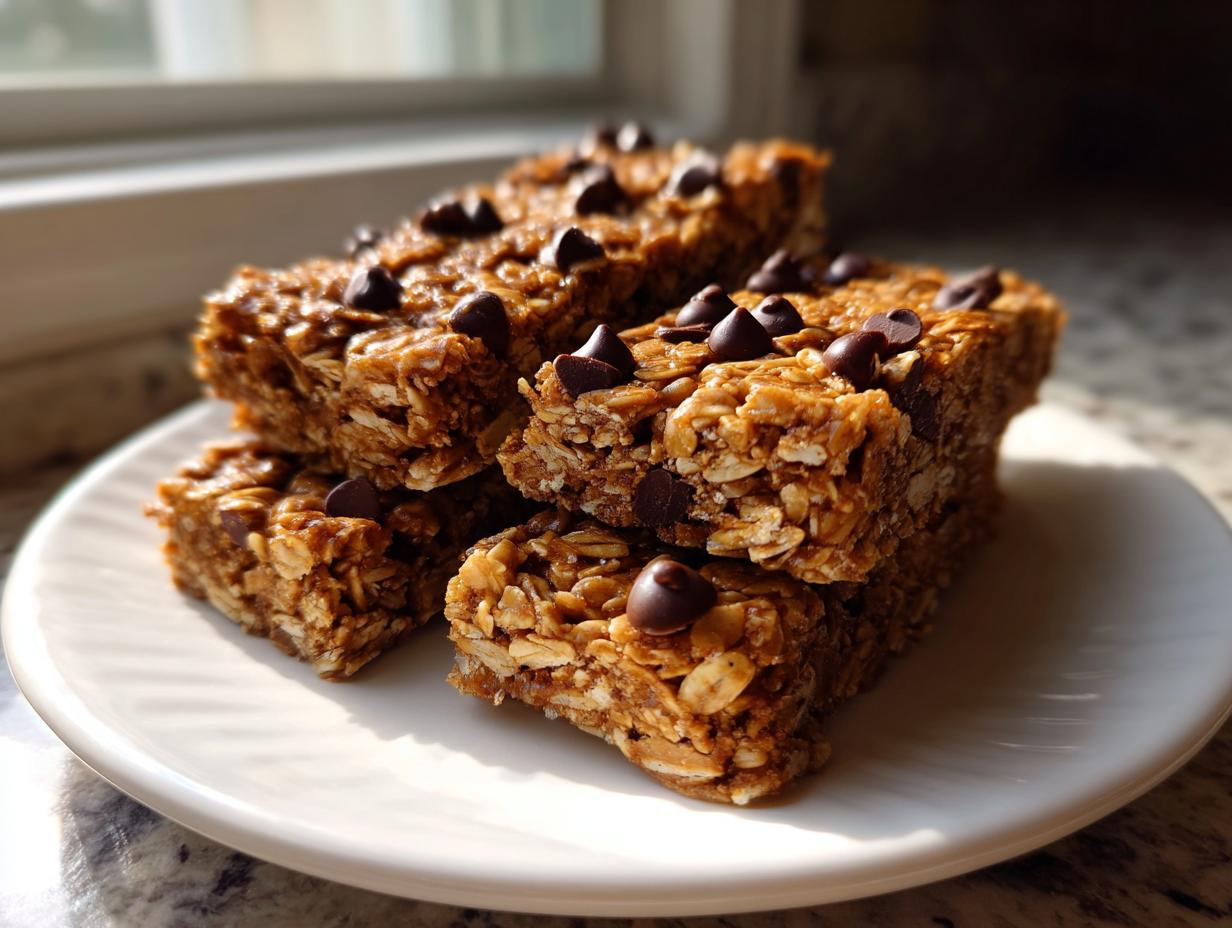
Sometimes, you just can’t face turning on the oven, especially when the counter is already covered in dinner prep or when it’s just too hot outside. Believe me, I get it! That’s why I spent a good few weekends perfecting these ultimate, quick, and genuinely chewy no bake granola bars. They are my emergency stash for when I need a reliable, grab-and-go snack faster than you can say ‘preheat.’
These aren’t those rock-hard bars you find in the grocery aisle that hurt your teeth. No way. This simple recipe guarantees a perfect, satisfying chew every single time. They are healthier than most store versions, totally customizable, and honestly, they taste like a treat while being perfect for meal prep. Trust me, you’re going to want to keep a batch of these on hand!
- Why These Are the Best No Bake Granola Bars You Will Make
- Gathering Ingredients for Your No Bake Granola Bars
- Step-by-Step Instructions for Easy No Bake Granola Bars
- Tips for Perfect Meal Prep Granola Bars Every Time
- Customizing Your No Bake Granola Bars for Kids
- Storage and Keeping Your Chewy No Bake Granola Bars Fresh
- Serving Suggestions for Grab and Go Breakfast Bars
- Nutritional Snapshot of These Oat Based No Bake Treats
- Share Your Homemade No Bake Granola Bars Experience
Why These Are the Best No Bake Granola Bars You Will Make
I’ve tested batches of these so many times—trying to get that perfect balance where they don’t fall apart the second you try to lift them out of the pan. That’s why I can stand by these easy no bake granola bars; they just work. We cut the active time way down so you aren’t stuck in the kitchen forever, but we didn’t sacrifice texture or flavor to get there!
- They are true quick no bake snacks that get done in minutes.
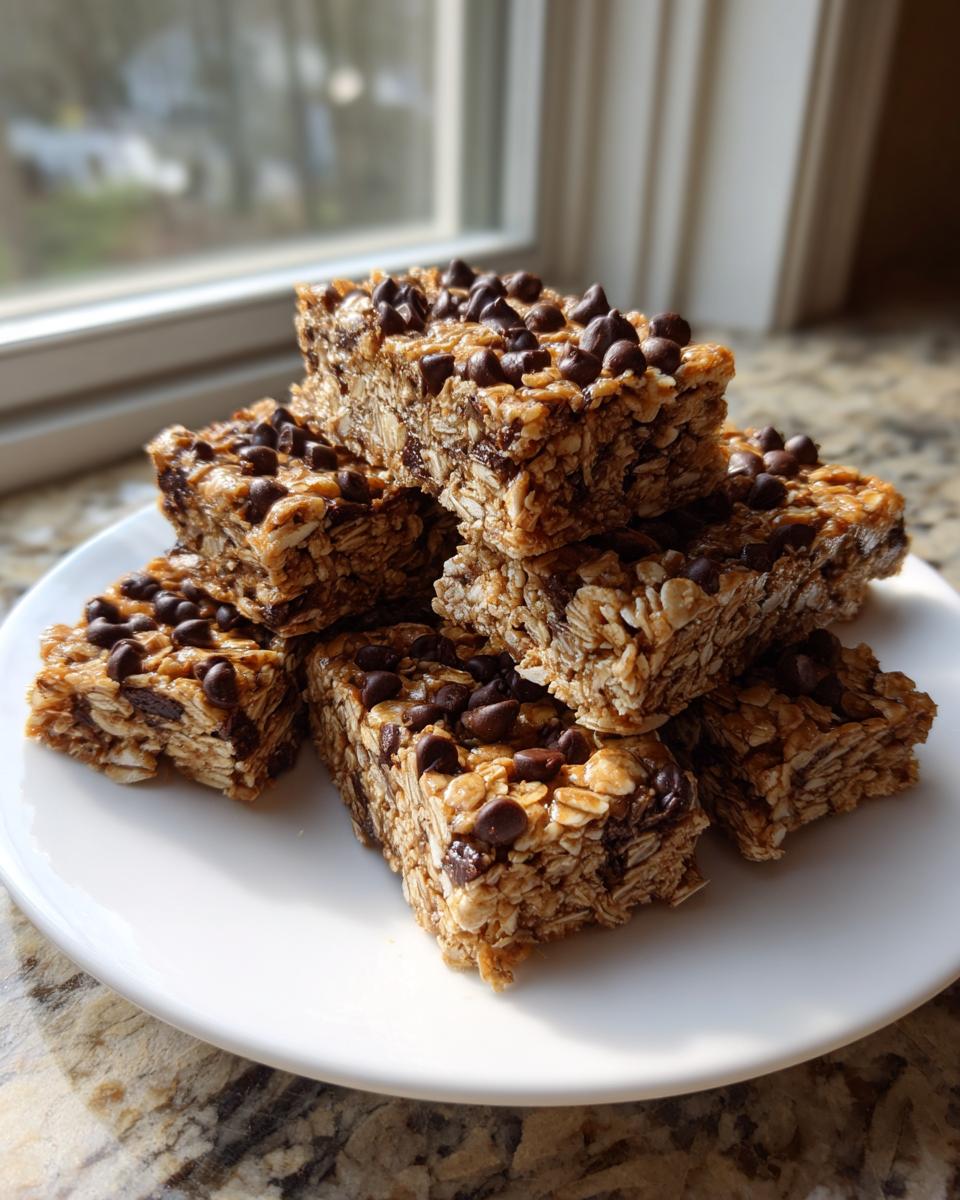
- They offer that satisfying, dense, and delightfully chewy granola bars recipe feel.
- They are packed with wholesome ingredients great for meal prepping!
Quick Prep Time Makes Great No Bake Granola Bars
You read that right—fifteen minutes, tops, for the mixing! We melt the binders, dump everything together, and press it down. That’s it for the active work. Since there’s zero bake time, these are absolute lifesavers on busy weekdays when you still want something homemade.
Perfect Chewy Texture Every Time
The secret here, which I learned from testing too many crumbly versions, is using just the right amount of warm, gooey binder. This golden ratio coats the oats perfectly without making them soggy. When you press them firmly, that binder sets up like magic in the fridge, locking in that wonderful chewiness.
Gathering Ingredients for Your No Bake Granola Bars
When you’re relying on simple ingredients like we are here, quality really matters! Since we aren’t using the oven to transform things, the inherent flavor of your peanut butter or honey really shines through. I always encourage readers to use ingredients they genuinely enjoy eating on their own. Keeping that in mind, let’s look at exactly what you need to pull this simple granola bar recipe together. I’ve broken it down into the gooey stuff and the chunky stuff!
Binder Ingredients for Perfect No Bake Granola Bars
This warm mixture is what holds everything together beautifully, preventing that frustrating crumbling when you cut the bars. We need about half a cup of creamy, dreamy peanut butter—go ahead and use crunchy if that’s what you have!
- 1/2 cup peanut butter (creamy or crunchy is fine!)
- 1/2 cup honey or maple syrup (use maple syrup if you need these to be vegan!)
- 1/4 cup unsalted butter or coconut oil
- 1 teaspoon vanilla extract
- 1/4 teaspoon salt
Making sure that butter is melted smooth with the honey is key. Once it’s liquefied, it coats the oats so perfectly. Remember, never let this bubble up when you heat it; we’re just warming it to mix, not cooking it!
Dry Base and Mix-Ins for Healthy Homemade Granola Bars
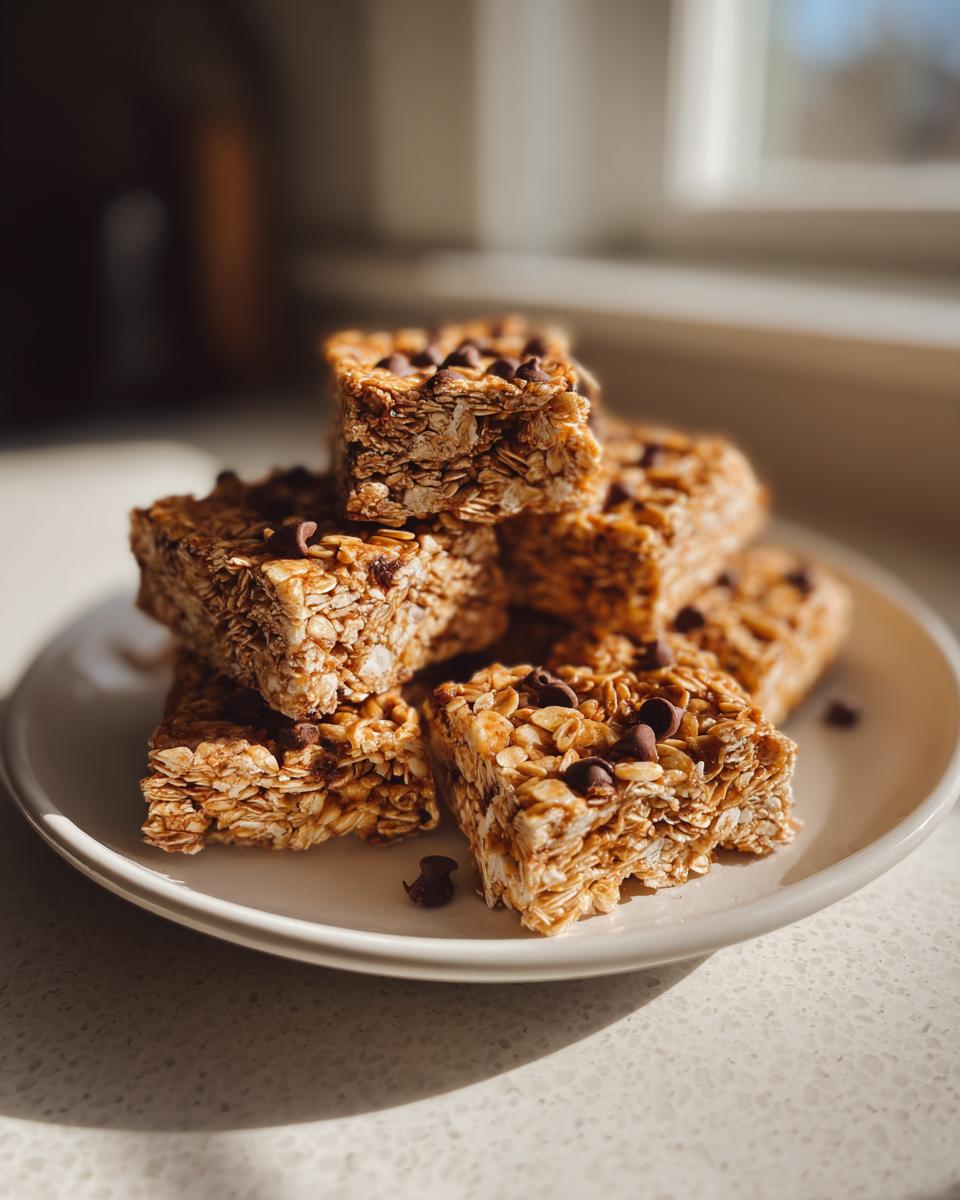
The bulk of these bars comes from oats, but I sneak in crispy rice cereal because it lightens the bar up just a bit, giving you that perfect light crunch alongside the chew. These are your healthy homemade granola bars base.
- 2 cups rolled oats
- 1 cup crispy rice cereal
- 1/2 cup mix-ins (This is where you get creative! Think mini chocolate chips, dried fruit chunks, or chopped nuts.)
The mix-ins are truly what make these bars your own. I usually stick to chocolate chips for the kids, but when I make them for myself, I toss in dried cherries and sunflower seeds. It’s so fun tailoring them to whatever you’re craving!
Step-by-Step Instructions for Easy No Bake Granola Bars
Okay, now that we have our beautiful ingredients gathered, we can finally put this magic together! See, this is the part where having zero oven time feels like such a win. I know you’re eager to try these chewy granola bars recipe favorites, so let’s get straight to mixing. Just follow these steps closely, especially the chilling part, and you’ll have perfect every-time bars ready for school lunchboxes or your late-night snacks.
Preparing the Pan and Melting the Binder for No Bake Granola Bars
First things first, get your 8×8 inch pan ready. We need to line it completely with parchment paper, making sure you leave a good overhang on both sides—this overhang is how we lift the whole thing out later, so don’t skip it! This is one of the biggest helpers when making quick no bake snacks because you can just pull the whole slab right out later.
Next, head over to the stove. In a medium saucepan, put in your peanut butter, honey (or syrup), and butter (or coconut oil). Heat this over low heat, stirring constantly until everything is completely smooth and melted together. Here is my BIG rule: Do not, under any circumstances, let this mixture boil! If it boils, it gets too hard when it cools, and you’ll end up with brittle sticks instead of those wonderful, chewy bars. You just want it warm enough to combine.
Combining Dry Ingredients and Pressing the No Bake Energy Bars
While your binder is getting warm, toss your rolled oats and crispy rice cereal into a big mixing bowl. Once your wet ingredients are smooth and off the heat, stir in the vanilla and salt, then immediately pour that lovely warm goo all over your dry oats. Mix it really well until every single oat flake is coated. It should look a bit sticky but manageable.
Now, quickly fold in whatever gorgeous mix-ins you chose—nuts, chocolate, dried fruit—whatever makes your heart happy. Dump all that goodness into your lined pan. This next step is crucial for making sure these no bake energy bars hold their shape: use the back of a spatula or a second piece of parchment paper to press the mixture down firmly and evenly across the entire pan. Really pack it in there; don’t be shy!

Chilling and Cutting Your Chewy Granola Bars Recipe
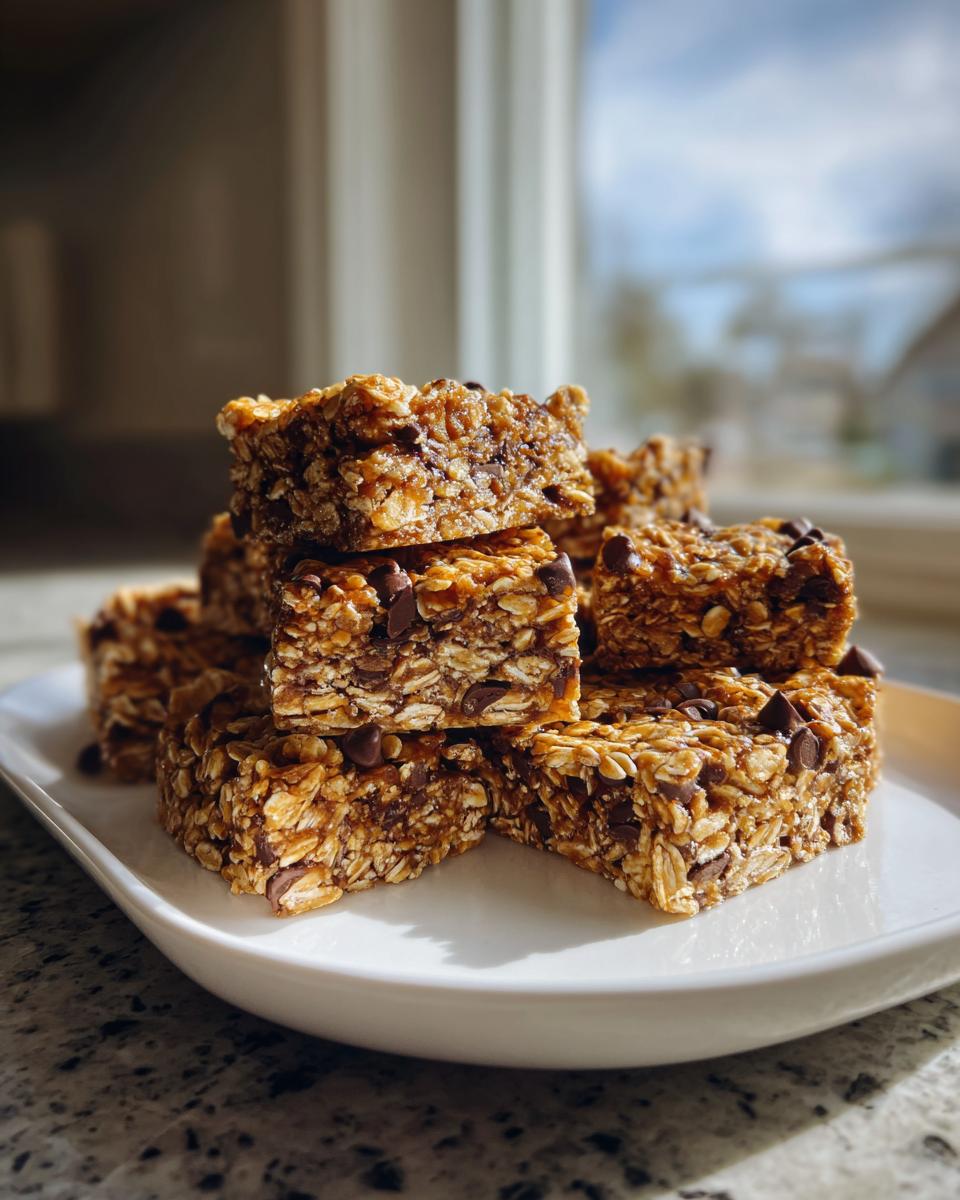
Resist the urge to eat it right now! We need this mixture to set up properly so we can get nice, clean slices. Pop the whole pan into the refrigerator for a minimum of two hours. If you’re in a rush, you can put it in the freezer for about 45 minutes, but the fridge gives the chewy granola bars recipe those perfect edges.
Once they are totally firm—you can poke the top and it gives no resistance—use those parchment paper handles to lift the whole block out onto a cutting board. Use a sharp knife to slice it into 12 or 16 bars, depending on how big you like your snacks. If you want the absolute best chew, check out some great tips over at Home Bite Recipes for inspiration on different textures!
Tips for Perfect Meal Prep Granola Bars Every Time
Even though this is my go-to simple granola bar recipe, I know everyone’s pantry looks a little different! That’s the joy of making things at home, right? We can tweak them for allergies or just for what we have on hand. These tips come straight from my own testing logs where I tried to sneak in extra flaxseed or swap out the peanut butter. When you’re planning your meal prep granola bars for the week, these small adjustments make a big difference in the final texture.
Ingredient Substitutions for Your No Bake Granola Bars
If you need these to skip the dairy, simply swap the butter for coconut oil, and use maple syrup instead of honey—that keeps them completely vegan! Also, please don’t feel stuck on peanut butter. Almond butter works beautifully, and sunflower seed butter is a fantastic option if you need to keep it nut-free for school lunches. If you want a slightly firmer bar that holds up when chopped, I found that adding just one extra tablespoon of flaxseed meal to the dry ingredients helps bind it tighter!
Achieving Firmness in No Oven Needed Snacks
The biggest complaint I hear about no oven needed snacks like this is that they crumble everywhere. You want them to be chewy, not dusty! The absolute number one thing you have to remember is the pressing. You need to press that mixture into the pan until you feel like you are flattening concrete—seriously, press hard! Then, give it time to chill. Don’t rush that two hours in the fridge; that resting time locks in that delicious chewiness. For more ideas on getting things just right, check out the great tips over at Must Save Recipes.
Customizing Your No Bake Granola Bars for Kids
One of the best things about skipping the oven is knowing exactly what goes into these treats. They instantly become some of my favorite kid approved granola bars because I control everything! If you’re packing these for school where nuts are banned, this recipe handles that switch beautifully.
For school lunches, I usually stick to using mini chocolate chips and dried cranberries—kids love the bright color and sweetness. But if you can use nuts, adding chopped pecans or slivered almonds really boosts the protein content for those long afternoons. Honestly, if you check out what The Seaside Baker does, you’ll find so many fun, kid-friendly additions!
Just remember, whatever you add, make sure you press it down firmly! That’s the secret to keeping everything neat when your kids are grabbing them while running out the door.
Storage and Keeping Your Chewy No Bake Granola Bars Fresh
Okay, you finally pulled that perfectly set slab out of the fridge, sliced up those beautiful chewy no bake granola bars, and now you need to know how to keep them tasting fresh for the whole week. This is the easy part!
Because these bars rely on the coolness of the fridge to maintain that perfect chewy texture—we didn’t use any eggs or actual baking to set them, remember?—they absolutely need to stay chilled. If you leave them sitting on the counter for too long on a warm day, that binder starts to get soft and they’ll get a little…melty. Not tasty!
My routine is to stack them in a single layer in a glass container, separated by sheets of parchment paper if I’m worried about the chocolate chips sticking together. If you stack them well, you can usually fit a whole batch in there easily. Seal that container up tight! Stored this way in the refrigerator, mine stay wonderfully fresh and chewy for up to a full week. That makes them totally perfect for meal prep granola bars!
If you’re making a giant batch and want them to last even longer, you can absolutely freeze them! Slice them first, then freeze them separated by parchment in a freezer bag. Then, you can just grab one or two straight from the freezer and let it thaw on the counter for about ten minutes before you eat it. Genius for those mornings when you forget to plan ahead!
Serving Suggestions for Grab and Go Breakfast Bars
These no bake granola bars are designed to be versatile, right? They are fantastic all on their own, which is why they are the ultimate grab-and-go snack, but sometimes you need to dress them up a little bit, especially if you are eating them as part of a real breakfast rather than just a quick bite.
For those mornings when you have an extra minute, I love warming a bar slightly—just 10 seconds in the microwave—and crumbling it right over a bowl of plain Greek yogurt. It adds that homemade crunch and sweetness without all the extra sugar you’d find in sugary cereals. It turns a simple yogurt into a proper, satisfying bowl of something special!
And speaking of enjoying them, of course, coffee is the natural partner here, isn’t it? I often grab a cold bar on my way out the door, and the first thing I do when I get to my desk is pair it with a hot cup of coffee. The combination of the rich, slightly salty binder flavor against the bitterness of the coffee is just perfect.
If you’re looking for more ideas on how to build a lovely morning meal around quick foods like this, I put together a few of my favorite morning routines over on my breakfast and brunch ideas page. But honestly, grabbing one of these bars and a thermos of hot coffee means you are set for success!
Nutritional Snapshot of These Oat Based No Bake Treats
Since these are primarily oat based no bake treats mixed up in my own kitchen, I know exactly what is going into them, which is such a huge reassurance! I know some of you are tracking macros or just trying to keep the sugar down, so I ran these through a tracker to give you an idea of what you’re looking at per bar.
Now, this is really important: since we customize these so much—maybe you use almond butter instead of peanut butter, or load up on dark chocolate chips—these numbers are just an estimate based on the base recipe I shared. Think of this as your starting point!
- Serving Size: 1 bar
- Calories: Approximately 220
- Sugar: Around 12g (This varies wildly based on your syrup choice!)
- Fat: About 11g
- Protein: A solid 6g to keep you fueled!
- Carbohydrates: Roughly 28g
That 6 grams of protein, especially if you use natural, crunchy peanut butter, really helps keep these from feeling like just a sugary snack. It genuinely makes them feel more substantial, which is why these work so well for quick breakfasts or sustained energy in the afternoon. I love that we can control the sodium and cholesterol too—way better than anything wrapped in plastic on a store shelf!
Share Your Homemade No Bake Granola Bars Experience
Honestly, seeing your creations is my favorite part of sharing these recipes! I know I stressed that these no bake granola bars are foolproof, but everyone has their own little spin on the mix-ins, and I just love seeing what you all come up with.
Did you try mini peanut butter chips instead of regular chocolate chips? Maybe you swapped half the oats for puffed quinoa? Whether you made them for a big batch of grab and go breakfast bars or just whipped up a quick snack for movie night, please leave a comment below and let me know how they turned out for you!
Did you stick to the recipe, or did you get wildly creative with your additions? I always recommend leaving a rating right there on the recipe card so other folks know what to expect from this simple recipe. It helps my entire Taste This Plate family know which recipes are truly working well in home kitchens everywhere.
If you took a picture of your perfectly pressed and chilled slab before you cut into it—and I hope you did!—I’d love to see it! Feel free to tag me on social media, or if you have specific questions about substitutions or storage that I didn’t cover, you can always reach out to me directly through my contact page.
Remember, that’s what we do here: we take simple ingredients and turn them into lovely, memorable moments. Even if it’s just grabbing a perfectly chewy bar on the way out the door, I hope making these helps you slow down just a tiny bit and enjoy the goodness you created with your own hands. Happy snacking!
PrintEasy No-Bake Chewy Granola Bars for Quick Snacking
Make these simple, chewy granola bars without turning on your oven. This recipe uses common pantry ingredients for a healthy, grab-and-go snack perfect for meal prep.
- Prep Time: 15 min
- Cook Time: 0 min
- Total Time: 2 hr 15 min
- Yield: 12 bars 1x
- Category: Snack
- Method: No Bake
- Cuisine: American
- Diet: Vegetarian
Ingredients
- 2 cups rolled oats
- 1 cup crispy rice cereal
- 1/2 cup peanut butter (creamy or crunchy)
- 1/2 cup honey or maple syrup
- 1/4 cup unsalted butter or coconut oil
- 1 teaspoon vanilla extract
- 1/2 cup mix-ins (e.g., chocolate chips, dried fruit, chopped nuts)
- 1/4 teaspoon salt
Instructions
- Line an 8×8 inch baking pan with parchment paper, leaving an overhang on the sides for easy removal. Lightly grease the paper if needed.
- In a medium saucepan over low heat, combine the peanut butter, honey (or maple syrup), and butter (or coconut oil). Stir constantly until the mixture is smooth and fully melted. Do not let it boil.
- Remove the saucepan from the heat. Stir in the vanilla extract and salt until combined.
- In a large bowl, combine the rolled oats and crispy rice cereal.
- Pour the warm binder mixture over the oat and cereal mixture. Stir well until all the dry ingredients are evenly coated.
- Fold in your chosen mix-ins, such as chocolate chips or dried fruit.
- Transfer the mixture to the prepared baking pan. Press the mixture down firmly and evenly into the pan using the back of a spatula or another piece of parchment paper. Pressing firmly helps the bars hold their shape.
- Refrigerate the bars for at least 2 hours, or until completely set.
- Use the parchment paper overhang to lift the block of granola out of the pan. Place it on a cutting board and slice into 12 or 16 bars.
- Store the bars in an airtight container in the refrigerator for up to one week for the best chewy texture.
Notes
- For a vegan option, substitute maple syrup for honey.
- If you prefer a firmer bar, reduce the honey slightly or add 1 tablespoon of flaxseed meal to the dry ingredients.
- You can substitute peanut butter with almond butter or sunflower seed butter for a different flavor profile.
Nutrition
- Serving Size: 1 bar
- Calories: 220
- Sugar: 12g
- Sodium: 95mg
- Fat: 11g
- Saturated Fat: 3g
- Unsaturated Fat: 8g
- Trans Fat: 0g
- Carbohydrates: 28g
- Fiber: 3g
- Protein: 6g
- Cholesterol: 5mg