
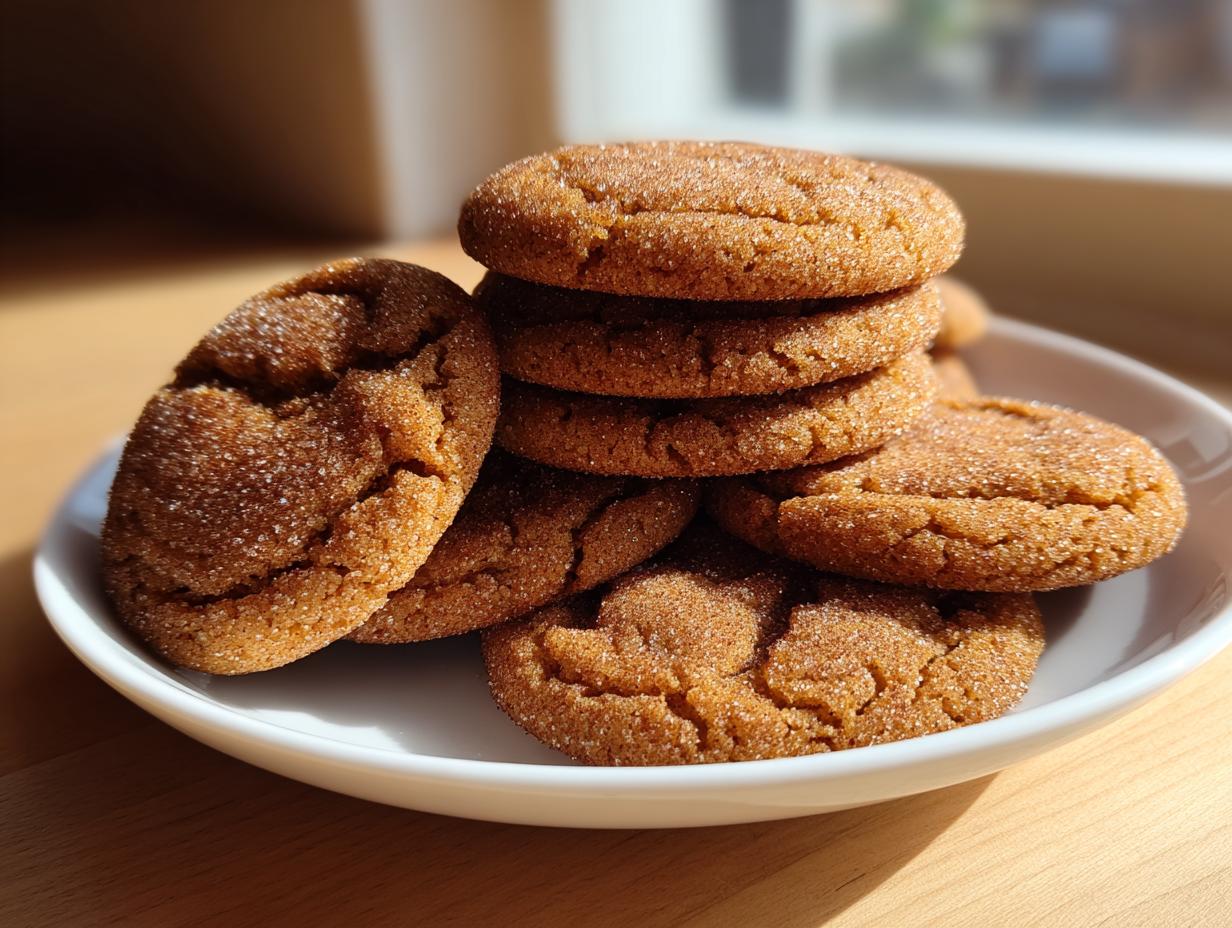
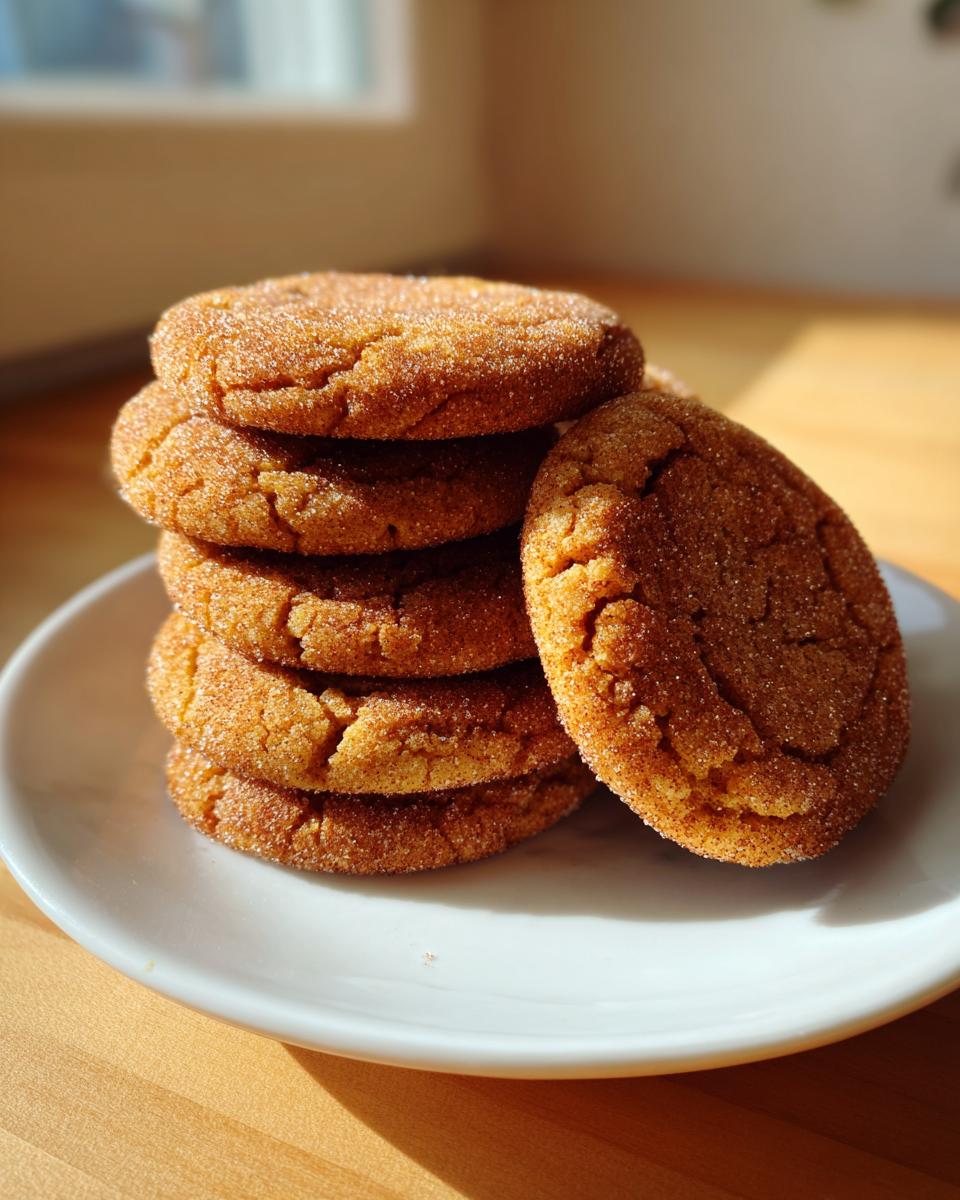
We all love a classic cookie, right? But honestly, sometimes those classics just feel like they need a little something extra to really sing. That’s where I get excited! I spent years chasing that perfect homemade cookie flavor, and I realized the magic isn’t in adding ten fussy ingredients; it’s usually in deeply understanding just one. Take the humble snickerdoodle. It’s fantastic as is, but when you take the time—just a few extra minutes—to brown the butter, everything changes. Suddenly, you aren’t just eating a cinnamon cookie; you’re eating these incredible brown butter snickerdoodles boasting a deep, toasty, nutty flavor.
For me, this upgrade is the perfect example of our philosophy here at Taste This Plate: simple ingredients, extraordinary results. That beautiful toasted butter aroma that fills your house while you bake? That’s what creating memories smells like, and it starts right there on the stovetop!
- Why Our Brown Butter Snickerdoodles Are the Best Snickerdoodle Recipe
- Gathering Ingredients for Your Brown Butter Snickerdoodles
- Step-by-Step Instructions for Perfect Brown Butter Snickerdoodles
- Tips for Achieving Bakery Style Brown Butter Snickerdoodles
- Variations on Your Brown Butter Snickerdoodles
- Serving Suggestions for These Gourmet Snickerdoodles
- Storing Your Soft and Chewy Brown Butter Snickerdoodles
- Frequently Asked Questions About Brown Butter Cookies
- Nutritional Estimate for Brown Butter Snickerdoodles
Why Our Brown Butter Snickerdoodles Are the Best Snickerdoodle Recipe
If you only make one change to your snickerdoodle game this year, make it this one. Browning the butter is non-negotiable for me because it truly elevates this cookie from great to something truly special. People always ask me for my secret to making the best snickerdoodle recipe, and this is it!
- The profound, nutty depth that only toasted butter cookies can offer.
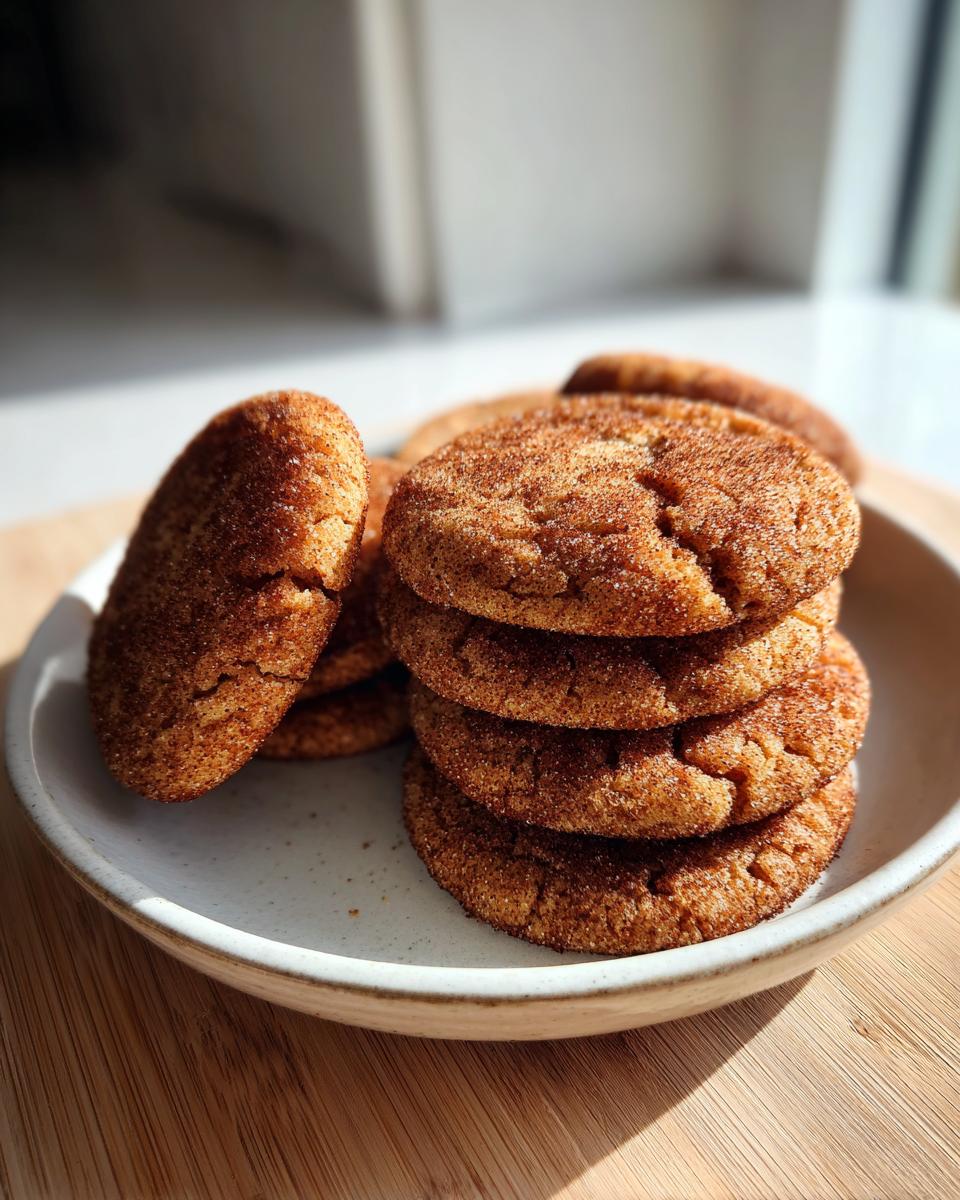
- A perfectly balanced texture—crisp edges giving way to wonderfully soft and chewy cookies.
- That essential signature tang provided by the cream of tartar that cuts through the richness.
The Secret to Toasted Butter Cookies Flavor
When you brown butter, you are essentially toasting the milk solids at the bottom of the pan. Think about it: you take regular butter and, through heat, you unlock intense, nutty, almost caramel-like undertones. It’s not just fatty anymore; it’s complex!
This simple transformation is what makes this a genuine brown butter upgrade cookies experience. It mimics the flavor you get when you use brown butter in cakes or brownies, but here, it takes center stage. Trust me, once you taste this version, you won’t go back to using plain, melted butter again!
Gathering Ingredients for Your Brown Butter Snickerdoodles
The best part about bringing this gourmet touch to a classic is that you probably have almost everything you need right now. This isn’t a recipe that sends you searching specialty shops! We’re sticking to simple, accessible items to make true brown butter cookies.
You will need:
- 1 cup (2 sticks) unsalted butter
- 1 3/4 cups all-purpose flour
- 2 teaspoons cream of tartar
- 1 teaspoon baking soda
- 1/2 teaspoon salt
- 1 1/2 cups granulated sugar, divided
- 1 large egg
- 1 teaspoon vanilla extract
- 3 tablespoons ground cinnamon
Ingredient Notes and Substitutions for Brown Butter Cookies
Listen, the butter is the star here, so we need to treat it right. After you brown it, you absolutely cannot use it while it’s liquid! It needs to cool down until it’s soft but still holding its shape—think the texture of soft peanut butter. If it’s too warm, your whole cookie structure collapses on you later.
Also, please don’t skip the cream of tartar! Everyone wants the nutty flavor from the nutty flavored cookies, but the tang is what keeps them from tasting heavy. Cream of tartar is essential because it reacts with the baking soda to create those beautiful, soft centers we’re aiming for in this old fashioned cookie recipes variation.
Step-by-Step Instructions for Perfect Brown Butter Snickerdoodles
Making these brown butter snickerdoodles is honestly thrilling because you are transforming an ingredient right before your eyes! The process is straightforward once you know what to watch for. We start with the star ingredient, the butter, and make sure it’s perfectly browned before moving on to the rest of the mixing.
Remember, if you’re nervous about burning it, grab a light-colored, stainless steel pan. You need to see that color change happening! For more context on why we toast the butter first, check out how I used this same technique in my chewy brown butter oatmeal coconut cookies.
Mastering the Brown Butter Process
Time to melt that butter over medium heat. It will melt, then it will start to foam up pretty aggressively. Let it foam, but keep your eye glued to the bottom! Once the foam subsides, you’ll see little milk solids start to form, and they will turn from white to golden, then finally to a deep, coffee-brown color. That’s the magical moment!
You’ll know it’s perfect when the house smells incredibly nutty. Immediately pull it off the heat and pour everything—including those flavorful brown bits at the bottom—into a heatproof bowl! Now, the patient part: you must let this cool for about 30 minutes. We need it solidified back to a soft, spreadable texture before we can proceed with the dough!
Mixing and Coating Your Butter Browned Cookie Dough
Once your butter is cool and creamy, beat it with one cup of sugar until it gets light and fluffy—this builds air! Then work in your egg and vanilla. Now, slowly add in your pre-mixed dry ingredients (flour, salt, soda, and cream of tartar). Mix on low speed, and hey, stop as soon as you don’t see streaks of flour, okay? We absolutely do not want to overmix this beautiful butter browned cookie dough.
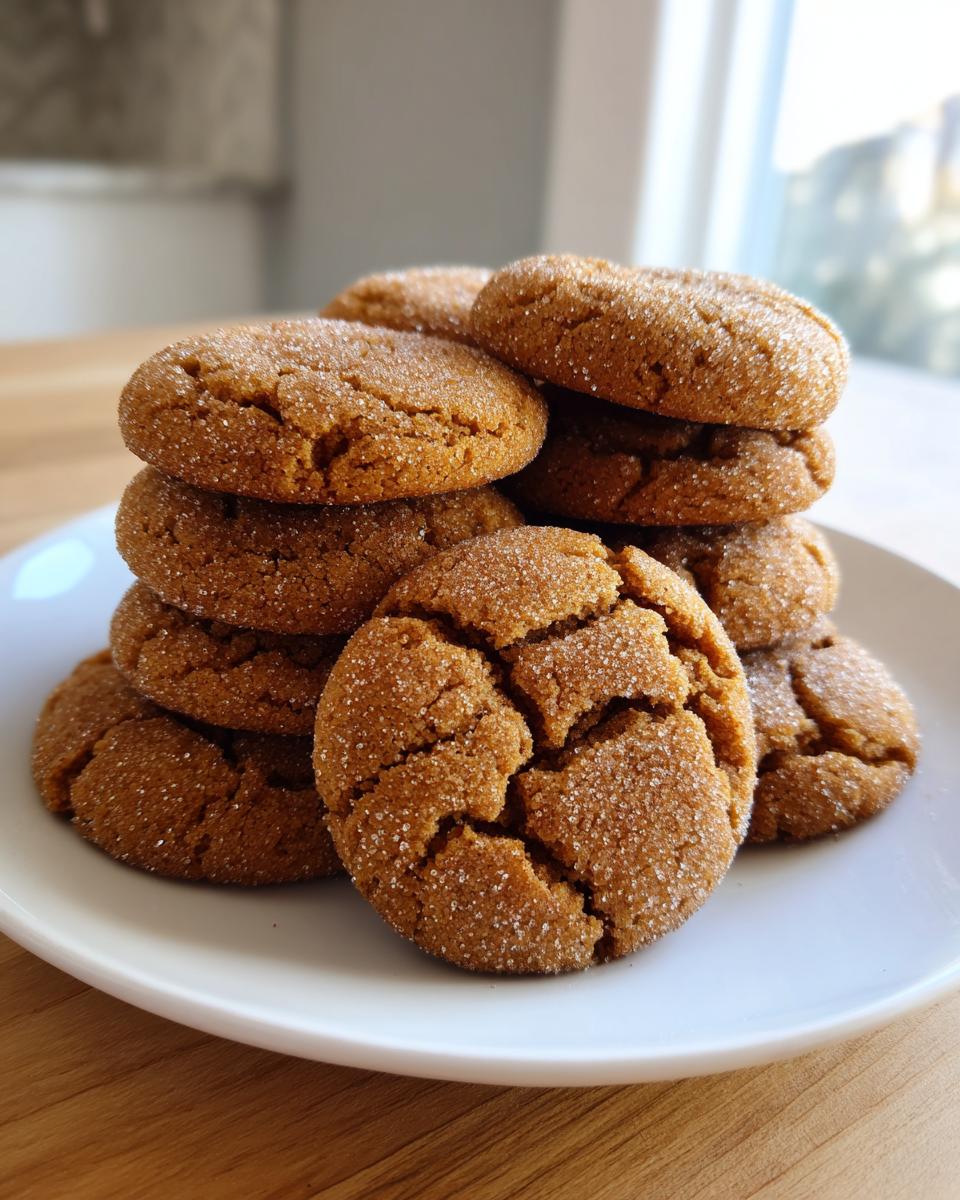
While the mixer is running on low, get your coating ready. Mix that remaining half-cup of sugar with the cinnamon in a shallow bowl. Scoop your dough into balls—I use about 1.5 tablespoons per cookie. Roll these balls thoroughly in the cinnamon sugar until they are totally coated. They should look fuzzy!
Baking and Cooling for Chewy Brown Butter Snickerdoodles
Preheat your oven to 350°F (175°C) and get those sheets lined with parchment paper. Place your coated dough balls about two inches apart. Bake them for 9 to 11 minutes. And listen to me: Do not overbake them! You want the edges set, but the centers should look a tiny bit soft and underdone when you take them out. They finish baking on the hot pan!
This five-minute rest on the hot baking sheet is crucial for any good chewy snickerdoodle recipe. After those five minutes, gently move them to a wire rack to finish cooling completely. This sets the contrast between the crisp edge and the soft, gooey middle!
Tips for Achieving Bakery Style Brown Butter Snickerdoodles
It’s one thing to follow the steps, but it’s another thing entirely to make them look and taste like they came straight from a professional bakery case, right? We can get there! Since this recipe is already so rich from the brown butter cookies base, a few small adjustments ensure you get that perfect dome and chewiness every single time.
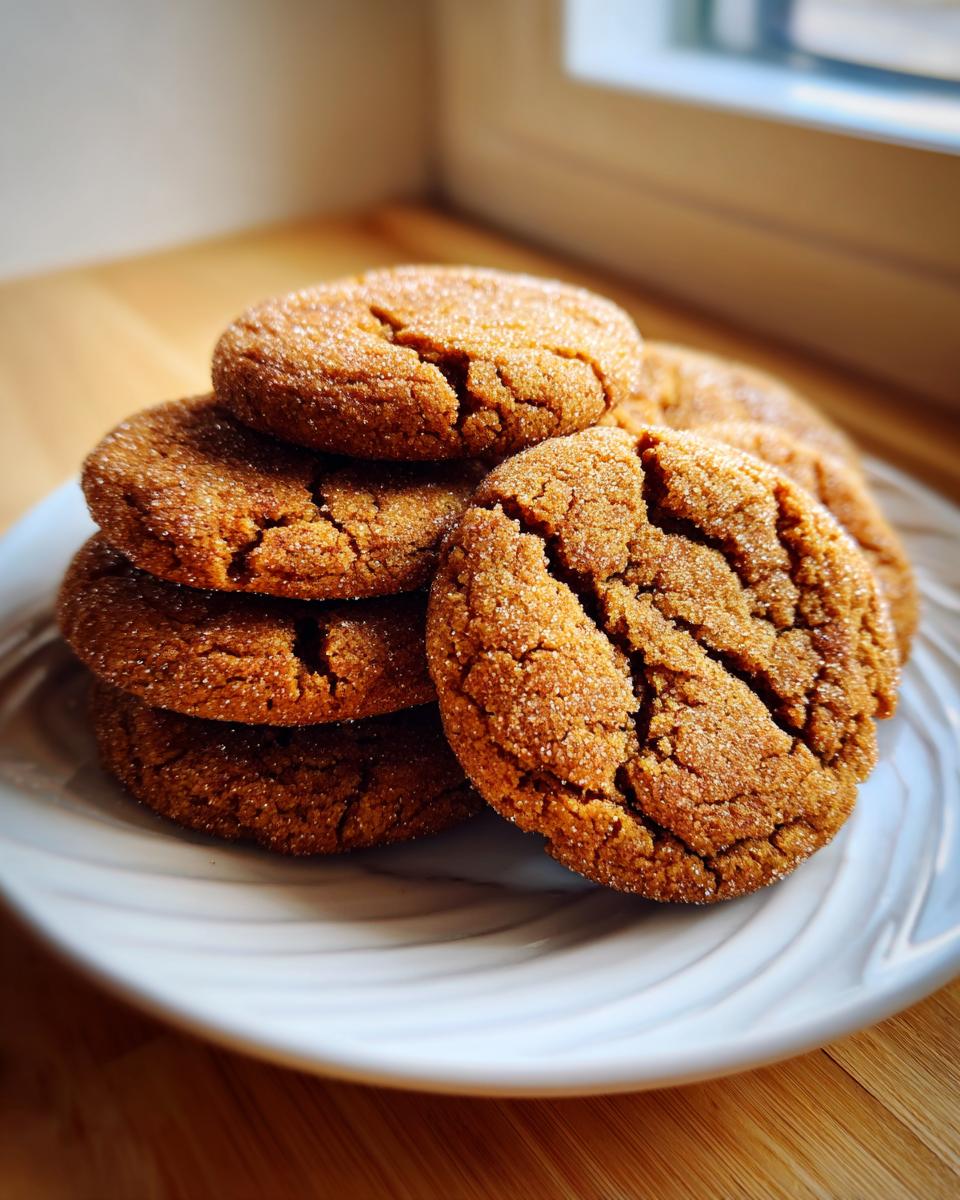
My trick for achieving that sought-after, slightly flatter, crinkle-topped look you see in specialty shops is simple: the gentle press. Right after you coat the dough balls in the cinnamon sugar, take the bottom of a flat drinking glass, give it one quick, firm press onto the top of the dough ball, and then roll the edges gently again in the sugar if needed. This instantly flattens it just enough to prevent it from puffing into a huge ball, guaranteeing those beautiful, crinkly edges.
Now, let’s talk spreading. If you’ve had trouble with cookies spreading too thin before, I totally get it, especially when using melted or warm fats like browned butter. If your dough feels a bit too slack coming out of the mixer, wrap the whole bowl and pop it in the fridge for about 15 to 20 minutes. Chilling the butter browned cookie dough firms up that fat again, which minimizes spread during those crucial first few minutes in the oven. You can see a similar technique I use to control spread in these fantastic lemon crinkle cookies!
Also, remember when I said not to overbake them? That’s the biggest secret for soft and chewy cookies. If you pull them when they look *just* set, they will continue baking on the hot sheet pan for those five minutes afterwards. That perfect timing locks in the chewiness. Don’t be afraid of taking them out a minute early!
Variations on Your Brown Butter Snickerdoodles
Wow, these brown butter snickerdoodles are so good plain, but who doesn’t love a little customization? Once you’ve mastered the base technique—and I know you have now, you’re doing the browning perfectly—you can start treating this recipe like a canvas for seasonal flavors. Think of it as creating your own lineup of classic cookie variations!
For the colder months or just when you crave something deeper than standard cinnamon, think about beefing up that spice mix. You can easily swap out about a teaspoon of that ground cinnamon for a half-teaspoon of freshly ground nutmeg or even a pinch of cardamom while you’re mixing your coating. Cardamom is just incredible with the nutty flavor of toasted butter cookies, I promise!
Another brilliant, subtle change is playing with the sugar in the coating. If you have some turbinado sugar (those big, crunchy brown crystals) around, try mixing half turbinado and half granulated sugar for rolling. It adds a slightly deeper molasses note and gives the outside of the cookie a spectacular, almost crackly crunch. It’s a lovely snickerdoodle with a twist.
And if you like pumpkin spice, you won’t want to miss my other seasonal favorite! If you want to lean hard into autumn, you can check out my full pumpkin snickerdoodle cookies recipe, but even just adding a quarter-teaspoon of pumpkin pie spice to the dough itself works wonders during the fall season.
The beauty here is that because the flavor backbone—the brown butter upgrade cookies element—is so strong, these little additions really shine through without messing up the core texture. Happy experimenting!
Serving Suggestions for These Gourmet Snickerdoodles
Now that you have a batch of these beautiful, rich gourmet snickerdoodles cooling, the next big question is: what do you serve them with? Because the brown butter adds such a deep, almost toffee-like note, these cookies stand up really well to simple, classic pairings!
Honestly, the easiest and best pairing is a tall, cold glass of milk. The cool creaminess just cuts through the sweetness and the richness of the toasted butter perfectly. It’s an old-fashioned pairing for a reason, and it makes for the perfect afternoon snack.
If you’re serving these after dinner, they are fantastic alongside a warm cup of coffee or a strong black tea. That slightly bitter note of the coffee is just what you need to balance out the intensity from the nutty flavored cookies. They are seriously addictive that way!
If you’re planning ahead for parties or need some holiday baking inspiration, these travel so well and they look beautiful on a platter nestled next to something brighter. Think about setting them next to a plate of citrus thumbprint cookies or even placing them near your homemade hot cocoa setup. Speaking of which, if you need an amazing mix for those chilly nights, you absolutely have to try my easy homemade hot cocoa mix—it’s perfect for dipping!
Because the texture is so wonderfully soft and chewy, they feel substantial and celebratory. They don’t crumble apart the moment you pick them up, which makes them perfect for gifting or taking to a potluck. Enjoy every buttery, cinnamony bite!
Storing Your Soft and Chewy Brown Butter Snickerdoodles
I know you don’t want these amazing brown butter cookies to disappear in one afternoon, so let’s talk about keeping them fresh! Because of that rich fat content from the butter, these stay softer longer than typical cookies. The key is getting them cooled completely and into an airtight container fast.
They are perfectly good sitting at room temperature for a good four or five days. If you stack them up, put a small piece of wax paper between the layers so the cinnamon sugar doesn’t smudge off onto the next cookie.
For anyone doing serious holiday baking inspiration prep work, yes, they freeze beautifully! You can freeze the baked cookies for up to three months. Or, even better, scoop your butter browned cookie dough into balls, roll them in the sugar, place them on a sheet tray, and freeze them that way. Once frozen solid, transfer them to a freezer bag. You can bake them straight from frozen—just add about two extra minutes to your baking time!
Frequently Asked Questions About Brown Butter Cookies
I always get so many questions when I post these—which is great, because it means you all are serious about making the best batch possible! Here are a few things I hear most often about making these brown butter snickerdoodles, especially when dealing with that toasted butter element.
Can I skip browning the butter in this brown butter snickerdoodles recipe?
You sure can technically skip it, but I honestly wouldn’t recommend it if the title says brown butter snickerdoodles! If you just use regular melted butter, you are back to a standard, good snickerdoodle. You lose that beautiful depth, that toasty complexity, and that signature nutty aroma that makes these nutty flavored cookies so special. It’s worth the five minutes on the stove, trust me!
Why did my brown butter snickerdoodles spread too much?
This is almost always temperature related. If your butter was too warm when you mixed it with the sugar and egg, it means the fat structure wasn’t firm enough to hold its shape in the oven. Remember what I stressed in the steps: you need that butter to cool completely until it looks like soft peanut butter! If you rush the cooling step, the cookies spread thin. If you notice your dough looks loose when you go to scoop, pop the bowl in the fridge for 15 minutes—that’s how you keep those adorable domes and prevent the cookie from becoming a flat, greasy disk.
What is the role of cream of tartar in these nutty flavored cookies?
That little bit of cream of tartar does seriously heavy lifting here. It’s essential because it provides a slight acidity that reacts with the baking soda, giving you that classic puff and soft center. But more importantly for these rich cookies, that slight, almost tart flavor cuts through the richness of the browned butter perfectly. It keeps the cookie tasting bright rather than too heavy or overly sweet. It’s the secret to a truly balanced chewy snickerdoodle recipe!
Nutritional Estimate for Brown Butter Snickerdoodles
I always get a few folks who want to know the numbers, even when they are indulging in our gourmet snickerdoodles! Look, baking is about joy more than spreadsheets, but it’s good to have a general idea of what you’re enjoying. Keep in mind that since we are using rich brown butter in this recipe, the fat content will be a bit higher than your standard cookie, but oh boy, is it worth it!
Here is the approximate nutritional breakdown per cookie, based on my measurements. Remember, every ingredient brand mixes up just a tad differently (especially the sugar content in the cinnamon!), so this is a guideline for you, not a strict guarantee! This estimate is based on yielding 24 cookies.
- Serving Size: 1 cookie
- Calories: 165
- Sugar: 14g
- Sodium: 85mg
- Fat: 9g
- Saturated Fat: 5g
- Unsaturated Fat: 4g
- Trans Fat: 0g
- Carbohydrates: 20g
- Fiber: 0g
- Protein: 2g
- Cholesterol: 30mg
If you’re using a specific diet or tracking closely, I always recommend plugging your exact ingredients into your favorite tracking app. But for these brown butter cookies, I just focus on the fact that they are delicious and made with love. Anything else is just extra noise!
PrintChewy Brown Butter Snickerdoodles
Make classic snickerdoodles better by browning the butter first. This simple step adds a deep, nutty flavor, resulting in soft, chewy cookies with crisp edges, coated in cinnamon sugar.
- Prep Time: 20 min
- Cook Time: 11 min
- Total Time: 61 min
- Yield: 24 cookies 1x
- Category: Dessert
- Method: Baking
- Cuisine: American
- Diet: Vegetarian
Ingredients
- 1 cup (2 sticks) unsalted butter
- 1 3/4 cups all-purpose flour
- 2 teaspoons cream of tartar
- 1 teaspoon baking soda
- 1/2 teaspoon salt
- 1 1/2 cups granulated sugar, divided
- 1 large egg
- 1 teaspoon vanilla extract
- 3 tablespoons ground cinnamon
Instructions
- Brown the butter: Place the butter in a light-colored saucepan over medium heat. Melt the butter completely, then continue cooking. The butter will foam, then subside. Watch closely as brown bits form at the bottom and the butter smells nutty. Remove from heat immediately when the milk solids turn deep golden brown. Pour the browned butter (including the browned bits) into a heatproof bowl. Let it cool at room temperature for about 30 minutes until it is mostly solid but still soft, like peanut butter.
- Preheat your oven to 350°F (175°C). Line two baking sheets with parchment paper.
- In a medium bowl, whisk together the flour, cream of tartar, baking soda, and salt. Set this dry mixture aside.
- In a large bowl, combine the cooled, softened brown butter with 1 cup of the granulated sugar. Beat with an electric mixer until light and fluffy, about 2 minutes.
- Beat in the egg and vanilla extract until just combined.
- Gradually add the dry ingredient mixture to the wet ingredients, mixing on low speed until just incorporated. Do not overmix the dough.
- In a small, shallow bowl, mix the remaining 1/2 cup of granulated sugar with the ground cinnamon. This is your cinnamon sugar coating.
- Scoop the dough into balls, about 1.5 tablespoons each. Roll each ball thoroughly in the cinnamon sugar mixture until completely coated.
- Place the coated dough balls onto the prepared baking sheets, leaving about 2 inches between them.
- Bake for 9 to 11 minutes. The edges should look set, but the centers should still look slightly soft. Do not overbake these gourmet snickerdoodles.
- Let the cookies cool on the baking sheet for 5 minutes before transferring them to a wire rack to cool completely. This helps them achieve the perfect soft and chewy texture.
Notes
- To achieve the best brown butter flavor, use a light-colored saucepan so you can clearly see the color change of the milk solids.
- If your dough feels too soft after mixing, chill it for 15 minutes before rolling. This helps prevent excessive spreading.
- For bakery style snickerdoodles, gently press down on the tops of the dough balls with the bottom of a glass just before baking.
Nutrition
- Serving Size: 1 cookie
- Calories: 165
- Sugar: 14
- Sodium: 85
- Fat: 9
- Saturated Fat: 5
- Unsaturated Fat: 4
- Trans Fat: 0
- Carbohydrates: 20
- Fiber: 0
- Protein: 2
- Cholesterol: 30