

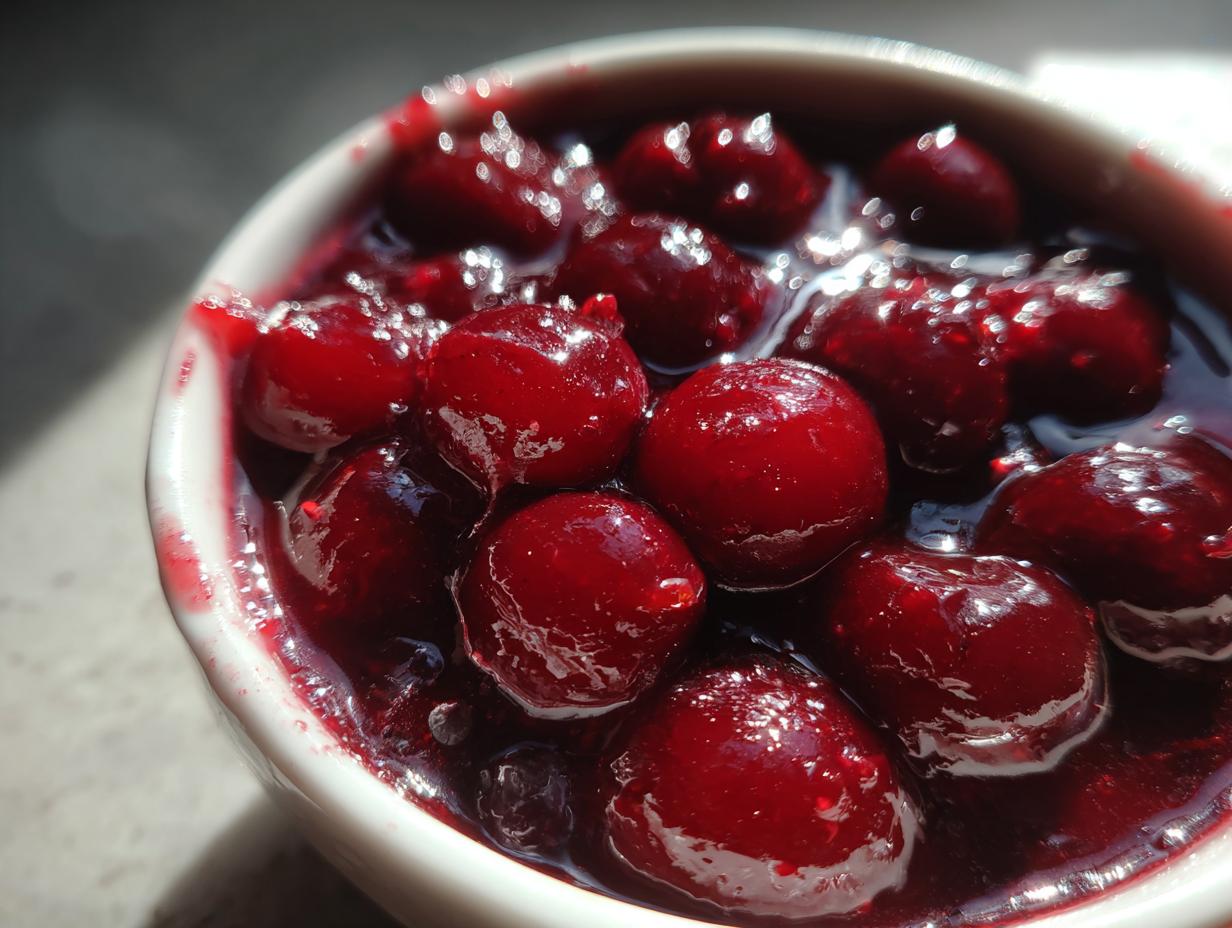
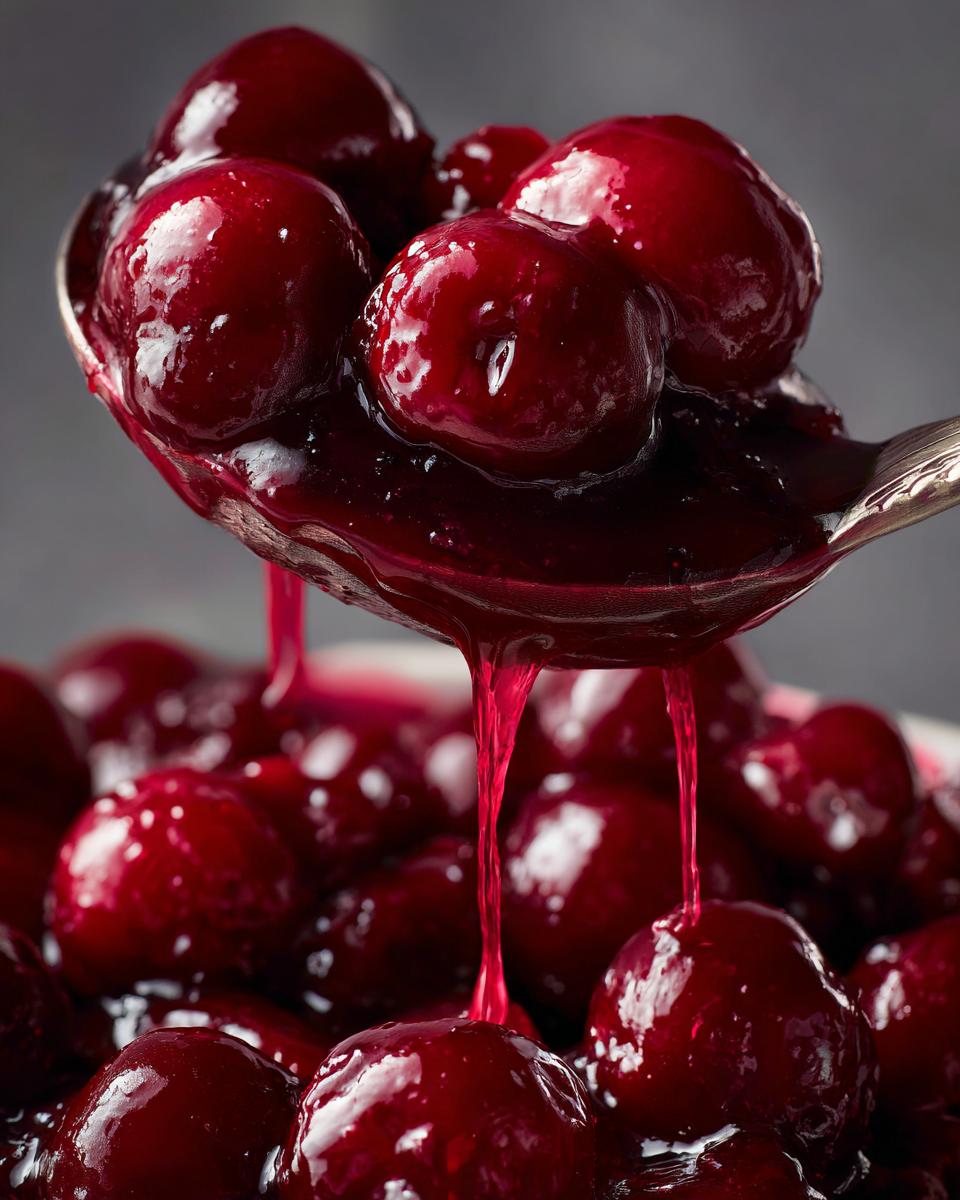
Listen, we’ve all been there. You’re ready to bake that perfect pie, and you crack open that can of grocery store cherry pie filling, only to discover it’s full of weird, overly gelatinous goop and fruit that looks suspiciously like plastic. Nope! We are not doing that anymore. I promise you, making your own **cherry pie filling** from scratch is ridiculously easy, tastes a million times better, and results in the thickest, juiciest filling you can imagine. This is one of Kate’s favorite, tested American recipes for a reason—it’s simple, and it works. If you want to know more about why we focus on kitchen confidence, check out our mission on the About Us page. Get ready; we’re ditching the can forever!
- Why You Will Love This Homemade Cherry Pie Filling
- Ingredients for the Best Cherry Pie Filling From Scratch
- How to Make Easy Cherry Pie Filling Recipe Step-by-Step
- Tips for Perfect Thick Cherry Pie Filling
- Versatile Cherry Filling Recipe Applications
- Storage and Canning Cherry Pie Filling
- Frequently Asked Questions About Cherry Pie Filling
- Estimated Nutritional Data for This Cherry Pie Filling
- Share Your Homemade Cherry Pie Filling Creations
Why You Will Love This Homemade Cherry Pie Filling
Seriously, ditch that can! Once you try this, you’ll never look back. I developed this recipe because I couldn’t stand the texture of the store-bought stuff, and I wanted something that tasted bright and fresh, even if I was using frozen fruit. Here’s why this recipe is going straight into your favorites:
- Perfectly Thick Texture: We use just the right amount of cornstarch so you get that satisfyingly **thick cherry pie filling** that stays put when you slice it. No runny messes here!
- Incredibly Juicy: It creates a truly **juicy cherry filling** that bursts with flavor. Whether you use fresh or straight-from-the-freezer cherries, the result is luscious.
- So Easy, Seriously: You mix it, you cook it, done! We’re talking about maybe 15 minutes on the stovetop. This is the ultimate **quick cherry pie filling recipe**.
- Maximum Versatility: While it’s heavenly in a double-crust pie, this mixture is amazing as a **cherry pie topping** for cheesecake, ice cream, or even just mixed into yogurt.
- Goodbye Cans! This ensures you have **no store bought cherry filling** lurking in your pantry ever again. You control the sweetness and the quality!
Ingredients for the Best Cherry Pie Filling From Scratch
You don’t need fancy imported stuff for this! Honestly, the beauty of this recipe is that everything is accessible right at your regular grocery store. We focus on simple American staples to get that amazing flavor.
Here is what you need for about 5 cups of delicious homemade cherry pie filling:
- 4 cups fresh or frozen pitted sweet or tart cherries. (Yep, frozen works great—no need to thaw them first!)
- 1 cup granulated sugar
- 1/4 cup cornstarch (this is key for thickness!)
- 1/2 cup water
- 1 tablespoon lemon juice
- 1/4 teaspoon almond extract (optional, but trust me, it brightens things up!)
- A tiny pinch of salt
That’s it! See? No weird chemicals or colors needed. We keep it pure so those gorgeous cherries can shine.
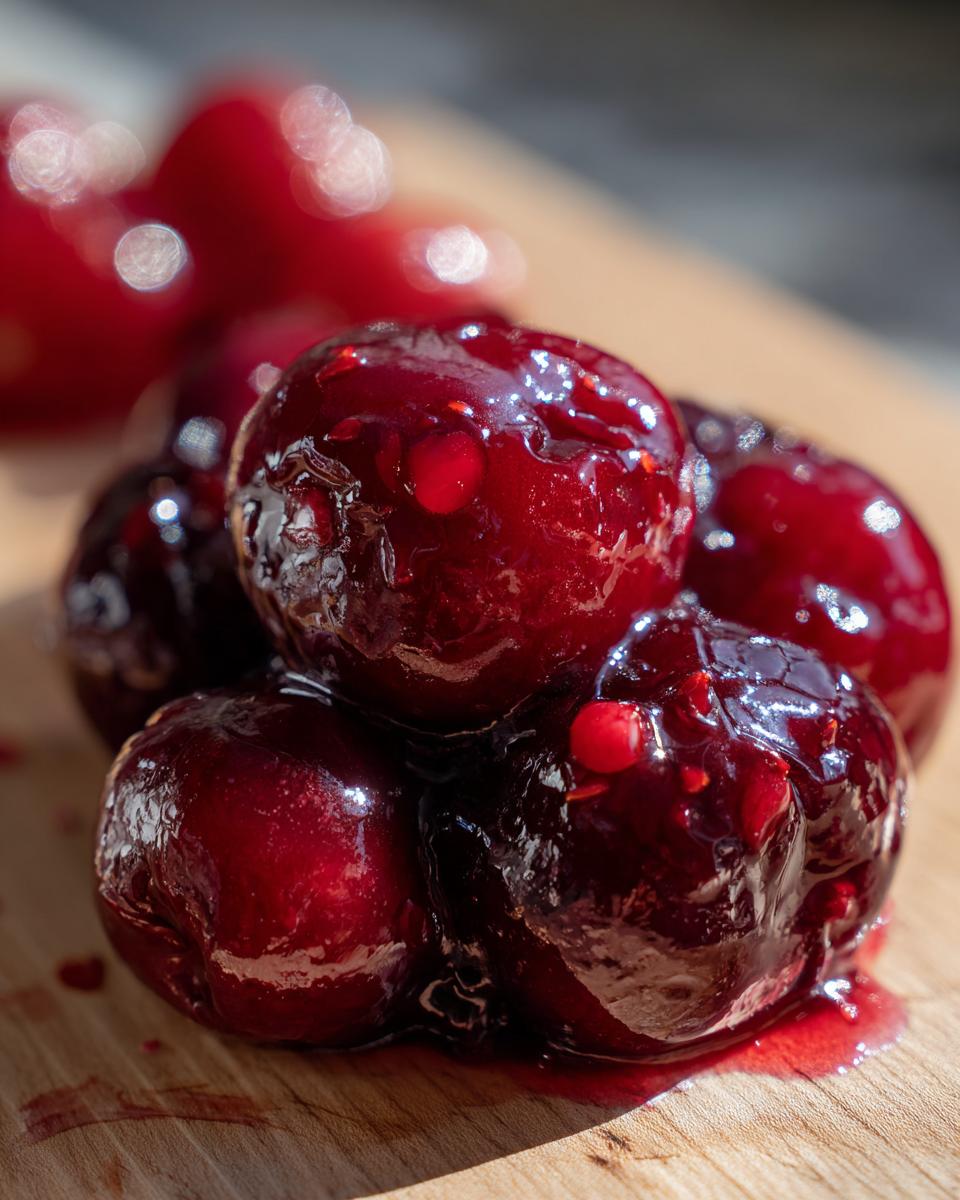
How to Make Easy Cherry Pie Filling Recipe Step-by-Step
Making your own perfect **cherry pie filling** is mostly about getting the thickening agent right first. Don’t rush this part—it’s where we build the structural integrity for that thick, sliceable pie layer we want. If you combine the dry stuff first, you get a much smoother base later on!
Preparing the Thickening Base for Your Cherry Pie Filling
First things first, grab a medium saucepan—nothing fancy needed. You want to dump your sugar and your cornstarch right into that dry pot. Now, give them a quick whisk together. We break up any clumps now so we don’t have to deal with rogue lumps later, which is the worst!
Next, gently pour in your measured water. Whisk this mixture slowly and steadily until you can’t see any sugar grains or cornstarch streaks left. It should look like milky, slightly cloudy water. That means your base for the thick filling is ready to hit the heat!
Cooking the Juicy Cherry Filling
Now we turn the heat on—medium is where we stay. You have to stir this base constantly. It seems like a lot of work, but honestly, it’s just mindful stirring for about 5 to 8 minutes. You’ll know it’s working when the mixture starts looking glossy and clinging to the back of your spoon. It’s getting thick!
Once it’s thickened up, toss in your 4 cups of cherries (frozen or fresh, remember!). Add the lemon juice, salt, and that optional almond extract for a little pop. We want this to simmer gently now, just until everything is piping hot, maybe one or two minutes. Don’t let it boil hard, we just want to infuse those flavors into our beautiful **juicy cherry filling**.
Finalizing and Cooling the Cherry Pie Filling
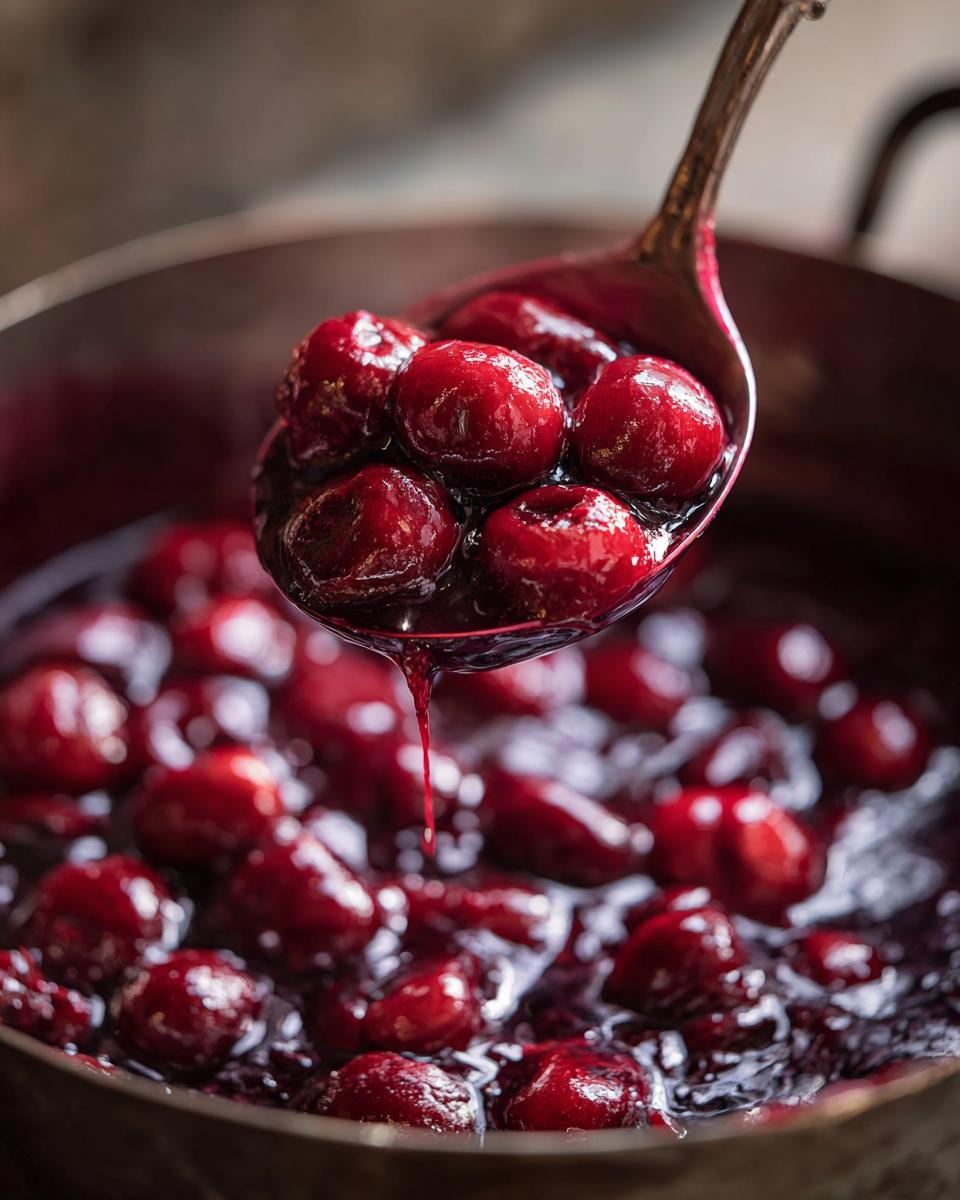
Once the cherries are warmed through and glossy, pull that pan straight off the burner. That’s the most important part! Don’t cook it one second past when the cherries are incorporated. You can use this filling warm if you are topping a cheesecake right now, but if it’s going into a pie crust, you absolutely must let it cool completely.
Trust me here: the chilling process is when the magic hardens. As it cools down on the counter, it transforms from a slightly loose sauce into that perfect, set-up **Thick Cherry Pie Filling**. If you’re not using it today, pop it into an airtight container and stick it in the fridge. It holds up beautifully!
If you’re looking for tips on the perfect lattice or crimp for your pie top, you should definitely check out my guide on how to easily make a perfect lattice crust to go with this amazing filling!
Tips for Perfect Thick Cherry Pie Filling
Okay, so you’ve made the batch, and maybe it looks, gulp, a little thin? Don’t panic! That’s why we talk about this stuff—so you don’t stress when things don’t look exactly like the photo right away. If you find yourself needing a stiffer sauce for your pie or dessert, the fix is super simple. Just keep a small slurry of cornstarch and cold water ready. Whisk about a teaspoon or two of that slurry into your simmering **cherry pie filling**, and keep it moving for just 30 seconds.
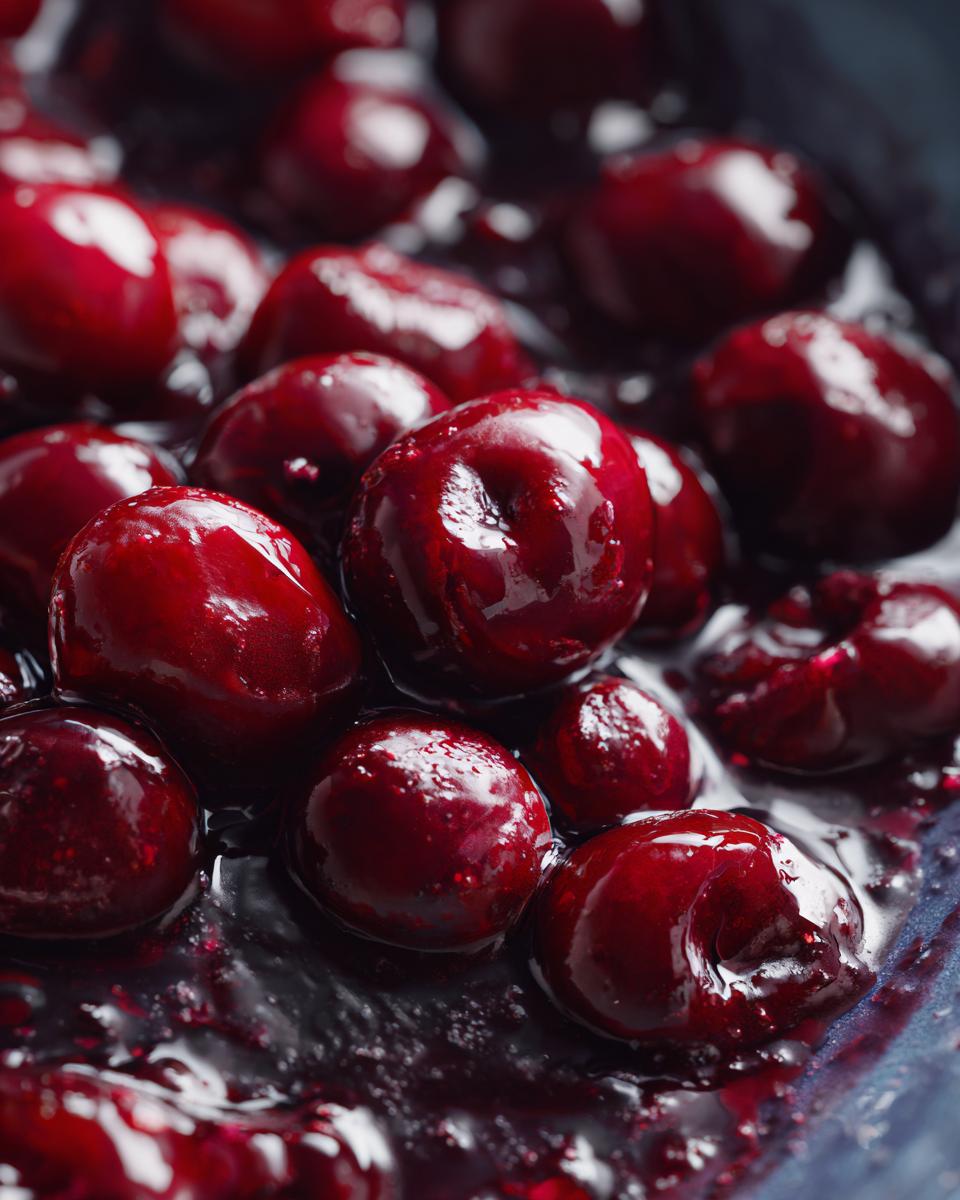
It thickens up fast, so be careful not to add too much! Remember, as I mentioned in the ingredients section, if you’re planning ahead, you can always boost the cornstarch from the start—I suggest going up to 5 tablespoons if you really prefer a super dense result. If you’re using fruit straight from the freezer, just remember not to thaw it; adding it cold actually helps control the simmering process a little bit!
For more amazing ways to improve simple components, check out my tips on making perfect homemade granola, which also relies on getting the right set! And if you want some great ideas on preserving your bounty, I found some fantastic advice over at Texas Homesteader.
Versatile Cherry Filling Recipe Applications
Okay, so you’ve got this beautiful, thick batch made. Now what? While it’s divine in a homemade pie, please don’t think you have to bake something crust-heavy just to use it up! This **versatile cherry filling recipe** is my go-to for quick dessert emergencies.
You can pour this warm (or cold!) over vanilla ice cream—it beats any jarred topping out there. It’s absolutely fantastic spooned over fluffy pancakes or waffles on a Sunday morning. And if you have a plain cheesecake that needs a little wow factor, just dollop this right on top. Seriously, leftovers disappear fast when you use it like this!
If you love versatile toppings, you’ll want to check out my killer recipe for coffee cake muffins with that amazing cinnamon streusel!
Storage and Canning Cherry Pie Filling
Now, this is important because once you make a batch of truly fantastic homemade **cherry pie filling**, you don’t want to waste a single bit of it! Good news: this stuff keeps really well in the fridge. Just make sure it’s truly cooled down—remember how it sets up as it chills? Pop it into a clean, airtight container. It’ll keep beautifully for about 10 to 14 days, which is plenty of time for multiple pies or topping every dessert in the house.
If you’ve got mountains of cherries and want to save some for those cold winter days when you’re craving summer fruit? Then canning is what you want to look into! Canning preserves that vibrant flavor so you can enjoy your filling months down the line. I’m not a canning expert by any means—I’m always hyper-cautious about food safety when it comes to shelf-stable goods.
My advice is always to stick to trusted guidelines, like those from the USDA, or check out specific, reliable guides on the process. If you’re ready to dive into safe methods for home preservation, I highly recommend looking up detailed procedures, such as those found for canning cherry pie filling. It’s a great skill to have if you want to keep that fresh, homemade taste around all year!
Frequently Asked Questions About Cherry Pie Filling
Can I use canned cherries instead of fresh or frozen?
Well, you *can*, but honestly, that defeats the purpose of making homemade filling, right? If you absolutely must skip fresh or frozen, go for it. Just make sure you drain those canned cherries really well—like, really well! You’ll need to significantly cut back on the added sugar because canned cherries are usually packed in syrup. If you use canned, treat it like a topping rather than a true “from scratch” recipe.
What kind of cherries should I use for the best flavor?
This is a great question, especially when thinking about a **Sweet Tart Cherry Filling**! I usually prefer tart cherries (like Montmorency) because they hold their shape beautifully and give that classic, slightly tangy bite that balances the sugar. However, sweet cherries (like Bing) work perfectly fine if you prefer the filling to be sweeter overall. It really just depends on what you have access to and what level of sweetness you like!
My filling didn’t thicken enough! What do I do now?
Oh, the dreaded runny filling! Don’t throw it out! This is the easiest fix. Get a separate tiny bowl and mix one teaspoon of cornstarch with two teaspoons of cold water until it’s totally smooth—that’s your emergency slurry. Bring your runny filling up to a slight simmer on the stove, whisk in that slurry quickly, and then stir constantly for about 30 seconds. It should thicken right up! Just remember to let it cool completely before testing the set again.
How long does this filling last in the refrigerator?
Because this recipe uses simple, fresh ingredients and we cook it down, it stores wonderfully! If you keep it in a clean, airtight jar, it stays fresh in the fridge for a good week and a half, sometimes pushing two weeks. The cooling process makes it set up so nicely, making it ready for any last-minute dessert craving!
Estimated Nutritional Data for This Cherry Pie Filling
I always say, knowing what’s in your food is just as important as knowing how to *make* it. Since this filling is packed with real fruit and simple sugar, it’s probably going to be a little higher in the natural sweetness department than your average vegetable side dish, but that’s what dessert is for!
These numbers are based on a standard serving size of 1/2 cup of the finished **cherry pie filling recipe**, assuming you’ve made the standard batch. Remember, these are always going to be *estimates* because the exact measurements depend on how sweet your fruit was to begin with.
Here is the breakdown:
- Calories: Approximately 220
- Total Fat: About 0.5 grams (practically fat-free!)
- Cholesterol: 0 mg
- Sodium: Around 5 mg (just a tiny pinch of salt in ours!)
- Total Carbohydrates: 55 grams
- Dietary Fiber: 2 grams
- Total Sugars: 35 grams (Remember, a good chunk of this is fruit sugar!)
- Protein: 1 gram
So yes, it’s a treat, but it’s a homemade one loaded with real fruit flavor, and that makes all the difference!
Share Your Homemade Cherry Pie Filling Creations
Now it’s your turn! I’ve told you all my secrets for getting that perfect, thick, glossy mixture that tastes a million times better than anything you could buy in a can. I absolutely love hearing from you, my fellow home cooks, about how you used this batch!
Did you use it in a towering pie? Did you pour it over waffles while the kids were still sleepy? Or maybe you finally made that cheesecake topping you’ve been dreaming about? Don’t keep it a secret!
Please take a moment and leave a star rating right below the recipe—it really helps other bakers know this simple recipe is reliable and ready for them. And if you have a specific tip or a unique way you used your fresh cherry pie filling, shout it out in the comments! I read every single one, and I love building this community of confident, delicious home bakers together. We’re all learning over here!
If you ever have a question about a specific step or just want to send a quick note, you can always reach out through the Contact Page. Happy baking, and I can’t wait to see what you create!
PrintEasy Homemade Cherry Pie Filling From Scratch

Make thick, juicy cherry pie filling using fresh or frozen cherries. This simple recipe avoids store-bought cans and works great for pies, cheesecakes, or as a topping.
- Prep Time: 10 min
- Cook Time: 15 min
- Total Time: 25 min
- Yield: About 5 cups 1x
- Category: Dessert Component
- Method: Stovetop Cooking
- Cuisine: American
- Diet: Vegetarian
Ingredients
- 4 cups fresh or frozen pitted sweet or tart cherries
- 1 cup granulated sugar
- 1/4 cup cornstarch
- 1/2 cup water
- 1 tablespoon lemon juice
- 1/4 teaspoon almond extract (optional)
- Pinch of salt
Instructions
- Combine the sugar and cornstarch in a medium saucepan. Whisk them together well.
- Add the water to the saucepan and whisk until the mixture is smooth and no lumps remain.
- Place the saucepan over medium heat. Stir constantly until the mixture begins to thicken. This should take about 5 to 8 minutes.
- Once the mixture is thick, stir in the cherries, lemon juice, almond extract (if using), and salt.
- Bring the mixture to a gentle simmer, stirring occasionally. Cook for 1 to 2 minutes until the cherries are heated through and the filling is glossy. Do not boil rapidly.
- Remove the saucepan from the heat. Allow the cherry pie filling to cool completely before using it in a pie or as a topping. The filling will thicken more as it cools.
- If you plan to use the filling later, transfer it to an airtight container and refrigerate.
Notes
- For a thicker filling, increase the cornstarch to 5 tablespoons.
- If using frozen cherries, do not thaw them before adding them to the mixture.
- This filling is excellent as a topping for ice cream, pancakes, or cheesecake.
- For canning, follow standard safe canning procedures for high-acid fruit fillings.
Nutrition
- Serving Size: 1/2 cup
- Calories: 220
- Sugar: 35
- Sodium: 5
- Fat: 0.5
- Saturated Fat: 0
- Unsaturated Fat: 0.5
- Trans Fat: 0
- Carbohydrates: 55
- Fiber: 2
- Protein: 1
- Cholesterol: 0