
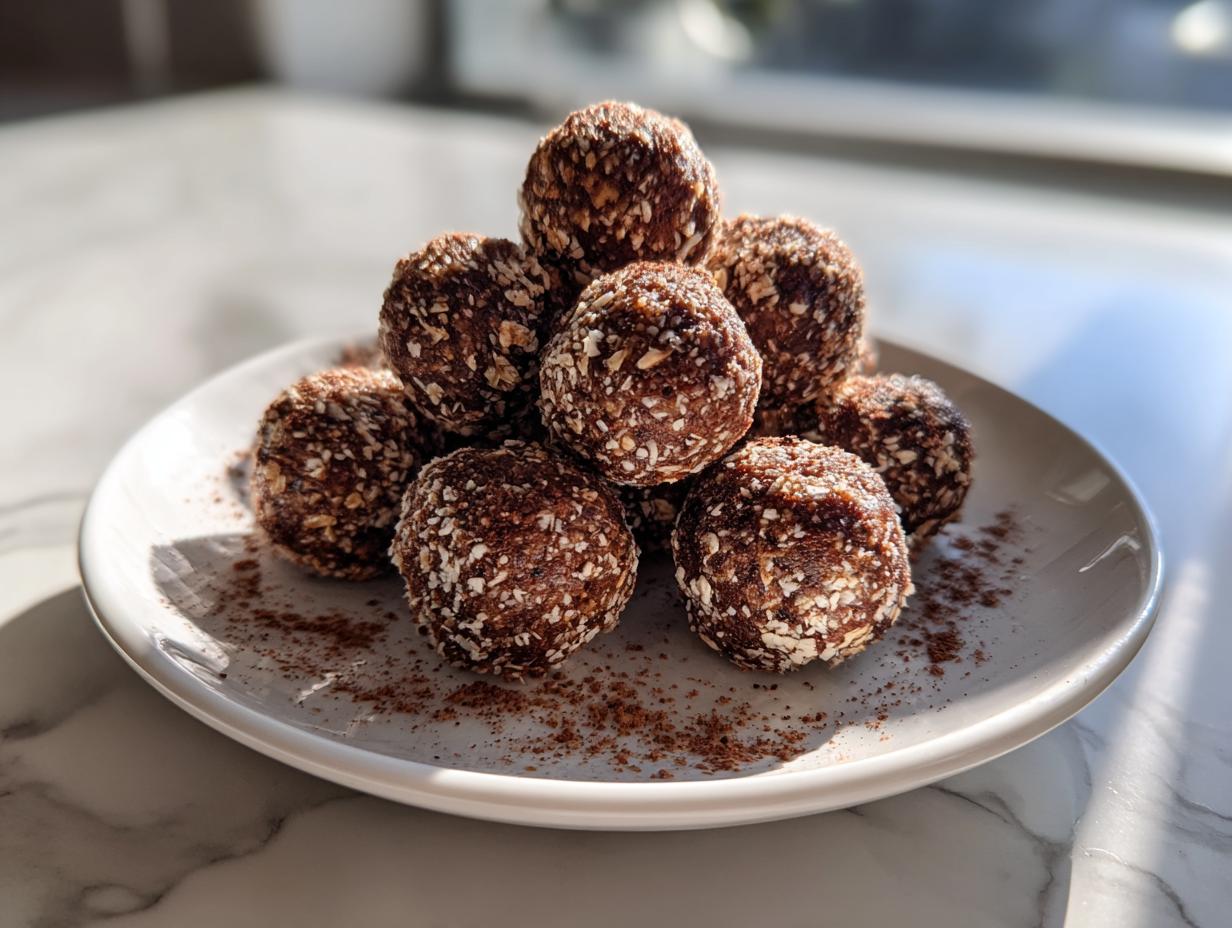
Life gets busy fast, doesn’t it? Sometimes you just crash halfway through the afternoon and need something substantial to keep you going without reaching for junk food. That’s exactly why I developed this staple recipe here at Taste This Plate—we’re all about simple recipes for everyday meals that actually work. If you’re looking for **protein balls** that deliver instant energy, taste like a treat, and require zero oven time, you’ve found your go-to. These Easy No-Bake Peanut Butter Oatmeal Protein Balls are proof that Kate Reilly’s philosophy holds true: good food doesn’t need to cause stress or require ten specialty ingredients. Trust me, these are going to become your favorite grab-and-go fuel!
- Why This No-Bake Peanut Butter Oatmeal Protein Balls Recipe Works for You
- Gathering Ingredients for Your Protein Balls
- Ingredient Notes and Simple Substitutions for Protein Balls
- Step-by-Step Instructions for Easy Protein Bites Recipe
- Expert Tips for Perfect Homemade Protein Balls
- Storage and Make-Ahead Tips for Protein Balls
- Serving Suggestions for Wholesome Snack Recipes
- Frequently Asked Questions About Protein Balls
- Understanding the Nutrition in Your Protein Balls
- Share Your Homemade Protein Balls Creations
- Understanding the Nutrition in Your Protein Balls
- Share Your Homemade Protein Balls Creations
Why This No-Bake Peanut Butter Oatmeal Protein Balls Recipe Works for You
I made these specific **protein balls** because I know you need snacks that jump from the pantry to your hand without waiting for an oven to preheat. These bites fit perfectly into a busy life, giving you lasting energy without that sugary crash later. We tested these so you get reliable, delicious results every single time.
Here’s what makes this recipe a winner for your daily routine:
Quick Energy Balls: Ready in Under 15 Minutes
Honestly, the active time here is shockingly low. We’re talking about mixing and rolling—it’s truly one of the fastest **Quick Energy Balls** recipes you’ll ever try. If you can stir ingredients together, you can make these successfully!
The Secret to Perfect No Bake Protein Balls Texture
The core magic is simply the ratio between the oats and the peanut butter. That creamy nut butter hugs the oats and the protein powder just right, creating that dense, chewy bite you expect from a quality treat. No crumbling, no stickiness—just perfect structure.
Ideal Post Workout Fuel and Meal Prep Snacks
Because they pack a solid protein punch, these are fantastic for quick recovery after a workout. Plus, they are perfect batch-friendly **Meal Prep Snacks**. I always make a double batch on Sunday so I have ready-made fuel waiting for weekday mornings. If you love high-protein snacks, you absolutely need to check out my guide on High-Protein Waffles for breakfast inspiration, too!
Gathering Ingredients for Your Protein Balls
When it comes to keeping things simple, this recipe for **protein balls** truly shines because almost everything here comes straight out of the pantry. We skip anything fussy, focusing instead on wholesome ingredients that work together beautifully. Making these is just as easy as pulling out what you need—no special trips required!
Essential Components for These Peanut Butter Protein Balls
We are focusing on structure and flavor here. You will need:
- 1 cup rolled oats – Make sure these are the old-fashioned kind, not instant!
- 1/2 cup creamy peanut butter – I use the standard jarred kind, but natural works too!
- 1/3 cup honey or maple syrup – This is your sticky binder and sweetener.
- 1/2 cup vanilla protein powder – This is where most of your protein comes from.
- 1/4 cup ground flaxseed or chia seeds – For extra fiber and healthy fats.
- 1 teaspoon vanilla extract – Just a splash to boost the flavor notes.
- 1/4 cup mini chocolate chips – Completely optional, but why skip them? You can find lots of inspiration for making high-protein cookie dough variations on the site, too!
Ingredient Notes and Simple Substitutions for Protein Balls
One thing I love about these **protein balls** is how flexible they are! While my original recipe works like a charm, I know life throws curveballs—maybe you ran out of peanut butter, or perhaps someone at home has an allergy. That’s why I want to walk you through some easy tweaks. Understanding what each component *does* helps you substitute confidently, which, in my book, makes you a much stronger cook. We keep things delicious, but we also keep them practical!
Making Gluten Free Protein Balls
If you need to keep these gluten-free, this recipe handles it beautifully, provided you check one thing: the oats! Standard rolled oats are often cross-contaminated during processing. So, if you need true gluten free protein balls, make sure your package explicitly states they are certified gluten-free. That’s the only change needed for the base ingredients, which is fantastic!
Nut Butter Alternatives for Allergy Safety
Peanut butter is fantastic here because of its high fat and protein content, which helps bind everything up so nicely. But if nuts are off the table, no worries at all! You can swap the peanut butter 1:1 with sunflower seed butter. It’s creamy and has a great flavor profile that pairs wonderfully with the oats and vanilla. For a nut-free option, seed butters work perfectly to keep that sticky structure intact. Always check the ingredients on those seed butters because some can be slightly runnier than traditional peanut butter!
Step-by-Step Instructions for Easy Protein Bites Recipe
Alright, let’s get these **protein balls** mixed! This is the fun part where everything comes together, and you’ll see that beautiful dough starting to form right before your eyes. Remember, since these are no-bake, the technique is all about good mixing and patience during the chilling stage. Follow these steps exactly, and you’ll have the best **Easy Protein Bites Recipe** ready for your counter in minutes. If you’ve ever made my homemade granola recipe, you know how satisfying it is watching simple dry things bind together!
Combining the Base Ingredients for Your Protein Balls
First up, grab a sturdy bowl—I mean it, you’ll need it because the mixture gets thick! Dump in your rolled oats, peanut butter, honey (or maple syrup if you went that route), protein powder, flaxseed, and vanilla extract. Now, get your spoon in there or, frankly, just use clean hands! You need to mix this until it looks like one cohesive, thick dough. A key troubleshooting tip here: If it seems impossibly dry and won’t stick when you try to pinch a little, add water or milk, just one teaspoon at a time. Too much liquid ruins the texture, so go slow!
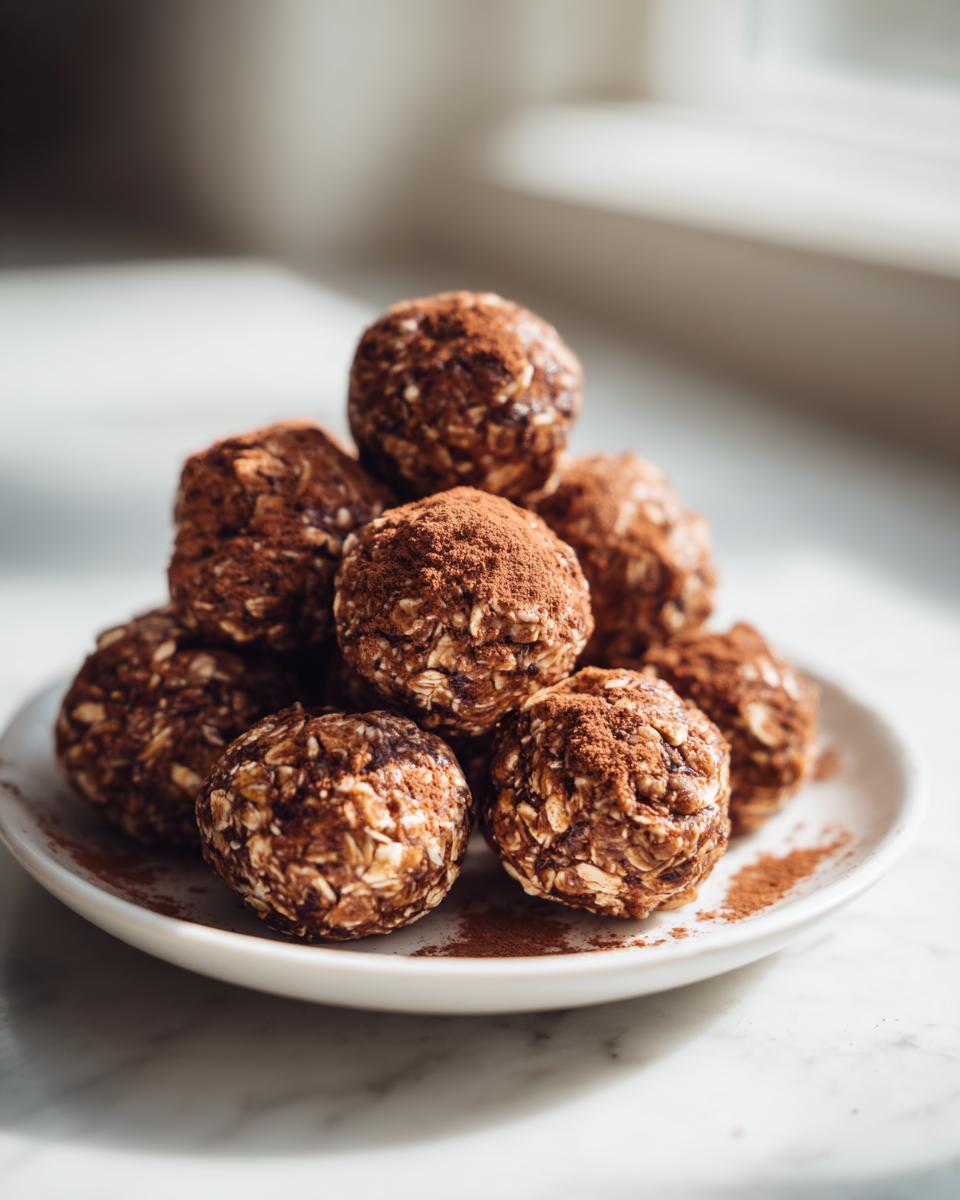
Rolling and Setting the No Bake Energy Bites
Once you’ve got that uniform dough, it’s time to fold in those optional, delicious mini chocolate chips. Now, using a small spoon or a cookie scoop, start rolling the mixture into little balls, aiming for about one inch in diameter. You should get around 14 of these beauties. Place all your finished **No Bake Energy Bites** onto a baking sheet lined with parchment paper—this is essential for easy cleanup! The final, most important step? Get them into the fridge for at least 30 minutes. This chilling step firms them up perfectly so they hold their shape. Don’t skip it, or you’ll end up with sticky finger messes!
Expert Tips for Perfect Homemade Protein Balls
We’ve mastered the basic mixture for these **protein balls**, but if you really want to elevate them from just ‘good’ to ‘absolutely addicting,’ you need to understand the finishing touches. I’ve learned a few tricks over the years—mostly through trial and error, because that’s how we learn best in the kitchen! These little hacks ensure your homemade fuel tastes gourmet, even though they took almost no time to make.
Customizing Your Protein Balls with Mix-Ins
Chocolate chips are a wonderful, easy addition, but don’t stop there! Think about texture and flavor contrast. If you want to boost the fiber, toss in a tablespoon or two of hemp seeds or even finely chopped dried apricots for a chewy sweetness. Some folks love the crunch of unsweetened shredded coconut mixed right into the dough. If you’re making a big batch for the week, try dividing the mixture and adding a different mix-in to each half—spiced nuts to one, dried cherries to the other. This makes your meal prep less boring!
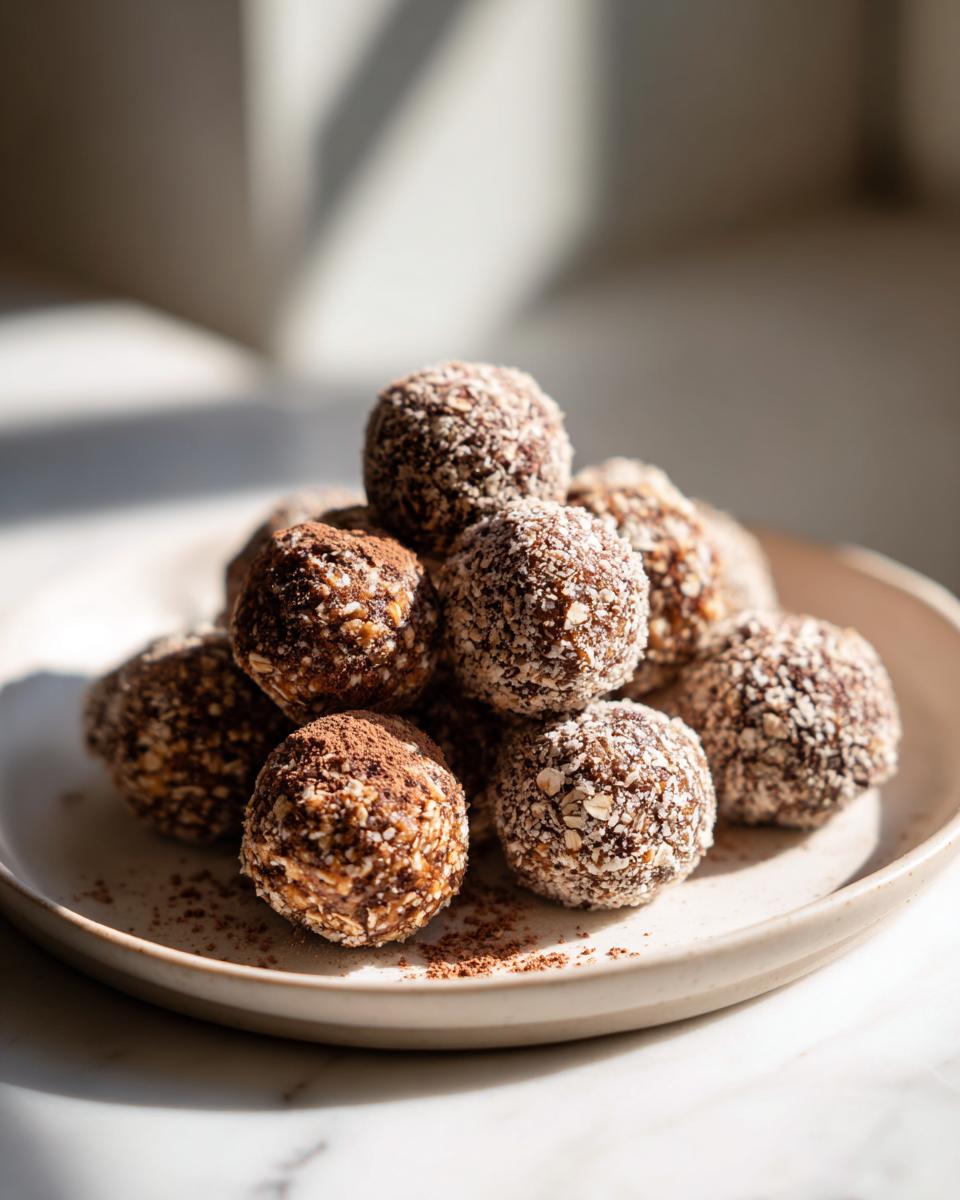
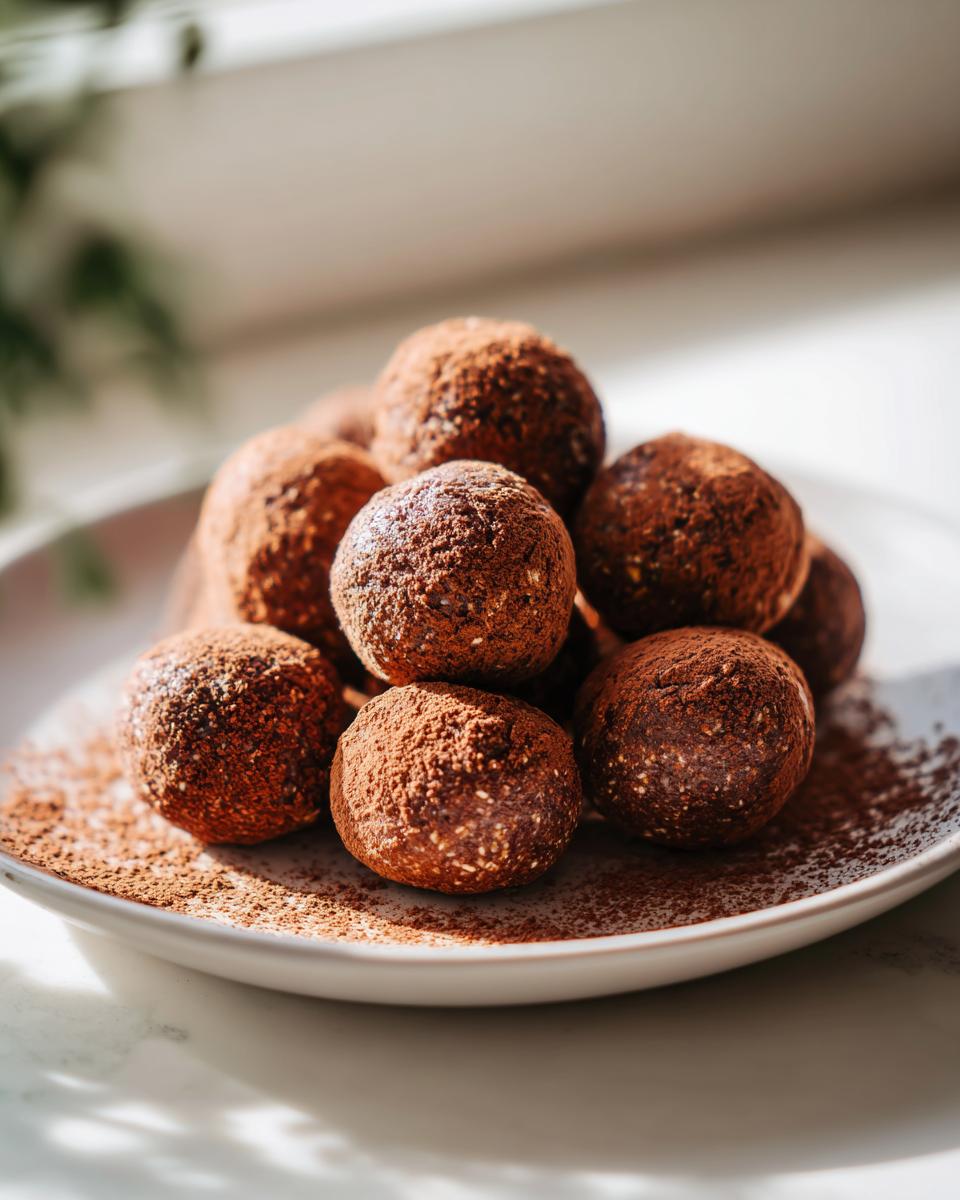
Achieving the Best Shape and Finish
If you find the dough is sticking a little too much to your hands while rolling, don’t panic and add more dry ingredients! That will just make your finished **protein balls** dry. Instead, switch tactics. Either lightly spritz your hands with water, or dust them with a tiny bit of the protein powder you used in the mix. Both surfaces make the dough glide right off. Also, consider adding a final coating! Rolling the chilled balls lightly in extra shredded coconut, cocoa powder, or even finely crushed nuts gives them a beautiful, professional finish. If you’re looking for other inspiring ways to boost flavor, sometimes I add a little twist to my toppings, like a light dusting of cinnamon sugar after rolling. Check out my thoughts on pairing flavors in my avocado toast with feta post for flavor inspiration!

For even more fantastic recipe inspiration that skips the oven, check out this great resource on no-bake protein balls!
Storage and Make-Ahead Tips for Protein Balls
This is where these **protein balls** truly shine as supreme **Meal Prep Snacks**! Unlike baked goods, these power bites are actually better once they’ve had time to set up properly in a cold environment. Planning ahead makes healthy eating so much simpler during the week, and I always make sure I have a batch chilling in the fridge or freezer.
Refrigeration Time for Protein Balls
Once you’ve rolled your batch, place those finished **protein balls** on parchment paper and pop them straight into the refrigerator. We recommend chilling them for at least 30 minutes before you even think about eating them—that time is crucial for them to firm up and stop being sticky mess-makers. Stored in an airtight container, they stay perfectly fresh and chewy in the fridge for up to one full week. I sometimes like to keep them near the back where it’s coldest!
Freezing These High Protein No Bake Treats
If you’re making a huge batch (and trust me, you should), freezing is your best friend! These **High Protein No Bake Treats** freeze beautifully—I’ve tested this over and over! First, line a baking sheet with parchment paper and place your finished balls on it, making sure none of them are touching yet. Pop that sheet into the freezer for about an hour until they are solid little hockey pucks. This prevents them from sticking together later. Once they are frozen solid, you can transfer them all into a heavy-duty freezer bag or an airtight container. They keep great in the freezer for up to three months! When you want one, just pull it out and let it thaw on the counter for about 10 minutes. So easy!
If you’re looking for more inspiration on make-ahead protein meals, I highly recommend checking out the simple prep involved in my Cottage Cheese Egg Cups. They’re another staple in my weekly routine! And if you want to see one of the most gorgeous finished-product examples of peanut butter balls, take a peek over at Savory Craving; it’s always nice to see how others present their delicious creations!
Serving Suggestions for Wholesome Snack Recipes
We’ve got the perfect energy source ready to go—now, what are we going to pair with these amazing **Wholesome Snack Recipes**? Since these **protein balls** have that rich, comforting peanut butter and oat base, they go wonderfully with bright, refreshing drinks to cut through that richness. They stand alone perfectly well, but serving them alongside something makes it feel like a real, satisfying snack time!
My absolute favorite way to enjoy one or two of these treats is with something light and bubbly. Think about grabbing one post-lunch when you need that 3 PM lift. Instead of reaching for a sugary soda, try a glass of my Sparkling Honey Lemonade Soda. The tanginess of the lemon and the light sweetness of the honey are the perfect counterbalance to the hearty, savory peanut butter flavor in the balls.
For a truly decadent, yet still wholesome pairing, try serving them alongside a warm cup of coffee or even a small glass of cold milk if you’re enjoying them as a breakfast replacement. If you need another grab-and-go option that pairs well with these, I highly recommend making a batch of my homemade granola; it’s a completely different texture but hits that same satisfying, wholesome note!
Frequently Asked Questions About Protein Balls
When you’re making these **energy bites** for the first time, you might have a few questions pop up. That’s totally normal! I’ve put together answers to the most common things folks ask me when they’re new to making these simple, high-protein snacks. We want you to feel confident when you mix up your next batch!
Can I use a different type of protein powder in these energy bites?
This is a great question, and the answer is usually yes, but with a small caveat! Whey protein powder tends to absorb moisture a little differently than plant-based powders (like pea or brown rice). If you substitute your vanilla whey for a plant-based powder, you might find your initial dough feels slightly drier. Don’t worry, though! Just keep that small addition of water or milk handy—maybe an extra teaspoon or two—and work it in until it feels just right, like soft cookie dough. Too much powder can make your finished **energy bites** crumbly.
What if my mixture won’t stick together to form the protein balls?
If you look into your bowl and everything seems totally dry and it looks more like sand than dough, don’t panic! This usually happens if your peanut butter was very natural/oily or if your protein powder was particularly dry that day. You need a tiny bit more “glue.” Add in liquid—water or milk—just one teaspoon at a time, stirring really well after each addition. You only want enough liquid to bring it together when you press it between your fingers. If you are diving deep into protein recipes, you might find this resource on protein powder snacks helpful for comparison!
Are these simple energy bites suitable for kids?
Absolutely! In fact, these make incredible **Kid Friendly Protein Snacks** because they satisfy that sweet craving while sneaking in oats and healthy seeds. If you’re making them specifically for younger children, I usually advise two small swaps to make them even cleaner: first, skip the mini chocolate chips, or if you must include them, cut the amount down by half. Second, if you used honey, you might want to reduce it by a tablespoon, as kids often prefer things a little less sweet. They will still bind up just fine!
If you’re looking for a refreshing drink to go alongside these wholesome snacks, check out my recipe for Honey Lemon Pink Soda—it’s fantastic!
Understanding the Nutrition in Your Protein Balls
For those of us who track our macros or just like knowing what we’re fueling our bodies with, I pulled together the approximate nutritional breakdown for these **protein balls**. Remember, these figures are estimates based on the exact ingredients listed in the recipe, especially using peanut butter and assuming 14 balls per batch. They show you exactly how much bang you’re getting for your buck!
Here is what you can expect per single ball:
- Serving Size: 1 ball
- Calories: About 150
- Protein: 8g
- Fat: 7g
- Carbohydrates: 18g
It’s amazing how much fuel you can pack into such a tiny, no-bake treat! If you need another quick, high-protein option that delivers fast, you have to look at my 90-Second Protein Mug Cake.
Share Your Homemade Protein Balls Creations
That’s it! You’ve got the full guide to making the absolute best, easiest **protein balls** that you’ll ever need for quick fueling. I truly hope these little bites make your grab-and-go routine simpler and tastier. Now, I want to know what you think!
Did you tweak the recipe? Did you use almond butter instead, or did you go wild with a different mix-in? Please leave a rating below—it helps other home cooks know this recipe is trustworthy and delicious. And if you snap a picture, please reach out via my contact page and share it with me! Seeing your creations reminds me that we are all making delicious food and memories together at the table. Happy snacking!
PrintEasy No-Bake Peanut Butter Oatmeal Protein Balls

You can make these simple, no-bake protein balls in minutes. They use basic pantry staples and provide a quick, healthy snack perfect for post-workout fuel or meal prep.
- Prep Time: 10 min
- Cook Time: 0 min
- Total Time: 40 min
- Yield: 14 servings 1x
- Category: Snack
- Method: No Bake
- Cuisine: American
- Diet: Vegetarian
Ingredients
- 1 cup rolled oats
- 1/2 cup peanut butter (or nut butter of choice)
- 1/3 cup honey or maple syrup
- 1/2 cup vanilla protein powder
- 1/4 cup ground flaxseed or chia seeds
- 1 teaspoon vanilla extract
- 1/4 cup mini chocolate chips (optional mix-in)
Instructions
- Place the rolled oats, peanut butter, honey, protein powder, flaxseed, and vanilla extract into a medium mixing bowl.
- Mix all ingredients together using a sturdy spoon or your hands until a uniform, thick dough forms. If the mixture seems too dry, add a teaspoon of water or milk at a time until it holds together.
- If using, fold in the mini chocolate chips.
- Roll the mixture into small, bite-sized balls, about 1 inch in diameter. This recipe should yield about 12 to 15 protein balls.
- Place the finished protein balls on a baking sheet lined with parchment paper.
- Refrigerate the protein balls for at least 30 minutes to allow them to firm up before serving.
- Store the finished protein balls in an airtight container in the refrigerator for up to one week.
Notes
- For a gluten-free option, make sure your rolled oats are certified gluten-free.
- You can substitute almond butter or sunflower seed butter for peanut butter if you have a nut allergy.
- For added texture, roll the finished balls in shredded coconut or cocoa powder before chilling.
- These are excellent for meal prep; they freeze well for up to three months.
Nutrition
- Serving Size: 1 ball
- Calories: 150
- Sugar: 8g
- Sodium: 75mg
- Fat: 7g
- Saturated Fat: 1.5g
- Unsaturated Fat: 5.5g
- Trans Fat: 0g
- Carbohydrates: 18g
- Fiber: 3g
- Protein: 8g
- Cholesterol: 5mg