
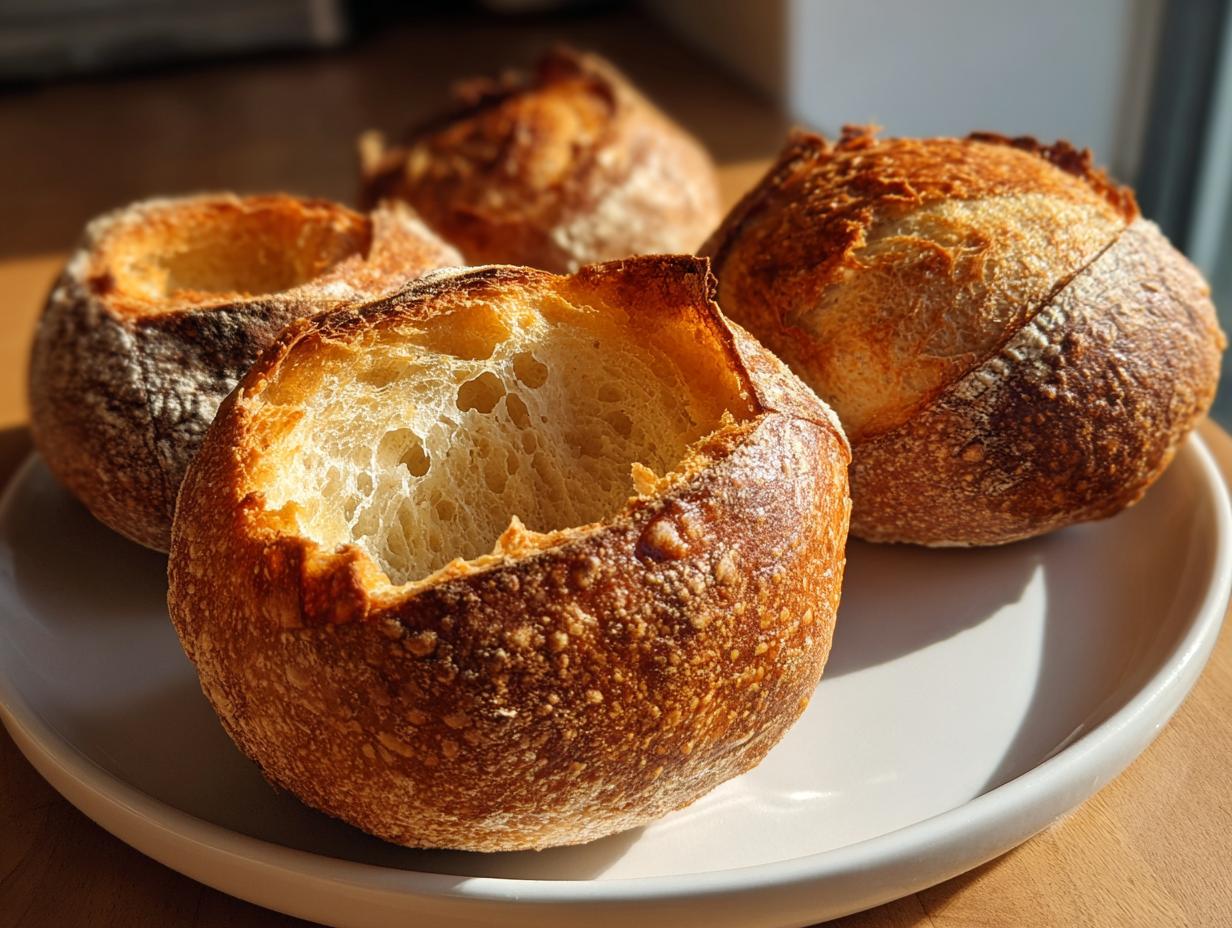
If you ask me what real comfort food is, my mind immediately goes to the smell of yeast warming up on the counter and that satisfying crackle when you break into a perfect crust. There is nothing—and I mean nothing—that makes a regular dinner feel immediately special like serving it inside a warm, edible creation. That’s why I’m so thrilled to share the ultimate guide to making bakery-style bread bowls right in your own kitchen. Forget thin, flimsy shells that dissolve the second you add chili; these homemade bread bowls are designed to be sturdy, soft inside, and chewy on the outside. This is a classic recipe I know you’ll trust, the one that captures the joy I first found baking alongside my grandmother.
- Why You Will Love These Homemade Bread Bowls
- Gathering Ingredients for Your Easy Bread Bowl Recipe
- Baking Bread Bowls Step By Step: The Artisan Bread Bowl Tutorial
- Tips for Success: Making Sturdy Bread Bowls for Chili
- Creative Bread Bowl Fillings to Serve With Your Edible Soup Bowls
- Variations on Classic Bread Bowls: Try the Pretzel Bread Bowl Recipe
- Storage and Reheating Instructions for Warm Homemade Bread Bowls
- Frequently Asked Questions About Making Bread Bowls
- Share Your Experience Making These Comfort Food Bread Bowls
Why You Will Love These Homemade Bread Bowls
I’ve tweaked so many standard recipes over the years, but these bread bowls passed the test every single time. You just can’t beat the feeling of making something this impressive yourself!

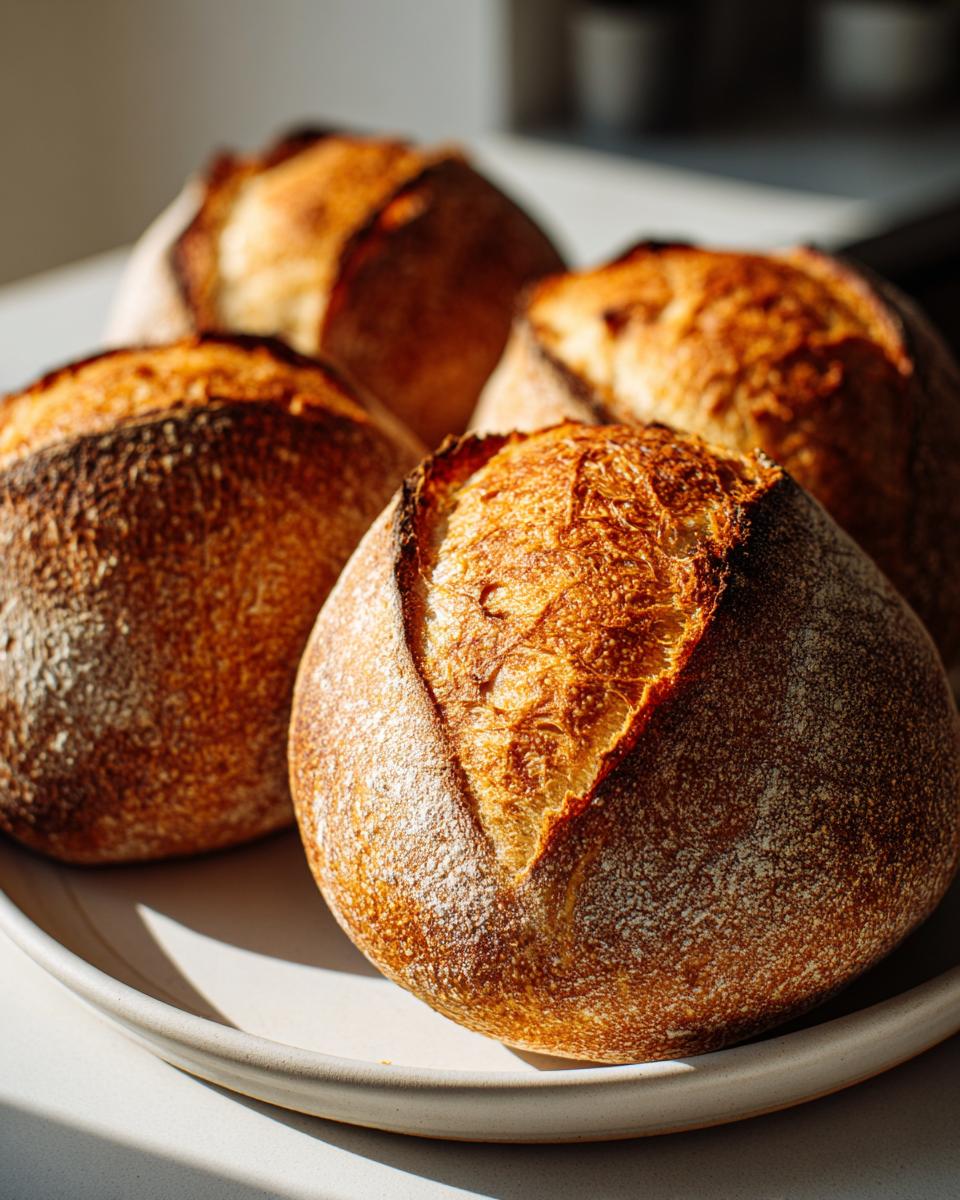
- They achieve that perfect texture contrast: wonderfully crusty on the outside, but incredibly soft and steamy inside.
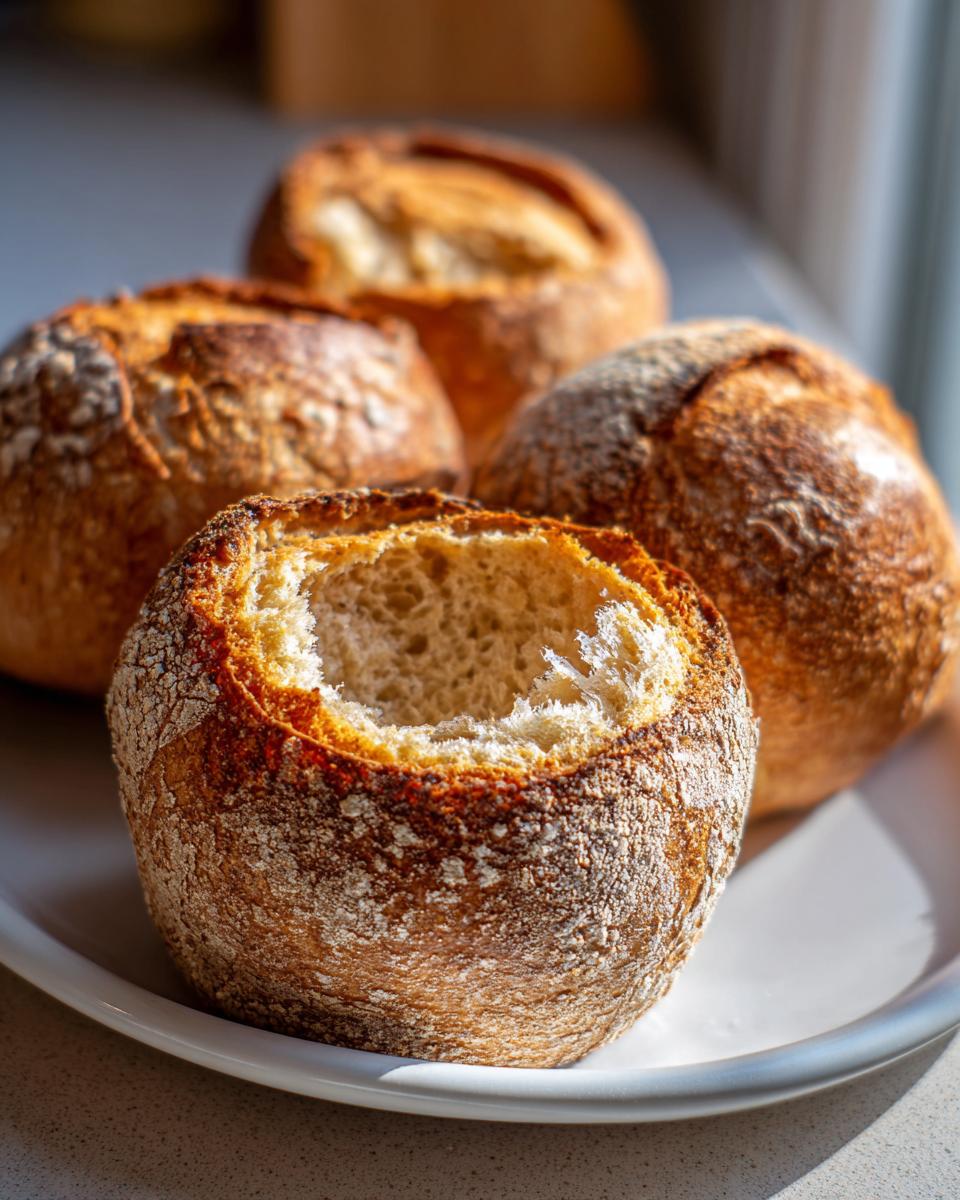
- They are genuinely sturdy! We’re talking about edible soup bowls built to handle hearty chili or cheesy dips without weeping or collapsing halfway through dinner.
- There’s massive satisfaction in mastering these perfect homemade bread bowls from scratch.
Gathering Ingredients for Your Easy Bread Bowl Recipe
Before we get our hands messy—which is the best part, honestly—let’s look at what you need. Don’t try to substitute anything here, especially when it comes to the temperature of the water! This is where those homemade bread bowls succeed or fail.
For the yeast to wake up and do its job developing gluten, you absolutely must use warm water between 105–115°F. If it’s colder, the yeast stays sleepy; if it’s too hot, well, you kill the little guys! That steaming water tells them, “Party time!” Here is the short list of what to grab:
- 1 1/2 cups warm water (make sure that thermometer reads 105-115°F!)
- 2 1/4 teaspoons active dry yeast
- 1 teaspoon sugar (just a little snack for the yeast)
- 3 3/4 cups all-purpose flour, plus extra for dusting
- 2 teaspoons salt
- 2 tablespoons melted butter, plus a bit more for brushing the tops
Baking Bread Bowls Step By Step: The Artisan Bread Bowl Tutorial
This is where the magic actually happens! Don’t stress about fancy equipment—a wooden spoon and some elbow grease are going to get you results that taste way better than anything you buy at the store. We’re focusing on building that perfect internal structure right here because if the dough isn’t right, your bread bowls will fall flat later.
Activating the Yeast and Mixing the Dough for Your Bread Bowls
First things first, we need to make sure our yeast is awake and ready to work. Mix your warm water, yeast, and sugar together, and honestly, just walk away for about ten minutes. If you see foam building up on top, that’s the sign you need—it proves the yeast is happy. This initial foamy step is your guarantee that you’ll end up with beautiful, successful bread bowls later on.
Kneading and Rising: Creating Soft Bread Bowls From Scratch
Once you add the flour and salt, mix until you can barely stir it, then dump it onto the counter. Here’s my expert tip: you need to knead this dough for a solid 6 to 8 minutes. Really work it! You’re developing the gluten necessary to trap all that wonderful steam during baking, which is what gives you sturdy bread bowls. After kneading, let it rest in an oiled bowl, covered, for a good 1 to 1 1/2 hours until it has truly doubled in size. Patience here pays off huge for the texture.
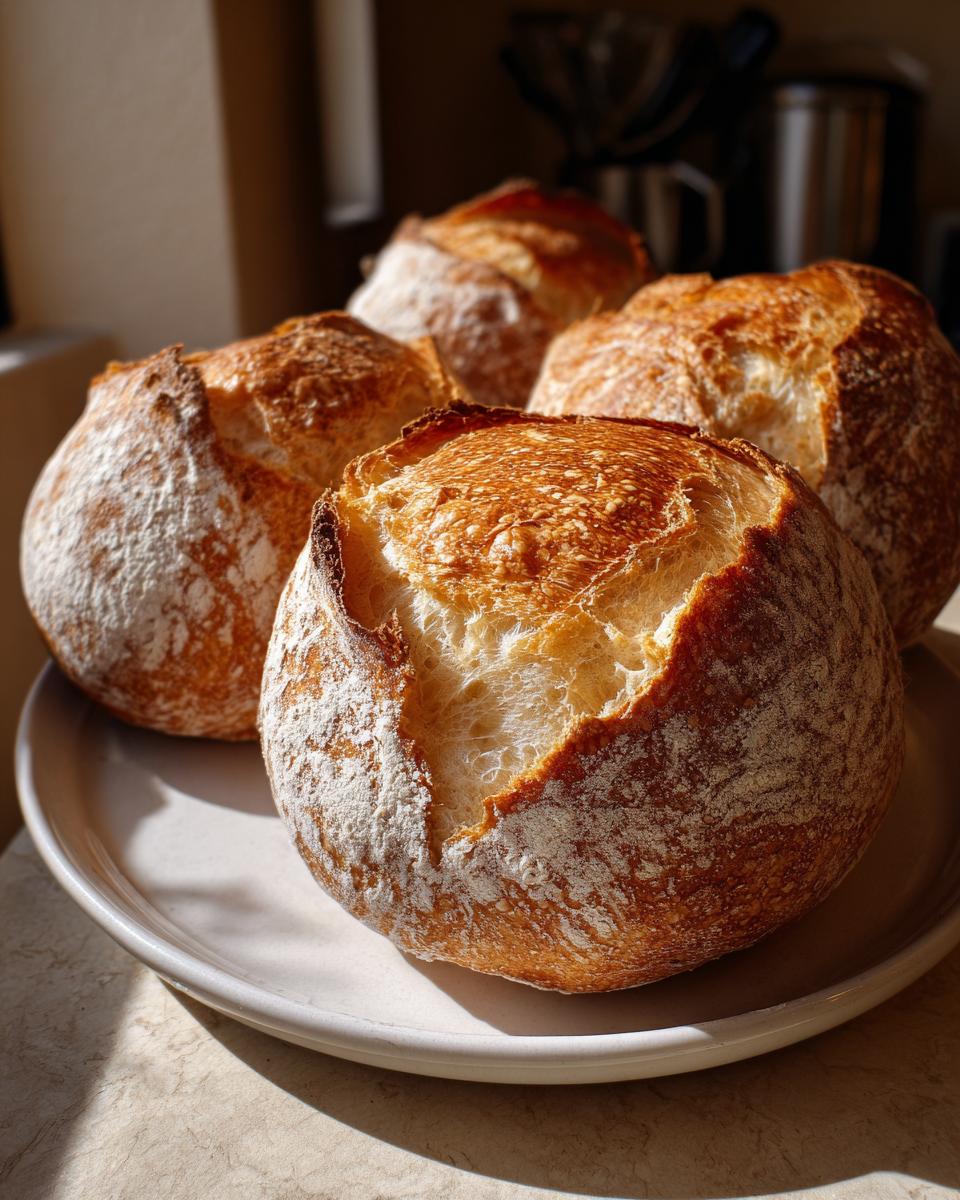
Shaping and Baking for Bakery Style Bread Bowls At Home
Gently punch down that beautifully risen dough and divide it into four equal pieces. Be deliberate when you shape them into tight, smooth balls; this controls the final shape. Let them rest again for 30 minutes while the oven climbs to 400°F (200°C). The real trick for that bakery-style crust is steam! Remember that shallow pan on the bottom rack? Pouring hot water in there creates steam, which helps the outside stay crisp while the inside stays soft. Check out the full guide on how to bake these perfectly!
Tips for Success: Making Sturdy Bread Bowls for Chili
Now that you’ve got your dough baked, you have to treat the final product right so it holds up to whatever delicious thing you decide to pour in there. If you’re making these for a big pot of chili, you want walls that won’t cave! The biggest tip is to resist the urge to cut them open when they are piping hot. Let them cool on a wire rack for at least 15 minutes.
Cooling allows the internal structure to set properly. If you try to scoop them out too soon, you’ll just end up with soggy smears instead of solid walls. Also, don’t waste that soft interior bread! Those leftover bits are fantastic for dipping or crumbling up right away to make the best croutons you’ve ever tasted. Check out some fantastic uses for leftover bread over at this great resource.
Creative Bread Bowl Fillings to Serve With Your Edible Soup Bowls
Okay, we’ve mastered the edible vessel, but let’s talk about what fills those gorgeous carb containers! Having a perfect loaf ready for soup night is one thing, but being prepared with amazing bread bowl fillings makes you look like a total domestic superstar. For me, the best soup served in bread bowls is usually anything thick and creamy. We’re talking about a rich, homemade broccoli cheddar, or maybe my ultra-cheesy creamy cheese soup. That melty cheese dripping down the inside walls of your freshly baked bread bowls? Heaven.
But don’t stop at soup! These sturdy bread bowls are fantastic for heartier meals too. You know I love making big batches of chili because it reheats so well, and watching my kids use the bread walls to scoop up every last bit is the best payoff.
Savory Bread Bowl Recipes: Beyond Standard Soup
If you’re hosting, go beyond the standard stuff! Have you ever thought about using these as serving dishes for pasta? A creamy chicken Alfredo dumped right into the center makes for an incredible presentation—and cleanup is practically zero. Plus, baked dips are amazing in a bread bowl. Think about heating up a hot spinach and artichoke dip—the edges of the bread get super toasty and cheesy while holding all that creamy goodness inside. For more fun ideas on reinventing the classic, you can check out some creative twists over here.
Variations on Classic Bread Bowls: Try the Pretzel Bread Bowl Recipe
While this recipe gives you that perfect, soft-crumbed classic, I know some of you are looking to kick things up a notch! It’s fun to see how versatile these dough balls actually are. If you love that deep, salty, chewy texture from soft pretzels, you’ll absolutely want to try making pretzel bread bowls next time.
It’s easy enough to adapt! You follow this standard dough recipe right up until you shape the loaves, and then instead of going straight into the oven, you quickly dip them in a baking soda bath. That simple step is what gives them that signature pretzel flavor and gorgeous brown crust. Want to give that a try? Check out how to nail that technique right here!
Storage and Reheating Instructions for Warm Homemade Bread Bowls
Once you’ve baked the perfect batch of bread bowls, you want them to last! If you’re not serving them the day they come out, keep them wrapped tightly in plastic wrap or a good bread bag at room temperature for up to two days. They’ll soften a little—that’s okay!
If you need to revive that beautiful crust before hollowing them out to fill with soup, just toss them back in a 350°F oven for about five minutes. They come out sounding hollow and feeling wonderfully warm again. This is key to keeping that crust quality high!
Frequently Asked Questions About Making Bread Bowls
I get so many messages asking for little tweaks or assurances, so I thought I’d gather a few of the most common questions I hear about making these easy bread bowls. It’s all about confidence once you get the dough right!
Can I use a bread machine for these Easy Bread Bowls?
That’s a great question for speeding things up! You totally can use your bread machine, but only for the kneading and first rise cycle—usually the “Dough” setting. You still need to take it out, divide it by hand, shape those tight little balls, and let them do their final rest outside the machine. You won’t get the classic bowl shape if you try to bake them in the machine, remember!
How long do I need to bake the bread bowls to ensure they are done?
For these homemade bread bowls, the clock is less important than your ears! We are looking for a deep, beautiful golden brown color on the crust. When you tap the bottom of a fully baked one, it should sound completely hollow, like tapping on a drum. If it sounds dull, give it another five minutes. We want them done for sturdiness!
If you’re looking for some fun, quick meal ideas while you wait for your dough to rise, check out my tips for quick-easy-fried-noodles-recipe!
Share Your Experience Making These Comfort Food Bread Bowls
I truly hope these recipes bring the same warmth to your table that they bring to mine. Now it’s your turn! Did you go for a classic chowder or try filling your edible soup bowls with spaghetti? Let me know how your homemade bread bowls turned out in the comments below. I love seeing your photos!
PrintEasy Homemade Bread Bowls: Bakery Style From Scratch
Learn how to make sturdy, soft, and crusty homemade bread bowls that rival bakery quality. These edible soup bowls are perfect for filling with your favorite chili, soup, or dip.
- Prep Time: 20 min
- Cook Time: 30 min
- Total Time: 2 hours 5 min
- Yield: 4 servings 1x
- Category: Baking
- Method: Baking
- Cuisine: American
- Diet: Vegetarian
Ingredients
- 1 1/2 cups warm water (105-115°F)
- 2 1/4 teaspoons active dry yeast
- 1 teaspoon sugar
- 3 3/4 cups all-purpose flour, plus more for dusting
- 2 teaspoons salt
- 2 tablespoons melted butter, plus more for brushing
Instructions
- Combine the warm water, yeast, and sugar in a large bowl. Let it sit for 5 to 10 minutes until foamy. This shows the yeast is active.
- Add the flour and salt to the yeast mixture. Mix with a wooden spoon until a shaggy dough forms.
- Turn the dough out onto a lightly floured surface. Knead for 6 to 8 minutes until the dough is smooth and elastic.
- Place the dough in a lightly oiled bowl, turning to coat. Cover the bowl with plastic wrap or a clean kitchen towel. Let the dough rise in a warm place for 1 to 1 1/2 hours, or until doubled in size.
- Gently punch down the risen dough. Divide it into 4 equal pieces. Shape each piece into a tight, round ball. These will be your sturdy bread bowls.
- Place the dough balls on a baking sheet lined with parchment paper, leaving space between them. Cover loosely and let them rest for 30 minutes.
- Preheat your oven to 400°F (200°C). Place a shallow pan on the bottom rack for steam.
- Brush the tops of the dough balls lightly with melted butter. Score a shallow ‘X’ or circle pattern on the top of each loaf if desired.
- Place the baking sheet in the oven. Pour 1 cup of hot water into the shallow pan on the bottom rack to create steam, which helps create a crusty outside.
- Bake for 25 to 30 minutes, or until the bread bowls are deep golden brown and sound hollow when tapped on the bottom.
- Remove the bread bowls from the oven and let them cool on a wire rack for at least 15 minutes before hollowing them out.
- To serve, carefully slice off the top quarter of each loaf. Scoop out the soft interior bread, leaving a sturdy wall about 1 inch thick to hold your filling.
Notes
- For a softer crust, skip the steam pan and brush the tops with milk before baking.
- If you are making these for chili or soup night, ensure the walls are thick enough to prevent leaks.
- Save the scooped-out bread pieces to dip into your soup or use for croutons.
Nutrition
- Serving Size: 1 bread bowl
- Calories: 350
- Sugar: 3
- Sodium: 450
- Fat: 6
- Saturated Fat: 3
- Unsaturated Fat: 3
- Trans Fat: 0
- Carbohydrates: 65
- Fiber: 3
- Protein: 10
- Cholesterol: 0