
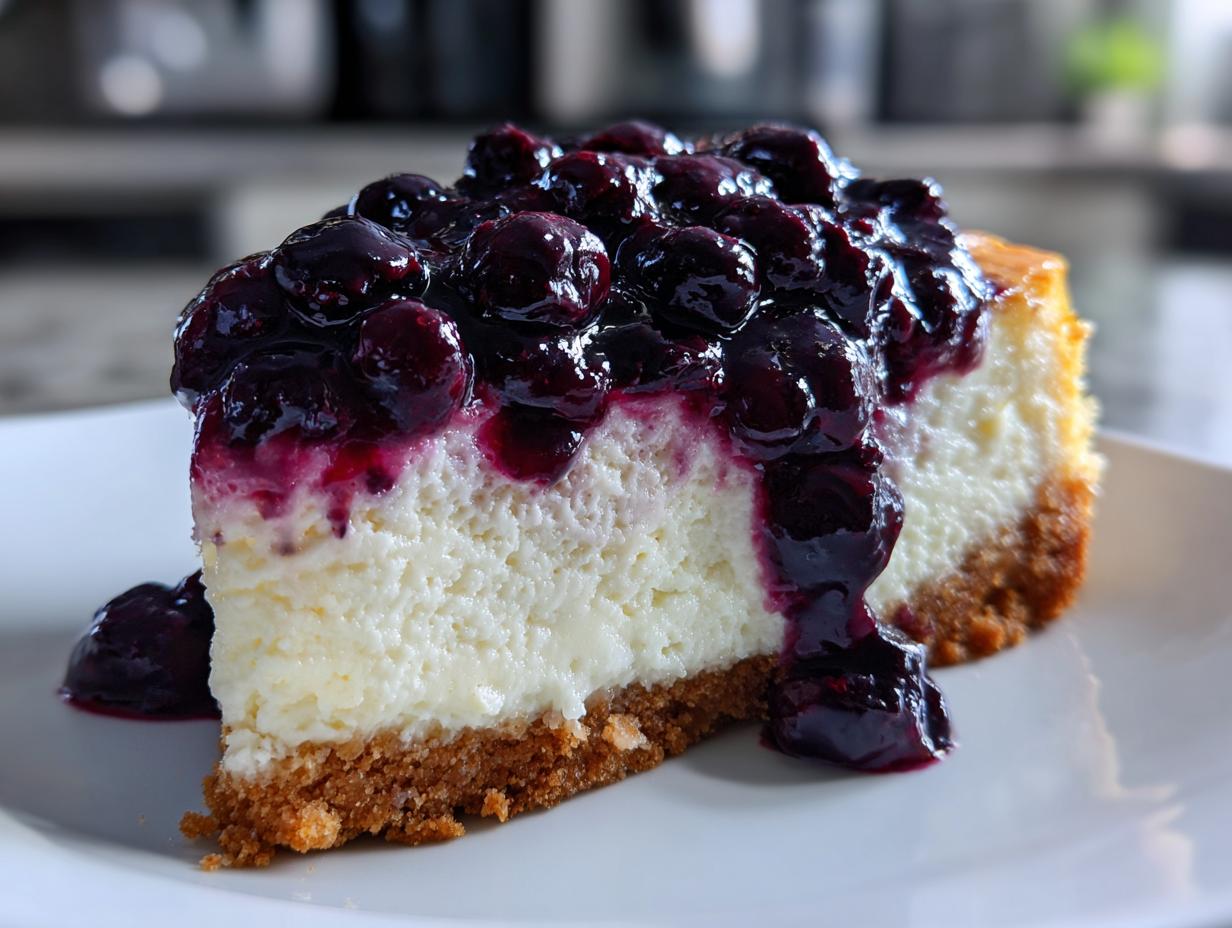
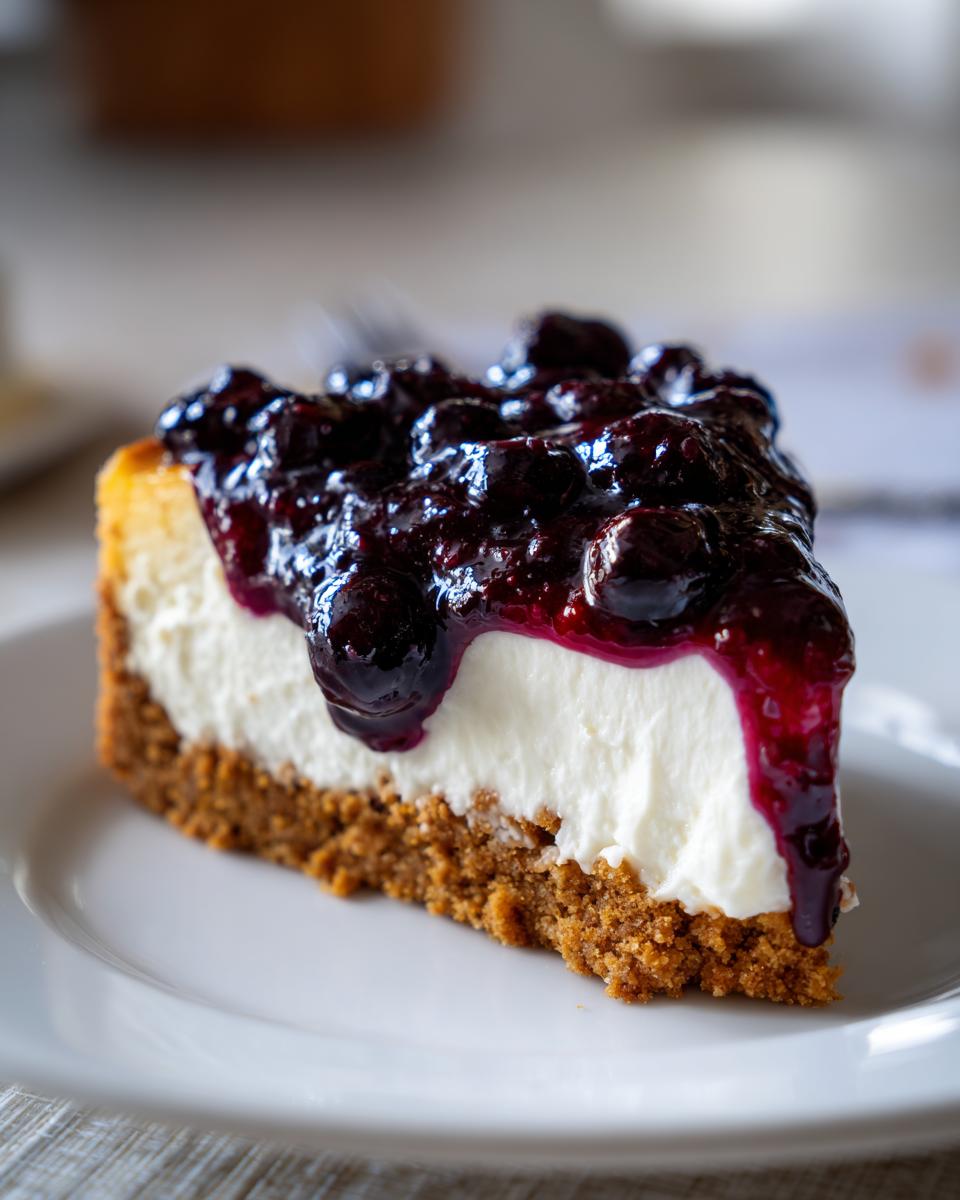
When I think about a dessert that truly stops a party in its tracks, my mind instantly goes to a classic, towering slice of blueberry cheesecake. It feels luxurious and complicated, right? Well, I’m here to tell you that’s simply not true! My mission here at Taste This Plate is to give you reliable recipes that always work, and this baked version is my absolute favorite way to achieve that unbelievably perfect, creamy texture without any fuss. Baking a showstopping dessert like this for family gatherings is one of the greatest joys, and I promise this recipe will make you feel like a kitchen pro. If you are looking for other cozy classics, check out my guide for the best creamy hot chocolate recipe, but trust me, this cheesecake is worth the effort!
- Why This Creamy Baked blueberry cheesecake is Your New Favorite Dessert
- Gathering Ingredients for Your blueberry cheesecake
- Step-by-Step Instructions for Baked blueberry cheesecake
- Tips for a Flawless blueberry cheesecake Every Time
- Variations on the Classic blueberry cheesecake
- Serving Suggestions for Your Homemade Blueberry Cheesecake
- Storage and Make Ahead Cheesecake Tips
- Frequently Asked Questions About blueberry cheesecake
- Understanding the Nutrition of This Creamy Cheesecake Dessert
- Share Your Taste This Plate Creations
Why This Creamy Baked blueberry cheesecake is Your New Favorite Dessert
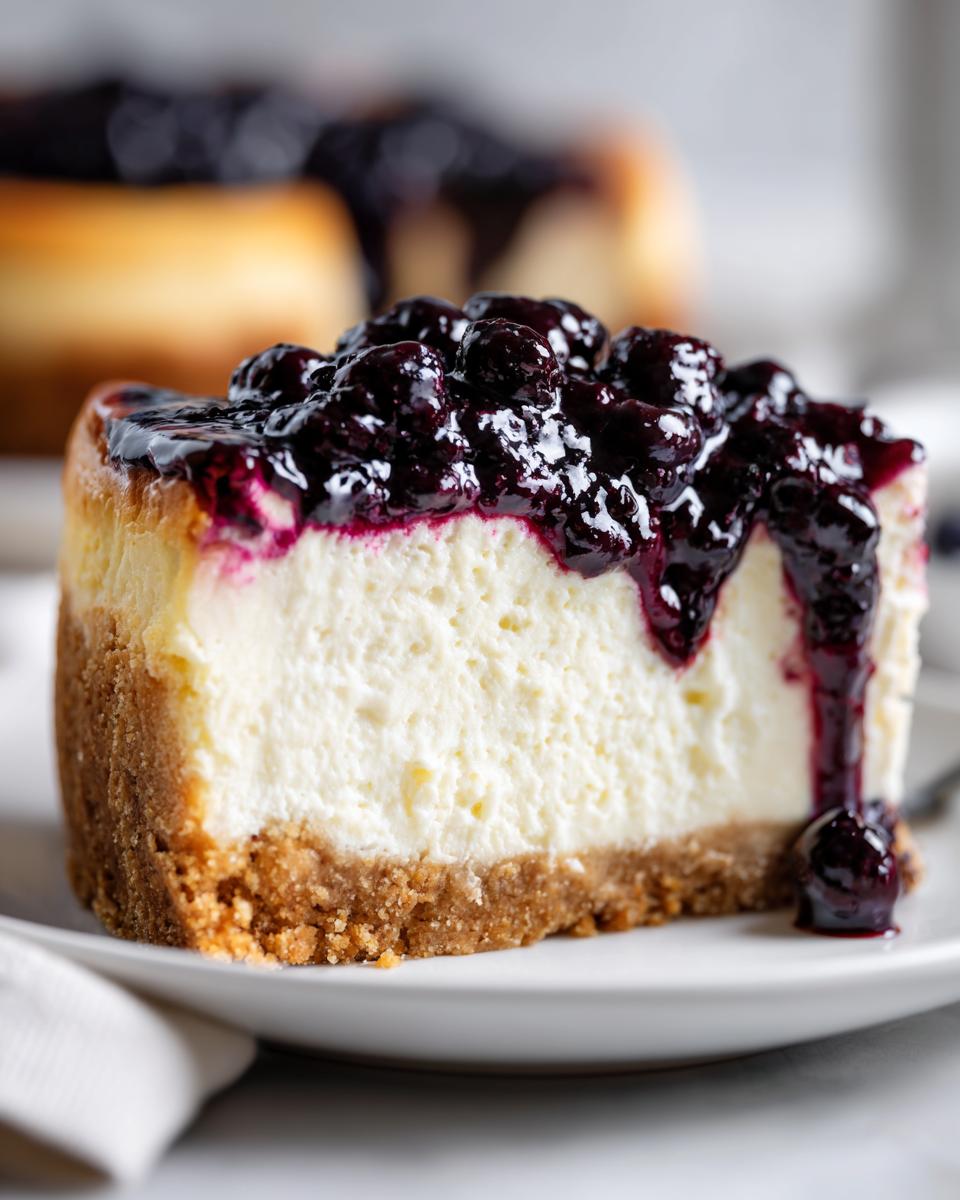
I understand that baking cheesecake can sometimes feel like walking a tightrope. You want that rich, dense structure, but you dread the cracks or the slightly grainy texture other home recipes often leave you with. That’s why I keep coming back to this baked version. It’s simple, uses standard ingredients, and delivers that showstopping look every single time. We’ve tested and re-tested the cooling process so you don’t have to worry about temperature trauma!
- It provides that true, satisfyingly dense texture that bakery cheesecakes are famous for.
- The homemade buttery cookie crust adds the perfect salty-sweet crunch against the smooth filling.
- It looks elegant enough for a fancy dinner party, but it’s secretly easy to manage!
If you are determined to conquer any cheesecake challenge, make sure you read all about how to get a flawless, no-crack result in my dedicated guide here.
Achieving the Perfect Creamy Cheesecake Texture
The secret to a creamy cheesecake dessert that melts in your mouth isn’t really a secret; it’s just technique! First rule: your cream cheese absolutely has to be fully softened to room temperature; cold blobs equal lumpy filling, and we can’t have that! Second, when you add those eggs, you need to slow right down. We are incorporating them gently, mixing on low speed just until the yellow disappears. Over-beating after the eggs go in whips too much air into the batter, and that air tries to escape as it bakes, causing those dreaded cracks. Keep it gentle!
Gathering Ingredients for Your blueberry cheesecake
Before we can aim for that smooth, luxurious texture, we need to make sure our supporting cast of ingredients is ready to go! I always lay everything out before I start mixing, and this is where you win or lose the battle against lumps. Seriously, if you skip one thing, don’t let it be letting your cream cheese soften up. You want it yielding and perfectly room temperature—no exceptions if you want a truly creamy cheesecake dessert!
For the Buttery Cookie Crust
This crust is simple, buttery perfection that holds up beautifully against the rich filling. Here’s what you’ll need:
- 1 1/2 cups graham cracker crumbs
- 1/4 cup granulated sugar (yep, just a little bit here!)
- 6 tablespoons unsalted butter, melted
For the Smooth Filling Base
This is where the magic happens, so being precise with your measurements for the filling really pays off. We need three (yes, three!) full 8-ounce packages of cream cheese, all softened, please!
- 3 (8 ounce) packages cream cheese, softened to room temperature
- 1 1/2 cups granulated sugar (for the bulk of the sweetness)
- 1 teaspoon vanilla extract
- 1/4 cup sour cream (this lends a lovely tang!)
- 3 large eggs
For the Sweet Blueberry Topping
This topping is cooked right on the stovetop, and the cornstarch is our secret weapon for getting that thick, glossy sauce that looks so impressive over the finished cake.
- 1 cup fresh or frozen blueberries (either works wonderfully!)
- 1/4 cup water
- 2 tablespoons cornstarch (that’s our thickening agent!)
- 1/4 cup granulated sugar
Step-by-Step Instructions for Baked blueberry cheesecake
Okay, now that we have all our gorgeous ingredients ready, let’s get this cream cheese filling into the oven! Baking is really just following a few key steps in order, and with cheesecake, timing that cooling process is just as important as the baking itself. If you remember nothing else, remember this: patience wins the dessert game!
Preparing and Pre-Baking the Graham Cracker Crust
We start by getting that buttery base ready. Preheat your oven to 350°F (175°C) for this first step. In a bowl, just mix those graham cracker crumbs, the small amount of sugar reserved for the crust, and the melted butter until it looks like wet sand. Press that mixture down really firmly into the bottom of your 9-inch springform pan—you want a solid base! Pop it in the 350°F oven for exactly 10 minutes. Once that’s done, take it out, let it cool a tiny bit, and then drop the oven temp down to 325°F (160°C) for the main event.
Mixing the Creamy Cheesecake Filling
This is where we aim for that velvety smoothness. In a large bowl, beat your room-temperature cream cheese until it’s totally smooth and fluffy—no lumps allowed! Now, slowly beat in the 1 1/2 cups of sugar, then mix in the vanilla and the sour cream until it’s just combined. Here’s the most crucial part for preventing cracks: add your three eggs one at a time, beating on low speed *only* until the yellow yolk disappears after each addition. Stop mixing immediately! Seriously, stop turning the mixer off!
Baking and Gradual Cooling Techniques
Gently pour that beautiful filling over your cooled crust. Bake this at 325°F for about 55 to 65 minutes. How do you know when it’s ready? The edges should look set, but the middle—about a two-inch circle—should still have a tiny bit of wobble to it, like firm gelatin. Once the time is up, turn the oven completely off, prop the door open just an inch or two (I use the handle of a wooden spoon), and let it cool inside the oven for a full hour. Trust me, this gradual cooling prevents the temperature shock that causes cracking. For more help conquering tricky bakes, check out my secrets for Red Velvet Cheesecake!
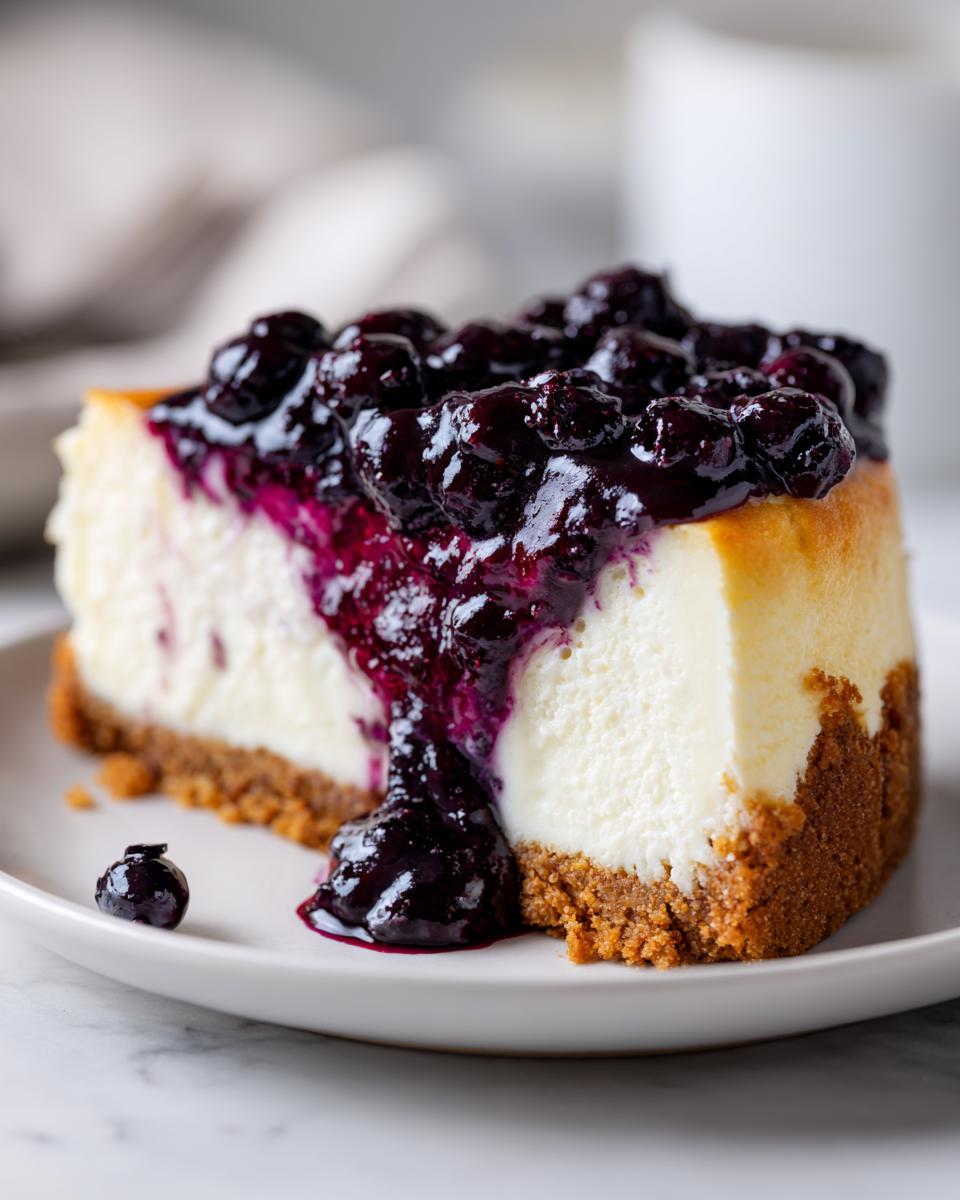
Making the Homemade Blueberry Topping
While the cheesecake is cooling in the oven, whip up your simple topping. In a small pot, just stir together your blueberries, the reserved sugar for the topping, water, and cornstarch. Cook this over medium heat, constantly stirring so that cornstarch doesn’t clump up at the bottom. It should bubble up and thicken nicely in about 5 to 8 minutes. Take it off the heat and let it cool down completely while your cake chills in the fridge—it needs to be totally cool before you spoon it over that perfectly set cheesecake.
Tips for a Flawless blueberry cheesecake Every Time
We’ve covered the basic recipe, but achieving that truly flawless, showstopping cheesecake dessert means knowing a few extra things that professionals do. If you’re nervous about cracks or if your filling seems a little watery after chilling, these tips are specifically for you! I feel like I’ve learned every single mistake you can make over the years, so I’ve gathered the best tricks here to guarantee success.
The Water Bath Secret for the Best blueberry cheesecake
This sounds scary, but it’s the golden ticket for a smooth experience. To create what we call a water bath or bain-marie, you need to wrap the bottom and sides of your springform pan very tightly in heavy-duty aluminum foil—I usually use two or three layers to make sure no water seeps in. Place that foil-wrapped pan inside a larger roasting pan. Before it goes into the oven, pour hot water into the roasting pan until it comes about halfway up the sides of your springform pan. That steam creates super humid, gentle, even heat around the cheesecake, which is the absolute best way to keep that creamy texture perfect and prevent that awful cracking on top. If you want to see some other tips on creamy richness, check out my thoughts on creamy deviled eggs!
Chilling Requirements for a Showstopping Cheesecake Dessert
Don’t be tempted to slice into it too early! Once you’ve done the gradual cooling inside the oven, you have to let it finish cooling completely on the counter before it even thinks about hitting the fridge. Then, the minimum chill time is six hours, but honestly, if you can manage it, let it chill overnight. The flavor melds together beautifully, and the structure really firms up when it has a full 12 hours to rest. This is what transforms a good cheesecake into a truly sturdy, showstopping piece!
Variations on the Classic blueberry cheesecake
Now that we’ve locked down that perfect creamy base, let’s talk about making this recipe your own! So many people search for ways to jazz up the classic, and honestly, I love seeing all the creativity. If you’re looking past a simple berry topping, we have a couple of fantastic options that are still super easy—no need to jump into a whole new No Bake Blueberry Cheesecake recipe.
You can easily spin this into something bright, or even add that lovely crumble texture! Think of this base as a blank canvas for your next great centerpiece dessert.
Creating a Lemon Blueberry Swirl Cheesecake
If you love that little bit of bright tang, this variation is for you! Before you pour your filling into the pan, mix in the zest and juice of one whole lemon right into the cream cheese mixture. It amps up the flavor beautifully! Then, reserve about a quarter cup of that cooled blueberry topping we made earlier. Pour the filling in, then gently drizzle that small portion of topping over the top. Take a butter knife and gently swirl it through the batter a couple of times to create that gorgeous Blueberry Swirl Cheesecake look. It bakes up just the same, but wow, that citrus note is amazing. Speaking of bright flavors, if you want to try another lemon treat, you absolutely must look at my recipe for Lemon Zucchini Bread.
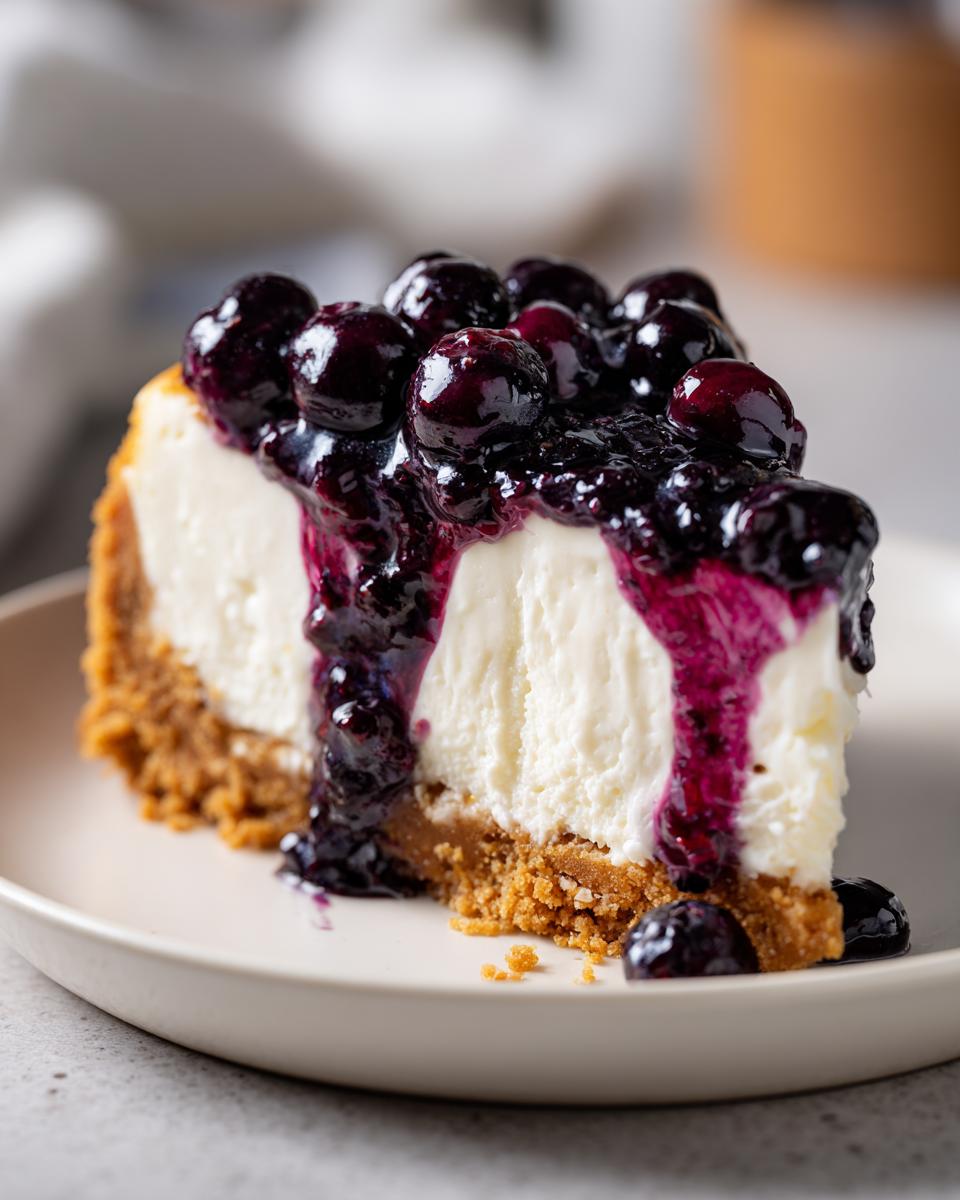
Serving Suggestions for Your Homemade Blueberry Cheesecake
Once your blueberry cheesecake has chilled overnight (a non-negotiable step for that perfect slice!), it’s time for presentation. Since this is already a showstopping cheesecake dessert, you don’t need much fuss. I usually use a very thin offset spatula to carefully transfer my slice onto a small white or pale blue dessert plate. It lets that vibrant, glossy topping really pop!
If you want just a little something extra—maybe for a grown-up gathering—a light dollop of freshly made whipped cream on the side works wonders. If you’re looking for recipe inspiration for light, fluffy toppings, you might love my guide on making vanilla buttercream!
Storage and Make Ahead Cheesecake Tips
One of my favorite things about a good baked dessert is that it’s always better the next day! You can totally make this Make Ahead Cheesecake, which takes the pressure off when you’re hosting. For storage, keep your finished, topped cheesecake covered tightly in the refrigerator. It lasts beautifully for up to five days—and honestly, it tastes richer on day two!
If you need to freeze it, that’s possible too. Chill it completely first, then wrap the whole cheesecake (or individual slices!) tightly in plastic wrap, followed by a layer of foil. It freezes well for about a month. Just make sure you thaw it slowly in the fridge overnight before you plan to serve it so we don’t hurt that creamy structure.
Frequently Asked Questions About blueberry cheesecake
Even with the best recipe, sometimes a few little questions pop up when you’re getting ready to bake. That’s totally normal! I’ve gathered the things I hear most often from readers who are trying to nail that impressive, velvety texture or debating which type of cheesecake to make. We want your experience making this Easy Blueberry Cheesecake to be totally stress-free, so let’s clear up any last doubts!
Should I use fresh or frozen blueberries for the topping in my blueberry cheesecake recipe?
This is such a great question! For the cooked topping we made, I actually prefer frozen blueberries. They don’t require any prep work—just toss them right into the saucepan with the water and cornstarch. If you use fresh, they are wonderful, but make sure they are very ripe. If you are using fresh berries just as a garnish on top after chilling, that’s fine, but for cooking down into the sauce, frozen berries tend to hold their shape a little better during cooking but release moisture beautifully when simmered.
What is the main difference between this baked blueberry cheesecake and a No Bake Blueberry Cheesecake?
It all comes down to structure and richness, really! This baked version relies on eggs and gentle heat to set up, giving you that dense, rich, almost unbelievably smooth result—that legendary Perfect Creamy Cheesecake Texture. A no bake recipe, on the other hand, usually uses gelatin or relies heavily on stabilized whipped cream to set up without any heat. No bake is lighter, quicker, and fluffier, but this baked one? It’s pure indulgence and perfect for a showstopping dessert!
How do I ensure my homemade blueberry cheesecake filling stays perfectly smooth?
It’s all about temperature and timing! First, that cream cheese must be fully soft—I mean, squishy soft—before it even touches the mixer bowl. If you have any cold spots, you will get lumps. Second, once those eggs are incorporated, you stop mixing! We aren’t making scrambled eggs here; we just want the batter combined, not aerated. If you keep those two things in mind, maintaining that stunningly smooth texture for your homemade blueberry cheesecake is a breeze.
If you’re looking for more tips on making rich desserts, you might enjoy my thoughts on the perfect chocolate pairing in my Chocolate Bourbon Pecan Pie recipe!
Understanding the Nutrition of This Creamy Cheesecake Dessert
I always like to give everyone an idea of what they are enjoying when they dig into a big slice of my blueberry cheesecake! Keep in mind that these figures are just estimates based on the core components we used—your portion size really dictates everything, naturally. Baking at home gives you control, but these numbers should help you track your treats!
- Serving Size: 1 slice
- Calories: 450
- Sugar: 35g
- Fat: 28g
- Protein: 7g
This is certainly a rich, comforting dessert, so save a slice for when you truly want to indulge!
Share Your Taste This Plate Creations
That’s it! You have now successfully made a truly showstopping, undeniably creamy cheesecake dessert that you can be proud of. Remember how I mentioned that sharing food is how we show love? Well, I absolutely want to see your creations!
When you pull that gorgeous blueberry cheesecake out of the springform pan and spoon on that glossy topping, snap a picture! I want to see those beautiful, creamy slices you’ve made.
Tag us on social media and use the hashtag #TasteThisPlate so I can swoon over your work. Every time you bring one of my recipes to your table to make a memory, you are fulfilling the mission of this whole site. If you have any leftover questions or need to tell me how much your family loved it, don’t hesitate to reach out via my contact page. Happy baking, and thank you for bringing joy to your kitchen!
PrintCreamy Baked Blueberry Cheesecake with Buttery Cookie Crust
Follow this trusted recipe for a creamy baked blueberry cheesecake with a buttery graham cracker crust and a sweet blueberry topping. We explain the simple techniques for a smooth texture every time you bake this classic dessert.
- Prep Time: 25 min
- Cook Time: 65 min
- Total Time: 7 hours 55 min
- Yield: 12 servings 1x
- Category: Dessert
- Method: Baking
- Cuisine: American
- Diet: Vegetarian
Ingredients
- 1 1/2 cups graham cracker crumbs
- 1/4 cup granulated sugar (for crust)
- 6 tablespoons unsalted butter, melted
- 3 (8 ounce) packages cream cheese, softened to room temperature
- 1 1/2 cups granulated sugar (for filling)
- 1 teaspoon vanilla extract
- 1/4 cup sour cream
- 3 large eggs
- 1 cup fresh or frozen blueberries (for topping)
- 1/4 cup water
- 2 tablespoons cornstarch
- 1/4 cup granulated sugar (for topping)
Instructions
- Prepare the crust: Preheat your oven to 350°F (175°C). Mix graham cracker crumbs, 1/4 cup sugar, and melted butter. Press the mixture firmly into the bottom of a 9-inch springform pan. Bake for 10 minutes. Remove and let cool slightly.
- Reduce the oven temperature to 325°F (160°C).
- Prepare the filling: In a large bowl, beat the softened cream cheese with 1 1/2 cups sugar until smooth. Beat in the vanilla extract and sour cream. Mix until just combined.
- Add the eggs one at a time, mixing on low speed after each addition until just incorporated. Do not overmix the batter once the eggs are added; this prevents cracks.
- Pour the filling over the cooled crust in the springform pan.
- Bake the cheesecake for 55 to 65 minutes. The edges should look set, but the center should still have a slight wobble.
- Turn off the oven, prop the door open slightly, and let the cheesecake cool inside the oven for 1 hour. This gradual cooling helps prevent cracking.
- Remove the cheesecake from the oven and cool completely on a wire rack. Then, chill in the refrigerator for at least 6 hours, or preferably overnight.
- Prepare the blueberry topping: In a small saucepan, combine the blueberries, 1/4 cup sugar, water, and cornstarch. Cook over medium heat, stirring constantly, until the sauce thickens and bubbles. This usually takes about 5 to 8 minutes.
- Remove the sauce from the heat and let it cool completely.
- Once the cheesecake is fully chilled, carefully remove the sides of the springform pan. Spoon the cooled blueberry topping over the top of the cheesecake before serving.
Notes
- For the best, creamy texture, make sure your cream cheese is fully softened to room temperature before mixing. Cold cream cheese creates lumps.
- To prevent cracks, bake the cheesecake in a water bath (place the springform pan inside a larger roasting pan filled with hot water before placing it in the oven).
- You can substitute the graham cracker crust with a shortbread cookie crust for a different flavor profile.
Nutrition
- Serving Size: 1 slice
- Calories: 450
- Sugar: 35g
- Sodium: 320mg
- Fat: 28g
- Saturated Fat: 17g
- Unsaturated Fat: 11g
- Trans Fat: 0.5g
- Carbohydrates: 45g
- Fiber: 1g
- Protein: 7g
- Cholesterol: 110mg