
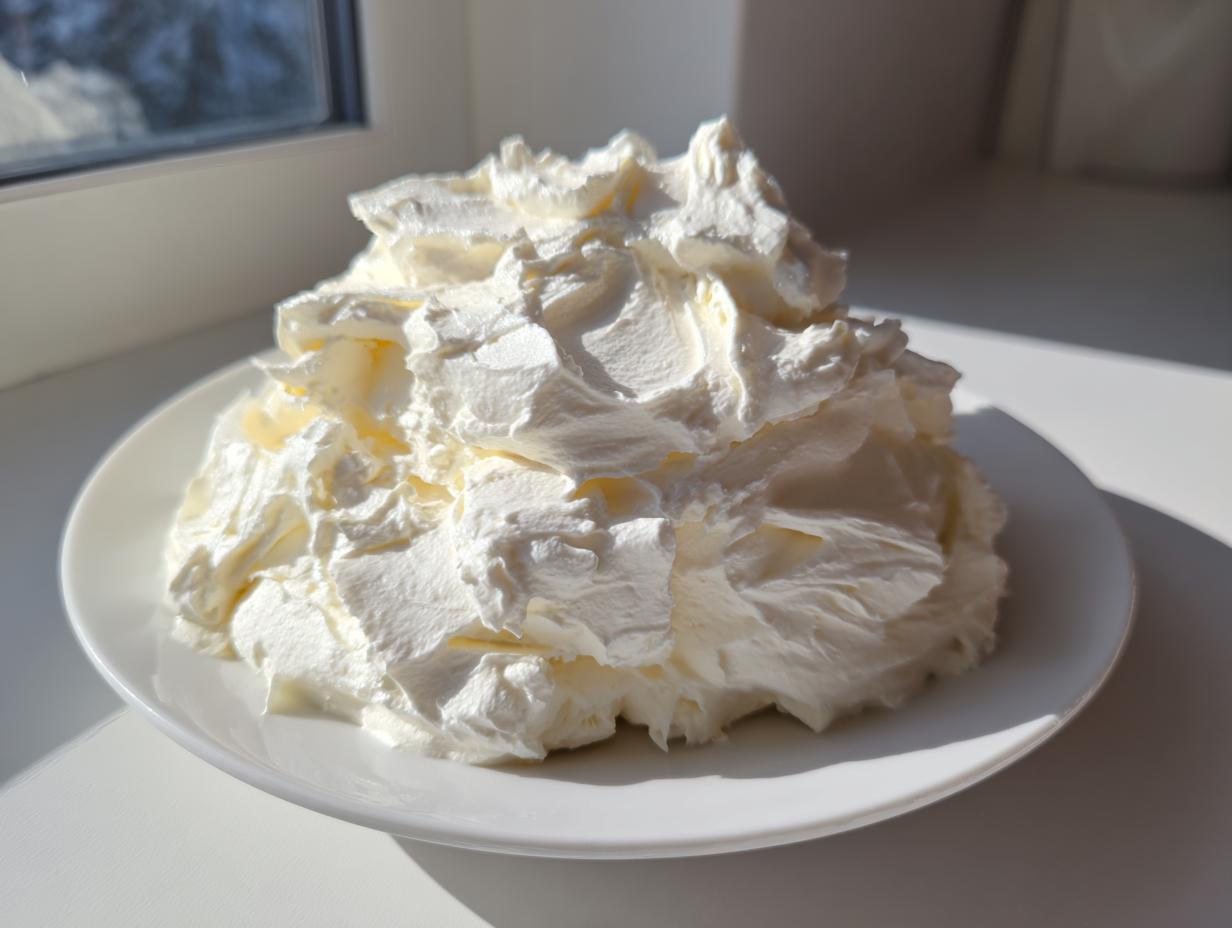
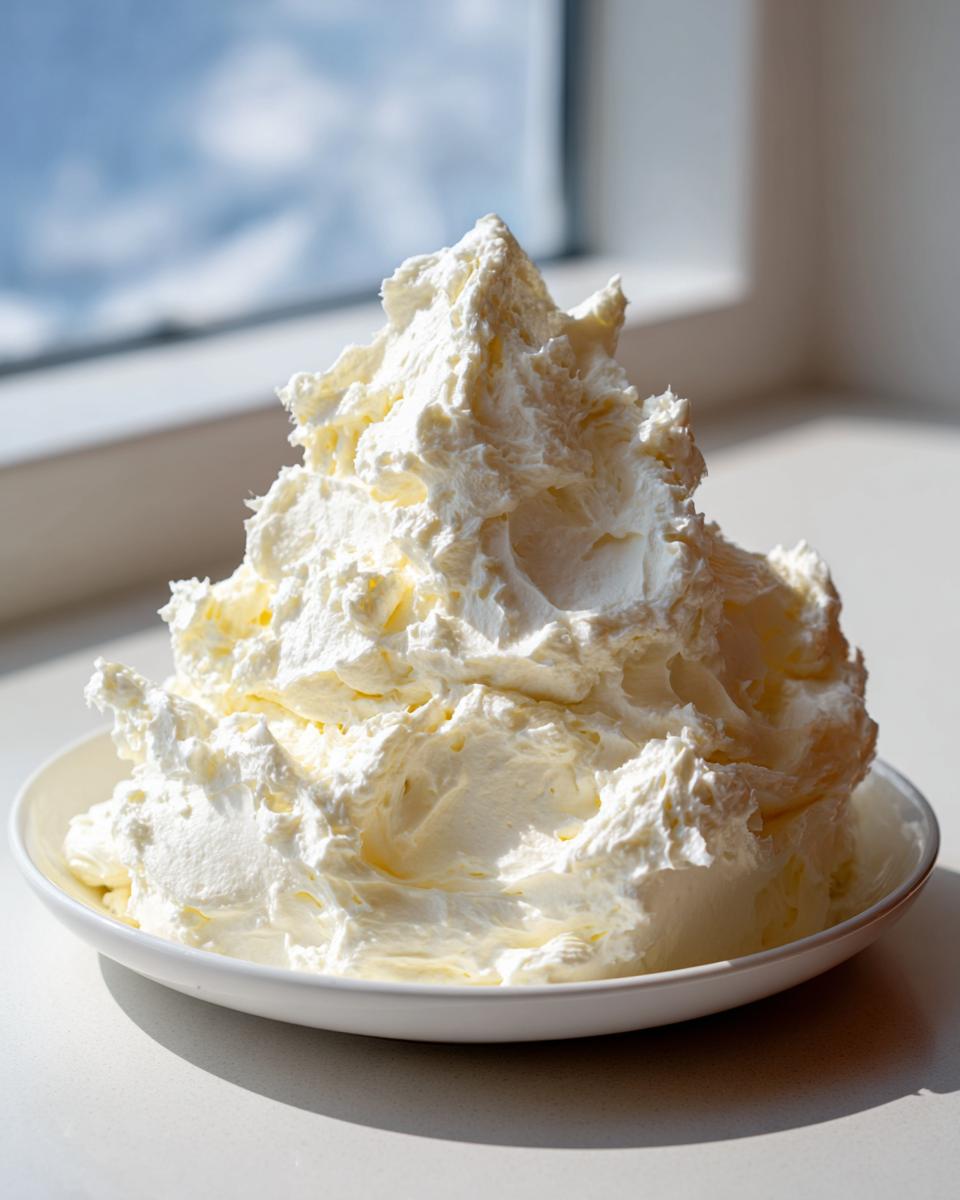
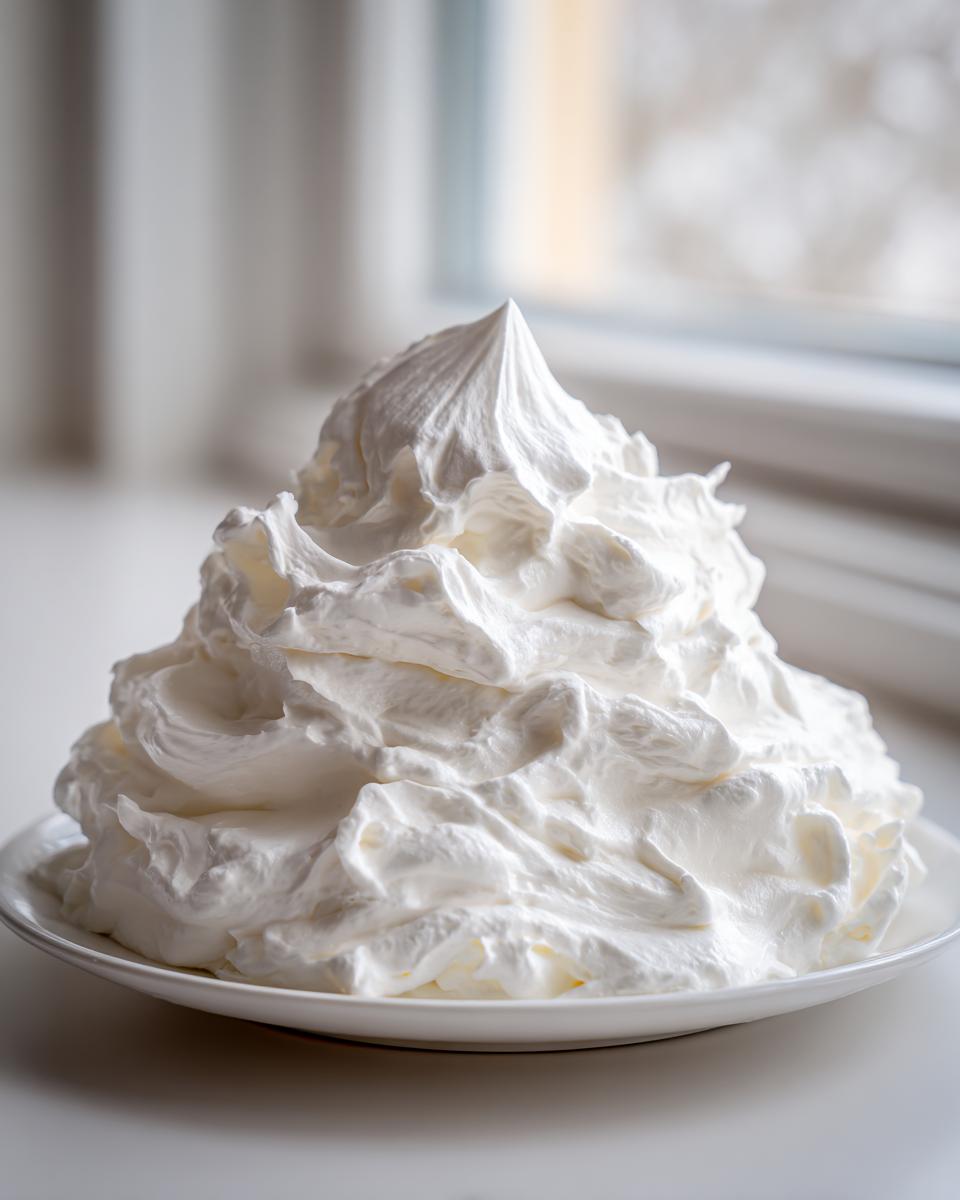
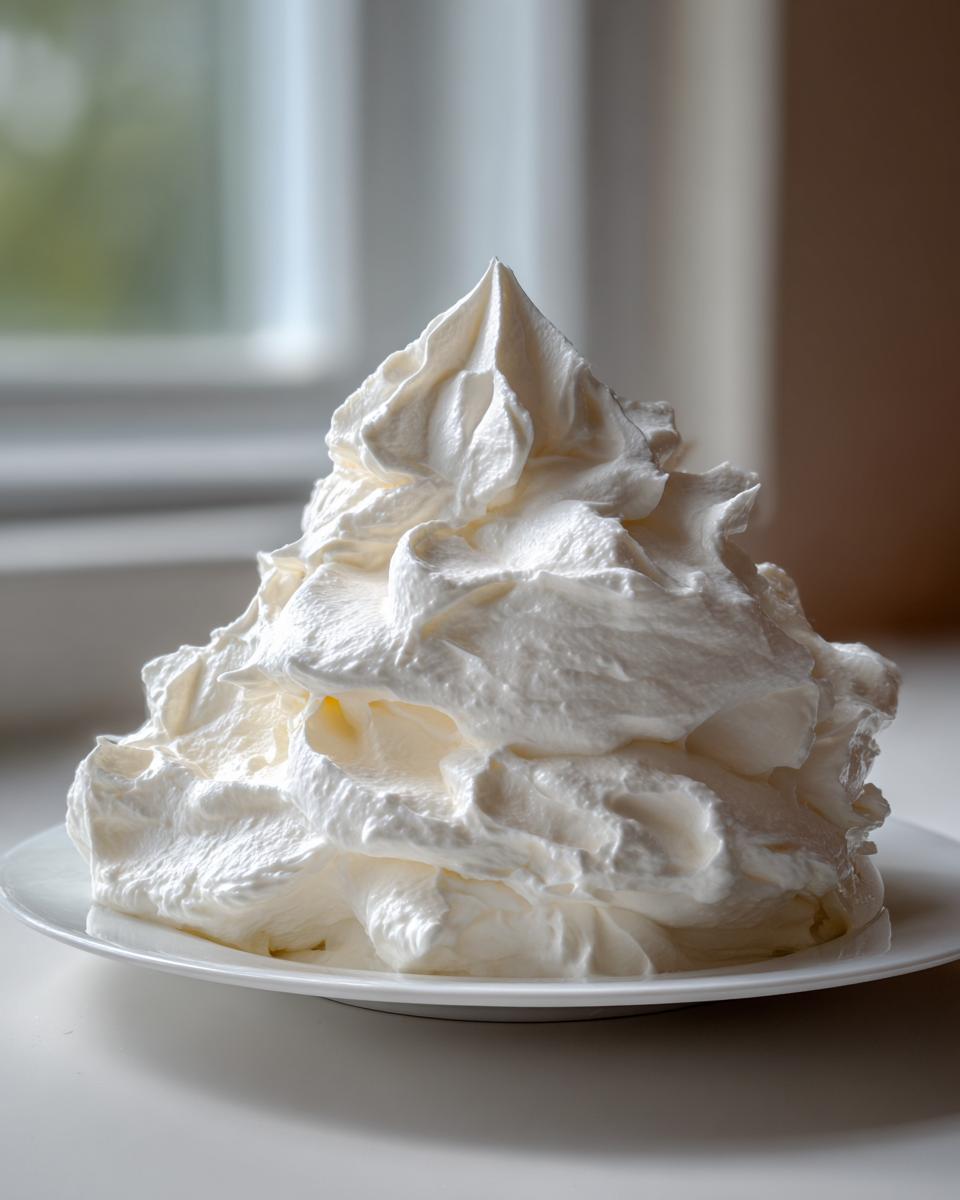
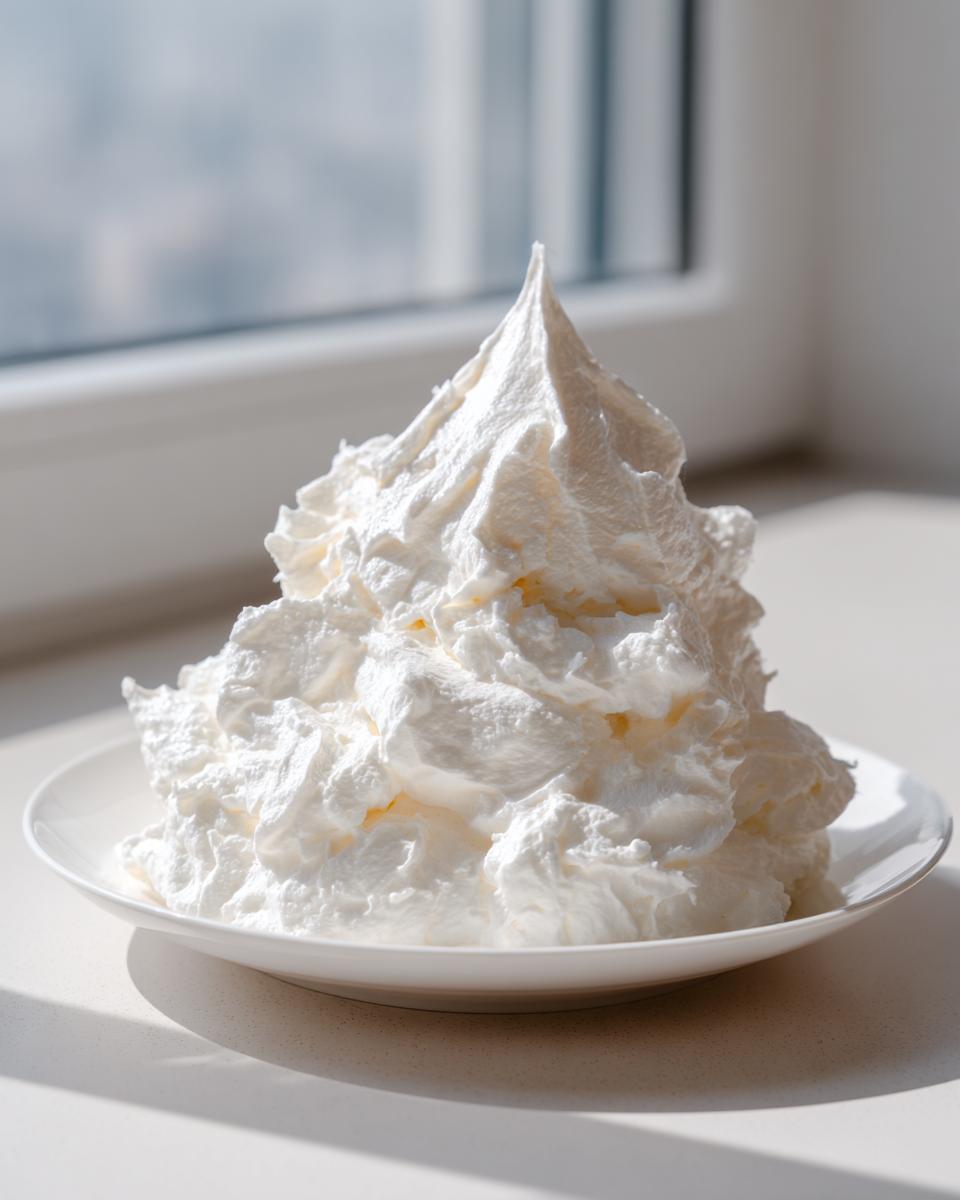
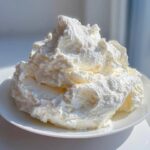
For me, frosting isn’t just an afterthought; it’s the grand finale of any dessert! If the frosting flops, the whole batch feels a little defeated, right? That’s exactly why I spent so much time developing this classic American vanilla buttercream recipe. This isn’t some fussy, complicated version either—it’s ready in about 10 minutes! If you’re tired of runny icing or something too sweet, this is your holy grail. It’s designed to be perfectly fluffy yet incredibly stable, meaning you can pipe swirls that actually stand tall. After years of tweaking, testing, and analyzing classic techniques here in my kitchen, I promised myself I’d share only the best, most reliable recipes, and this creamy topping is definitely one of them.
- Why This Vanilla Buttercream Recipe is Your New Favorite
- Gathering Your Baking Essentials for Vanilla Buttercream
- Step-by-Step Guide: How to Make Buttercream Frosting
- Pro Tips for Buttercream for Piping Success
- Troubleshooting Common American Buttercream Base Issues
- Making Variations of Your Easy Vanilla Frosting
- Serving Suggestions for Your Best Homemade Frosting
- Storage and Reheating Instructions for Vanilla Buttercream
- Frequently Asked Questions About Fluffy Buttercream Tutorial
- Nutritional Snapshot of This Quick Dessert Topping
- Share Your Bakery Style Buttercream Creations
Why This Vanilla Buttercream Recipe is Your New Favorite
I know you’ve seen a million recipes for topping, but this vanilla buttercream recipe cuts through the noise because it actually delivers on promises! We aren’t messing around with ingredients that take hours to stabilize. Here’s why this is the only one you’ll keep saving:
- Fluffy and Creamy Texture: We whip it long enough to incorporate tons of air, making it light, not dense.
- Piping Perfection: It holds its sharp shape beautifully, whether you’re frosting a whole cake or just swirling some on top of your sugar cookie bars.
- Speedy Satisfaction: You can whip up a batch of this best homemade frosting in about 10 minutes flat. Time saved means more time enjoying the treats!
- Pure Classic Flavor: It tastes exactly like that wonderful, rich frosting you dream about—nothing artificial, just pure, sweet, classic vanilla icing.
Gathering Your Baking Essentials for Vanilla Buttercream
The secret to this amazing cake topping starts before you even turn the mixer on. For this easy vanilla frosting, we need simple, accessible ingredients, but their state—like temperature or dryness—is everything! Trust me on the prep work here.
Here is what you need for your vanilla buttercream recipe that yields about 4 cups of topping:
- 1 cup (226g) unsalted butter, softened just right to room temperature.
- 4 cups (480g) powdered sugar, and you absolutely must sift this!
- 1 tablespoon pure vanilla extract—use the real stuff; it makes the flavor shine!
- 3 to 4 tablespoons heavy cream or whole milk.
- Pinch of salt to balance the sweetness.
If you’re visiting us from the local market, these are all straightforward baking essentials you can find anywhere. Don’t worry about heavy cream; whole milk works just fine if you need an alternative for your blueberry cream cheese muffins next week!
Step-by-Step Guide: How to Make Buttercream Frosting
Okay, my favorite part! This is where the magic of a truly creamy cake icing comes together. Remember, since this is an American buttercream base, we aren’t baking anything, so timing and technique in the mixer are everything. Having your ingredients ready to go makes this process super fast, usually under 10 minutes!
Creaming the Butter Base
First things first, we need that butter happy! Put your softened butter into your stand mixer with the paddle attachment. We are beating this until it looks completely smooth and almost whipped, which takes about two minutes. If your butter is too cold, you’ll get lumps, and if it’s too warm or greasy, the frosting won’t hold its shape later. Scrape down the sides so every bit is evenly ready for the sugar.
Incorporating Sugar for Creamy Cake Icing
This is the step where you try not to create a whiteout in your kitchen! Add that sifted powdered sugar one cup at a time. Seriously, add a cup, let it mix on low just until it disappears into the butter, then add the next. If you dump it all in at once, you’ll spend the next ten minutes cleaning down your cabinets. Once all the sugar is in, scrape down the bowl again before moving on.
Whipping for Ultimate Fluffiness in Your Vanilla Buttercream
Now we build the air structure—this is the secret to getting that fluffy, bakery-style texture that readers love! Add your vanilla and that pinch of salt. Then, add just 3 tablespoons of your heavy cream or milk. Turn the mixer up to medium-high and let it run for a full 3 to 5 minutes. Don’t stop early! This whipping time is essential for creating the super airy and stable frosting for decorating we talked about. Finally, hit it with high speed for one last minute to really pump it full of air. If you need to smooth it out a little more for spreading, add that last tablespoon of cream slowly, but if it’s for piping, you might skip it entirely. Trust me, that extra whipping time is what separates good frosting from this vanilla buttercream.
If you want to see how I use a similar method for a different kind of topping, check out my guide on this super easy sugar cookie icing that hardens. For more great inspiration, I always look at what others are doing, like the fantastic tutorial over at Natasha’s Kitchen!
Pro Tips for Buttercream for Piping Success
Now that you’ve made this truly stunning vanilla buttercream recipe, let’s talk about setting it up perfectly for decorating. Achieving that stiff, non-slumping consistency for intricate piping is all about temperature control. If you want those sharp stars and perfect borders, start with butter that is slightly cooler than room temperature—almost firm but still beatable. This creates a stiffer base before we even add the sugar!
The recipe, as written, yields about 4 cups, which is generally enough to generously frost one standard 9-inch layer cake or give between 18 and 20 cupcakes a lovely swirl. If you notice your frosting seems a bit soft after all that whipping—maybe you live somewhere hot, or your mixer is a speedy beast—don’t panic! My favorite fix is to pop the whole bowl into the fridge for about 10 minutes. When you bring it out, give it a quick re-whip. That little chill firms it right up, making it buttercream for piping ready.
Also, always remember to sift the powdered sugar! I know it feels tedious, but lumps are the enemy of smooth vanilla frosting for decorating. If you happen to find a genius recipe for quick dessert topping that skips sifting, let me know, but I’ll stick to my original method!
For more tips on making sure your frosting stays put, check out my guide on this sugar cookie icing that hardens—same stability principle applies! And when I need decorating inspiration, I often look at fantastic, quick methods like the one shared over at Yum Savor.
Troubleshooting Common American Buttercream Base Issues
Even with the best vanilla buttercream recipe, sometimes things go a little sideways, especially when you’re rushing! But don’t throw that bowl against the wall just yet. Most issues boil down to two things: temperature or sugar consistency. If your frosting is suddenly too soft or even a little soupy, it usually means the butter got too warm during the initial creaming or the beating phase. The fix here is easy: stop the mixer, pop the whole bowl (yes, the whole thing!) into the fridge for about 10 minutes. Then, give it a quick re-whip, and it should firm right back up. You’ll have that beautiful, stable frosting for decorating again in no time!
Did you end up with a grainy texture? Oops! That almost always means you skipped sifting your powdered sugar, or maybe your butter wasn’t quite soft enough for the sugar to fully dissolve into it during the creaming stage. To rescue grainy frosting, you need to add just a touch more liquid—a teaspoon of milk or cream at a time—and then beat it slowly for a good three minutes. This extra mixing time helps those sugar granules dissolve, resulting in a much smooth vanilla frosting finish. See? Nothing is ruined!
Making Variations of Your Easy Vanilla Frosting
One of the biggest joys of having this incredibly reliable vanilla buttercream recipe is how easy it is to pivot into other flavors! Since this is a solid American buttercream base, you can customize it in minutes. If you are making a batch for my chocolate cherry cookies, for instance, I love swapping out half the vanilla extract for almond extract. It gives it a lovely, almost marzipan note that is divine.
For a bright kick, try adding one teaspoon of fresh lemon zest along with your vanilla—it makes the whole thing taste lighter and so fresh. To turn this into a simple chocolate topping, sift in about 1/3 cup of unsweetened cocoa powder along with the powdered sugar. You might need an extra splash of cream to keep it perfectly smooth, but suddenly you have a delicious chocolate vanilla buttercream!
Serving Suggestions for Your Best Homemade Frosting
Okay, you’ve made the most perfect, stable, and dreamy vanilla buttercream! Now, where are we going to put it? The beauty of this classic recipe is its versatility. It’s fantastic piled high onto a classic vanilla layer cake—you can never go wrong with that combination. But honestly, it shines on slightly richer flavors, too. Try it on top of dark chocolate cupcakes; the light vanilla flavor cuts through the richness so nicely!
This is also one of my go-to cupcake topping ideas for holidays because it pipes so well. And if you are making simple sugar cookies, skipping the heavy royal icing for this soft creamy cake icing is a game-changer. If you need something else sweet and simple for dipping, I highly recommend trying this recipe for easy pecan pie bark and topping it with a little swirl!
Storage and Reheating Instructions for Vanilla Buttercream
You made the perfect batch, so naturally, we want it to last! For short-term storage, say, if you made too much for tonight’s cupcakes, you can keep this vanilla buttercream tightly covered at room temperature for about two days. If you need longer storage—and honestly, who can resist having extra frosting handy?—pop it into an airtight container in the fridge. It’ll keep beautifully for up to two weeks.
Now, here’s the important part about bringing it back to life. When you pull that cold tub out, it’s going to be rock hard. Don’t try to use it right away! Let it sit on the counter until it softens up a bit, maybe 30 minutes. Then, the key step: put it back in your mixing bowl and beat it on medium speed for a few minutes. This whips the air back in, turning it back into that perfectly soft, pipeable, best homemade frosting without adding any extra liquid. It’s like magic! If you’re interested in making things ahead for later, I also have a great guide for strawberry freezer jam that uses the same ‘chill and re-whip’ principle!
Frequently Asked Questions About Fluffy Buttercream Tutorial
I know you might have a few lingering questions before you dive headfirst into making this vanilla buttercream. It’s completely normal! When you’re aiming for the absolute best, most fluffy version, details matter. Here are the things I hear most often when people try this easy vanilla frosting for the first time.
Can I use salted butter for this creamy cake icing?
This is a common question! Yes, you absolutely can use salted butter if that’s all you have on hand, but you need to be careful. Since this is such a sweet topping, the primary purpose of the pinch of salt in the recipe is to cut through that sweetness and balance the flavor. If you use salted butter, make sure you either leave out the added pinch of salt entirely, or cut it way back. I really prefer unsalted because it gives me total control over the final taste of my classic vanilla icing.
Why is my buttercream grainy even after mixing?
Graininess is the worst! It usually means the powdered sugar wasn’t fully incorporated, which is often caused by the butter being too cold, or skipping the sifting step. To fix it, you need to gently warm up the mixture—don’t melt it! You can try using a hairdryer aimed at the bowl for just a few seconds while mixing on low speed, or place the mixing bowl over a pot of warm, simmering water (without touching the water!) for a minute or two. Then, beat it again on medium speed. That little bit of warmth helps the sugar crystals dissolve into that smooth texture we love.
How long does this vanilla buttercream last?
If kept covered tightly, this best homemade frosting can last wonderfully at room temperature for about two days, provided your kitchen isn’t baking hot! For longer storage, refrigerate it in an airtight container for up to two weeks. Remember what I said earlier? When you take it out, let it soften up, and then give it a good, long whip to restore that incredible fluffiness. Don’t forget to try this next time you make a creamy BLT pasta salad and need a simple savory dip to go with it!
Nutritional Snapshot of This Quick Dessert Topping
I want to be totally upfront with you—this is a classic, rich vanilla buttercream, and it’s definitely a treat! While we focus on using simple ingredients here at Taste This Plate, frosting is going to be packed with sugar and fat, as butter is our star ingredient for that amazing texture.
Based on the recipe details and yielding about 4 cups (16 standard 1/4-cup servings), here are the estimated nutritional details for one serving of this quick dessert topping:
- Serving Size: 1/4 cup
- Calories: 380
- Sugar: 50g
- Fat: 20g (with 12g saturated)
- Carbohydrates: 52g
- Protein: 1g
Now, please remember this is just an estimate for the best homemade frosting! The actual numbers can shift a bit depending on whether you use European butter versus standard unsalted, or what brand of powdered sugar you choose to sift. Use these figures as a general guide for your baking adventures!
Share Your Bakery Style Buttercream Creations
I’ve shared all my secrets for whipping up this stunning, stable vanilla buttercream, and now it’s your turn! Honestly, seeing what you all create is what makes all the testing and recipe breakdown worth it. Whether you used this for elegant piping on a birthday cake or as a quick topping for an evening dessert, I want to know how it went!
If you followed along and this recipe made your baking life easier—especially on a busy weeknight—please do me a huge favor and leave a quick 5-star rating right down in the comments below. It helps other bakers find the truly reliable recipes when they are searching for the best homemade frosting!
Did you try it with a different flavor variation from my suggestions, or did you stick to the pure classic? Email me a picture of your finished work, or tag me if you post it online! I love seeing your successes and offering little tips if you ran into any last-minute snags. You can always reach out directly through my contact page if you have specific questions or ideas for the next creamy cake icing recipe!
Thank you so much for trusting me with your baking today. Happy decorating!
PrintUltimate Fluffy & Stable American Vanilla Buttercream Frosting
Make the best homemade frosting with this easy vanilla buttercream recipe. It creates a rich, creamy, and fluffy topping that holds its shape perfectly for piping cakes and cupcakes.
- Prep Time: 10 min
- Cook Time: 0 min
- Total Time: 10 min
- Yield: About 4 cups 1x
- Category: Dessert Topping
- Method: Mixing
- Cuisine: American
- Diet: Vegetarian
Ingredients
- 1 cup (226g) unsalted butter, softened to room temperature
- 4 cups (480g) powdered sugar, sifted
- 1 tablespoon pure vanilla extract
- 3 to 4 tablespoons heavy cream or whole milk
- Pinch of salt
Instructions
- Place the softened butter in the bowl of a stand mixer fitted with the paddle attachment. Beat the butter on medium speed until it is completely smooth and creamy, about 2 minutes. Scrape down the sides of the bowl.
- Gradually add the sifted powdered sugar, one cup at a time, mixing on low speed until just combined after each addition. This prevents a sugar cloud in your kitchen.
- Once all the sugar is incorporated, add the vanilla extract and a pinch of salt.
- Add 3 tablespoons of heavy cream or milk. Increase the mixer speed to medium-high and beat for 3 to 5 minutes. This whipping time is key to achieving a light, fluffy texture.
- Check the consistency. If the frosting seems too stiff for spreading or piping, add the remaining 1 tablespoon of cream, one teaspoon at a time, until you reach your desired smooth consistency.
- Beat on high for one final minute to incorporate air, making the buttercream extra stable and fluffy for decorating.
Notes
- For the best results when piping intricate designs, use cold butter initially, then beat until just combined before adding sugar, which results in a stiffer frosting base.
- If your frosting seems too soft after mixing, chill the entire bowl for 10 minutes, then briefly re-whip.
- Always sift your powdered sugar to avoid lumps in your smooth vanilla frosting.
- This recipe makes enough creamy cake icing to generously frost one 9-inch layer cake or top 18 standard cupcakes.
Nutrition
- Serving Size: 1/4 cup
- Calories: 380
- Sugar: 50g
- Sodium: 45mg
- Fat: 20g
- Saturated Fat: 12g
- Unsaturated Fat: 8g
- Trans Fat: 0.5g
- Carbohydrates: 52g
- Fiber: 0g
- Protein: 1g
- Cholesterol: 60mg