
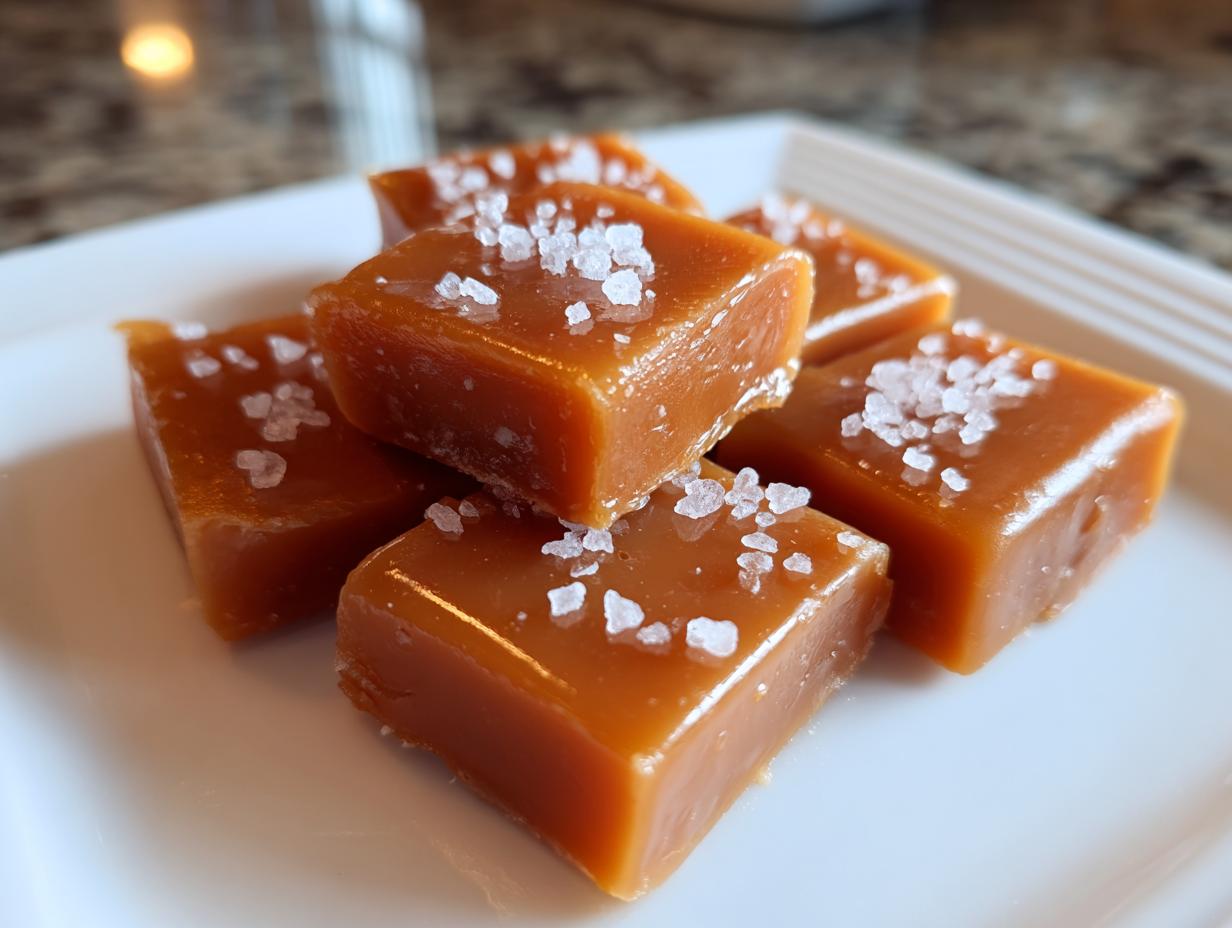
There is just something completely magical about that first slow, gooey pull of a perfect homemade candy, isn’t there? Forget the waxy, overly sweet stuff you find in the checkout aisle, because today we are embracing tradition! I am sharing my absolute favorite recipe for soft, chewy, sea salt caramels made completely from scratch. My grandmother always made candy for the holidays, and while I’ve analyzed and tweaked tons of recipes over the years, this method delivers that rich, buttery flavor and that unbeatable melt-in-your-mouth texture every single time. Trust me, once you nail this classic stovetop method, you’ll never look back!
- Why These Are the Best Soft, Chewy Caramels You Will Ever Make
- Gathering Your Ingredients for Perfect Homemade Caramels
- Step-by-Step Guide to Making Soft Caramel Candy Recipe
- Tips for Success When Making Homemade Caramels
- Variations on Classic Salted Caramels
- Storage and Gifting Your Homemade Caramels
- Frequently Asked Questions About Making Caramels
- Understanding the Science Behind Buttery Caramel Treats
- Sharing Your Homemade Caramels Creations
Why These Are the Best Soft, Chewy Caramels You Will Ever Make
I know, I know, everyone claims they have the “best” recipe, but hear me out on why this one truly works when so many others fail. It comes down to that perfect balance of fat and temperature control, which gives you results that rival the gourmet shops. We skipped the complicated steps and focused only on what matters!
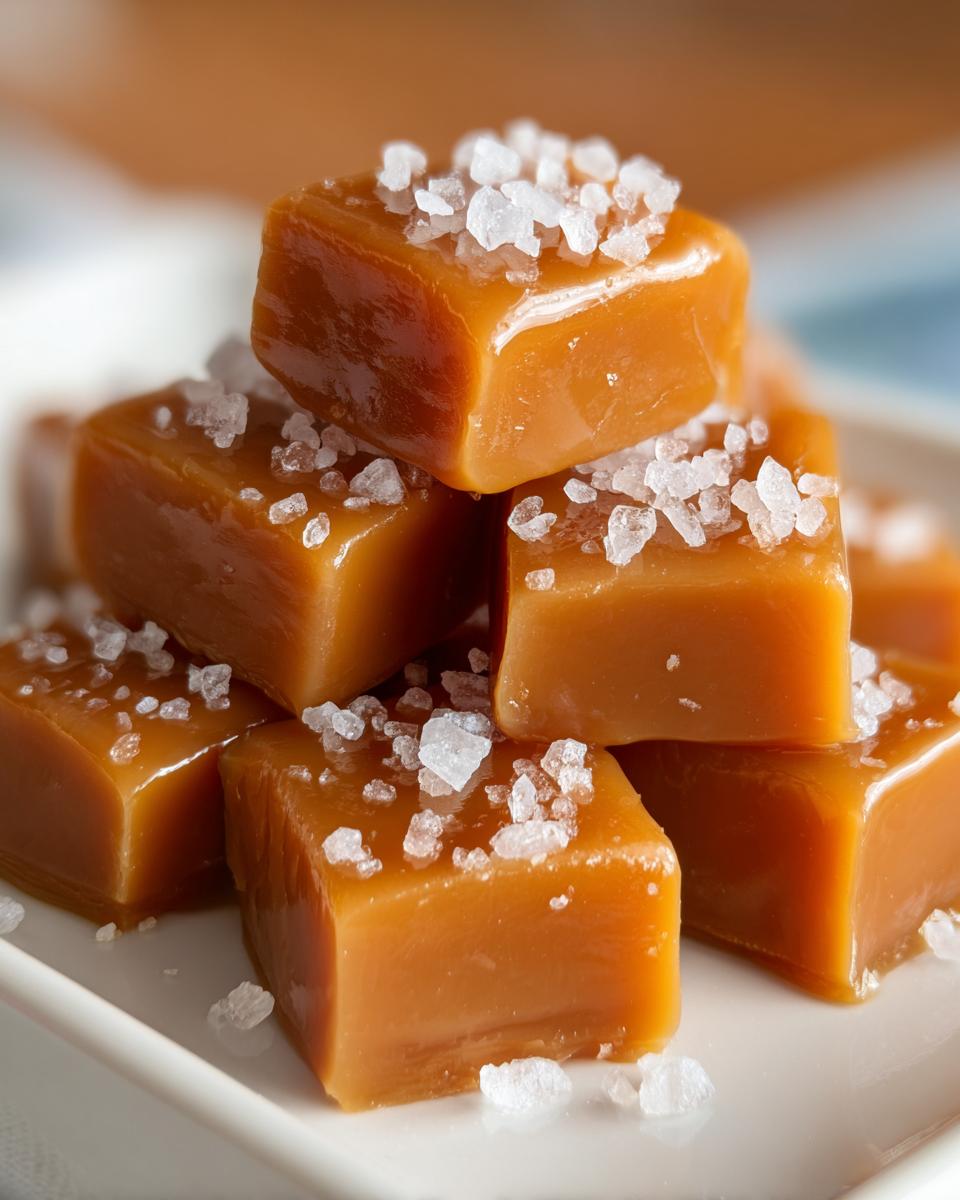
- Texture Perfection: These are true melt in your mouth candy squares—soft enough to chew easily but structured enough to hold their shape.
- Unbeatable Flavor: Thanks to the high butter and cream content, you get deep, rich, buttery caramel treats that taste like pure comfort.
- Reliability: If you follow the temperature, this is a no fail caramel recipe. Seriously, if I can do this without burning the sugar, anyone can!
Gathering Your Ingredients for Perfect Homemade Caramels
You know I wouldn’t steer you wrong here! The beauty of making from scratch caramels is that you probably have almost everything you need already. We aren’t messing around with fancy extras here; we are focusing on the core elements that create that incredible, rich flavor.
When you look at the list, pay special attention to two things: the butter and the sugars. You absolutely need unsalted butter, and make sure you cut it into pieces beforehand so it melts smoothly later. Also, we use both white granulated sugar and packed light brown sugar. That brown sugar is crucial for that deep color and that classic, slightly molasses-y background note. For the creamiest texture, remember to use heavy cream—no substitutes if you want that soft, decadent result! If you want to practice making silky bases for other recipes, you should check out my guide on perfect vanilla buttercream; it uses similar techniques!
Step-by-Step Guide to Making Soft Caramel Candy Recipe
Okay, deep breath time! This is where the magic happens, and it requires focus, but I promise it’s worth every second of attention. When I first tried making these caramels years ago, I thought I could just “eyeball” the cooking time. Oops! I ended up with hard, brittle sugar bricks—not the soft perfection we want. That taught me: you must respect the thermometer! For anyone who loves those salty-sweet squares, this linked method explores similar techniques for perfect salted caramels, but let’s stick to my stovetop foolproof here!
Preparation and Initial Cooking of Caramels
First things first: line that 8×8 pan with parchment paper, making sure you have overhang on two sides so you can easily lift the whole block out later. That parchment is your very best friend! Now, grab your heavy saucepan and combine the granulated sugar, corn syrup, heavy cream, and brown sugar. Put it over medium heat. You need to stir this constantly until that sugar dissolves completely, and you see it just starting to bubble. As soon as it boils—and I mean as soon as—put that spoon down. Seriously, walk away from stirring once that boil hits!
Achieving the Perfect Temperature for Chewy Caramels
This is the make-or-break moment for your chewy caramels. You need that candy thermometer attached securely. Let the mixture cook, undisturbed, until it hits exactly 245 degrees Fahrenheit. That specific temperature is the sweet spot for achieving that firm-ball stage, which translates directly to that wonderful soft chewiness we are aiming for. If you let it creep up to 248 or 250 degrees? You’ve made very hard candy, and nobody wants that! This precision is key to ensuring the texture is exactly right.
Finishing and Setting Your Sea Salt Caramels
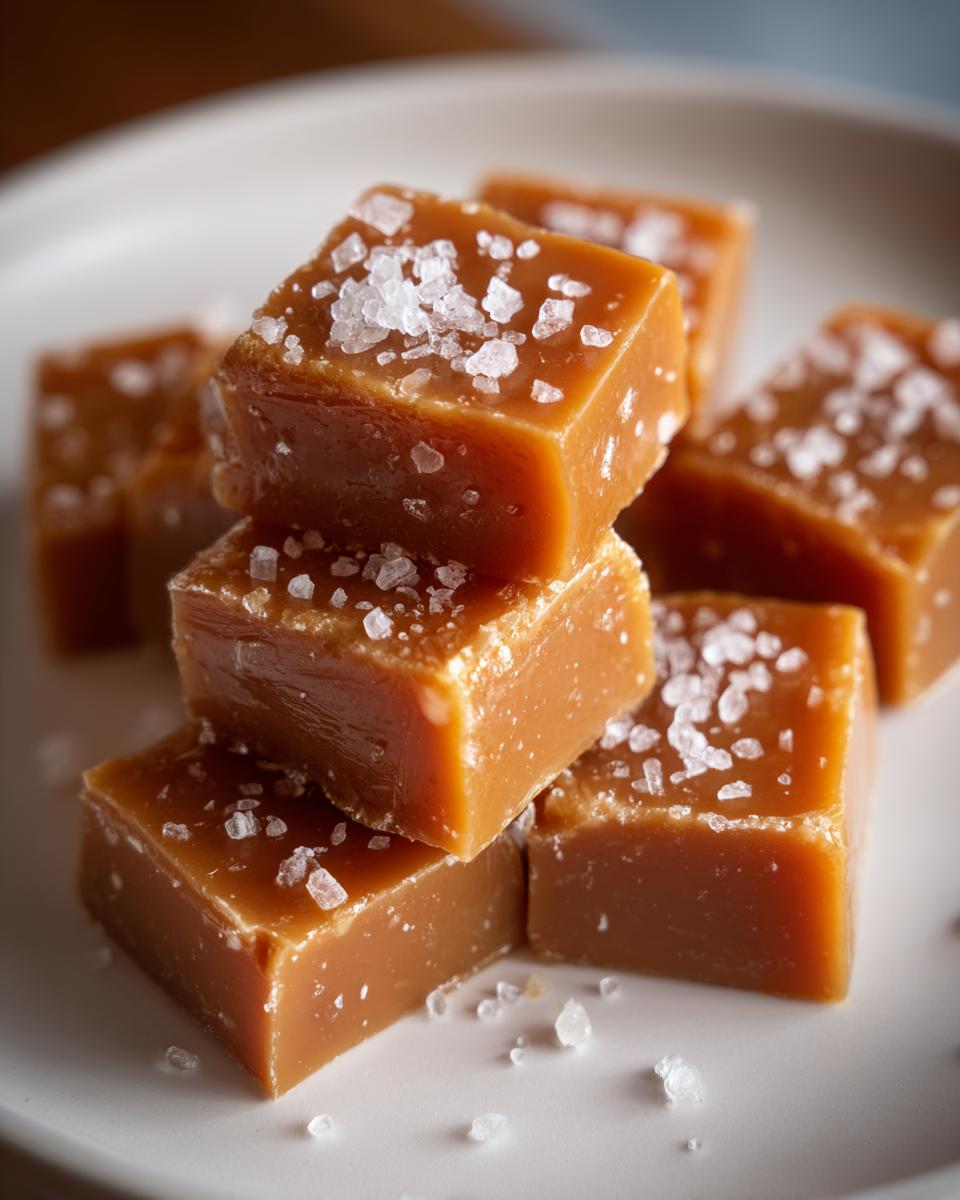
Once the thermometer screams 245°F, yank that pot right off the heat. Time to whisk in your cut-up butter until it melts completely—stand back because it will bubble up aggressively! Then, stir in your vanilla and the base layer of sea salt. Pour that glorious mixture right into your prepared pan; don’t scrape the bottom of the pot, please! Immediately sprinkle the top evenly with extra sea salt for that perfect salty crunch on top of your caramels. Now, the hardest part: leave them alone! They need a solid three hours at room temperature to cool and firm up before you can cut them, which allows the final structure to set perfectly. If you’re curious about other successful cooking techniques, take a peek at how I manage a traditional southern chocolate chess pie.
Tips for Success When Making Homemade Caramels
So, you’ve successfully navigated the bubbling pot and hit 245 degrees—congratulations! Now we talk about preserving that success. If you find your batch is slightly too hard the next day, you know what I’ll say: check that temperature again! Even a few degrees too high locks in too much moisture, changing the texture from chewy to stiff. For this classic, foolproof method, 245°F is the magic ticket for that ideal ‘melt in your mouth candy’ experience.
If you’re ever in a real pinch and need quick sugar fixes, some people swear by quick microwave caramels, but honestly, they never achieve the deep, rich flavor you get when you build this foundation on the stovetop. We want that real, deep best caramel recipe flavor, right? Don’t rush the cooling either; cutting them early guarantees sticky, messy heartbreak. If you need a quick refresher on balancing ingredients in other recipes, I found layering ratios helpful when perfecting my creamy peanut sauce!
Variations on Classic Salted Caramels
Once you master the fundamental recipe for these caramels, the kitchen becomes your playground! The base is so strong and delicious, but adding just a little something extra can make these perfect for gifting or just putting a twist on your regular sweet snack.
I love experimenting with different flavor combinations, keeping the texture exactly the same—soft and chewy. For a quick grown-up treat, try stirring in about a teaspoon of instant espresso powder right along with the vanilla in the final mix. It adds a lovely coffee note that cuts through the richness perfectly. Or, if you have some flaky smoked sea salt around, swap that in for the finishing sprinkle!
If you want a true burst of flavor, a tablespoon of finely chopped candied ginger added right before pouring into the pan gives fantastic warmth. These little changes turn your standard salted caramels into something truly gourmet without adding any complexity to the actual candy-making process. If you are keen on combining caramel with chocolate later, I have a show-stopping chocolate caramel toffee crunch cake recipe that uses these exact squares!
Storage and Gifting Your Homemade Caramels
Now that you have your beautiful block of set caramel, the final challenge is avoiding the dreaded sticky mess! When preparing these for sharing, think of them as personalized Homemade Candy Gifts. They look so much nicer when individually wrapped, don’t they? I use squares of wax paper leftover from my cookie baking days; cellophane works great too if you want a clear view.
The key to storage is airflow control. Keep your cut and wrapped caramels in a truly airtight container at room temperature for up to two weeks. If you try freezing them, they tend to get a little strange when thawing, so I always skip that step. For wrapping the individual pieces, use a sharp knife that you wipe clean between cuts, or better yet, lightly oil a pizza cutter—it saws through that chewiness so easily! If you want to see how I make other simple, melt-in-your-mouth treats perfect for holiday platters, check out my classic butter cookies. And for tips on getting your chewy candy ready for gifting, this guide has some great wrapping visuals!
Frequently Asked Questions About Making Caramels
I always get questions when people see my stash of homemade candy curing on the counter! Making candy can feel intimidating, but once you understand the few crucial science bits, these homemade caramels become routine. Here are some of the things I hear most often when folks are trying their hand at these sweet bites.
Why did my caramels turn grainy instead of smooth?
Oh, graininess! That’s usually caused by sugar crystallization. In simple terms, if any tiny sugar crystal jumps into that boiling hot syrup after you stop stirring, it tells all the other sugar molecules, “Hey, let’s turn back into crunchy sugar!” To avoid this next time, make sure you wipe down the sides of your pot if any sugar splashes up while it’s cooking, and definitely don’t stir the mixture once it starts boiling!
How can I make my caramels even softer or chewier?
It all comes down to that thermometer reading! If you want something leaning toward softer, almost taffy-like, pull the mixture off the heat right at 242°F instead of 245°F. If you prefer them slightly firmer but still chewy, push it to 246°F. Remember, crossing that 250°F mark sends you into hard candy territory, so be precise!
How long do these buttery caramel treats actually last?
You’ll be happy to know these keep beautifully! Since they are high in sugar and fat, they are quite stable. Store your wrapped soft caramel candy recipe squares in an airtight container at cool room temperature—not too warm! They are best within the first week but hold up great for about two weeks. If you ever get tired of plain caramels, try them dipped in chocolate or piled over my easy toffee pretzels!
Can I skip the corn syrup and just use sugar?
Please don’t skip the corn syrup! It’s not just filler; it’s an invert sugar, which is essential because it prevents the granulated sugar from recrystallizing into hard sugar. Without it, you’re almost guaranteed to end up with a gritty mess instead of those smooth, chewy caramels we want. It’s a necessary component for a truly foolproof batch!
Understanding the Science Behind Buttery Caramel Treats
When you’re making candy from scratch, it stops being just cooking and starts becoming a little bit of kitchen chemistry, which I absolutely love! Understanding why we do certain steps is what moves you from just following instructions to actually becoming a confident cook. In this recipe, we rely on two main scientific players to create that signature luxurious texture.
First, let’s talk about corn syrup. If you’re used to making simple sugar syrups, you might think you can just substitute granulated sugar for the corn syrup, but please don’t! That lighter syrup plays a vital, almost protective role. It’s what we call an invert sugar, and its job is to physically battle crystallization. If you don’t use it, those sugar molecules can link up into sharp, crunchy little points when they cool, and that ruins the smooth finish of our melt in your mouth candy.
Next up is the fat content—the butter and the heavy cream. This is the secret to that deep, rich mouthfeel. Fat coats the sugar crystals, preventing them from feeling gritty on your tongue, and it helps stabilize the entire structure as it cools. This high-fat base is why these treats feel like they just melt away the second they hit your mouth instead of crumbling. It adds incredible depth of flavor too, which you just can’t cheat!
If you’re looking to understand how precise measurements affect the final result in other areas of cooking, I find that understanding the chemistry of fats really helps, much like figuring out the perfect emulsion guides my recipe for creamy avocado sauce. It all comes back to the right balance!
Sharing Your Homemade Caramels Creations
I poured my heart into this recipe, and honestly, the best part is seeing what you all make! When you try your hand at these homemade caramels, please don’t keep that gooey success to yourself. Head to the comments section below and let me know how it went. Did you hit that 245°F mark perfectly?
I’d love to see photos of your beautifully wrapped squares—they truly make the most thoughtful homemade sweet treats for neighbors or teachers. If you’re the kind of person who raids the candy jar moments after they cool, tell me that too! Are you enjoying these buttery bites with a big mug of my creamy hot chocolate, or maybe you’ve already tried them dipped in dark chocolate?
If you were happy with the results and found this recipe reliable for your holiday candy making, leaving a rating helps other cooks discover how easy and delicious these caramels can be. Or, if you want to check out another wonderfully reviewed recipe for sea salt perfection, Molly’s guide has a fantastic perspective as well!
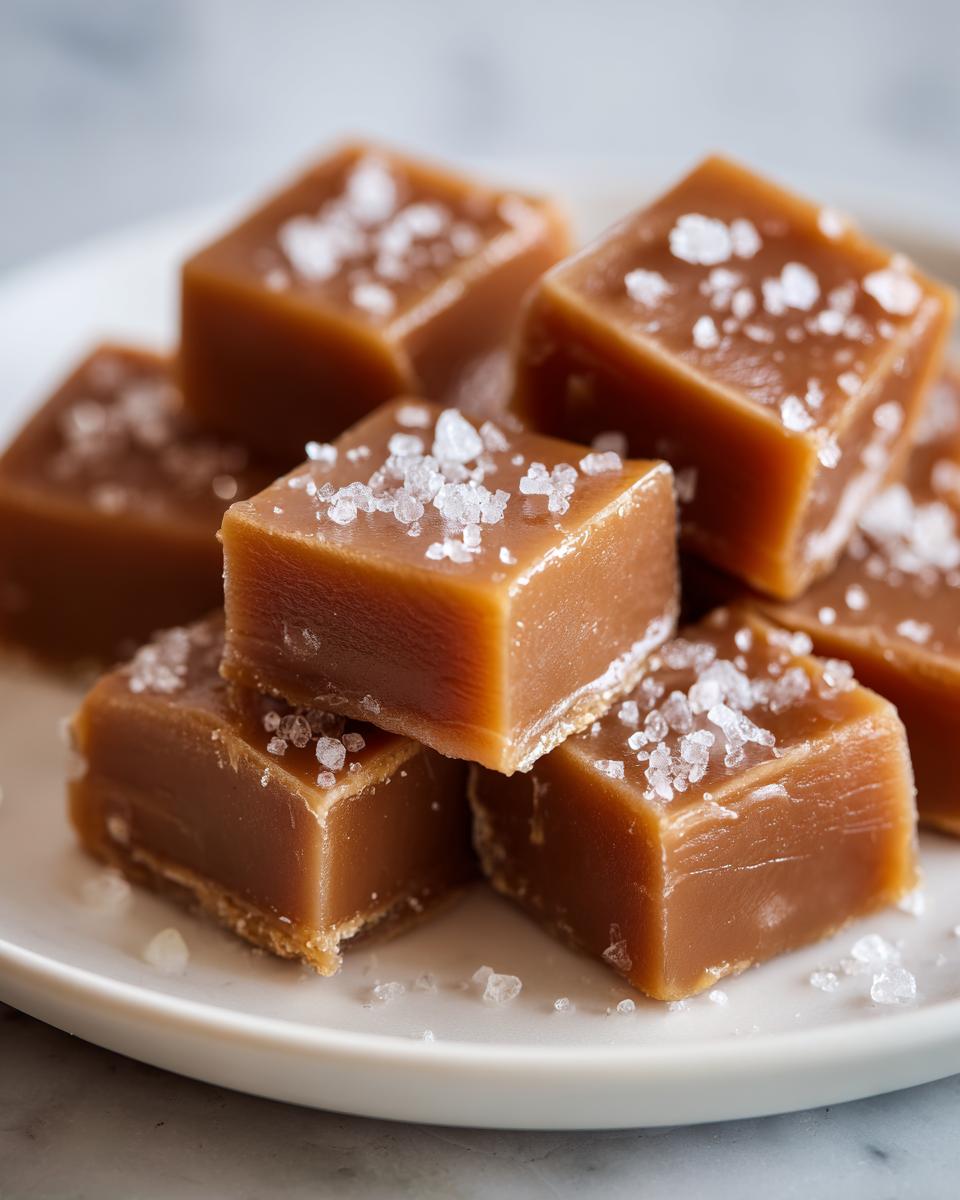
PrintBest Soft, Chewy Sea Salt Caramels From Scratch
Create rich, buttery, and chewy homemade caramels that melt in your mouth. This classic recipe uses simple ingredients for a foolproof result, perfect for gifting or enjoying as a sweet treat.
- Prep Time: 15 min
- Cook Time: 20 min
- Total Time: 3 hours 35 min
- Yield: About 64 pieces 1x
- Category: Candy
- Method: Stovetop Cooking
- Cuisine: American
- Diet: Vegetarian
Ingredients
- 1 cup granulated sugar
- 1 cup light corn syrup
- 1 cup heavy cream
- 1 cup packed light brown sugar
- 1 cup (2 sticks) unsalted butter, cut into pieces
- 1 teaspoon vanilla extract
- 1/2 teaspoon fine sea salt, plus more for sprinkling
Instructions
- Line an 8×8 inch baking pan with parchment paper, allowing the paper to overhang on two sides for easy removal later. Lightly grease the parchment paper.
- Combine the granulated sugar, corn syrup, heavy cream, and brown sugar in a heavy-bottomed, 3-quart saucepan.
- Stir the mixture constantly over medium heat until the sugar dissolves and the mixture begins to boil. Stop stirring once it boils.
- Attach a candy thermometer to the side of the pan, making sure the tip is submerged but not touching the bottom.
- Cook the mixture without stirring until it reaches 245 degrees Fahrenheit (firm-ball stage). This usually takes 15 to 20 minutes. Watch the temperature closely.
- Remove the pan from the heat immediately when it reaches 245 degrees F. Carefully whisk in the butter until it is completely melted and incorporated. The mixture will bubble up.
- Stir in the vanilla extract and 1/2 teaspoon of sea salt.
- Pour the hot caramel mixture into the prepared baking pan. Do not scrape the sides of the pan.
- Sprinkle the top evenly with extra sea salt. Let the caramel cool completely at room temperature for at least 3 hours, or until firm.
- Once firm, use the parchment paper overhang to lift the block of caramel out of the pan.
- Cut the caramel block into 1-inch squares using a sharp, lightly oiled knife or pizza cutter. Wrap each piece individually in wax paper or cellophane for storage.
Notes
- For the softest caramels, do not let the mixture exceed 245 degrees F. If it reaches 250 degrees F, the caramels will be too hard.
- If you want a quick method for small batches, you can make microwave caramels, but this classic method yields the best texture.
- Store your homemade caramels in an airtight container at room temperature for up to two weeks.
Nutrition
- Serving Size: 1 square
- Calories: 110
- Sugar: 18g
- Sodium: 45mg
- Fat: 4g
- Saturated Fat: 2.5g
- Unsaturated Fat: 1.5g
- Trans Fat: 0g
- Carbohydrates: 18g
- Fiber: 0g
- Protein: 0.5g
- Cholesterol: 15mg