
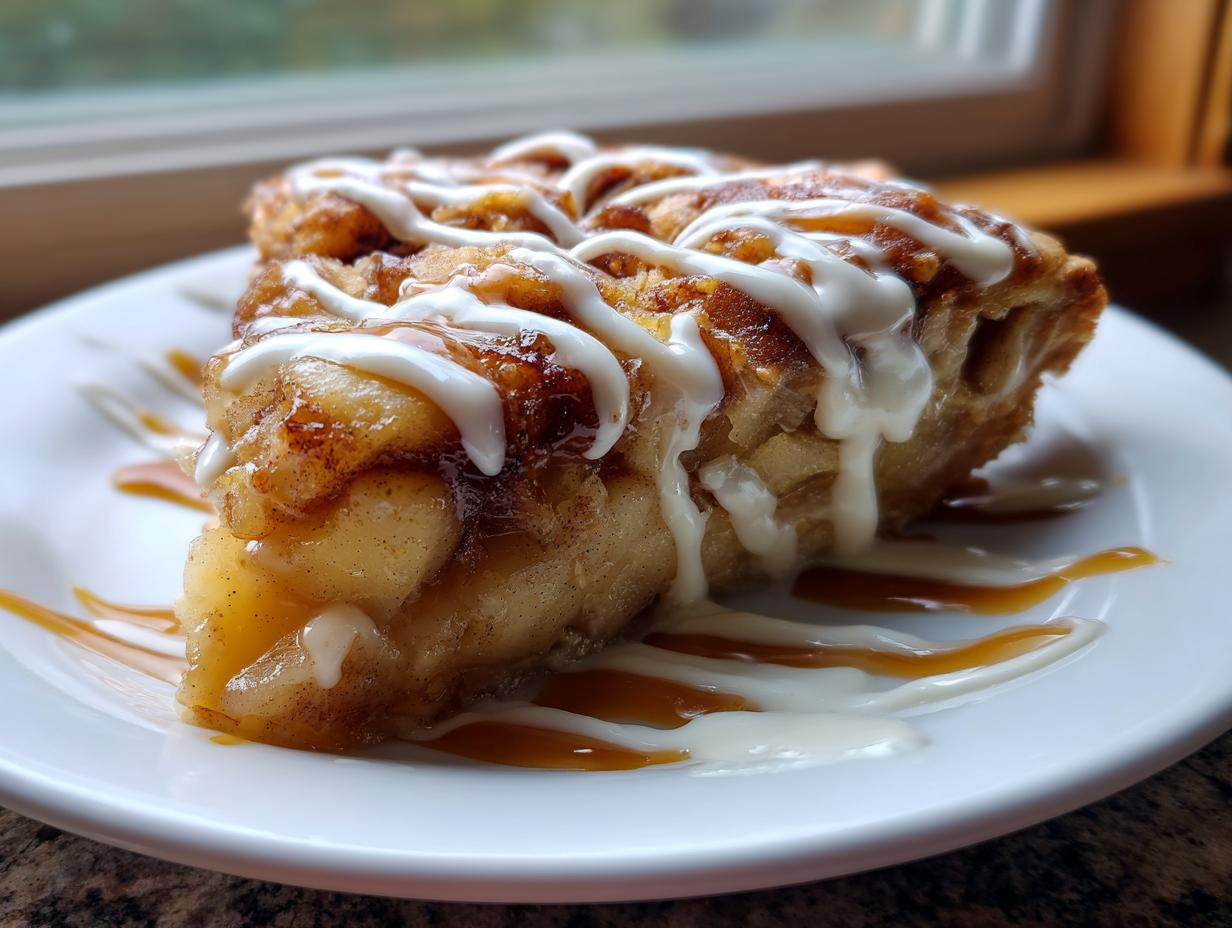
Sometimes, the very best desserts are ones that refuse to stick to the rules! I just love dessert mashups—when you take two classics that were clearly meant to be together and just sort of smash them into one glorious thing. That’s exactly what happened here with the cinnamon roll apple pie. Trust me, this isn’t about complexity; it’s about maximizing gooey, spiced flavor with next to zero effort. For me, creating simple, memorable dishes like this is why I started Taste This Plate. This recipe is such a genius little hack that delivers that decadent feeling without demanding your entire afternoon!
- Why This Cinnamon Roll Apple Pie is Your New Favorite Comfort Food Desserts (E-E-A-T)
- Gathering Ingredients for Your Cinnamon Roll Apple Pie
- Essential Equipment for This Easy Apple Pie Hack
- Step-by-Step Instructions for the Cinnamon Roll Apple Pie
- Tips for Success Making Your Cinnamon Roll Apple Pie
- Ingredient Notes and Substitutions for Cinnamon Roll Apple Pie
- Serving Suggestions for This Warm Spiced Apple Treat
- Storage and Reheating Instructions for Leftover Cinnamon Roll Apple Pie
- Frequently Asked Questions About the Cinnamon Roll Apple Pie
- Share Your Cinnamon Roll Apple Pie Creations
Why This Cinnamon Roll Apple Pie is Your New Favorite Comfort Food Desserts (E-E-A-T)
If you’re trying to decide between a warm slice of apple pie and a sticky, sweet cinnamon roll fresh from the can, I’m here to tell you: you don’t have to choose! This Cinnamon Roll Apple Pie is the ultimate Apple Pie Dessert Fusion. We tested this recipe until the very last crumb disappeared, ensuring it gives you that reliable, amazing result every single time. It’s the kind of bake that makes the kitchen smell incredible—almost as cozy as when I make my favorite creamy hot chocolate!
Why does it work so well? It’s the perfect marriage of textures! You get the slight tartness and familiar spice from the apple filling contrasting beautifully with the soft, pillowy, buttery dough.
- It satisfies that deep craving for classic Comfort Food Desserts.
- It requires minimal cleanup—we’re talking almost no rolling or pie crust fuss!
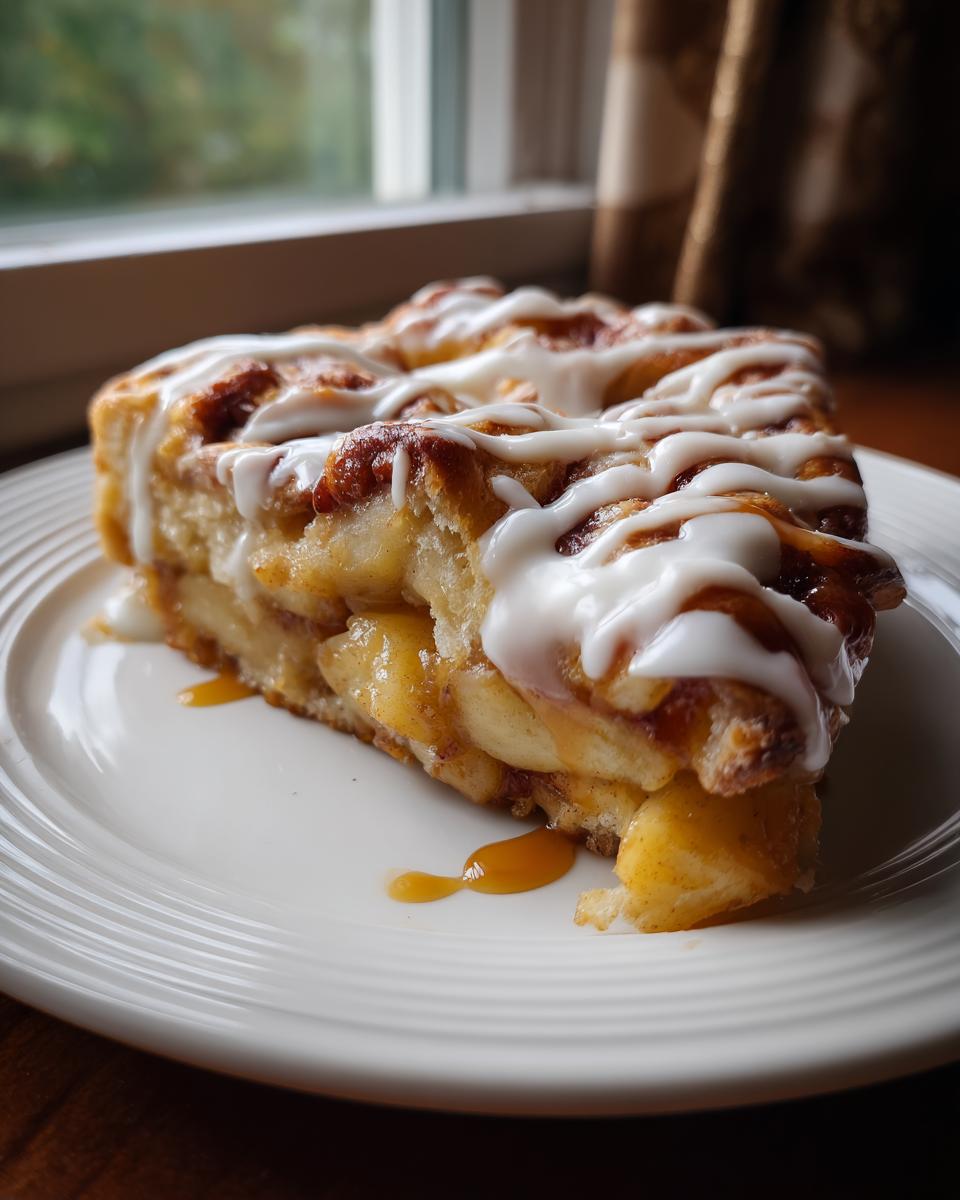
- The visual appeal when you pull that bubbly, iced beauty out of the oven is stunning.
Everything about this bake screams cozy, comforting, and completely forgiving.
The Secret to a Gooey Cinnamon Roll Bake
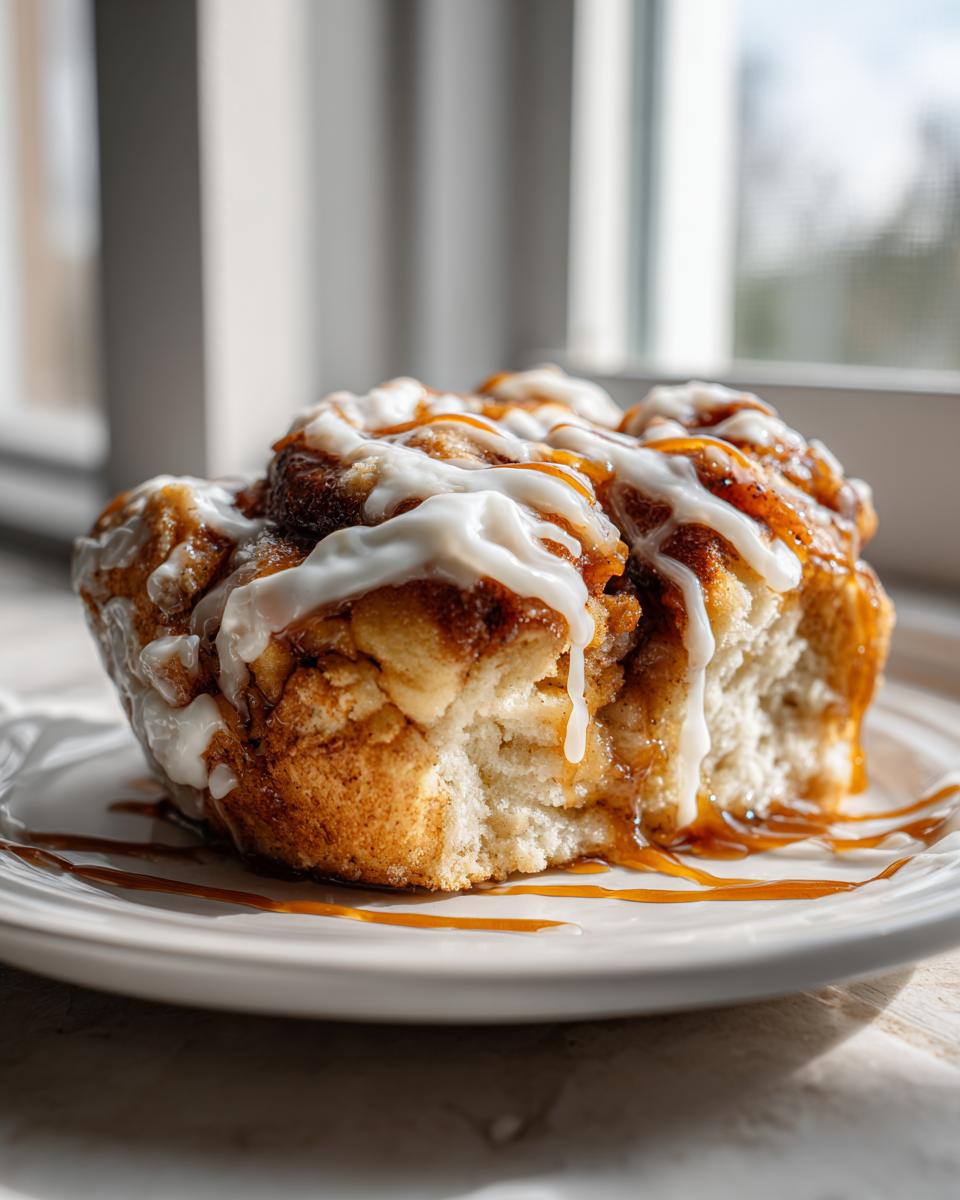
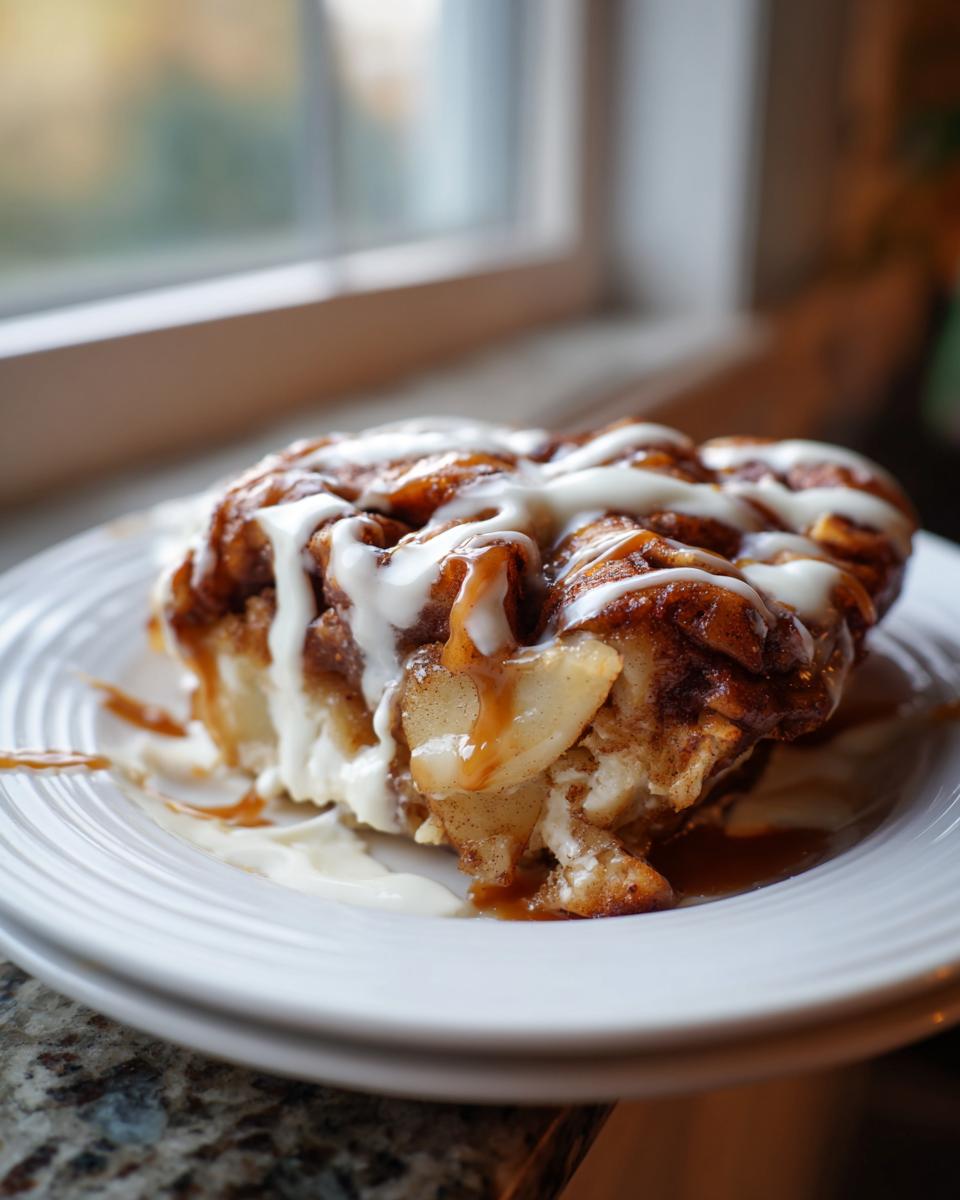
Honestly, the topping is where the magic hides. When those canned rolls bake, they puff up, melt together, and basically caramelize right on top of the apples. The reserved icing melts into the cracks, creating those incredible, sticky pools of sweet dough. I mean, who doesn’t want a bite that’s both soft apple filling and that classic, Gooey Cinnamon Roll Bake texture? It’s pure heaven, especially right out of the oven. You’ll want to serve it warm so you get that perfect pull apart!
Gathering Ingredients for Your Cinnamon Roll Apple Pie
Okay, let’s talk what you need to grab at the store. Since we’re embracing the convenience factor here—this whole recipe hinges on using smart shortcuts! Don’t worry about making your own pastry, because we are relying on some fantastic pantry staples. This is where trust comes in: using good quality canned filling makes this an absolute breeze. You’ll need the dough, the filling, and be sure to save that sweet icing!
Here’s the short list of what you need for this amazing apple pie hack:
- One standard package of refrigerated cinnamon rolls—you need eight rolls, and make sure you keep that icing packet separate for later!
- Two cans of pre-made apple pie filling; that’s usually 21 ounces each, spread those spiced apples out nicely.
- One package of refrigerated pie crusts—we only use one for the bottom layer, just so you know.
- If you really want to push the dessert factor over the top, a little drizzle of caramel sauce is totally optional but highly recommended!
Essential Equipment for This Easy Apple Pie Hack
You know, I love a recipe that demands next to nothing from my gadget drawer. If you’ve got the absolute basics, you are good to go here! This specific Easy Apple Pie Hack truly thrives on simplicity, so don’t feel like you need any fancy pastry cutters or springform pans. We are keeping it straightforward, just like I promised my readers.
For this bake, here is the bare minimum you’ll need pulling out of the cupboard:
- Your trusty standard 9-inch pie plate. Glass is nice because you can sneak a peek at that bottom crust, but ceramic works just fine too!
- A standard oven—preheated to 375°F, naturally.
- A good wire cooling rack. This is crucial for letting the heat escape and setting up that ooey-gooey topping properly.
- A couple of mixing bowls for prepping the rolls and handling the filling.
That’s it! Less setup time means more time waiting (impatiently, I know!) for that amazing spiced apple and cinnamon smell to fill your house.
Step-by-Step Instructions for the Cinnamon Roll Apple Pie
I know, I know, the waiting part is the hardest, but trust me, these steps are so quick that you’ll have this gorgeous dessert in the oven before you know it. Because we’re using ready-made everything, this turns into a wonderful Quick Apple Dessert project, perfect for when company shows up unexpectedly. Follow these instructions exactly, and you’ll get that perfect flaky-yet-gooey finish every time. This recipe means you get the structure of an Apple Pie with Cinnamon Crust without any of the intimidating rolling!
Preparing the Base and Filling for Your Cinnamon Roll Apple Pie
First things first, get that oven warming up to 375°F and lightly grease your 9-inch pie plate—we don’t want anything sticking! Unroll one of your pie crusts and gently press it into the bottom and up the sides. That’s your foundation! Next, open up those two cans of apple pie filling and pour them right over the bottom crust. Just spread that beautiful spiced apple mixture around until it’s sitting nice and even across the base. You’re already halfway there! If you wanted to make a full apple cobbler instead, you might want to check out my apple cobbler recipe, but for this mashup, the crust is key!
Arranging the Cinnamon Roll Topping Recipe
Now for the fun part—the topping! Take your 8 refrigerated cinnamon rolls and carefully slice each one in half horizontally. You should end up with 16 thinner, flatter pieces. Don’t fuss too much, but I lightly flatten each half-piece on a floured surface just to make sure they spread evenly. Then, arrange them snugly over your apple filling. They should touch or even slightly overlap; remember, this dough is going to puff up beautifully to create that desired Cinnamon Roll Topping Recipe layer.
Baking and Finishing Your Cinnamon Roll Apple Pie
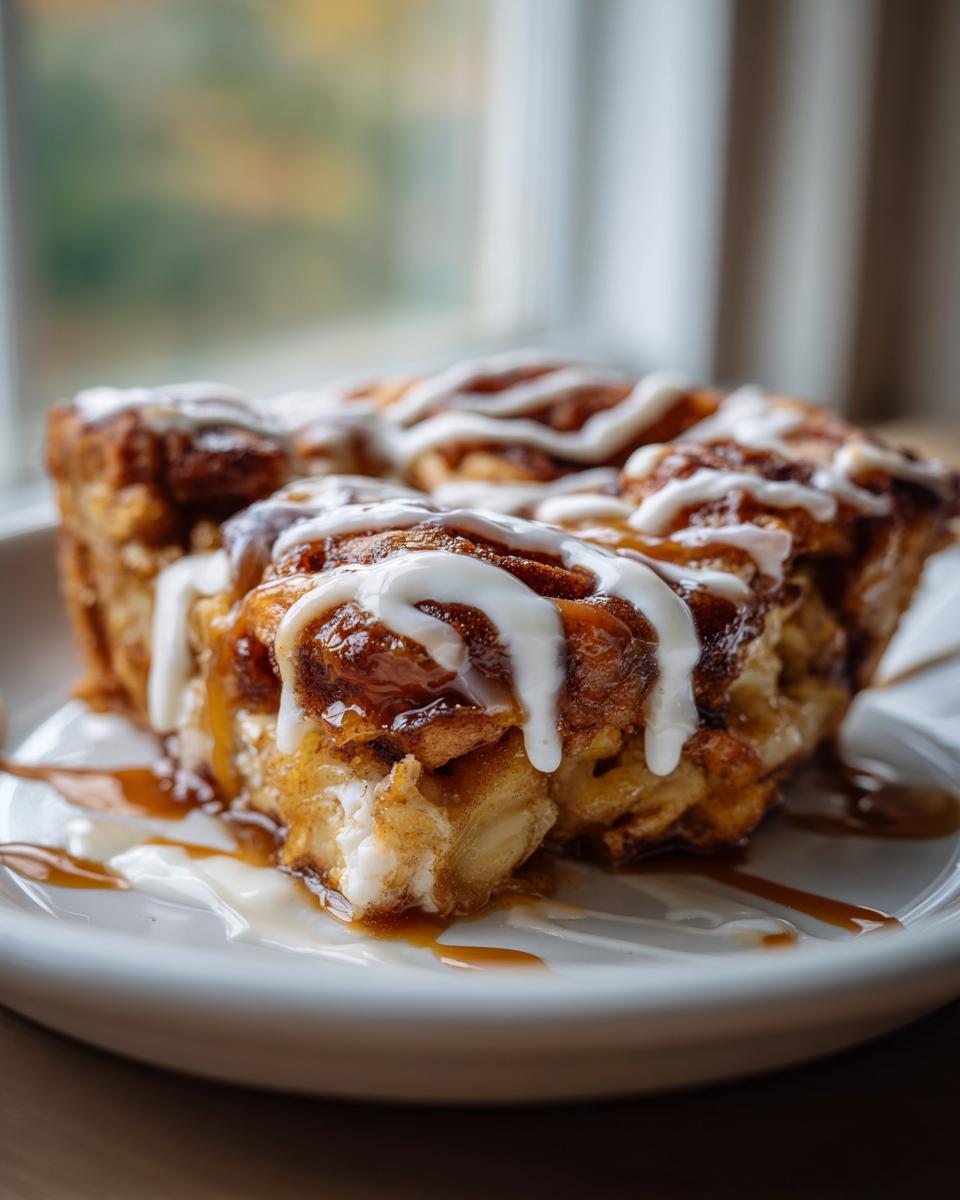
Pop that pie into the hot oven for about 30 to 35 minutes. You’re looking for that topping to be golden brown and the apple filling bubbling frantically up the sides. Once it’s done, take it out onto a wire rack—you absolutely must let it cool for at least 15 minutes. If you ice it instantly, the icing just runs everywhere! After that rest, gently warm up that reserved icing and drizzle it all over the top. If you grabbed that extra caramel, drizzle that on too! Now you have a perfect example of one of those incredible Mashup Dessert Recipes ready to serve warm.
Tips for Success Making Your Cinnamon Roll Apple Pie
I’ve baked this version so many times, especially when I need a quick ‘wow’ factor without putting in hours on the prep, that I have a few little tricks I wanted to pass along. Following the recipe notes helps tremendously, but a little extra know-how just seals the deal for a truly flawless bake!
In my kitchen, I always reach for my glass pie dish for this bake. The trick to any pie, even one with a shortcut topping, is making sure that bottom crust cooks through. If you use metal, sometimes the edges cook faster than the middle, but with glass, I can actually watch the bottom dough change color. That’s my little trick to avoid any soggy bottom worries!
Here are the other essential things to remember, straight from the recipe notes:
- Don’t Throw Out the Caramels: If your package of store-bought rolls came with a little packet of caramel sauce along with the icing, absolutely use that! You can layer that caramel right on top of the apples before you put the dough on. It creates an amazing layer of deep, almost toffee-like flavor when baked.
- Patience with Cooling: This is critical, especially since we want that gooey texture. You must let it rest for at least 15 minutes after it comes out of the oven. If you pour that icing on piping hot cinnamon rolls, it just dissolves into thin syrup. A little cool-down lets the icing thicken up nicely into that sticky glaze we love.
- Crisp it Up If You Like: If you prefer your baked dough a little crunchier, especially around the edges, don’t shy away from giving it 5 extra minutes uncovered at the end. Just keep an eye on it so the icing doesn’t burn when you add it later!
If you ever want to see another great recipe where cinnamon and apples pair perfectly but in a cake format, my moist apple bundt cake with cinnamon glaze is always a winner!
Ingredient Notes and Substitutions for Cinnamon Roll Apple Pie
So, what happens if your pantry isn’t perfectly stocked or you’re feeling a little creative? That’s totally normal! In my kitchen, recipes work for you, not the other way around. While this Cinnamon Roll Apple Pie is designed around those store-bought superstars, we can tweak things if needed. The goal is always maximum flavor with minimum fuss, right?
If you happen to grab a tube of refrigerated biscuits instead of cinnamon rolls? Go for it! They won’t have that signature spice, but they will puff up beautifully and create a really interesting, buttery contrast to the apples. Just make sure you add an extra shake of cinnamon and maybe a drizzle of brown sugar syrup over the top before baking to bring in that missing flavor profile.
What if you decide halfway through you really wish this was more like a cobbler? No problem! If you skip the bottom pie crust entirely, you’ve basically transformed this into an Apple Cobbler with Cinnamon Rolls on top. It’s even faster, and honestly, it just cooks down into one huge, glorious puddle of warm spiced apple and sweet dough. It’s a fantastic option for a last-minute treat!
And listen, if you only have one package of pie crusts? Cut it in half and use that second crust to make a lattice or simple strips instead of the full bottom layer. However, I always recommend that solid bottom crust because it keeps the canned apple filling—which is pretty liquidy—contained. If you skip it, you’ll definitely want to bake this in a deeper dish so you don’t end up with sticky apple goo all over the bottom of your oven!
Serving Suggestions for This Warm Spiced Apple Treat
Believe me when I say this stunning Warm Spiced Apple Treat deserves the right presentation! While the leftover icing from the rolls is mandatory for that authentic, gooey finish, we can definitely dress this beauty up a bit more for serving, especially if you’ve whipped this up for an Easy Weekend Baking Project. Since this bake is so decadent and sweet already, I usually lean into cool, creamy, or strong contrasting elements.
If you are serving this for dessert after dinner, you simply have to have ice cream. My go-to is a really high-quality vanilla bean ice cream. The contrast between the hot, spicy apple filling and the cold ice cream is just heavenly. Let it melt just a little bit so it mixes with that cinnamon roll icing—that’s where the true joy is found!
For a fancier presentation, especially if you are having brunch or a weekend gathering, try topping it with a homemade glaze instead of just the reserved icing. If you’re looking for a perfect vanilla base to start from, my vanilla buttercream frosting recipe works beautifully if you thin it out just a touch with a little milk or cream!
And for those mornings when this magically turns into a very sweet breakfast bake? You absolutely need a strong cup of black coffee nearby. The robustness of the coffee cuts through all that sugar perfectly. It’s a wonderful, slow Saturday morning pairing!
Storage and Reheating Instructions for Leftover Cinnamon Roll Apple Pie
Listen, sometimes we bake something this delicious and there are actually leftovers—shocking, I know! But we have to store it correctly so it tastes just as amazing the next day when you sneak a slice for breakfast. Since this bake is so rich and sweet, storing it correctly is key to maintaining that wonderful texture we worked so hard to achieve.
First off, you absolutely must let it cool down completely before you cover it. If you seal up a warm pie, you are going to trap moisture, and we do not want that leading to a soggy cinnamon roll topping, right? Once it’s room temperature, cover it loosely with plastic wrap or foil.
Now, where does it live? You have two options, depending on how long you need to keep it:
- Counter Spot (Up to 2 Days): If you plan to eat this over the next day or so, leaving it lightly covered on the counter is usually fine. The sugar content acts as a decent preservative, and this keeps the dough topping softer.
- The Fridge (Up to 4 Days): If you need it to last a few days, pop it into the refrigerator. The cold will firm everything up significantly—the apples will hold their shape better, but the dough will get chewy and a little stiff.
When you’re ready for seconds, reheating is where you bring it back to life! I really caution against using the microwave if your goal is that heavenly gooey texture. The microwave heats up the sugar fast, and while it gets warm, the dough can get tough or strangely gummy.
For the best results, I always reheat slices individually in a toaster oven or a small conventional oven set to about 300°F for about 10 minutes. This gently warms the apples and actually softens that cinnamon roll dough back up without turning it rubbery. It really helps mimic that “fresh from the oven” feeling. If you’re just having one small sliver and you’re in a huge rush, zap it for just 15-20 seconds, but use that oven method if you have time!
Frequently Asked Questions About the Cinnamon Roll Apple Pie
I always get a ton of questions when I post a recipe that mixes two things people already adore. It’s only natural! You want to make sure your delicious adventure turns out perfectly, and that’s exactly what we’re here for. We’ve covered the baking basics, but here are a few common sticking points and fun ideas to make sure this bake is a total success for you.
If you’re looking for more ways to make weekend mornings special, you might also love my recipe for stuffed french toast!
Can I use homemade cinnamon rolls instead of refrigerated ones for this cinnamon roll apple pie?
That’s a great question! You certainly can, but you’ll be sacrificing that incredible Easy Apple Pie Hack convenience. Homemade dough will be richer, for sure, but you’ll need to make sure it’s soft and pliable enough to flatten out and cover the apple filling properly. It might take a little adjustment on the bake time, too, since homemade dough varies a lot!
Is this considered a Holiday Pie Alternative?
Totally! If you’re hosting Thanksgiving or Christmas and you want something fun that breaks up the serious tradition of classic pies, this fits the bill perfectly. It has all the warmth of fall spices but the fun factor of a sweet breakfast bake. It definitely counts as one of those wonderful Holiday Pie Alternatives when you need something slightly less formal but just as satisfying.
How do I stop my bottom crust from getting soggy?
Preventing a soggy bottom is the perpetual fight of the pie baker! Since we are using canned filling, which has a lot of liquid, you really need that 15-minute rest time after baking to let the filling settle out of the heat. Also, pre-baking the bottom crust for about 8 minutes *before* you add the filling and the rolls on top makes a huge difference. Blind baking is your best friend here!
Can I make this ahead of time for an easier day?
You can absolutely assemble this ahead of time, which truly makes it an ideal Easy Weekend Baking Project! I suggest assembling the bottom crust, pouring in the apple filling, and then cutting and arranging the cinnamon rolls on top. Cover the whole dish tightly with plastic wrap and keep it in the fridge for up to 24 hours. Just remember to pull it out about 30 minutes before you bake so the dough isn’t ice cold when it hits the oven; otherwise, you’ll need to add about 10 minutes to your bake time.
Is this Cinnamon Roll Apple Pie better served warm or cold?
Oh, warm, warm, warm! This dessert is designed to be gooey, and that only happens when it’s fresh out of the oven (after that necessary 15-minute rest!). That slight warmth melts the icing into the crevices right between the rolls, and you get the best contrast between the soft bread and the hot spiced apples. If you try eating it cold, the dough gets too firm.
Share Your Cinnamon Roll Apple Pie Creations
Now that you’ve experienced the pure joy of this merger—the ultimate Cinnamon Roll Apple Pie—I truly want to know what you think! Hearing from you is honestly the best part of having this little space online. Did it turn out perfectly gooey? Did your family devour it before you could get a proper photo?
Please, please, please leave a rating for the recipe right here on the page. Those little stars are so helpful for other bakers trying to decide if this easy shortcut is right for them! Telling me if you added extra caramel or maybe tried it with a different apple filling helps me keep these instructions perfect for everyone.
If you snap a picture of your glorious, icing-drizzled creation—maybe it’s sitting next to your coffee, proving it works for breakfast too—I would absolutely love to see it! Feel free to share it on social media and tag me; I always keep an eye out for reader bakes. Nothing makes me happier than seeing one of my simple, tried-and-true recipes making your everyday life just a little bit sweeter.
If you have any burning questions that I missed in the FAQ, or if you just want to say hello, you can always shoot me a note through the contact page. Happy baking, and I hope this comfort food dessert fusion becomes a staple in your house!
PrintEasy Cinnamon Roll Apple Pie Mashup

Create the ultimate comfort dessert by combining warm, spiced apple pie filling with the sweet, gooey texture of pre-made cinnamon rolls used as a topping. This simple hack delivers a memorable flavor fusion with minimal effort.
- Prep Time: 15 min
- Cook Time: 35 min
- Total Time: 50 min
- Yield: 8 servings 1x
- Category: Dessert
- Method: Baking
- Cuisine: American
- Diet: Vegetarian
Ingredients
- 1 package (8 count) refrigerated cinnamon rolls, icing reserved
- 2 cans (21 ounces each) pre-made apple pie filling
- 1 package (2 count) refrigerated pie crusts (for the bottom crust)
- Caramel sauce, for drizzling (optional)
Instructions
- Preheat your oven to 375 degrees Fahrenheit. Lightly grease a standard 9-inch pie plate.
- Unroll the pie crusts. Press one crust into the bottom and up the sides of the prepared pie plate to form the base.
- Pour both cans of apple pie filling evenly over the bottom crust. Spread the filling out so it covers the base.
- Cut each of the 8 cinnamon rolls in half horizontally. You will have 16 pieces.
- On a lightly floured surface, gently flatten each half-roll piece slightly.
- Arrange the flattened cinnamon roll pieces over the apple filling. Place them close together to cover the surface, overlapping slightly if needed.
- Bake for 30 to 35 minutes, or until the apple filling is bubbly and the cinnamon roll topping is golden brown.
- Remove the pie from the oven and let it cool on a wire rack for at least 15 minutes.
- Warm the reserved cinnamon roll icing slightly. Drizzle the icing over the warm topping. Add extra caramel sauce, if using.
- Serve warm for a truly gooey dessert experience.
Notes
- For an even richer flavor, you can use the caramel sauce from the cinnamon roll package, if included, in addition to the icing.
- If you prefer a crispier topping, bake for an extra 5 minutes uncovered.
- This recipe works well as a sweet breakfast bake or a decadent dessert replacement for traditional apple pie.
Nutrition
- Serving Size: 1 slice
- Calories: 450
- Sugar: 45g
- Sodium: 350mg
- Fat: 22g
- Saturated Fat: 8g
- Unsaturated Fat: 14g
- Trans Fat: 0g
- Carbohydrates: 60g
- Fiber: 2g
- Protein: 5g
- Cholesterol: 20mg