
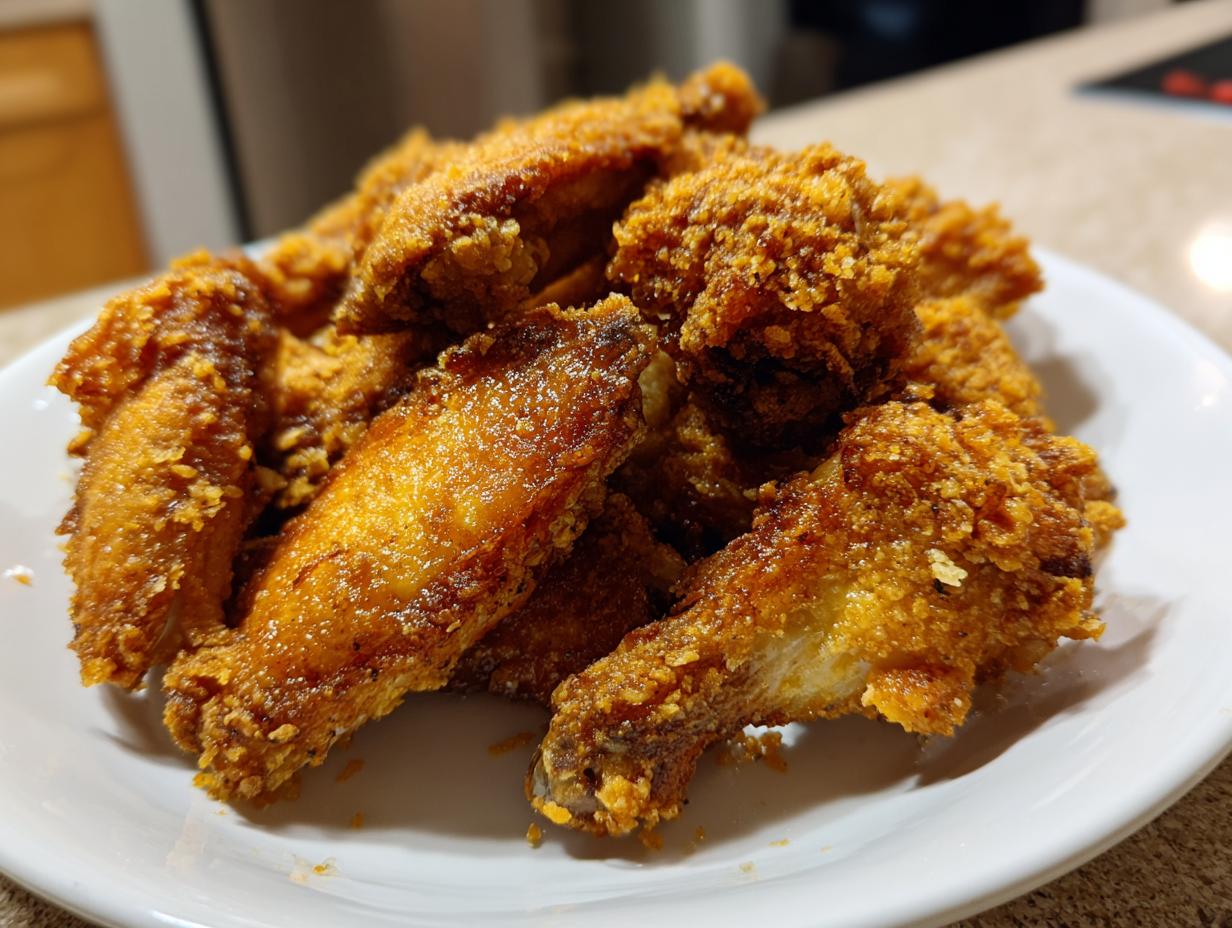
Are you tired of baking chicken wing after pitiful chicken wing, only to have the skin look pale and, worst of all, end up soggy when you toss them in sauce? I totally get it. For years, I thought amazing, shatteringly crisp wings meant deep-frying, and frankly, that’s a huge mess for a weeknight. That’s why I spent ages tinkering in my kitchen—just like I do with all my favorite comfort foods—to crack the code for you. We believe making incredible food shouldn’t be stressful! This Ultimate Crispy Baked Chicken Wings recipe uses a simple no-fry technique that guarantees that golden, crunchy texture you usually only see at the sports bar. Trust me, once you try this method, you’ll never look back!
- Why This Baked Chicken Wing Recipe Delivers the Ultimate Crunch
- Gathering Your Ingredients for Perfect Oven Baked Wings
- Step-by-Step Instructions for Easy Chicken Wing Recipe Success
- Flavor Variations: Saucing Your Baked Chicken Wings
- Tips for Perfect Game Day Chicken Wings
- Storage and Reheating Instructions for Leftover Chicken Wings
- Frequently Asked Questions About Making Crispy Chicken Wings
- Estimated Nutritional Data for This Chicken Wing Recipe
- Share Your Ultimate Crunch Chicken Wing Creations
Why This Baked Chicken Wing Recipe Delivers the Ultimate Crunch
I know what you’re thinking: baked wings are never as good as fried wings. I used to think that too! But this recipe proves you can get that ultimate crunch wings texture right in your own oven, and it’s honestly one of the simplest secrets I’ve ever discovered. We aren’t using weird gadgets or complicated marinades here. We are focusing on the one critical step that transforms the skin of your chicken wing from rubbery to ridiculously crisp. This method is what elevates this from a regular recipe to a tried-and-true classic for my family’s game day spreads.
The Science Behind Crispy Chicken Wings (No Fry Needed)
The magic happens with one humble ingredient: baking powder. When you mix it with the salt and spices, it starts to change the pH of the chicken skin slightly. Sounds technical, I know, but here’s what that means for you: it helps the outer proteins break down quicker while they bake. This process wicks moisture away wonderfully and allows the skin to brown deeply and beautifully. Basically, we are chemically tricking the skin into drying out and getting super crunchy, all without getting near a fryer. That’s the essential trick for how to make crispy wings deliciously.
Gathering Your Ingredients for Perfect Oven Baked Wings
Okay, let’s get down to business. The beauty of this easy chicken wing recipe is that it relies on pantry staples you probably already have! We’re focusing on building flavor right on the skin before it even hits the oven, which is why we need this specific dry-rub mix. Having everything ready to go makes assembly quick, which is perfect when you’re hosting or just starving on a weeknight chicken wings night. Grab your ingredients, and let’s make sure we set ourselves up for success!
- 3 lbs chicken wings (drumettes and flats separated)
- 1 tablespoon baking powder (aluminum-free preferred)
- 1 teaspoon salt
- 1/2 teaspoon black pepper
- 1/2 teaspoon garlic powder
- 1/4 teaspoon cayenne pepper (optional)
Ingredient Notes and Substitutions for Your Chicken Wing Prep
A quick word on the baking powder: if you can grab the aluminum-free kind, awesome, because it guarantees zero metallic aftertaste. But honestly, standard works fine too! If you skipped the optional cayenne because you aren’t feeling the heat, don’t worry about it one bit, but you might want to up the black pepper slightly for better overall seasoning balance on your chicken wing pieces.
Step-by-Step Instructions for Easy Chicken Wing Recipe Success
Now that we have our seasoned crew ready to go, let’s talk about the actual execution. Baking wings seems simple, but timing and setup are everything if we want those perfect, juicy inside, crunchy outside chicken wing results. My goal here is to give you an appetizer that’s almost foolproof, perfect for when you’re trying to focus on the game or just trying to keep dinner moving along. Remember to check out my favorite appetizer and snack ideas if you need more crowd-pleasers!
Prepping and Coating for Ultimate Crunch Wings
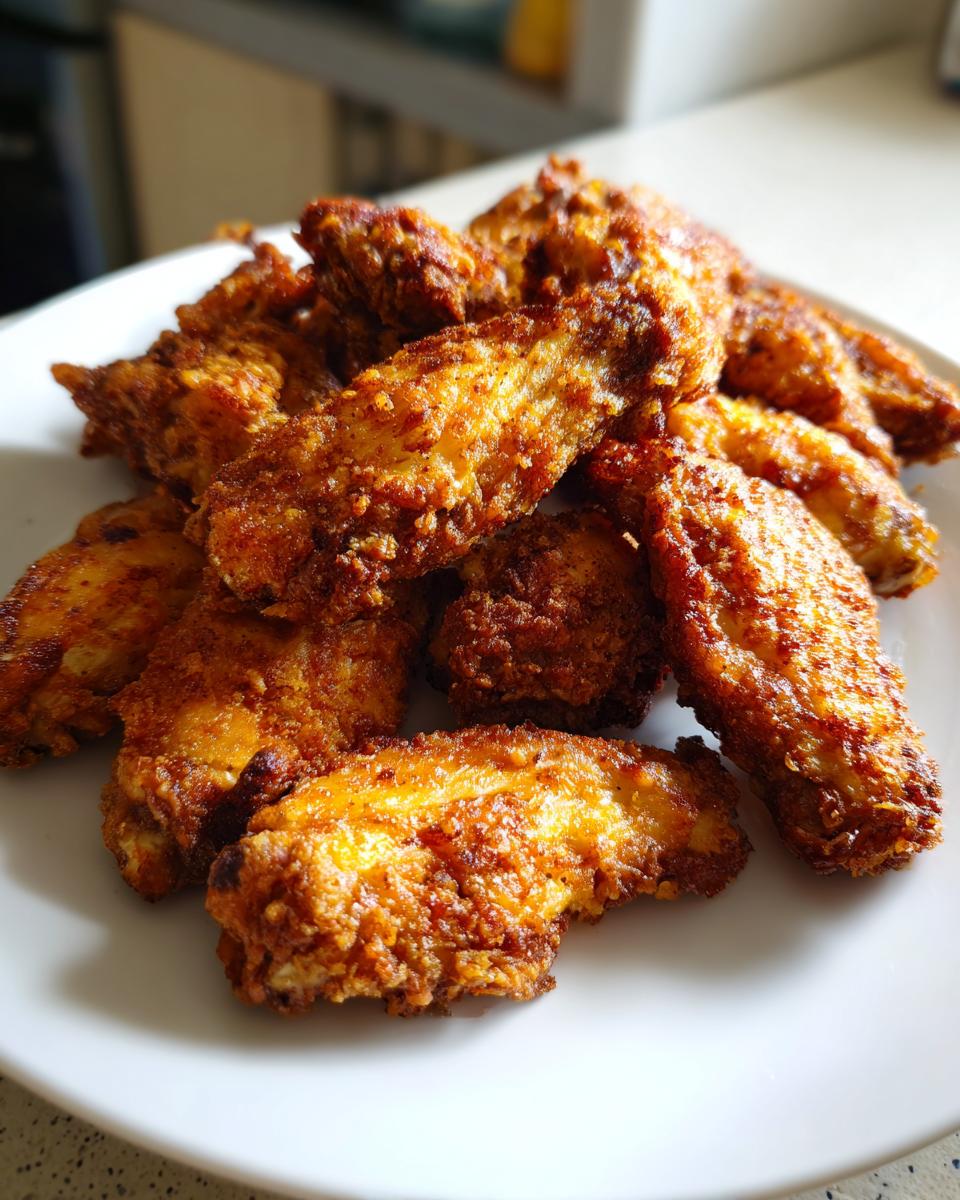
Seriously, I can’t stress the drying part enough. Get a massive stack of paper towels and blot every single piece of that chicken wing. You want them dry—like, dusty dry—otherwise, the baking powder mix just turns into paste, and we get soggy skin, which is what we are running from! Once they’re dry, dump them into the bowl with your spice and baking powder blend. Toss them around until every surface gets a light, even dusting. This light coating is the key to those ultimate crunch wings we are aiming for.
Baking Times and Flipping for Juicy Chicken Wings
Get your oven cranked up to 425°F first, and make sure your wings are on that wire rack above the foil-lined tray. That airflow is non-negotiable! Bake them hard for 25 minutes. When that timer goes off, flip every single wing. Return them to the oven for another 20 to 25 minutes. This two-stage method cooks them through perfectly. Because the meat is protected by that dry skin coating, you end up with incredibly juicy chicken wings inside every time!
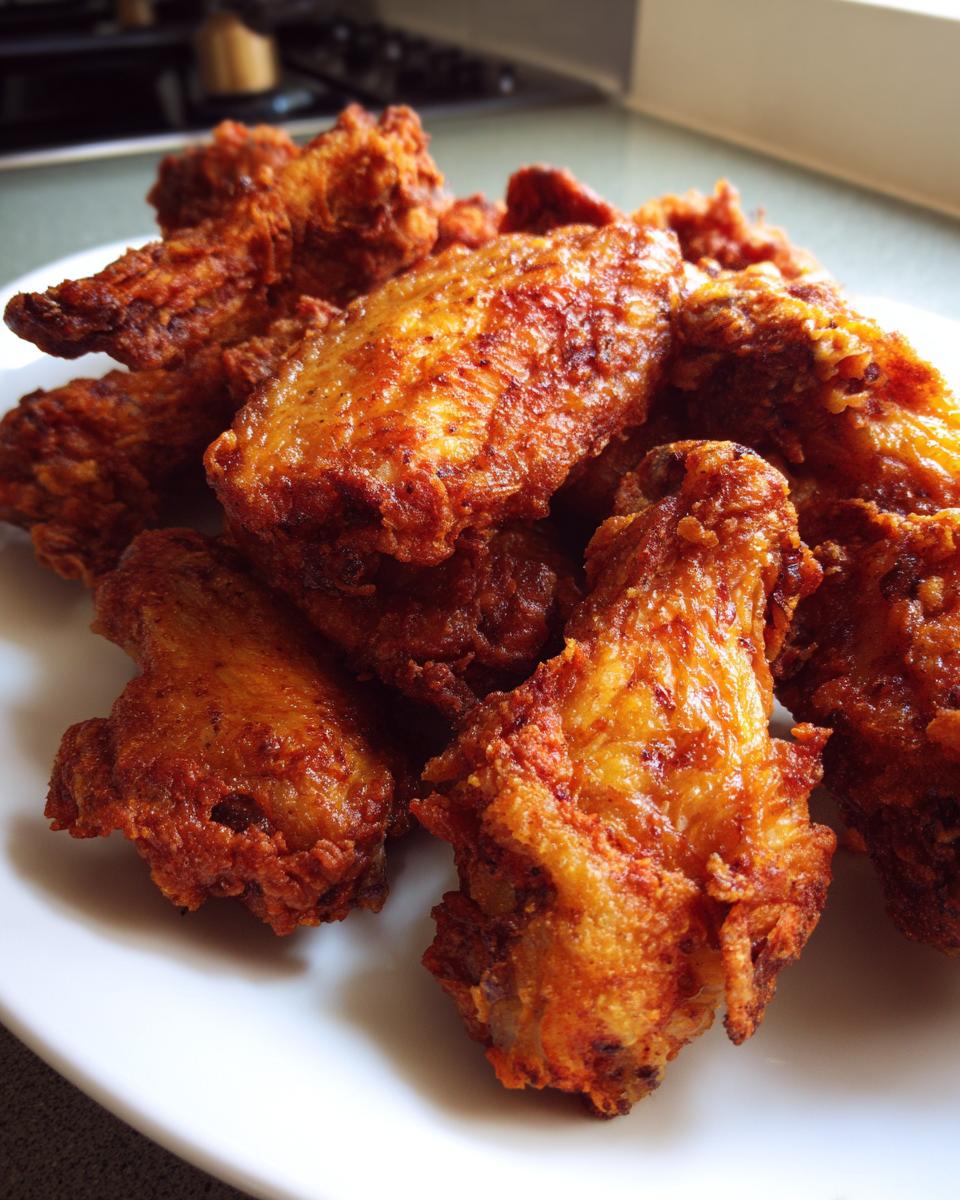
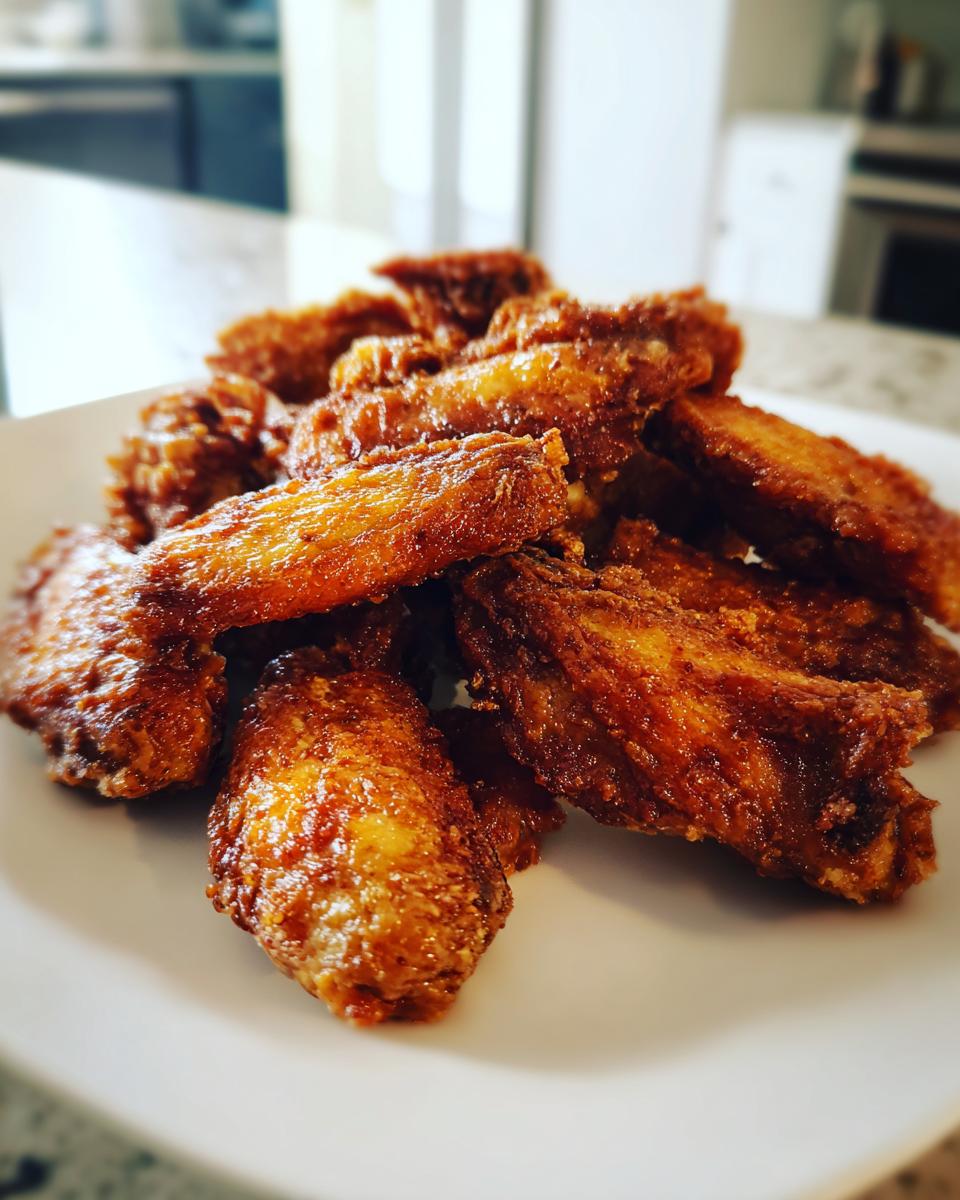
Flavor Variations: Saucing Your Baked Chicken Wings
The beauty of this dry-rub base layer is that it’s incredibly versatile! Once your chicken wing pieces come out of the oven perfectly crisp, they are ready for whatever flavor adventure you want to go on. This is your moment to shine, whether you crave something zesty, sweet, or savory. Are you thinking about classic BBQ chicken wings? Or maybe you want the bright tang of lemon pepper wings? You can toss them right there on the baking sheet, but I usually move them to a large, clean bowl so I can really get everything coated evenly.
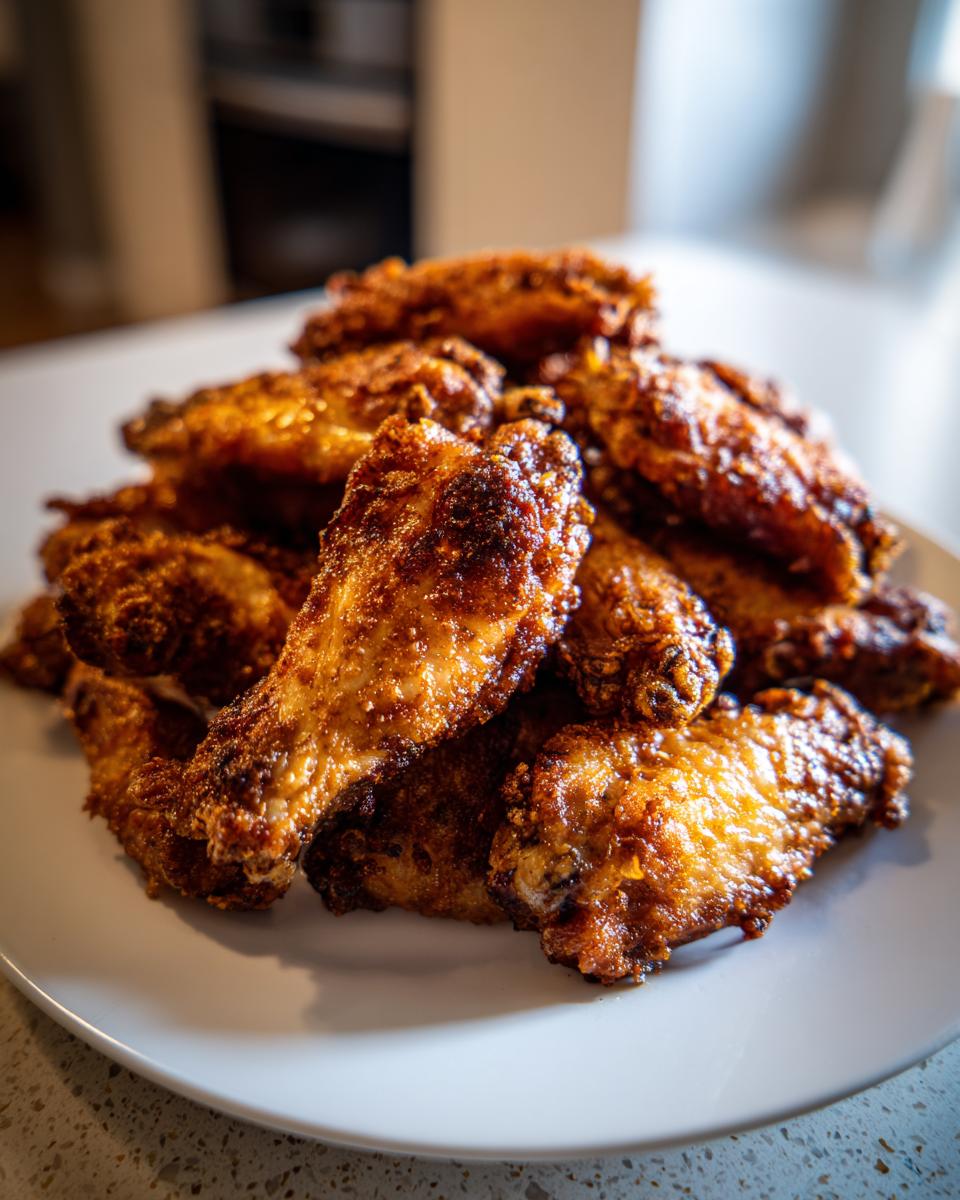
Quick Recipe for Sticky Glazed Wings Finish
If you want that deep, sticky texture that looks amazing, you have to try this quick finishing step! After you’ve tossed your wings in your sauce of choice—maybe my easy honey BBQ, or perhaps a homemade honey garlic wings glaze—spread them back out on the rack. Pop them back into the 400°F oven for just 5 more minutes. This gives you those intensely flavored, sticky glazed wings that totally seal the deal!
Tips for Perfect Game Day Chicken Wings
When you’re hosting for the big game or a huge holiday spread, serving up an appetizer that everyone actually raves about means doubling, maybe tripling, this recipe. These are the ultimate party chicken wings because they hold their crispness so much better than fried ones do sitting around on a platter. Cooking a massive amount of chicken wing pieces requires a tiny bit of logistical thinking, but don’t sweat it; we’ve got the method down pat. If you’re also looking for amazing dips to go alongside these winners, check out my recipe for easy popper dip! If you want to see another great technique for maximizing the crunch while baking, definitely check out the tips over at Kings Cook for oven crunch secrets.
Maximizing Yield: Cooking Multiple Batches of Chicken Wings
The biggest mistake people make when making large batches of baked chicken wings is trying to cram them all onto one pan. That traps the steam, and boom—soggy wings! You must keep that single-layer rule. If you’re running multiple sheets in the oven, try to rotate them halfway through the process so they cook evenly. If you have an air fryer wings unit, that’s a fantastic place to run a smaller, quick supplemental batch while the main pans are in the oven, just to keep the wings coming hot to your guests.
Storage and Reheating Instructions for Leftover Chicken Wings
Okay, let’s be optimistic and assume you actually have a few leftover chicken wing pieces—which is rare in my house! The absolute biggest key to saving these for later is letting them cool down completely on the counter before you dare put a lid on anything. If you seal them up warm, you trap steam, and that ruins the crunch instantly. Store them in an airtight container in the fridge. When you’re ready for round two, ditch the microwave entirely! Reheating them on a wire rack set on a baking sheet in a 375°F oven for about 8 to 10 minutes wakes up the crispiness perfectly.
Frequently Asked Questions About Making Crispy Chicken Wings
When you’re dealing with techniques this good, questions always pop up! My goal is to make sure every batch of these crispy chicken wings you make is a total home run. Whether you’re customizing the flavor with lemon pepper wings or trying to figure out the next best way to cook them, let’s clear things up right here!
Can I use standard baking soda instead of baking powder for my chicken wing recipe?
Oh, resist the urge to swap these two out! I know they look similar in the pantry, but for this process, you really need baking powder. Baking powder already includes the acid needed to react with the fats and proteins to form those perfect brown spots and the crunch we want. If you just use baking soda on its own, it won’t give you the right lift or dryness, and your chicken wing skin might end up tasting a little bit, well, metallic. Stick to the powder for the baked chicken wings magic!
What is the best way to ensure my wings stay juicy?
This is the eternal worry, isn’t it? Juiciness is all about timing and coating. First, don’t skip the quick toss in the baking powder mixture; an even coating protects the meat inside. Second, you must not overcook them. Once they turn that beautiful deep golden brown—and you know they’re done—pull them out immediately! If you’re aiming for even more foolproof results next time, or if you want to try a different method altogether, you might want to check out my guide on air fryer wings; those are fantastic for locking in moisture, too!
I want to make Honey Garlic Wings next week—do I need to change the baking process?
You absolutely don’t need to change the main baking process at all! This is why the base recipe is so great; it’s a flavor delivery system. For incredible honey garlic wings, just follow the instructions exactly: bake them plain until crisp, then toss them immediately in your sauce. If you want them extra sticky, remember that five-minute return trip to the oven we talked about. That keeps the meat tender while giving you that sticky glaze!
Estimated Nutritional Data for This Chicken Wing Recipe
Part of confidence in the kitchen is knowing what you’re serving, right? While this recipe is all about incredible texture, it’s also a much lighter option than its deep-fried cousins due to the no-fry chicken wings method we use. Below you’ll find the estimated nutritional breakdown for the base wing coating, using 4 servings as the yield.
Now, please remember this is just a guideline! Once you toss these beauties in a heavy BBQ chicken wings sauce or a sugary sticky glazed wings mixture, those numbers—especially calories and sugar—will change significantly. This chart reflects the wings *before* any heavy saucing, based on the recipe measurements provided. These are honestly some of the most flavorful, yet comparatively light, appetizer chicken wings you can make.
- Serving Size: 4 wings
- Calories: 280
- Fat: 18g
- Protein: 26g
- Carbohydrates: 1g
- Sodium: 350mg
We aim for simple ingredients that sing on their own, which is why the base seasoning is so straightforward. That low carb count? That’s the magic of keeping things simple and focusing on that perfect roasted skin underneath that you get with great oven baked wings.
Share Your Ultimate Crunch Chicken Wing Creations
Now that you have mastered the secret to the crispiest chicken wing cooked completely in the oven, I really want to hear about it! Did you go classic Buffalo, or did you try out that lemon pepper wings idea? Please leave a rating below so other home cooks know this method works for them, too. If you snapped a picture of your batch, send it over using the contact form here. Happy cooking, everyone!
PrintUltimate Crispy Baked Chicken Wings: The No-Fry Secret

Create shatteringly crispy, juicy chicken wings right in your oven. This easy, no-fry technique uses a simple trick to achieve restaurant-quality crunch perfect for game day or any gathering.
- Prep Time: 15 min
- Cook Time: 50 min
- Total Time: 65 min
- Yield: 4 servings 1x
- Category: Appetizer
- Method: Baking
- Cuisine: American
- Diet: Low Fat
Ingredients
- 3 lbs chicken wings (drumettes and flats separated)
- 1 tablespoon baking powder (aluminum-free preferred)
- 1 teaspoon salt
- 1/2 teaspoon black pepper
- 1/2 teaspoon garlic powder
- 1/4 teaspoon cayenne pepper (optional)
Instructions
- Preheat your oven to 425°F (220°C). Line a large, rimmed baking sheet with aluminum foil for easy cleanup. Place a wire cooling rack on top of the baking sheet.
- Pat the chicken wings completely dry using paper towels. This step is crucial for crispiness.
- In a large bowl, combine the baking powder, salt, pepper, garlic powder, and cayenne pepper.
- Add the dried chicken wings to the bowl. Toss well until every piece is lightly and evenly coated with the dry mixture. The baking powder helps dry out the skin and promotes browning.
- Arrange the coated wings in a single layer on the wire rack, ensuring there is space between each wing for air circulation. Do not overcrowd the pan.
- Bake for 25 minutes.
- Flip each wing over carefully. Return the pan to the oven and bake for another 20 to 25 minutes, or until the skin is deeply golden brown and very crisp.
- Remove the wings from the oven. Toss immediately with your favorite sauce, like honey garlic or BBQ, or serve plain with a dry rub.
Notes
- Use aluminum-free baking powder if you are concerned about a slight metallic taste, though standard baking powder works well for texture.
- For the juiciest results, do not skip drying the wings thoroughly before coating them.
- If you want extra sticky wings, toss them in sauce and return them to a 400°F oven for 5 more minutes after the initial cook time.
Nutrition
- Serving Size: 4 wings
- Calories: 280
- Sugar: 1
- Sodium: 350
- Fat: 18
- Saturated Fat: 5
- Unsaturated Fat: 13
- Trans Fat: 0
- Carbohydrates: 1
- Fiber: 0
- Protein: 26
- Cholesterol: 95