
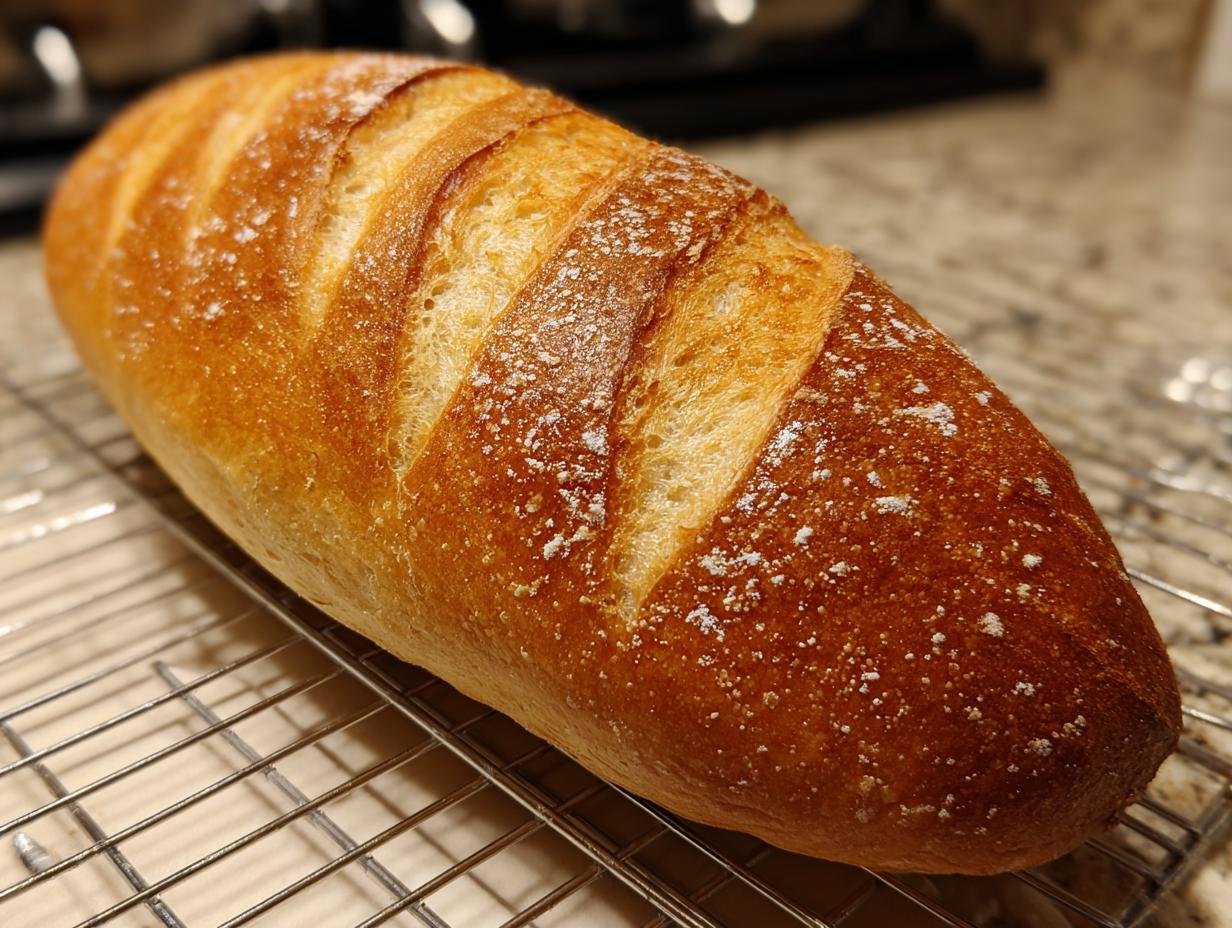
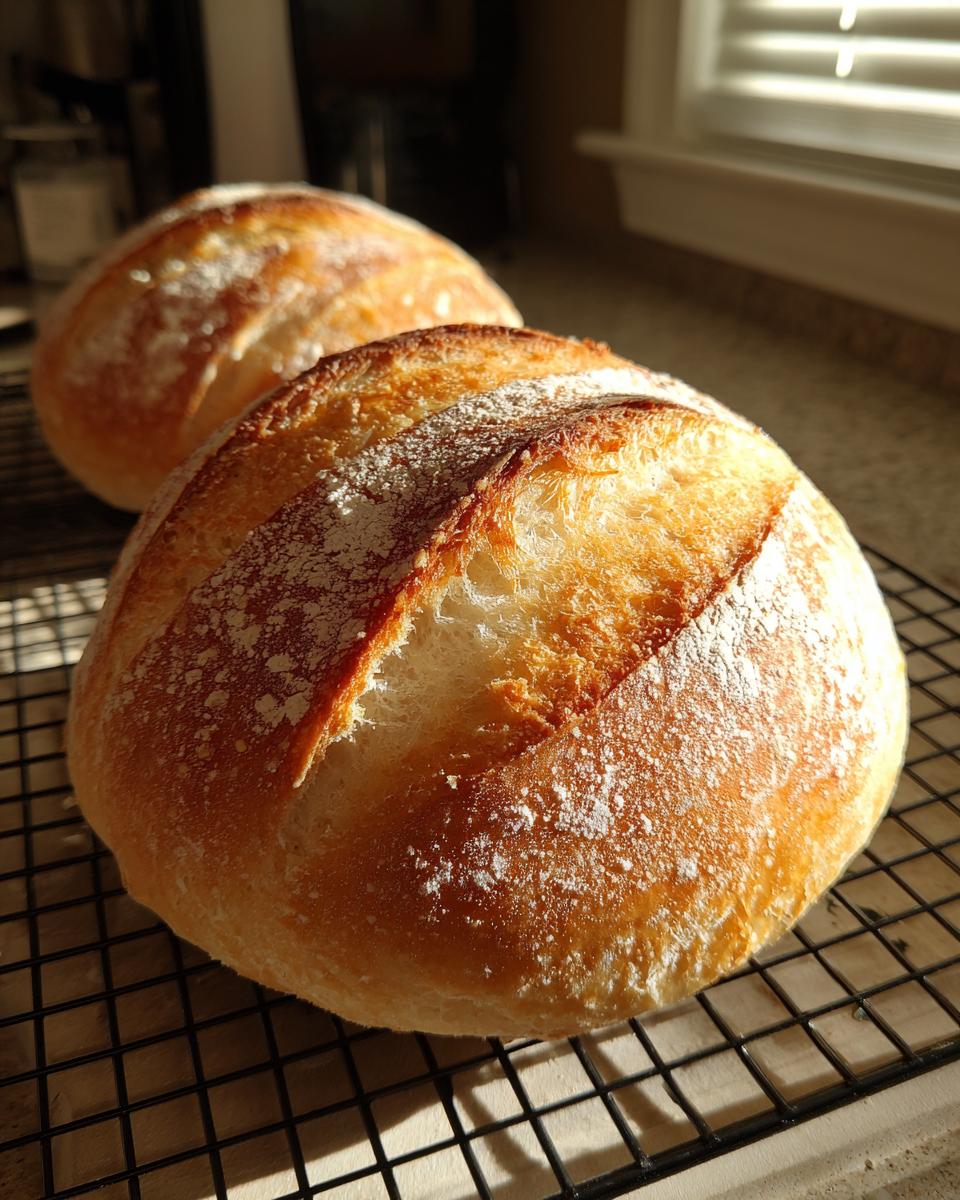
Oh, the smell of truly fresh, warm bread filling your entire house! It’s just the best, isn’t it? If you’ve been dreaming of whipping up your own French bread without spending half a day in the kitchen, I’ve got your secret weapon right here. This is my easy French bread recipe that gets you from pantry staple to gorgeous, bakery-style loaves in about 90 minutes total. Seriously!
When I first started baking, working with yeast felt super intimidating, but making simple yeast bread like this taught me so much. I developed this specific version because I wanted that amazing soft, fluffy interior you usually only find at a proper bakery, but I needed it fast enough for a weeknight dinner. Trust me; we’re making that happen today!
- Why This Quick French Bread Recipe Delivers Bakery Style Results
- Essential Ingredients for Your Homemade French Bread Recipe
- How to Make French Bread at Home: Step-by-Step Instructions
- Tips for Success When Making Bakery Style French Bread
- Serving Suggestions for Your Homemade French Bread Recipe
- Storage and Reheating Instructions for Homemade French Bread
- Frequently Asked Questions About Easy French Bread
- Estimated Nutritional Information for French Bread
- Share Your Homemade French Bread Creations
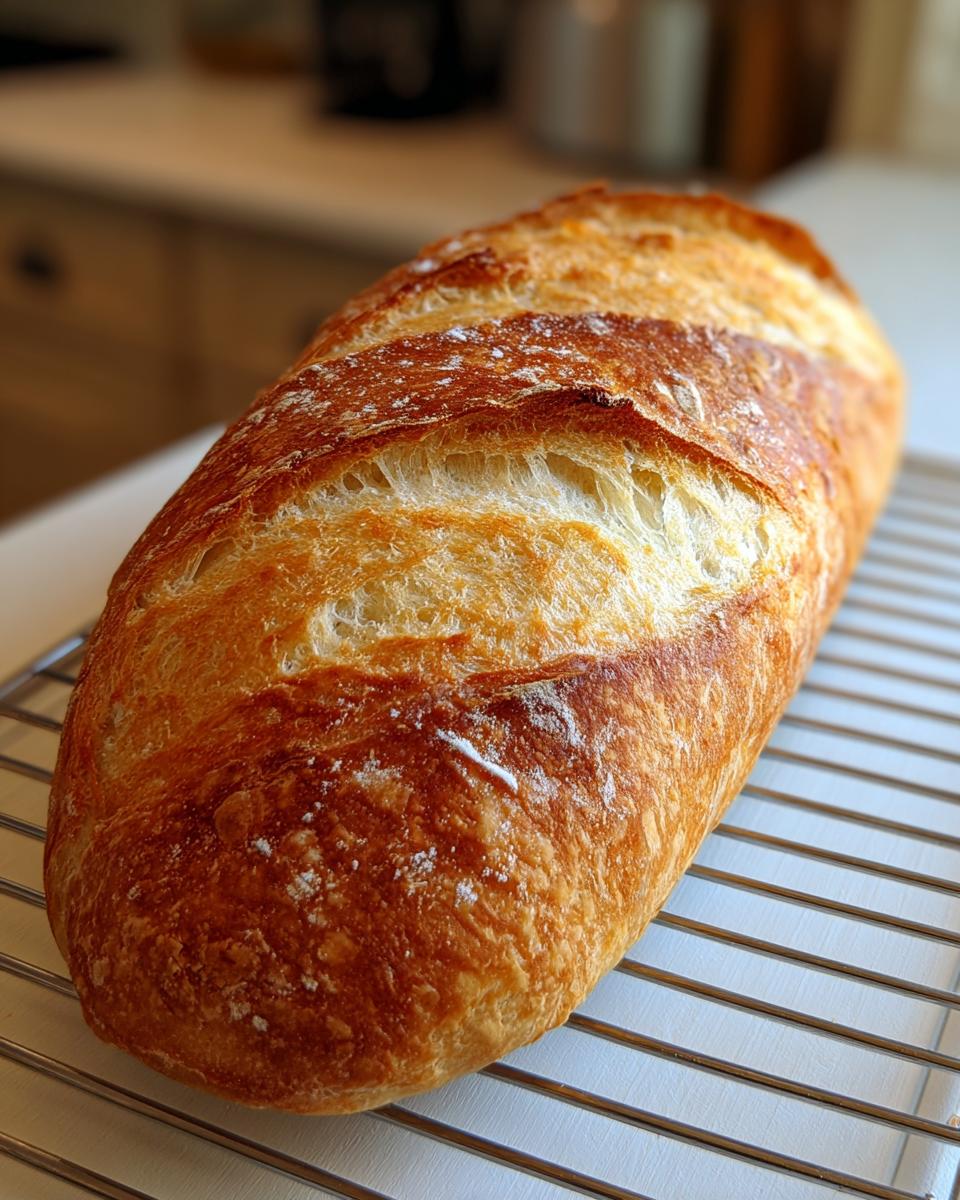
Why This Quick French Bread Recipe Delivers Bakery Style Results
You might see other recipes that promise one hour bread, but sometimes those rush the process too much! This recipe is my tried-and-true method for getting that ‘wow’ factor of bakery style French bread without waiting all day. It fits perfectly into a busy evening, and honestly, the results taste like I spent all afternoon on them.
- We keep things easy: This is absolutely beginner-friendly. If you can activate yeast, you can master this recipe.
- It’s quick! We’ve streamlined the rises so you get delicious loaves in just under two hours total time, which is fantastic for dinner bread readiness.
- The baking method ensures that classic look and feel, especially if you use just a little steam in the oven.
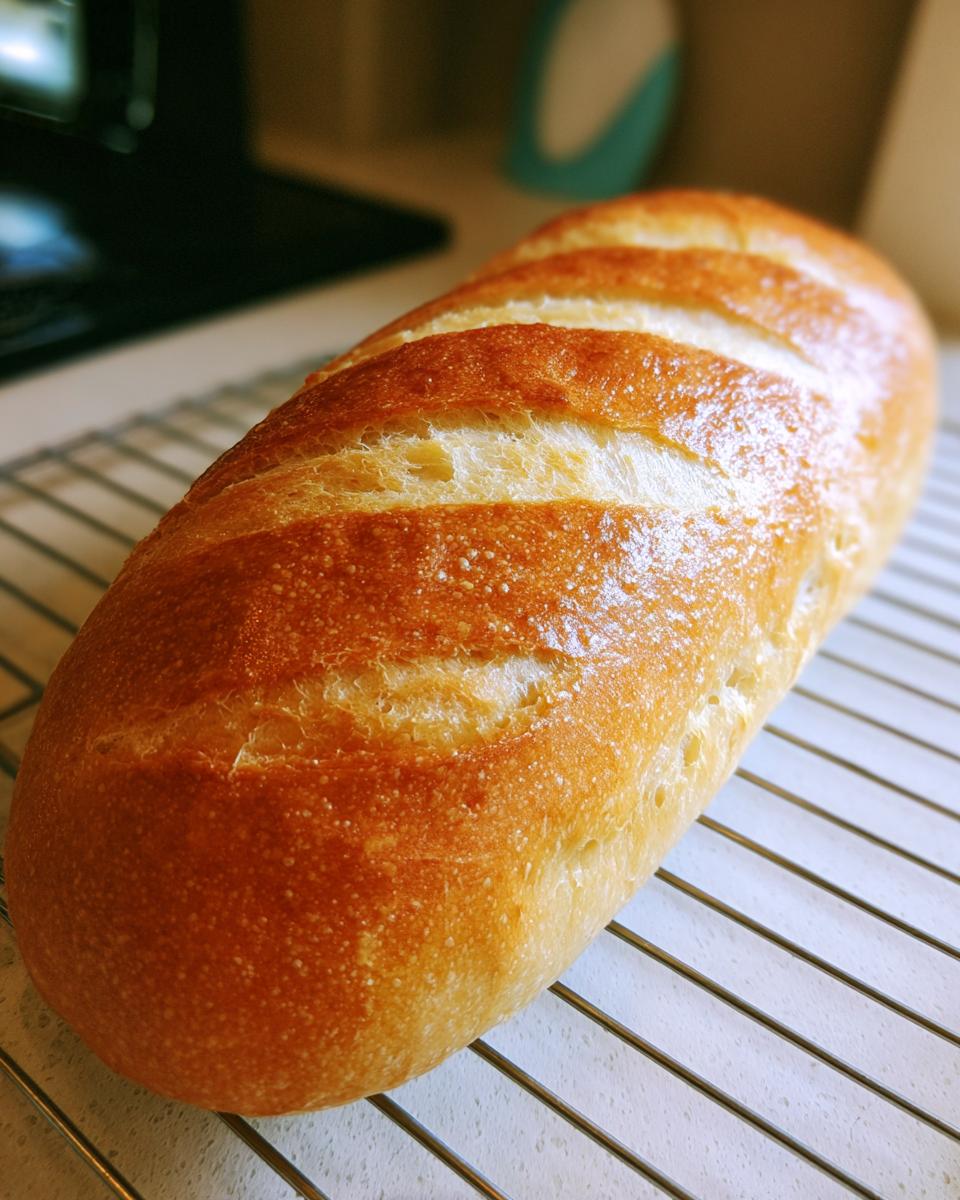
Achieving Soft Fluffy French Bread Texture
The absolute key for me is getting that beautiful, yielding interior. While some folks want a rock-hard crust, most people really want that gorgeous, soft fluffy French bread experience, right? That comes from how we treat the dough during kneading and those two careful rises. We don’t over-knead it to build too much chew right away, which keeps the crumb tender.
The first rise allows the yeast to work slowly and build those internal air pockets. If you rush that first hour, the bread will be dense, not fluffy. We use just enough kneading to make it smooth, but we trust the yeast to do the heavy lifting during that long first rest. You can check out more about my baking philosophy over here, but trust me on the timing for this one!
If you want to see what other people love about this timing, check out this similar recipe here!
Essential Ingredients for Your Homemade French Bread Recipe
Before we dive into the fun shaping part, let’s talk about what you need to pull this off. Remember, I only use ingredients you can grab easily at your normal grocery store! There’s no need for fancy specialty flour here, which is why I love this homemade French bread recipe so much.
You’ll need:
- 1 packet active dry yeast (that’s about 2 1/4 teaspoons, don’t eyeball it on the yeast, please!)
- 1 1/2 cups warm water – this is critical, aim for 105°F to 115°F. Too cold and the yeast sleeps; too hot and it dies!
- 1 teaspoon sugar (just a little food for our sleepy yeast)
- 3 1/2 to 4 cups all-purpose flour (this is our workhorse!)
- 2 teaspoons salt (don’t forget this, it gives the bread flavor!)
- 2 tablespoons olive oil, plus a little extra for greasing
- 1 egg white, lightly beaten (this gives us that gorgeous golden sheen on top)
If you want to see another fantastic, easy option, check out this quick recipe here!
Ingredient Notes and Simple Substitutions
Since we are aiming for speed, the type of yeast matters a little. I specify active dry yeast because we love to see it foam up—that’s the sign that we’re good to go! If you only have instant yeast on hand, you can skip that initial foaming step and just mix it right in with the flour and salt, but make sure your water temperature is still in that warm zone.
Why all-purpose flour? Because this is a quick French bread recipe, we aren’t developing the crazy, long gluten structure of a true artisan baguette. All-purpose flour gives us the perfect balance: strong enough to handle the rise and make that classic loaf shape, but tender enough to give you that desirable, soft interior. And just to manage expectations, this mixture creates two beautiful loaves!
How to Make French Bread at Home: Step-by-Step Instructions
This is where the magic really kicks in, and I promise it’s much less scary than it sounds. Since baking bread is all about timing and knowing what to look for, I’ve broken down exactly what you need to do to turn that shaggy mess into gorgeous loaves. We’re aiming for a total time of under two hours for this easy French bread, remember!
Activating Yeast and Mixing the Dough for Easy French Bread
First thing’s first: wake up that yeast! Grab a big bowl—the one you’ll mix everything in—and gently dissolve your teaspoon of sugar into 1 1/2 cups of water. Remember that temperature range? Aim for warm, between 105°F and 115°F. Sprinkle the yeast over the top. Now, this is important: just let it sit there for about 5 to 10 minutes.
If you did it right, you’ll see little bubbles and foam forming on the surface. That foam is proof that your yeast is alive and ready to work! Once it looks happy and foamy, we add the olive oil and salt right into that bowl. Start mixing in 3 1/2 cups of your flour. Use a wooden spoon—it mixes well for this stage—until you can’t stir anymore and you have what looks like a very messy, shaggy dough chunk.
Kneading and First Rise for Soft Fluffy French Bread
Time to get your hands dirty! Turn that shaggy dough out onto a lightly floured counter. Now we knead! You want to work this dough for about 5 to 7 minutes. As you’re kneading, add the rest of that flour slowly, just until the dough becomes smooth and elastic and stops sticking aggressively to your hands. It should feel soft to the touch—that’s the secret for that soft fluffy French bread interior we’re chasing!
Once it’s smooth, grab a clean bowl, coat the inside really well with a touch of olive oil, and place your dough ball inside, turning it over so it gets a nice oily layer all around. Cover it up tight with plastic wrap or a kitchen towel. Find the warmest, draft-free spot in your kitchen and let it balloon up! You need this dough to rise for a full 60 minutes, or until it’s completely doubled in size. Don’t rush this rest; it’s necessary for the flavor!
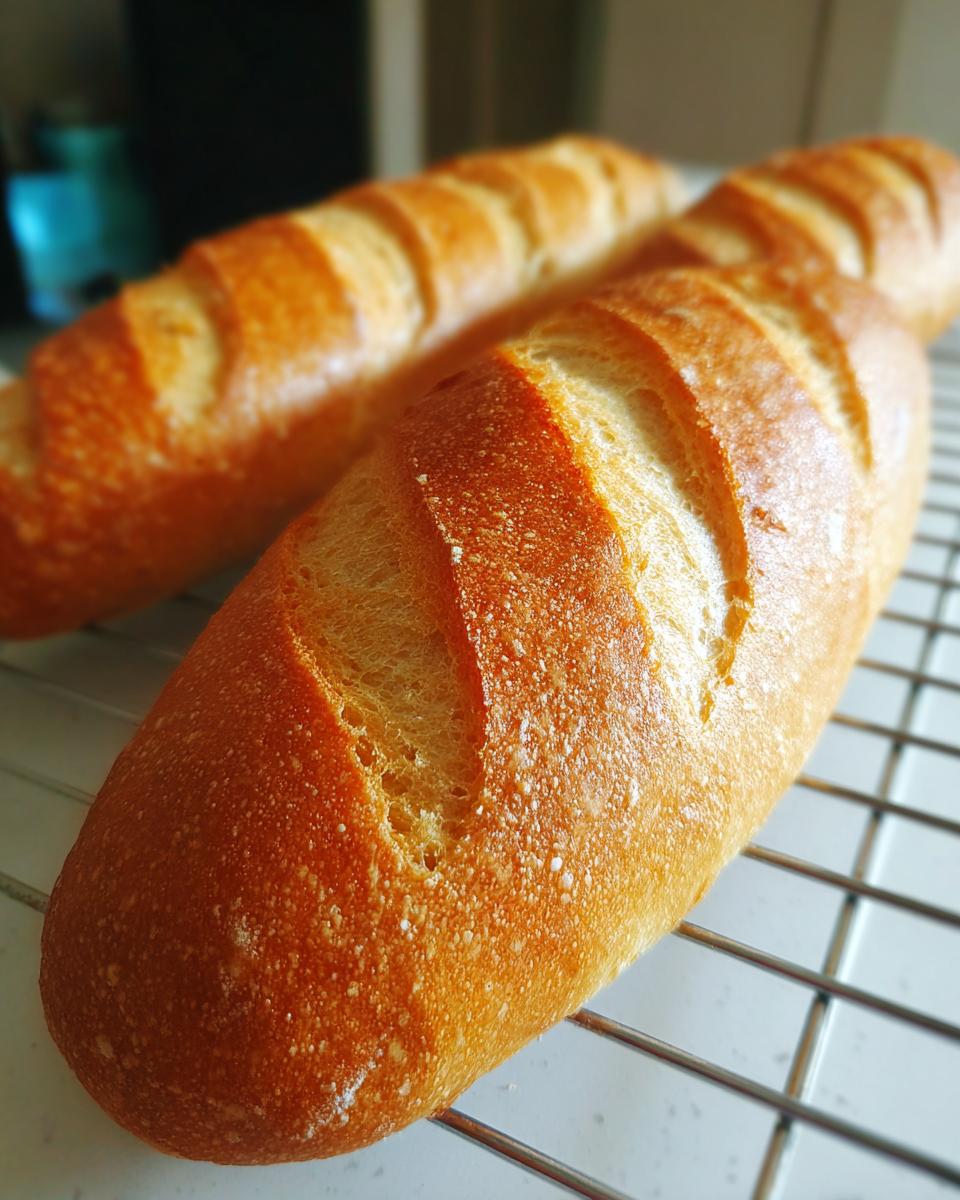
Shaping and Final Proofing for Your 90 Minute French Bread
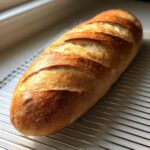
Once doubled, gently punch the dough down to release those gasses. Divide that big pillow of dough right in half, since we are making two loaves. Now, gently form each half into a long, torpedo shape—aim for about 12 to 14 inches long. Picture the size of the pan you want them to fit on!
Lay those shaped loaves onto a baking sheet that you’ve lined with parchment paper. Make sure you leave some space between them, they need room to breathe! Cover them loosely—don’t smash them down—and let them have their final little nap, which lasts for 30 minutes. This second proofing is key to a nice, lofty final bake. For more easy baking ideas, you can browse my favorite simple sauce recipes to go with your bread!
Baking Techniques for Perfect French Bread
Okay, almost done! About halfway through that final 30-minute rest, it’s time to turn your oven up to 400°F (200°C). Here’s a pro tip for that great crust: take a shallow pan—like a metal brownie pan—and place it on the very bottom rack while it heats up. This is our little steam trick!
When the oven is hot, take your beaten egg white and brush it lightly over the top of both loaves for that gorgeous golden color. Then, grab your sharpest knife and slash each loaf three times diagonally across the top. Quick! Carefully open the oven door, pour about 1 cup of really hot water into that preheated pan underneath—watch out for the steam!—and shut the door fast. Bake for 20 to 25 minutes. You know they’re done when the crust is golden brown and they sound hollow when you tap the bottom. If you need more inspiration for your homemade baking journey, check out this great recipe guide here!
Tips for Success When Making Bakery Style French Bread
You know, baking is all about choice! While this main recipe is geared towards the soft, pillowy texture we all love for sandwiches, you actually have total control over the crust. Remember how I mentioned that steam pan? That’s the biggest lever you pull for texture, but you can amp it up even more to get that true, shattering bakery style French bread crust.
I always advise people to decide what they want—soft and tender, excellent for dipping, or craggy and crunchy for maximum shatter—before they even think about that oven. Trust me, a few little adjustments make a huge difference!
How to Get Crusty French Bread Results
If you are determined to get that super crusty exterior that snaps when you cut into it, you need more steam than just that one pan of water provides! This is the trick I learned when I wanted crusty mini baguettes at home, and it works beautifully for these loaves too.
During the first five minutes of baking—when the loaves are just starting to set—use a clean spray bottle filled with plain water. Open the oven door quickly, spritz the tops of the loaves one time, pivot and quickly spritz the inside walls of the oven two more times. That blast of extra moisture keeps the outside surface from drying out too fast, allowing the dough to expand fully before the crust locks in place.
If you do that little spritz dance three times during those first critical five minutes, you are going to get a beautiful, crackly crust. If you prefer to keep it tender for dipping with something delicious like avocado toast toppings or soup, just skip the spritzing and stick to the steam pan! For more advanced crust techniques, you can look at some great ideas here.
Serving Suggestions for Your Homemade French Bread Recipe
Now that you’ve got two perfect loaves of homemade French bread, what are you going to do with them? Honestly, my favorite use is just serving them warm with dinner—a little butter melting on that soft crumb? Unbeatable! They make such a wonderful addition to any meal, which is why this fits right into our dinner bread recipes file.
Since the flavor is classic and simple, it pairs with almost anything. You absolutely have to try making amazing sandwiches; the loaves are the perfect size! Or, if you are having soup or a hearty stew, like my favorite beef stroganoff, a sturdy slice for dipping is exactly what you need.
And if you want to dress it up a little bit? Slice it, toast it lightly, and slather it with homemade garlic aioli. It’s so simple, but wow, does it feel fancy!
Storage and Reheating Instructions for Homemade French Bread
So, you’ve got two amazing loaves of homemade French bread, and hopefully, you’ve already eaten one while it was still warm! But if you need to save some for later—maybe for making those incredible sandwiches tomorrow—we need to talk storage. Don’t even think about sticking this bread in the fridge; that’s where soft bread goes to die a sad, stale death!
Keep your loaves right on the counter, ideally nestled in a paper bag, and then cover that bag loosely with a clean kitchen towel or put it in a bread box. This keeps some moisture in but also lets the crust breathe a tiny bit so it doesn’t get gummy. Properly stored, this bread should stay nice and fresh for two, maybe even three days. After day three, you might notice it getting a little… firm.
If you are past the fresh stage or if it’s just lost that initial softness, don’t throw it out! Reheating is your best friend. The oven is the only way to properly revive homemade bread. You want to get that crust crispy again while making the inside warm and fluffy. You can see how I reheat quick breads over here for inspiration!
Here’s the trick for reheating: Preheat your oven to a nice warm 350°F (175°C). Don’t wrap it in foil; that traps steam and makes the crust soggy. Just place the entire loaf directly on the oven rack. Bake it for about 5 to 8 minutes. Pull it out, and I promise you, it will smell just as amazing as the day you baked it, with a much softer inside!
Frequently Asked Questions About Easy French Bread
I know baking bread can bring up a million little questions, especially when you are trying to make something fast—that’s why I wanted to stick around and answer the most common things that come up when people try to master this easy French bread recipe! It’s all about getting those great results every single time, whether you’re aiming for a soft loaf or something with real crusty texture.
Can I use instant yeast instead of active dry yeast in this quick French bread recipe?
That is such a good question, and yes, you absolutely can! That foamy stage we wait for? That’s just to prove the active dry yeast is awake. If you use instant yeast, you don’t need to pre-activate it. Just skip the warm water, sugar, and waiting part! Instead, mix the instant yeast right in with your dry ingredients—the 3 1/2 cups of flour and the salt. Then, add your water and oil just like the recipe says. It saves a few minutes, which is great for a quick French bread recipe, but the total rising time won’t change much after that step.
Is this recipe suitable for beginner bread baking?
One million percent, yes! This is actually one of my favorite recipes to teach people who tell me they have never baked bread before. We call it beginner bread baking 101 for a reason! The measurements are straightforward, and unlike more complex artisan breads, we aren’t trying to achieve a super chewy texture that requires endless kneading. The 5 to 7 minutes of kneading we do is just enough to get that smooth dough without tiring you out, leading straight to that lovely soft fluffy French bread we love. If you want to read more tips for new bakers, I have a whole post right here!
If you try this recipe and love the simplicity, please leave a comment below!
Estimated Nutritional Information for French Bread
Alright, since this is a classic from-scratch bread, knowing what’s in our dinner side dish is always helpful. Now, I really hate to break it to you, but this is an estimate, okay? When you’re baking something like this homemade French bread recipe, the final nutrition facts totally depend on how much flour you used (did you need the full 4 cups or just 3 1/2?) and exactly how thick you cut your slices!
But, using the figures from the recipe—and assuming we get two loaves that yield standard thin slices—here’s a general idea of what you are looking at per slice. This is using the full range of ingredient possibilities, so take it as a guideline for your easy French bread!
- Serving Size: 1 slice
- Calories: 150
- Total Fat: 2g
- Saturated Fat: 0.5g
- Carbohydrates: 29g
- Protein: 5g
- Fiber: 1g
- Sugar: 1g
- Sodium: 250mg
See? Not too bad for homemade bread that smells heavenly! This keeps the bread perfectly manageable for serving alongside dinner anytime you want that fresh loaf.
Share Your Homemade French Bread Creations
Whew! We made it! Now that you have baked your show-stopping, incredibly easy French bread, I absolutely need to hear about it! Seriously, nothing makes me happier than knowing my recipe has traveled from my kitchen to yours and resulted in something warm and delicious on your table.
Did you manage to hit that 90-minute sweet spot? Did you go for maximum crustiness, or did you prefer that soft, fluffy texture we talked about for dipping into soup? Don’t be shy!
Please jump down to the comments section below and leave a rating for the recipe. Telling me how many times you plan to make this quick French bread recipe next week really helps other new bakers feel confident enough to try it!
If you snap a picture of your gorgeous golden loaves—maybe dunked in some olive oil or loaded up as a giant sandwich—I would be thrilled if you shared it on Instagram. Tag me so I can see your success! If you need anything at all or want to send a quick note my way, you can always reach out through my contact page.
For another fantastic version of that perfect soft loaf, you can always check out what my friends over at Bex’s Kitchen are doing for their soft fluffy French bread recipe too! Happy baking, and thank you so much for joining me at the table!
PrintEasy 90-Minute Homemade Soft French Bread
Make bakery-style French bread at home quickly. This simple recipe yields soft, fluffy loaves perfect for serving with dinner or making sandwiches.
- Prep Time: 20 min
- Cook Time: 30 min
- Total Time: 1 hour 50 min
- Yield: 2 loaves 1x
- Category: Dinner
- Method: Baking
- Cuisine: French
- Diet: Vegetarian
Ingredients
- 1 packet active dry yeast (about 2 1/4 teaspoons)
- 1 1/2 cups warm water (105°F to 115°F)
- 1 teaspoon sugar
- 3 1/2 to 4 cups all-purpose flour
- 2 teaspoons salt
- 2 tablespoons olive oil, plus more for greasing
- 1 egg white, lightly beaten (for brushing)
Instructions
- Activate the yeast: In a large bowl, dissolve the sugar in the warm water. Sprinkle the yeast over the top and let it sit for 5 to 10 minutes until foamy.
- Mix the dough: Add the olive oil, salt, and 3 1/2 cups of flour to the yeast mixture. Mix with a wooden spoon until a shaggy dough forms.
- Knead the dough: Turn the dough out onto a lightly floured surface. Knead for 5 to 7 minutes, adding the remaining flour gradually until the dough is smooth and no longer sticky. It should be soft and slightly elastic.
- First rise: Lightly grease a large bowl with olive oil. Place the dough in the bowl, turning to coat. Cover the bowl with plastic wrap or a clean towel and let it rise in a warm place for 60 minutes, or until doubled in size.
- Shape the loaves: Gently punch down the dough. Divide it into two equal pieces. Shape each piece into a long, even loaf, about 12 to 14 inches long.
- Second rise: Place the shaped loaves on a baking sheet lined with parchment paper, leaving space between them. Cover loosely and let them rise for 30 minutes.
- Preheat and prepare for steam: Preheat your oven to 400°F (200°C). Place a shallow pan on the bottom rack while the oven preheats. This pan will hold water for steam.
- Bake: Brush the tops of the loaves lightly with the beaten egg white. Using a sharp knife, make three diagonal slashes across the top of each loaf. Carefully pour 1 cup of hot water into the preheated shallow pan to create steam, then quickly close the oven door.
- Bake for 20 to 25 minutes, or until the crust is golden brown and the bread sounds hollow when tapped on the bottom.
- Cool: Transfer the loaves to a wire rack to cool completely before slicing.
Notes
- For a crusty French bread texture, use a spray bottle to spritz the loaves and the oven walls with water three times during the first 5 minutes of baking.
- If you prefer a softer crust, skip the egg white wash and the steam pan.
- This recipe makes two loaves, perfect for dinner bread or sandwiches.
Nutrition
- Serving Size: 1 slice
- Calories: 150
- Sugar: 1
- Sodium: 250
- Fat: 2
- Saturated Fat: 0.5
- Unsaturated Fat: 1.5
- Trans Fat: 0
- Carbohydrates: 29
- Fiber: 1
- Protein: 5
- Cholesterol: 0