
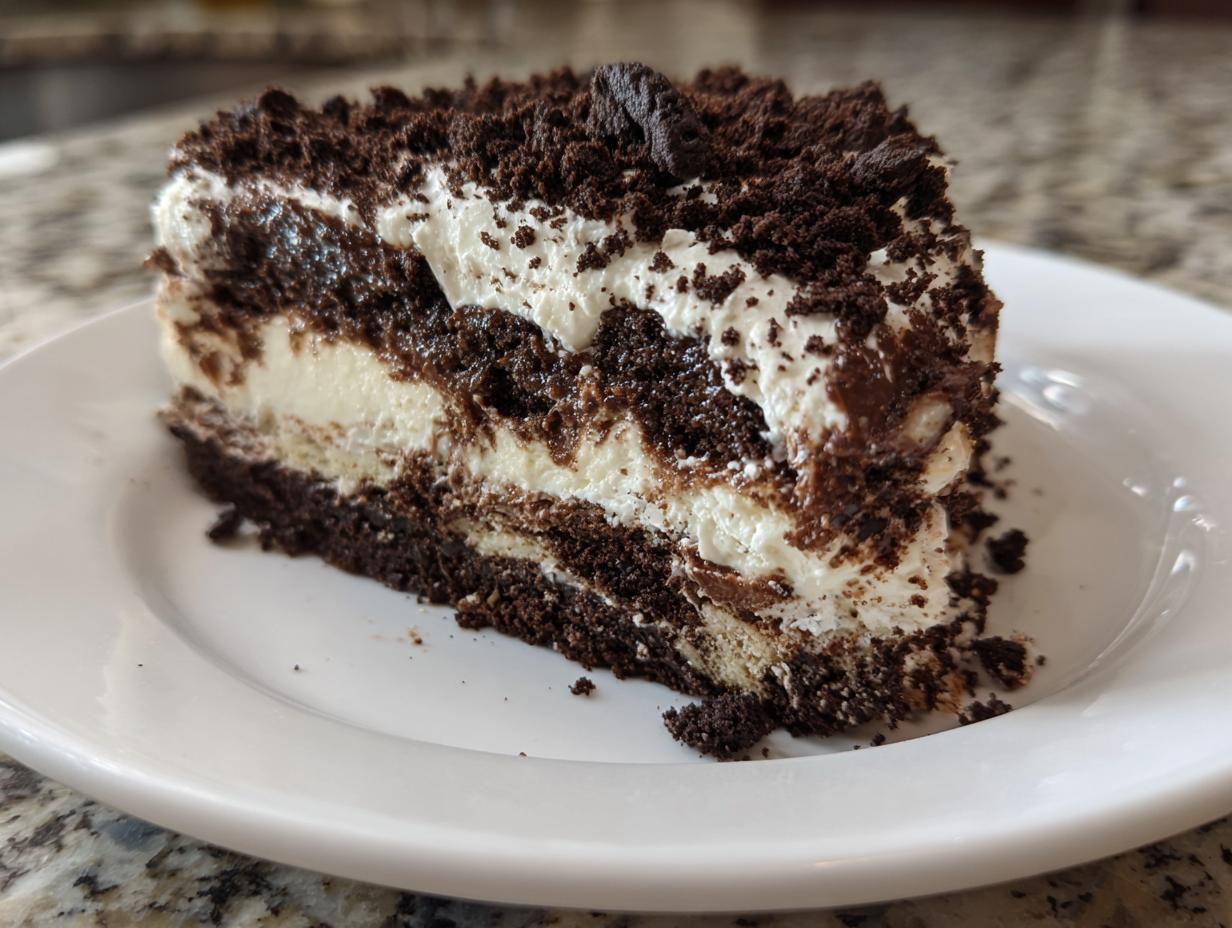
Some desserts just transport you right back to childhood birthday parties, don’t they? That’s exactly what happens when I make this super easy, no-bake dirt cake. Honestly, this recipe is my go-to for proving that you don’t need a complicated process or an oven to create something totally crowd-pleasing. When I started Taste This Plate, my main goal was bringing achievable, nostalgic comfort food to everyone’s table, and this layered Oreo dream is the perfect example of that philosophy in action. Forget stressing over heat: this is pure, simple, creamy magic!
- Why This Classic No-Bake Oreo Dirt Cake Recipe Works (EEAT)
- Gathering Ingredients for Your Creamy Dirt Cake
- Essential Equipment for Assembling the Dirt Cake
- Step-by-Step Instructions for the Best Dirt Cake Recipe
- Tips for Success with Your No Oven Treats Dirt Cake
- Ingredient Notes and Substitutions for Dirt Cake
- Serving Suggestions for Your Easy Dirt Cake
- Frequently Asked Questions About Classic Dirt Cake
- Nutritional Information for This Creamy Dirt Cake
Why This Classic No-Bake Oreo Dirt Cake Recipe Works (EEAT)
I spent ages looking at classic American desserts, trying to figure out what made them stick around. This **dirt cake** is a keeper because it nails that creamy, decadent texture without any fuss. It’s proof that simple ingredients can lead to extraordinary results, which is the heart of what we do here at Taste This Plate.
- It’s a true No Bake Dessert—perfect for summer or when the oven is already full!
- It comes together fast, making it the ultimate Easy Party Dessert.
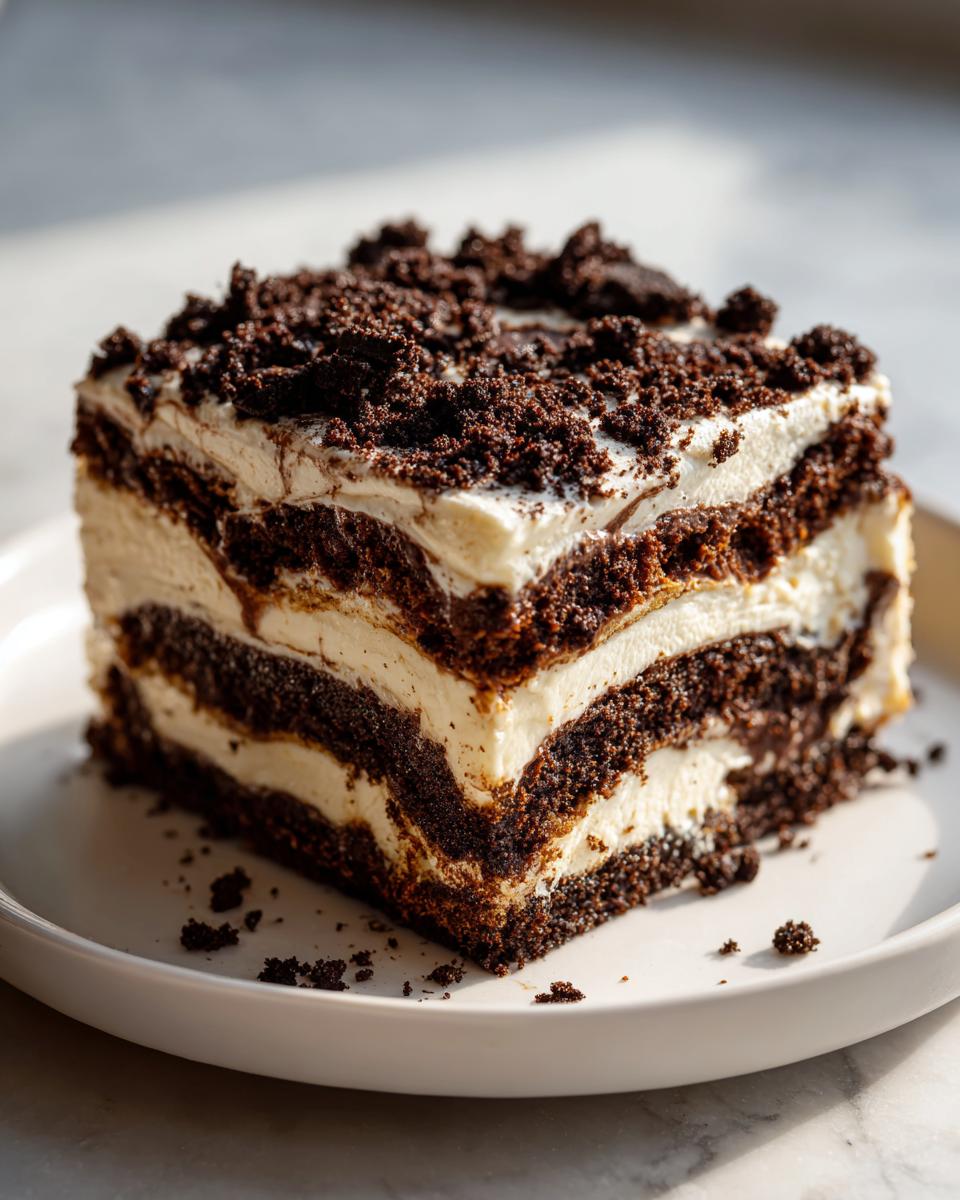
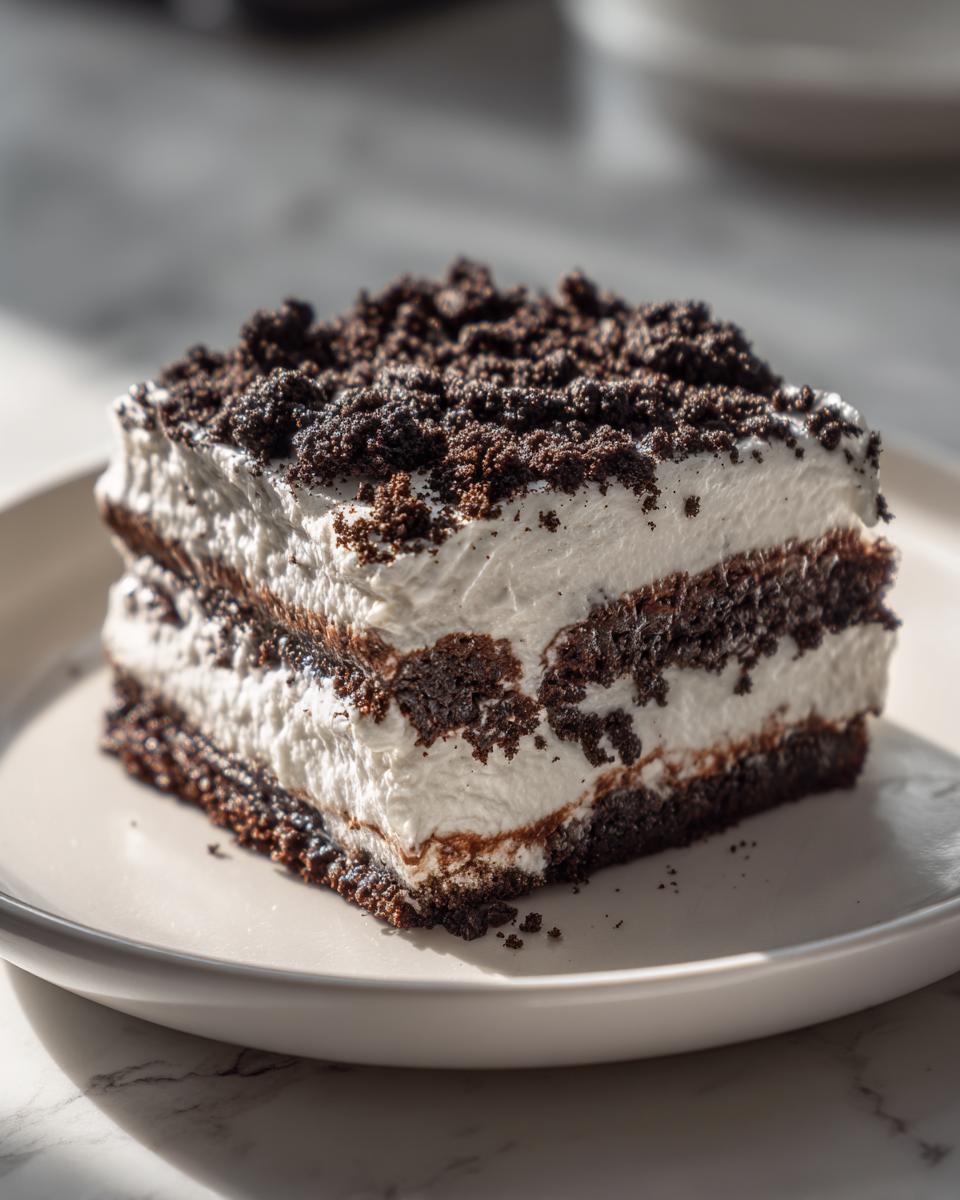
- The layers set up perfectly in the fridge, guaranteeing that signature thick, dreamy texture.
Simple Ingredients, Extraordinary Results in Your Dirt Cake
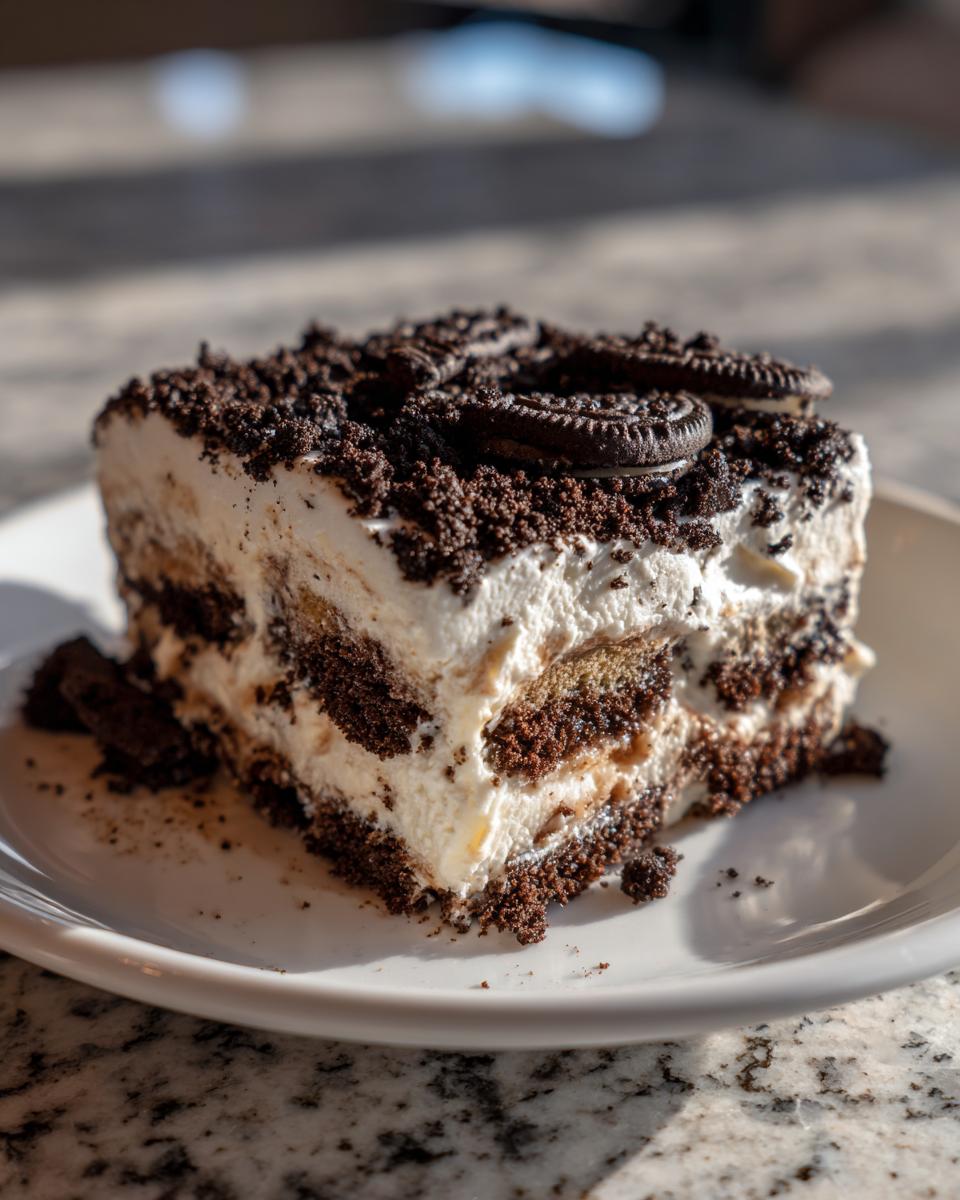
Because we keep the ingredient list short and accessible, you never have to run to a specialty store for this treat. We rely on shelf-stable favorites like instant pudding and, of course, those wonderful Oreos. Don’t skimp on crushing those cookies for that perfect Oreo Crumb Topping; it’s what gives this dessert its name and iconic look!
Gathering Ingredients for Your Creamy Dirt Cake
Okay, let’s get shopping! The beauty of this **dirt cake** is that most of this stuff is probably already sitting in your pantry. We are using simple pantry heroes here—nothing fancy required, which keeps those weeknight meals (or last-minute party prep!) stress-free. Head over to your local market, and let’s check off this list. You’ll find the required creamy pudding dessert ingredients below.
You’ll need that full box of Oreos, but pay attention: crush almost all of them down finely, reserving about one cup specifically for that final, gorgeous topping layer. I also included an optional dash of fun—gummy worms—because who doesn’t love finding a little surprise in their dessert? If you’re curious about other great recipes, check out this Oreo inspiration while you’re out!
- 8 ounces of cream cheese (make sure it’s softened, please!)
- 1 cup of unsalted butter (softened, just like the cheese!)
- 1 cup of powdered sugar
- 1 container (12 oz) of frozen whipped topping, fully thawed
- 2 boxes (3.9 oz each) of instant chocolate pudding mix
- 3 cups of very cold milk
- 1 package (about 14.3 oz) of Oreos—crush all but 1 cup reserved for the top layer
- Optional: Gummy worms!
Essential Equipment for Assembling the Dirt Cake
You don’t need an entire bakery setup for this one, which is the best part! Since this is a **No Oven Treat**, we aren’t worried about cake pans and springforms, but we do need a couple of hardworking tools to get that smooth, luscious filling. Remember, we’re teaching you the ‘why’ behind the steps, and having the right tools makes the process so much easier.
When I started, I used my grandmother’s old, big ceramic mixing bowl, but these days, an electric mixer does the heavy lifting. Trust me when I say your arm will thank you!
- One very large mixing bowl for combining the rich cream cheese base.
- An electric mixer (handheld or stand mixer) is a lifesaver for creaming the butter and sugar until it’s perfectly fluffy.
- A separate medium bowl for making up the chocolate pudding layer.
- A sturdy rubber spatula for gently folding in that beautiful whipped topping without deflating the air.
- Your serving vessel! I usually opt for a classic 9×13 inch glass baking dish because it shows off those gorgeous layers beautifully. If you want individual servings, grab some clear dessert cups—perfect for hiding those gummy worms!
Step-by-Step Instructions for the Best Dirt Cake Recipe
Alright, time to ditch the oven and get spoon-happy! This is where all those beautiful, simple components come together to make one of the most satisfying Layered Dessert options out there. Since we aren’t baking, our technique is all about layering smoothly and gently folding to keep everything light. Trust me, you want that creamy filling to be fluffy when it finally sets up!
Preparing the Cream Cheese Base for Your Dirt Cake
First things first, grab that softened cream cheese and softened butter. Get them into your largest bowl and beat them with your electric mixer until they are absolutely pale and smooth—no lumps allowed! Next, gradually add your powdered sugar while the mixer is running. Once that’s incorporated, take half of your thawed whipped topping and gently fold it in with a spatula. This careful folding is key; it keeps the mixture light and airy. This rich part is the backbone of our incredible dirt cake!
Mixing the Chocolate Pudding Dessert Layer
Now, let’s tackle the chocolate magic. In that second bowl, whisk your instant chocolate pudding mix and the measured cold milk together. You only need to whisk this for about two minutes until the mixture gets thick, like soft-serve ice cream. Let it sit for just five minutes to firm up a bit more. Then, gently, I mean gently, fold in the second half of that thawed whipped topping. Don’t whisk! We need to keep the air in there so this Chocolate Pudding Dessert layer stays light.
Assembling and Layering the Classic Dirt Cake
It’s time to build! Start by spreading one-third of your crushed Oreos on the bottom of your serving dish. Then, spread half of that glorious cream cheese mixture right over the cookies. Top that with half of the chocolate pudding mix. See the pattern forming? Repeat: another layer of Oreos, the rest of the cream cheese mix, and finally the rest of the pudding. Finish by sprinkling that reserved cup of crushed Oreos over the absolute top—that’s your final layer of ‘dirt.’ Cover the whole thing tightly and let it chill in the fridge for at least four hours, but overnight is truly best. This chilling time lets everything marry together perfectly. If you want to see how another great blogger layers theirs, you can check out this guide!
Tips for Success with Your No Oven Treats Dirt Cake
Since this **dirt cake** isn’t baked, our success hinges entirely on proper chilling and handling those light fillings. This is why I always push for it to be a Make Ahead Dessert—giving it that extra time in the fridge just firms up the texture so much better. We want that incredibly Creamy Pudding Dessert structure, not a runny mess!
The absolute toughest part of making this recipe is waiting the four hours for it to set. I know, I know! You want to dig in right away. But resist the urge! If you try to cut into it too soon, those delicate layers will sort of squash together, and you won’t get that clean, distinct look we’re aiming for. Patience pays off big time here, I promise.
Making Individual Dirt Cups
If you are taking this to a party or have a big crew of kiddos coming over, you absolutely have to try making individual Kid Friendly Desserts out of this! Instead of a giant dish, use clear, small plastic cups or little mason jars. Just follow the exact same layering process: a spoonful of crushed Oreos first, then a dollop of the cream cheese mix, then the pudding mix, and repeat.
Putting them in individual servings makes serving a breeze, and honestly, it makes them look even cuter! Plus, you can stick those little gummy worms right into the top of each cup before you head out the door. It always gets a huge reaction!
Ingredient Notes and Substitutions for Dirt Cake
Real talk: while this recipe calls for instant pudding because it’s undeniably fast and easy, sometimes you want that extra depth of flavor, right? If you’re feeling ambitious, you absolutely can substitute the instant pudding boxes with homemade chocolate custard. But here’s the major catch, and listen closely: you must cool that homemade custard completely before you even think about folding in the whipped topping. If it’s warm, it will melt your whipped topping into nothingness, and we end up with soupy disappointment instead of that perfect, thick layer.
Another thing people ask me about is the whipped topping. That frozen, thawed stuff is designed to be stable, which is great for a Classic Comfort Dessert that needs to sit. But if you can’t find it, or just prefer something fresher, you can whip up your own heavy whipping cream! Just use about 1 1/2 cups of very cold heavy cream and whip it with a tablespoon or two of powdered sugar until you get stiff peaks. Fold that in gently, just like the recipe says. It will be a little softer overall, but still really delicious!
The key here, whether you stick to the instant mix or go homemade, is understanding the function. The pudding mix and the cream cheese layer are our structure builders—they gel up in the fridge and hold all those glorious Oreo crumbs in place. Check out this recipe if you want to explore another classic option, but remember my tips when you mix things up!
Serving Suggestions for Your Easy Dirt Cake
Presentation counts, even for something as delightfully messy as a **dirt cake**! While throwing this together in a big glass trifle dish is always a winner because everyone can see those gorgeous layers, sometimes you need something a little more dramatic for a party. Think about themes! This is such a fantastic Summer Desserts choice because it’s chilled and no-bake.
If you’re having a summer BBQ or even a slightly spooky Halloween bash, those gummy worms come into play big time. Don’t just stick one or two in the middle—I mean cover the top surface! Stick them so they look like they are wriggling out of the ‘dirt.’ It always gets a laugh!
For a more elegant gathering—maybe a sophisticated potluck where you still want something fun—try scooping the chilled **dirt cake** into individual clear glasses or small ramekins. You can top those individual portions with a light dusting of powdered sugar first, and then place one perfectly perched gummy worm right on top. It makes it feel custom and controlled. When you serve individual portions, that creamy texture holds up even better too.
Don’t forget the drinks! If you serve this rich chocolate treat, you need something to cut through the sweetness. I always pair it with something bright. You can find some of my favorite light pairings, like homemade lemonade or sparkling fruit infusions, over at my drinks and cocktails page. Enjoying a scoop of this cold **Oreo Dessert** alongside something refreshing is just the best way to finish a meal!
Frequently Asked Questions About Classic Dirt Cake
Since this **dirt cake** is so popular for parties, I get a ton of questions about tweaking it or handling leftovers. Honestly, I love that people are making this delicious **No Bake Dessert** over and over! I’ve gathered the most common things folks ask me about below. Remember, we aim for simple and reliable results here. If you’re looking for more sweet ideas, make sure you check out my main desserts page!
Can I make this dirt cake with vanilla pudding instead of chocolate?
You absolutely can try it! If you swap the chocolate pudding for vanilla instant pudding, you are going to end up with a much lighter, sweeter final product. It moves away from that deep, rich, “muddy” flavor that most people expect from a classic **dirt cake**, but it’s still a fantastic Cream Cheese Dessert layer. If you go vanilla, maybe consider using slightly less powdered sugar in the cream cheese layer, just to keep things balanced.
How long can I store leftover dirt cake?
This is great news for your meal prep! Because this is a **Make Ahead Dessert** built on pudding and cream cheese, it actually tastes better on Day Two because everything has time to settle and firm up nicely. I safely store leftovers in an airtight container in the refrigerator for up to four days. Seriously, Day Three is often the best day! Just try to keep it covered well so it doesn’t absorb any weird fridge smells.
Do I have to use Oreo cookies, or can I substitute other cookies?
Look, I’m all about flexibility, but for the true classic **Dirt Pudding** experience, you really need Oreos. The dark, slightly salty chocolate wafer is what gives it that signature ‘dirt’ color and flavor that contrasts perfectly with the sweet, creamy filling. If you absolutely must substitute, use another dark chocolate sandwich cookie, but avoid anything lighter like vanilla wafers or graham crackers. Those don’t give the right texture or the right darkness for the full visual effect. I think you’ll find that sticking with the classic cookie is worth it, just like this recipe suggests!
Can I make this dessert ahead of time for a big event?
Yes, please do! This is my favorite kind of entertaining dessert because it must be made ahead of time. You need that minimum four-hour chill, but I always assemble mine the night before a party. This allows the cookies to slightly soften into the layers, making it easier to scoop cleanly while keeping that irresistible creamy texture. Just keep it covered in the fridge until you are ready to serve and add any gummy worms right before setting it on the table.
Nutritional Information for This Creamy Dirt Cake
Now, I always tell folks that we focus on flavor and fun here, not counting every little thing, because, let’s face it, this is a rich treat! But, since you asked, I pulled together an estimate of what you’re looking at per slice for this recipe, assuming it yields 12 servings as written. Please remember these are just ballpark figures based on standard ingredient brands; your exact numbers might wiggle around a little bit!
This **Cream Cheese Dessert** is certainly decadent, but it’s worth every single bite when you’re celebrating something or just need a dose of **Nostalgic Desserts**. We aren’t kidding ourselves—it’s a fun food! Here’s the cheat sheet:
- Calories: Approximately 450 per slice
- Fat: About 28g (with 15g as saturated fat, thanks to all that butter and cream cheese!)
- Carbohydrates: Around 45g
- Sugar: Roughly 35g
- Protein: About 5g
Enjoying a slice of this **Oreo Dessert** means you’re enjoying a little slice of happy childhood memories. As always, these numbers are based on dividing the entire recipe by 12. It’s a wonderful **Potluck Dessert**, so save the guilt for another day and just enjoy the moment!
PrintClassic No-Bake Oreo Dirt Cake Recipe

Create the ultimate crowd-pleasing dessert with this easy, no-bake Oreo Dirt Cake. This recipe layers creamy filling with crushed Oreos for a nostalgic treat perfect for parties and potlucks.
- Prep Time: 25 min
- Cook Time: 0 min
- Total Time: 4 hr 25 min
- Yield: 12 servings 1x
- Category: Dessert
- Method: No-Bake
- Cuisine: American
- Diet: Vegetarian
Ingredients
- 1 package (8 ounces) cream cheese, softened
- 1 cup unsalted butter, softened
- 1 cup powdered sugar
- 1 container (12 ounces) frozen whipped topping, thawed
- 2 packages (3.9 ounces each) instant chocolate pudding mix
- 3 cups cold milk
- 1 package (14.3 ounces) Oreo cookies, crushed (about 40 cookies)
- Optional: Gummy worms for decoration
Instructions
- In a large bowl, beat the softened cream cheese and softened butter together until the mixture is smooth.
- Gradually beat in the powdered sugar until fully combined and creamy. Fold in half of the thawed whipped topping. Set this cream cheese mixture aside.
- In a separate medium bowl, whisk together the instant chocolate pudding mix and cold milk for about two minutes until the mixture begins to thicken. Let it stand for five minutes.
- Gently fold the remaining half of the whipped topping into the thickened chocolate pudding mixture until just combined.
- Crush the Oreo cookies until they resemble fine dirt. Reserve about 1 cup of the crushed cookies for the top layer.
- To assemble the dirt cake, use a large trifle dish or 9×13 inch pan. Spread one-third of the crushed Oreos on the bottom.
- Spread half of the cream cheese mixture evenly over the first layer of cookies.
- Top the cream cheese layer with half of the chocolate pudding mixture.
- Repeat the layers: add another third of the crushed Oreos, the remaining cream cheese mixture, and the remaining chocolate pudding mixture.
- Finish by sprinkling the reserved 1 cup of crushed Oreos over the top layer to create the ‘dirt’ look.
- Cover the dish and chill in the refrigerator for at least four hours, or preferably overnight, to allow the layers to set.
- Before serving, insert gummy worms into the top layer for decoration, if desired.
Notes
- For individual servings, assemble this recipe in small clear cups to create ‘Dirt Cups.’
- If you want a richer flavor, substitute the instant pudding with homemade chocolate custard, but remember to let it cool completely before layering.
- You can make this a make-ahead dessert; it tastes even better the next day.
- Use a food processor to crush the Oreos quickly, but leave some larger chunks for texture.
Nutrition
- Serving Size: 1 slice
- Calories: 450
- Sugar: 35g
- Sodium: 350mg
- Fat: 28g
- Saturated Fat: 15g
- Unsaturated Fat: 13g
- Trans Fat: 0.5g
- Carbohydrates: 45g
- Fiber: 1g
- Protein: 5g
- Cholesterol: 55mg