
Oh, doesn’t that crisp, cool air just immediately make you crave something sweet, sticky, and utterly autumnal? I know I do! Fall just isn’t complete without that perfect, chewy bite of a homemade caramel apple. Now, I know what you’re thinking: caramel is tricky! It slides off the apple, or it hardens like cement. No thanks! But trust me, after all my late-night kitchen experiments—the ones Kate Reilly from Taste This Plate lives for—I’ve cracked the code. This isn’t just another recipe; this is the foolproof method for achieving that rich, gooey caramel coating that actually clings to the apple. Get ready to become a caramel apple master!
- Why This is Your Go-To Easy Caramel Apple Recipe (Primary Keyword Focus)
- Ingredients for the Best Homemade Caramel Apples
- Step-by-Step Caramel Apple Tutorial: Making the Gooey Caramel Sauce
- Mastering the Caramel Apple Dipping Guide
- Gourmet Caramel Apples: Variations and Topping Ideas
- Storage and Reheating Instructions for Your Caramel Apples
- Frequently Asked Questions About Making Caramel Apples
- Estimated Nutritional Data for Classic Caramel Apple
- Share Your Homemade Caramel Apples Experience
Why This is Your Go-To Easy Caramel Apple Recipe (Primary Keyword Focus)
If you’ve ever sworn off making homemade caramel apples because your sauce ended up everywhere but the apple, you need this batch! I developed this method because I needed a truly no-fail caramel apples recipe that guaranteed a decadent, chewy result. I tested and retested every measurement so you don’t have to worry about those scary sugar stages.
This recipe is all about turning a potential baking disaster into one of the easiest fall dessert recipes you’ll ever attempt. When you follow these steps exactly, you end up with the most satisfying classic autumn treats.
- It uses basic pantry ingredients—nothing weird required!
- The cooking time for the caramel is precise, leading to that perfect, non-runny coating.
- It guarantees a chewy, just-right texture, not hard candy or liquid goo.
- We tackle the stickiness issue head-on, which is half the battle!
Achieving the Perfect Stick: Secrets for Your Caramel Apple
Okay, this is the make-or-break tip for all homemade caramel apples: the apples are naturally waxy! If you just stick the skewers in and dip, that coating *will* slide right off. You absolutely must remove that surface wax. Before you insert your stick, just give each apple a quick wipe down. I use a paper towel dipped in hot water, or honestly, sometimes I cheat and use a tiny splash of white vinegar on the towel. The caramel grabs onto clean, dry apple skin like magic!
Ingredients for the Best Homemade Caramel Apples
You don’t need a heap of specialty items for this recipe, which is why I consider it one of the best easy fall baking options. First, grab six medium Granny Smith apples, or any firm, tart apple you prefer. Make sure you have your six wooden sticks ready for dipping! For that signature gooey caramel sauce, you’ll need one cup of unsalted butter, two full cups of light brown sugar—and please use it packed tightly—and one cup of light corn syrup. Don’t skip the one 14-ounce can of sweetened condensed milk, half a teaspoon of salt, and a teaspoon of pure vanilla extract for flavor.
Once they are dipped, the fun truly begins! You can keep them simple with just a light dusting, or you can roll them immediately in optional toppings like chopped nuts, festive sprinkles, or mini chocolate chips.
Step-by-Step Caramel Apple Tutorial: Making the Gooey Caramel Sauce
Alright, let’s get cooking! This is where the magic happens, and honestly, where most people get nervous. Don’t be! When I was testing this recipe for my easy caramel apple recipe, I timed everything perfectly so you don’t have to panic. First, grab your heavy-bottomed saucepan. Put in your butter, packed light brown sugar, and corn syrup. Heat it over medium heat, stirring gently until that sugar dissolves completely. Once it’s all smooth, you have to stop stirring!
Bring that mixture to a rolling boil—a good, strong boil, mind you—and let it cook for precisely five minutes. That’s right, five minutes *uninterrupted*. I counted them many times to make sure the chemistry was right for that perfect chew! After the five minutes are up, take it off the heat right away. Now, gently whisk in your sweetened condensed milk and that salt. It will bubble, so be careful!
Return the pan to medium-low heat. Now you need your secret weapon: a candy thermometer. We are stirring constantly now until that thermometer hits exactly 245 degrees Fahrenheit.
Crucial Timing and Temperature Checks for Caramel Apple Success
That upper limit of 245°F is non-negotiable; that’s the soft-ball stage, which gives you that amazing chewy texture that doesn’t break your teeth. If you pull it off the heat too early, your caramel will just slide right down the apple. If you accidentally cook it too long, you get rock candy instead! Once you hit the mark, immediately whisk in the vanilla off the heat. Then, let the whole pan sit for about five to ten minutes. This little bit of cooling time thickens the sauce just enough so it doesn’t run everywhere when you tilt the pan.
Mastering the Caramel Apple Dipping Guide
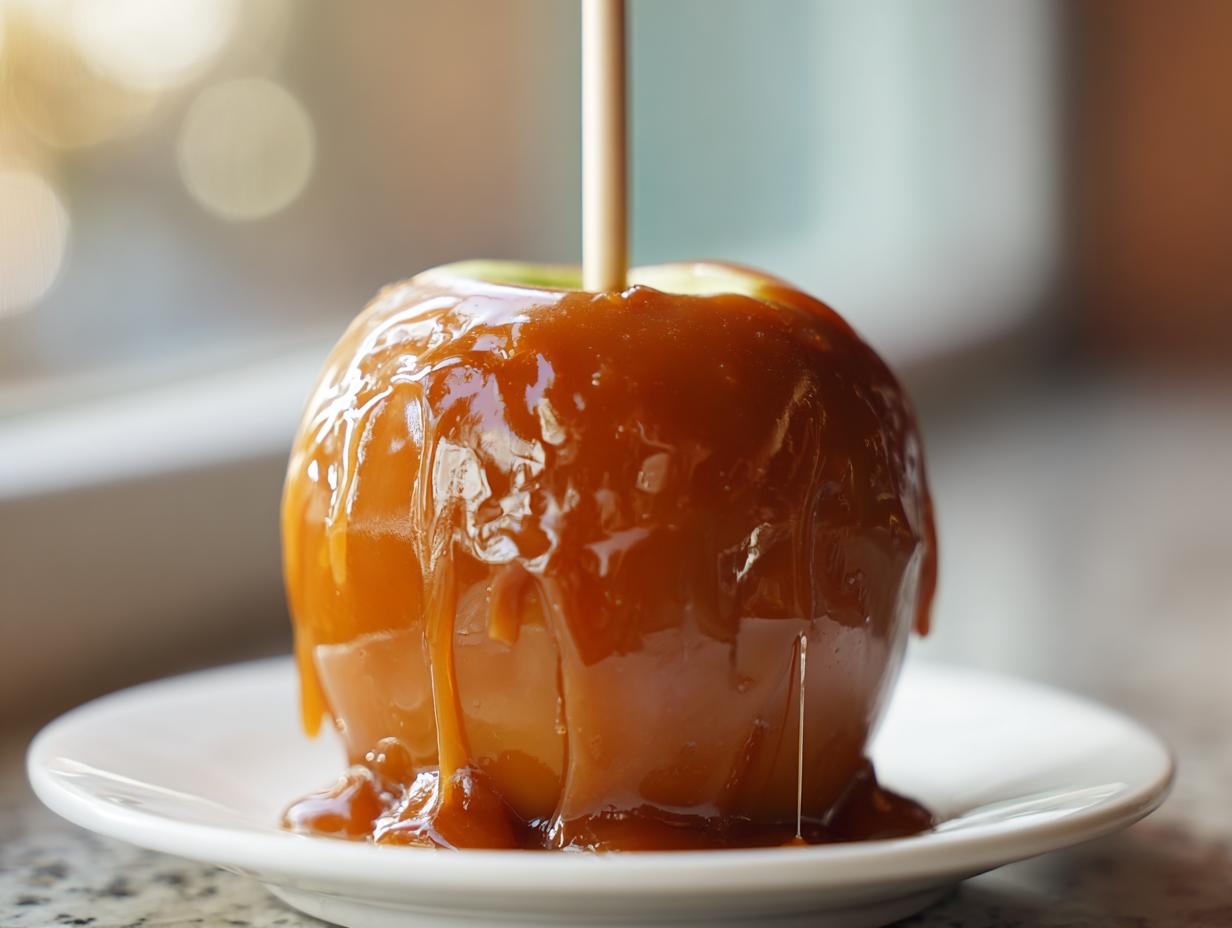
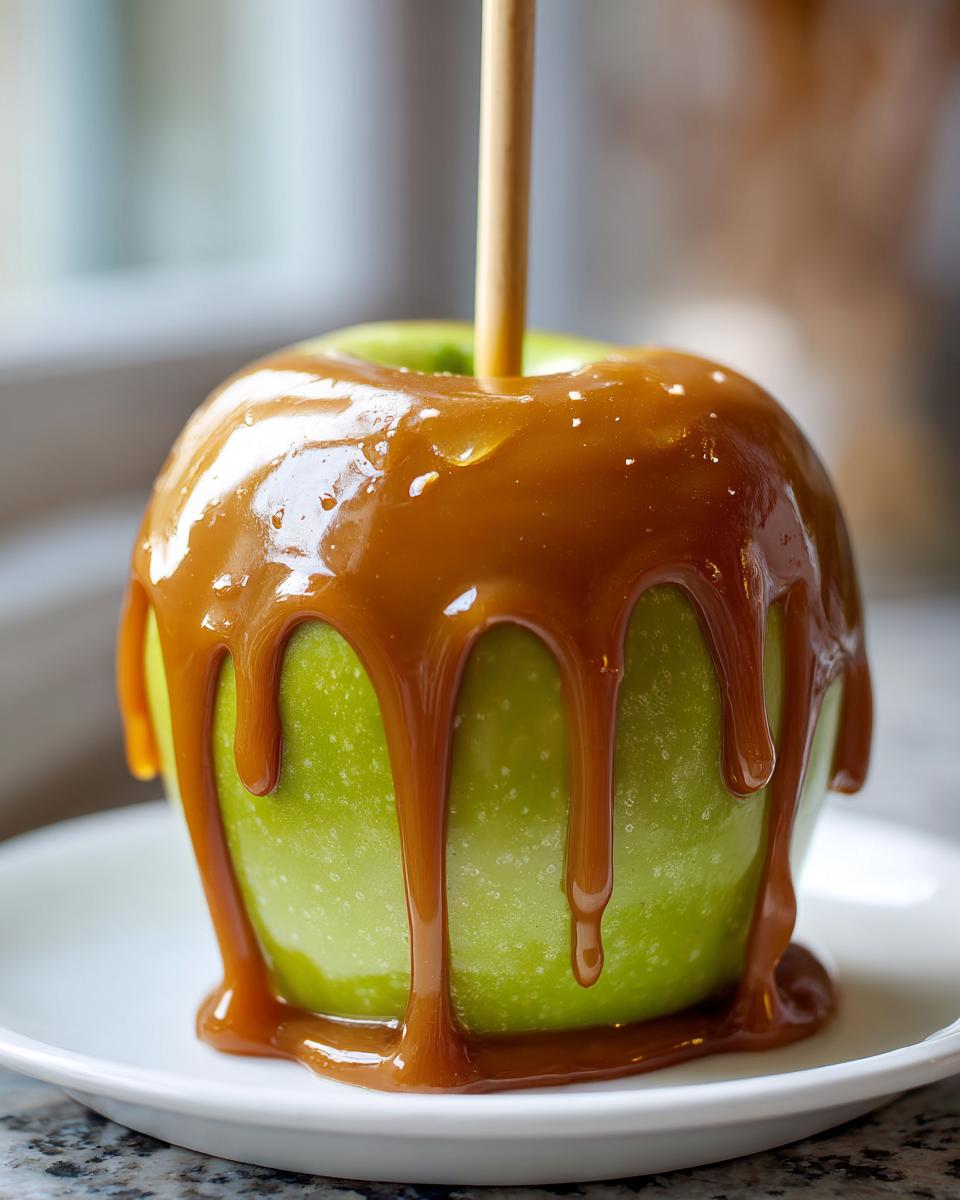
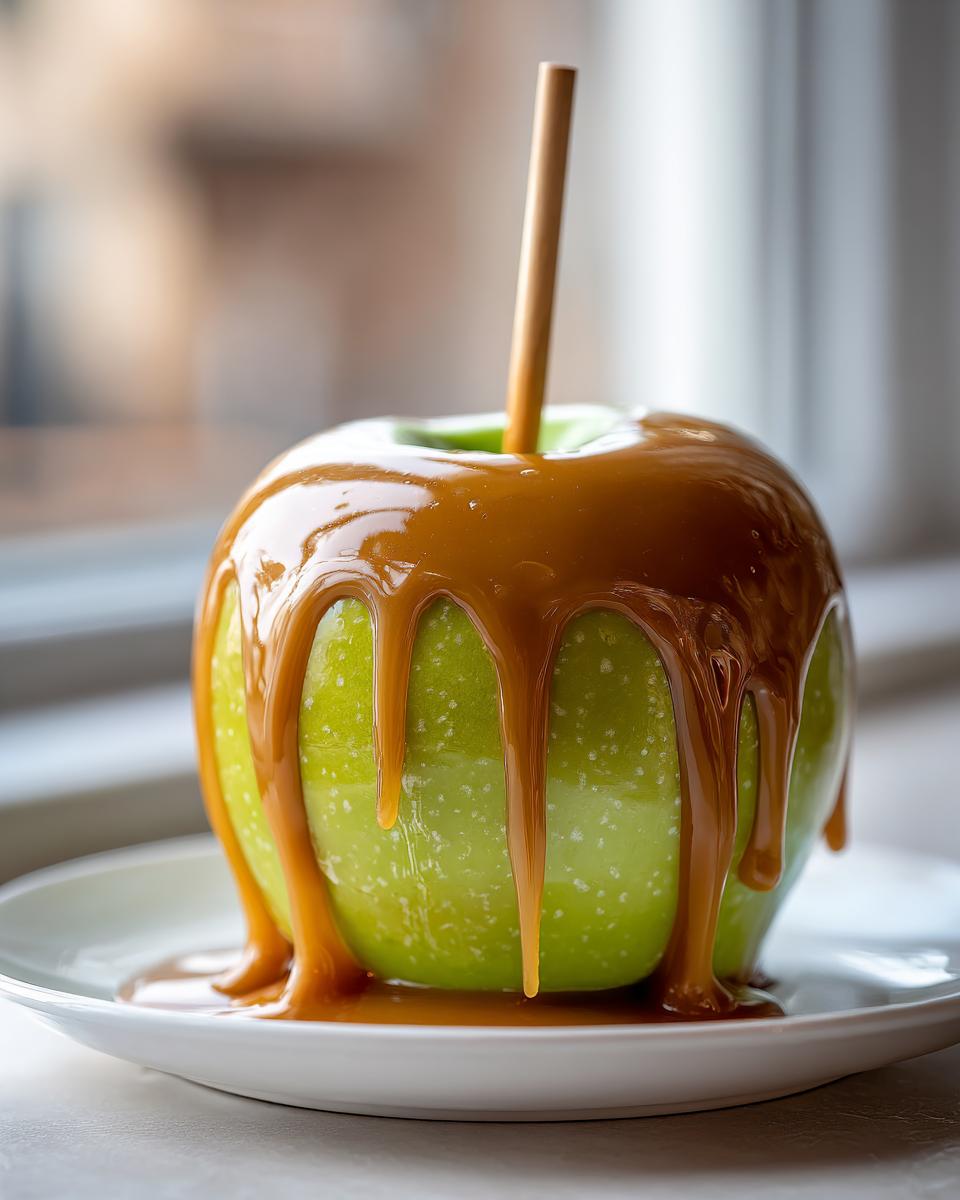
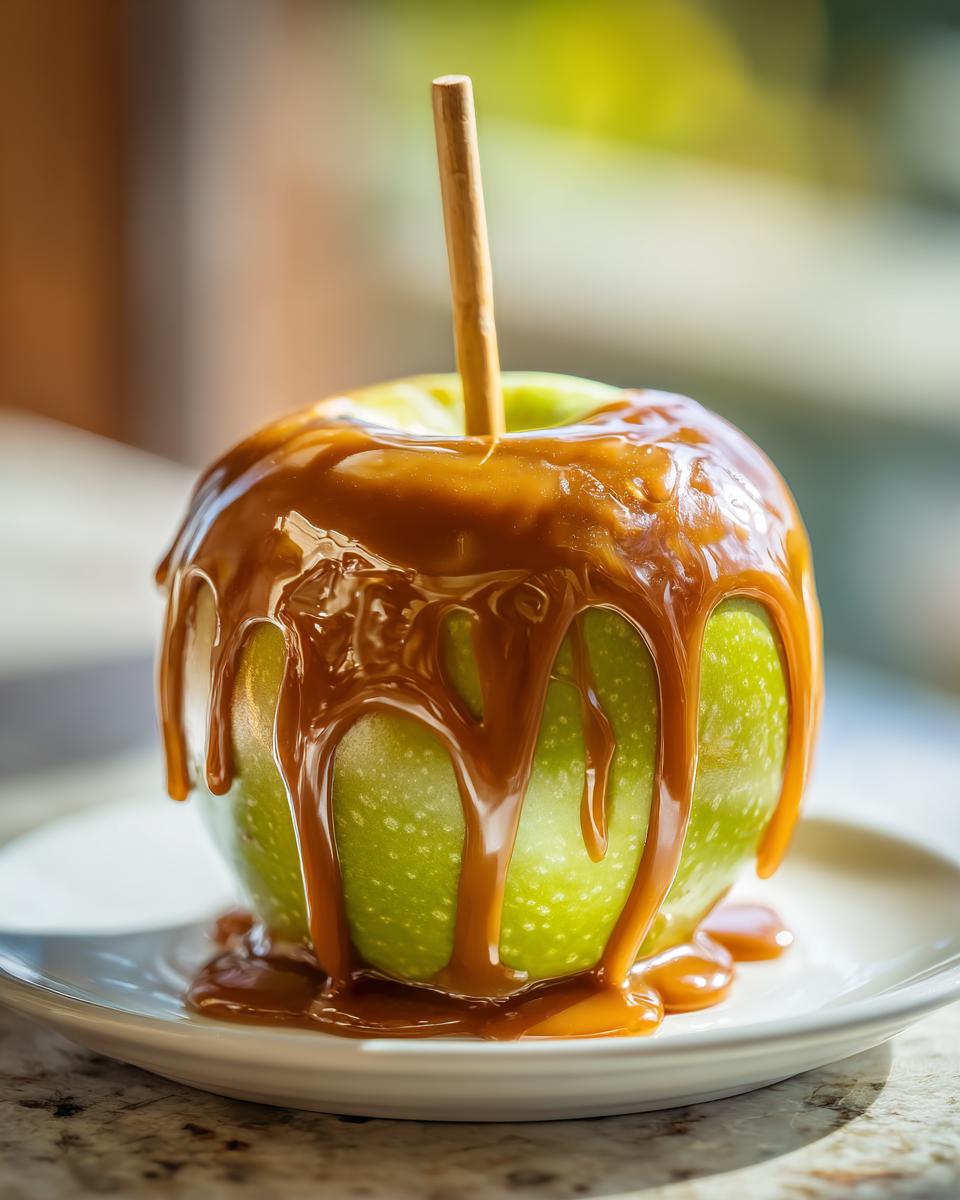
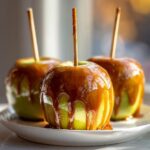
Okay, the caramel is cooled just right—it looks glossy and it flows but coats nicely when you swirl a spoon in it. Now for the satisfying part of this caramel apple tutorial! You need to tilt your saucepan so the caramel pools slightly to one side. Take the apple with the stick firmly in hand and dip it in, rotating it slowly. You want an even coating, but you don’t want to bury the whole thing. Once it looks right, lift it up and hold it over the pan!

Gently tilt the apple so that extra, drippy caramel flows right back into the saucepan. This prevents those thick, sticky puddles from forming at the bottom once they set! If you’re adding toppings, do it immediately—tap that apple lightly in your toppings pile. Then, you must place the finished beauties on that parchment-lined sheet we prepped earlier. Patience is key here; let them cool completely at room temperature for at least an hour. Don’t rush this cooling time!
Gourmet Caramel Apples: Variations and Topping Ideas
Just because we’re using a foolproof, classic base doesn’t mean we can’t get a little fancy! The beauty of these homemade caramel apples is how easily they transform into something truly gourmet. We already talked about rolling them in nuts or sprinkles, but if you want that next-level treat, we have to bring in the chocolate. For amazing chocolate dipped caramel apples, just melt about a cup of semi-sweet chocolate chips with a tiny teaspoon of coconut oil—that oil helps it stay glossy and smooth. Dip your already cooled caramel apples right into that melted chocolate mixture, let the excess drip, and let them set.
The possibilities for caramel apple topping ideas are endless, too. Think crushed pretzels for a salty kick, or even crushed peppermint candies if you’re feeling festive! These easy variations turn a simple fall staple into a real showstopper for any party.
Storage and Reheating Instructions for Your Caramel Apples
Once you’ve done all that hard work, we need to make sure your beautiful caramel apples stay perfect! The big secret here, and please listen up: try hard not to put them in the fridge. Seriously! The condensation that forms when cold caramel hits warm air makes the caramel weep and get sticky or runny. It’s the worst!
For the best, chewiest result, you want to store these at cool room temperature, loosely covered, for up to three days. If your kitchen is scorching hot, you can use the fridge, but let them sit on the counter for a good hour before you plan to eat them so that caramel can loosen up just a bit. They rarely need reheating!
Frequently Asked Questions About Making Caramel Apples
I know you might still have a few little worries knocking around in that baker’s brain! It’s completely normal when dealing with candy making. I tried to answer the absolute most common stumbling blocks people have when trying to make the best homemade caramel apples.
What is the best apple for caramel apples?
Hands down, you want a firm, tart apple that won’t turn mushy when dipped in hot caramel. Granny Smith is my number one choice because that tartness cuts through the intense sweetness of the caramel perfectly. Honeycrisp or Gala work too, provided they are very crisp and fresh. Remember what I said? You gotta wipe off the wax!
Why is my caramel runny when I dip it?
If your **caramel on apples recipe** is slipping right off into a puddle, it almost always means one of two things: either you didn’t let the caramel cool down enough after taking it off the heat (it needs that 5-10 minute rest!), or your apples were still wet from washing. Patience is the key to making sure your caramel apple treats stay put.
Can I make the caramel sauce ahead of time?
You can, but I really advise against it for the absolute best texture. Caramel is tricky once it cools completely—it gets super hard and then you have to risk over-reheating it, which breaks down the sugars. For the chewiest, gooiest result, I always recommend making this easy caramel apple recipe right before you plan to dip. If you absolutely must store it, keep it warm in a slow cooker on the ‘warm’ setting until dipping time!
Estimated Nutritional Data for Classic Caramel Apple
Now, let’s talk numbers for just a second, though honestly, I focus much more on the smiles these treats bring me! Based on the ingredients we used for this standard batch of caramel apples, here is the estimated breakdown per apple. Keep in mind these are just rough averages based off standard brands; your final count will change depending on how much topping you plaster on there!
- Serving Size: 1 apple
- Calories: ~650
- Fat: ~30g
- Carbohydrates: ~98g (Yes, that sugar is hefty!)
- Protein: ~4g
- Sodium: ~180mg
This calculation uses the classic, plain caramel-and-apple version. If you decide to go wild with chocolate and triple the nuts, you’ll need to add those figures in yourself! Enjoy the indulgence, because these are a special treat!
Share Your Homemade Caramel Apples Experience
Whew! Now you have the tools, the technique, and, most importantly, the secret to making absolutely gorgeous, sticky, and chewy caramel apples every single time. I truly hope this recipe becomes as much of a beloved autumn tradition for your family as it is for mine. I tried my best to pass along every little trick I learned through all my testing!
I would absolutely love to hear how they turned out for you! Did you stick to the classic nuts, or did you try something wild for your caramel apple topping ideas? Please leave a star rating right down below so other bakers know this recipe is reliable! A quick comment helps me enormously, and honestly, seeing your pictures of homemade caramel apples makes my entire week. Tag me when you post those glorious fall treats!
PrintThe Best Homemade Caramel Apples: A Foolproof Recipe
Make classic, gooey homemade caramel apples that actually stick. This simple recipe uses easy ingredients for a reliable, chewy caramel coating perfect for fall parties.
- Prep Time: 20 min
- Cook Time: 25 min
- Total Time: 1 hour 45 min
- Yield: 6 servings 1x
- Category: Dessert
- Method: Stovetop Cooking
- Cuisine: American
- Diet: Vegetarian
Ingredients
- 6 medium Granny Smith apples (or other firm, tart apples)
- 6 wooden sticks or lollipop sticks
- 1 cup (2 sticks) unsalted butter
- 2 cups light brown sugar, packed
- 1 cup light corn syrup
- 1 (14 ounce) can sweetened condensed milk
- 1 teaspoon pure vanilla extract
- 1/2 teaspoon salt
- Optional toppings: chopped nuts, sprinkles, mini chocolate chips
Instructions
- Wash the apples thoroughly. Remove the stems and insert a wooden stick firmly into the core of each apple.
- Line a baking sheet with parchment paper or a silicone mat. Set aside.
- In a heavy-bottomed saucepan, combine the butter, brown sugar, and corn syrup. Heat over medium heat, stirring until the butter melts and the sugar dissolves.
- Bring the mixture to a boil without stirring. Let it boil for exactly 5 minutes. Do not stir during this time.
- Remove the pan from the heat. Carefully whisk in the sweetened condensed milk and salt until fully combined.
- Return the pan to medium-low heat. Stir constantly with a wooden spoon or heatproof spatula until the mixture reaches 245 degrees Fahrenheit (soft-ball stage) on a candy thermometer. This usually takes 5 to 8 minutes.
- Remove from heat immediately. Stir in the vanilla extract. Let the caramel cool for 5 to 10 minutes to thicken slightly before dipping.
- Tilt the saucepan and dip each apple into the caramel, rotating to coat evenly. Lift the apple and allow excess caramel to drip off back into the pan.
- If using toppings, immediately roll the coated apple in your desired topping or sprinkle it over the caramel.
- Place the dipped apples on the prepared baking sheet. Let them cool completely at room temperature for at least 1 hour, or until the caramel is firm.
Notes
- For the caramel to stick well, wipe the apples with a little white vinegar or rub them with a paper towel dipped in hot water before inserting the sticks. This removes the natural wax coating.
- If the caramel becomes too thick while dipping, gently reheat it over low heat for a minute or two, stirring constantly.
- If you want chocolate caramel apples, melt 1 cup of semi-sweet chocolate chips with 1 teaspoon of coconut oil. Dip the cooled caramel apples into the melted chocolate and let them set.
Nutrition
- Serving Size: 1 apple
- Calories: 650
- Sugar: 95
- Sodium: 180
- Fat: 30
- Saturated Fat: 18
- Unsaturated Fat: 12
- Trans Fat: 0
- Carbohydrates: 98
- Fiber: 2
- Protein: 4
- Cholesterol: 75