
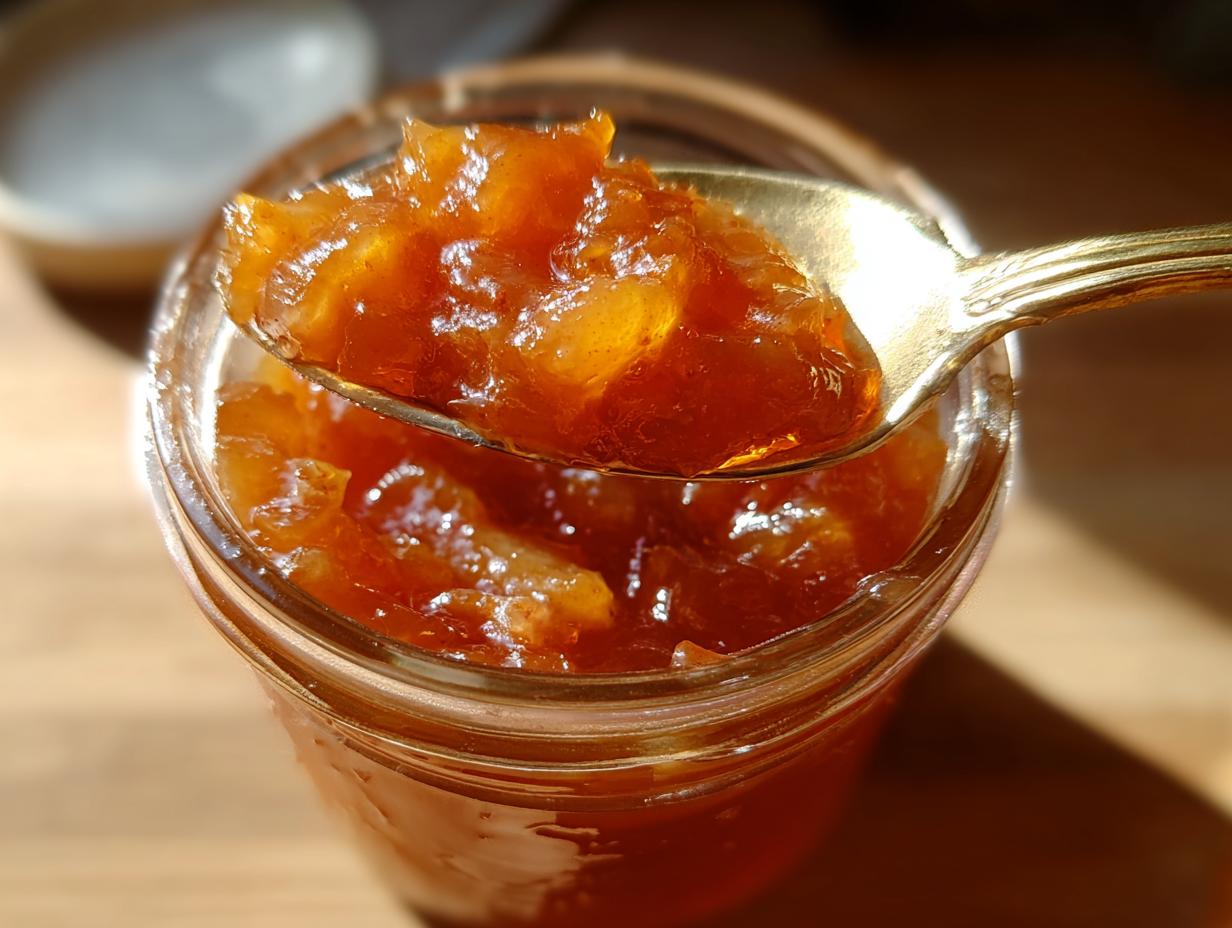
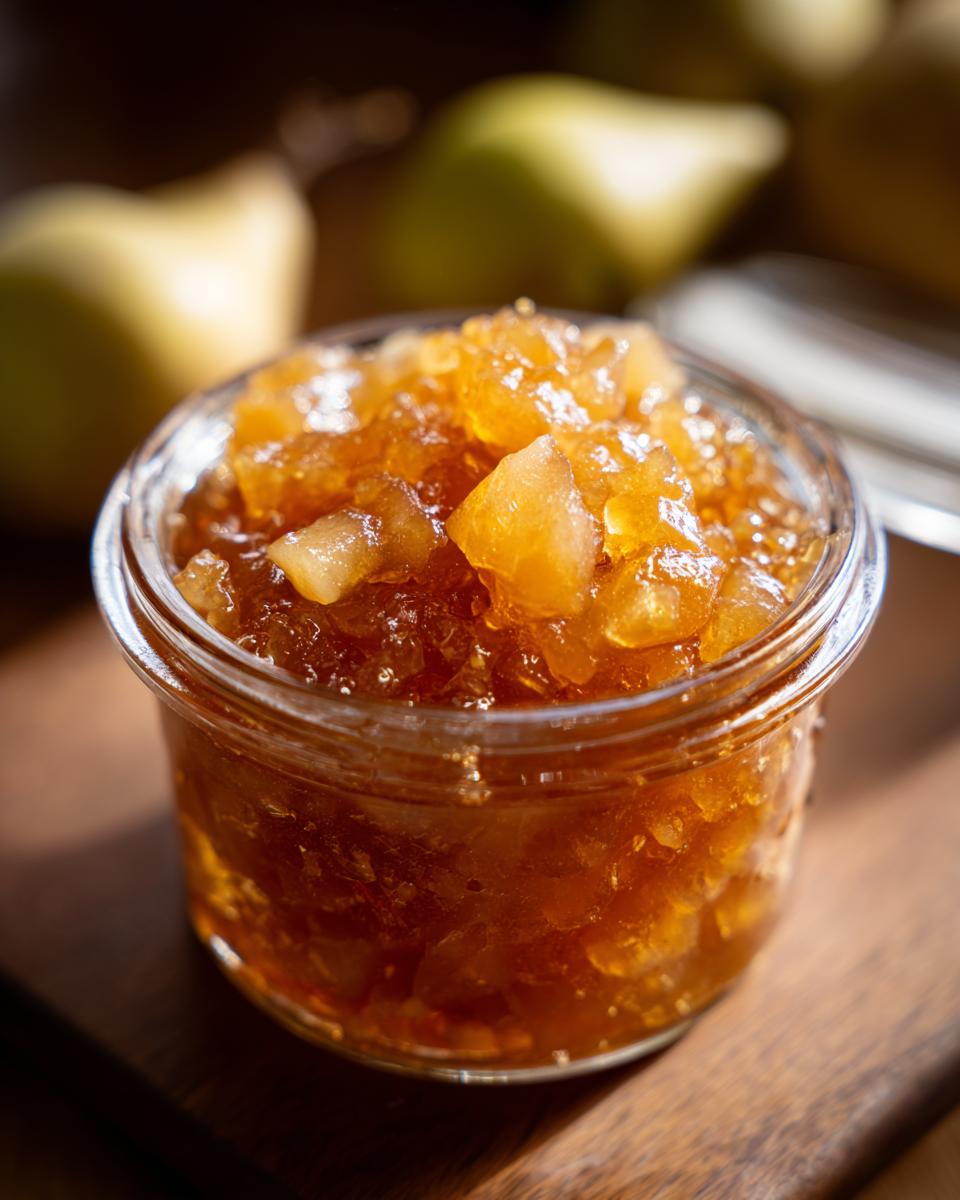
Oh, that glorious moment when the pears are just perfectly ripe and begging to be turned into something utterly delicious! You know, I can almost taste it now, that sweet, slightly spiced flavor filling my kitchen. There’s something so wonderfully comforting about preserving the season’s bounty, and making old-fashioned, chunky pear preserves with a good old water bath canning method is just *my* kind of magic. It reminds me so much of my grandma’s kitchen, always stocked with jars of goodness ready for gifting or just enjoying on a cozy afternoon. Making these pantry staples yourself is deeply satisfying, a true taste of home that’s hard to beat.
- Why You'll Love This Old-Fashioned Pear Preserves Recipe
- Ingredients for Pear Preserves Without Pectin
- Essential Equipment for Canning Pear Preserves
- Step-by-Step Guide to Making Pear Preserves
- Tips for Perfect Pear Preserves
- Serving Suggestions for Old Fashioned Pear Preserves
- Storage and Reheating Instructions
- Frequently Asked Questions About Pear Preserves
- Estimated Nutritional Information
Why You’ll Love This Old-Fashioned Pear Preserves Recipe
Seriously, you’re going to adore making this. It’s surprisingly straightforward, even if you’re new to canning!
- Super Easy Prep: Even with the canning part, the actual fruit prep is a breeze.
- Incredible Flavor: That perfect balance of sweet pear, warm spices, and a little tang from the lemon is just divine.
- Pantry Powerhouse: You’ll have beautiful jars ready to go, preserving that fresh pear taste for months!
- So Versatile: Spoon it on biscuits, swirl it into yogurt, or serve it up fancy on a cheese board. It’s a winner everywhere!
Ingredients for Pear Preserves Without Pectin
Okay, so grabbing your pears is the first step for these yummy pear preserves without pectin. Don’t worry, it’s way simpler than you think! You’ll need about 2 pounds of pears – I like to use ripe but still slightly firm ones, chopped up real nice. Then, we’ve got that essential lemon juice, just a 1/4 cup, to give it a little zing and help with the setting and safety. For that cozy, warm flavor that just screams fall (or any time, really!), grab your cinnamon and nutmeg. And of course, sugar! We’re using 4 cups of good old granulated sugar. It sounds like a lot, but it’s key for that lovely texture and shelf-life when you’re not using commercial pectin.
Essential Equipment for Canning Pear Preserves
Alright, let’s talk gear! To make these delicious pear preserves and get them safely into jars, you’ll need a few key players. First up, grab your trusty water bath canner – that big pot with a rack is going to do all the heavy lifting for processing. You’ll also need plenty of clean canning jars, lids, and bands; I’m linking to some sturdy ones here if you need to stock up! Don’t forget a jar lifter (super important for safety!), a long-handled ladle for filling, and maybe a small funnel to keep those jar rims nice and clean. A damp cloth and a small saucepan for lids are helpful too!
Step-by-Step Guide to Making Pear Preserves
Alright, deep breaths, because we’re about to turn those lovely pears into gorgeous jars of homemade goodness! It might seem like a lot, but trust me, breaking it down makes it super manageable. Making these pear preserves is a process that’s totally worth it, and following these steps will get you those beautiful, chunky jars safely stored in your pantry. Ready?
Preparing Jars and Canner for Pear Preserves
First things first, let’s get our canning station ready! Fill up your big water bath canner at least halfway with water and get it simmering gently over medium heat. While that’s warming up, wash all your jars, lids, and bands really well. You’ll want to sterilize the jars by keeping them hot – either in the simmering canner or in the oven. Hot jars help prevent cracking when you add the hot preserves. It’s all about those safety steps to make sure your delicious pear preserves are shelf-stable and safe to enjoy! For more on getting your canner and jars ready, check out this guide on water bath canning.
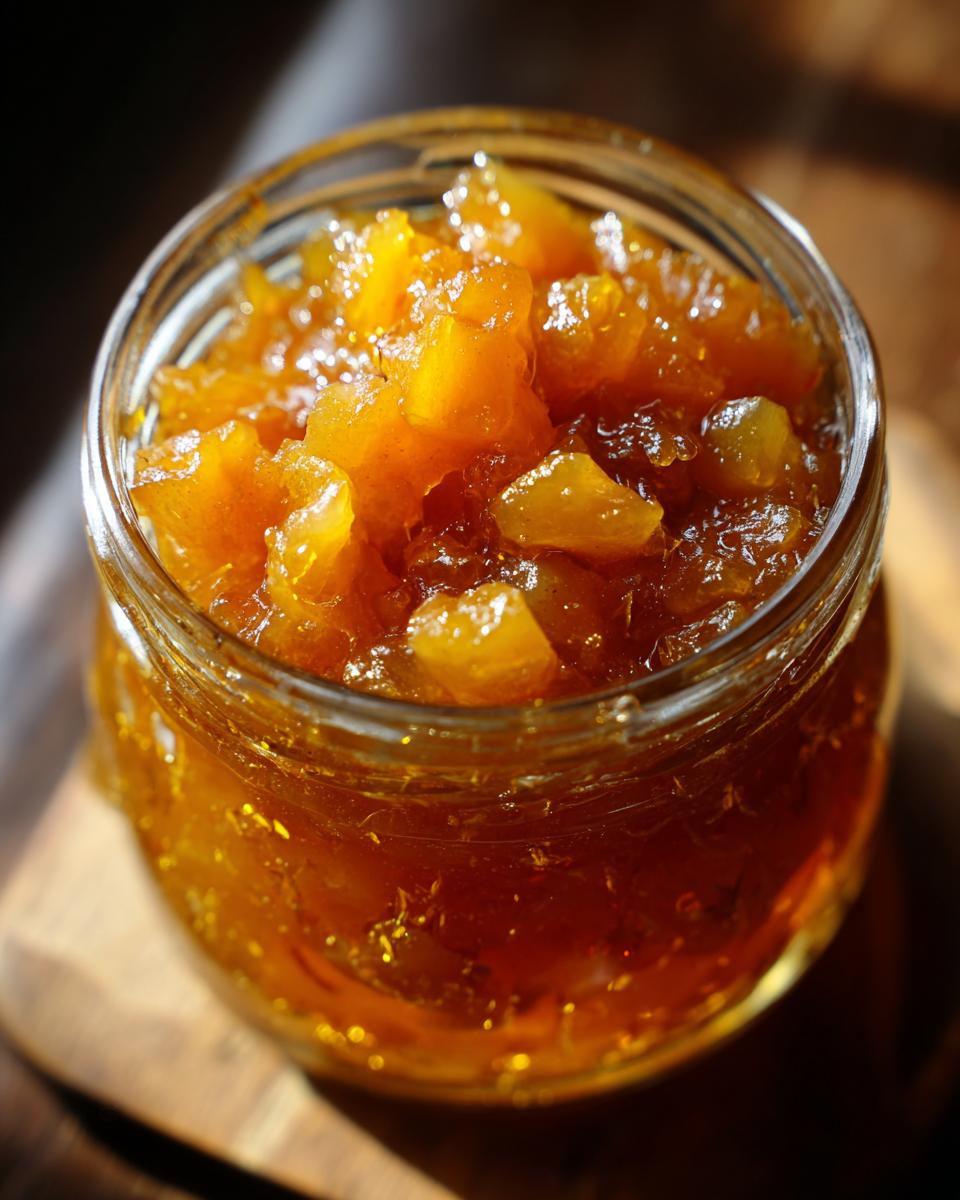
Cooking the Chunky Pear Jam
Now for the fun part! Toss your colorful chopped pears into a big, sturdy pot. Add that lemon juice, cinnamon, and nutmeg – mmm, smells amazing already, right? Stir it all together. Then, in goes the sugar! Stir until it’s all dissolved before you even think about turning up the heat. Bring this glorious mixture to a full, rolling boil and stir constantly. Keep it boiling hard, stirring often, until it reaches that magical ‘gelling point’. How do you know? Drop a little bit onto a chilled plate – if it mounds up and doesn’t run off too fast, you’re golden! Give it a quick skim to remove any foam, and we’re almost there!
Filling and Sealing Jars for Storage
Time to get these beauts into jars! Carefully ladle the hot preserves into your warm, sterilized jars. Make sure you leave about 1/2 inch of ‘headspace’ at the top – this little gap is super important for creating a good seal. Grab a damp cloth and wipe the rims of each jar *really* clean; any bits of fruit or sugar left there can stop the lid from sealing properly. Pop on your sterilized lids and screw on the bands just until you feel a little resistance, usually called ‘fingertip tight’. We don’t want them super tight, as air needs to escape during canning.
Water Bath Canning Your Pear Preserves
Okay, onto the final canning step! Gently lower the filled jars into your simmering water bath canner using your jar lifter. Make sure the water covers the jars by at least an inch or two. Once the water comes back to a full rolling boil, start your timer for 10 minutes. Remember to adjust that time if you live at a higher altitude! Once the time is up, carefully turn off the heat, remove the canner lid, and let the jars sit in the hot water for another 5 minutes. This helps prevent siphoning. Then, lift the jars straight up and place them on a wire rack or a towel-lined counter. Let them sit undisturbed for 12-24 hours to cool and seal. You might even hear little ‘plink’ or ‘pop’ sounds as they seal – that’s the sound of success!
Tips for Perfect Pear Preserves
You know, getting these pear preserves just right is all about a few little tricks I’ve picked up over the years. It’s not just about following the recipe; it’s about understanding those subtle things that make a big difference, and trust me, a lot of testing went into this!
Pear Selection for Preserves
When you’re picking out your pears, make sure they’re ripe but still hold their shape. Think of pears like Bartlett or Anjou – they’re usually a good bet! You want them to be fragrant and yield just a little to gentle pressure, but not be mushy. Super soft pears will just dissolve into sauce instead of giving you those lovely chunky bits we’re going for.
Sugar Content and Pear Preserves Safety
Now, about the sugar. It’s not just for sweetness, though it does make these pear preserves taste amazing! Sugar is actually a big part of making sure your preserves are safe and will last on the pantry shelf. While you can cut back a *tiny* bit, remember that going too low might affect how well they set and how long they stay good. That little bit of lemon juice we added earlier is also super important for acidity, which helps with both the set and the overall safety of your canned jam. It’s all about that perfect balance!
Serving Suggestions for Old Fashioned Pear Preserves
Once you’ve got those beautiful jars of chunky old fashioned pear preserves sitting on your counter, the real fun begins: eating them! Seriously, these aren’t just for show. They’re amazing spooned warm over fluffy buttermilk biscuits – pure comfort food. Don’t sleep on them for breakfast either; they’re fantastic swirled into plain Greek yogurt or cottage cheese, or even just spread on your morning toast. And if you’re building a cheese board? Oh my goodness, a dollop of this pear goodness next to some sharp cheddar or creamy brie is absolutely divine. They’re also wonderful tucked into thumbprint cookies or as a filling for simple pastries.
Storage and Reheating Instructions
Once your jars have cooled and you’ve heard that satisfying ‘pop’ of a seal, it’s time for storage! Keep those lovely jars of preserves in a cool, dark place – like a pantry or cupboard. They should be good for at least a year, but honestly, they rarely last that long in my house! Once you open a jar, just pop it in the refrigerator. It’ll be even better after a day or two anyway! You don’t really need to reheat preserves; they’re usually best served just as they are, maybe slightly chilled or at room temp.
Frequently Asked Questions About Pear Preserves
Got questions about these delightful pear preserves? I totally get it! Canning can feel a little daunting at first, but once you get the hang of it, it’s so rewarding. Here are a few things people often ask:
Can I make pear preserves without pectin?
Absolutely! This recipe is all about making pear preserves without pectin. The natural pectin in the pears, along with the sugar and the cooking time to reach the gelling point, helps it set up beautifully on its own. It gives you that wonderful, chunky texture that’s just perfect!
How long do homemade pear preserves last?
When canned properly using the water bath method, sealed jars of these homemade pear preserves should last for at least a year, maybe even longer if stored in a cool, dark pantry. Once you open a jar, though, pop it in the fridge and try to use it up within a few weeks. That’s the beauty of having them on hand!
What’s the right canning headspace for jam?
For jams and preserves like these, you generally want to leave about 1/2 inch of headspace. That’s the empty space between the top of the preserves and the rim of the jar. This small gap is really important for ensuring a good seal during the water bath canning process and preventing that sticky mess!
Estimated Nutritional Information
Just a quick note on the nutty side of things – these numbers are estimates, you know? They can change depending on the exact pears you use and brand of sugar. But generally, a serving of about 2 tablespoons of these lovely preserves has around 70 calories, with about 17g of sugar and 18g of carbs from that delicious fruit and sugar. You’ll find it’s virtually fat-free and has no protein, which is pretty standard for jam!
PrintOld-Fashioned Pear Preserves
Learn how to make chunky, old-fashioned pear preserves using a water bath canning method. This recipe is perfect for preserving a seasonal harvest and creating delicious pantry staples.
- Prep Time: 20 min
- Cook Time: 30 min
- Total Time: 50 min
- Yield: 4 half-pint jars 1x
- Category: Preserves
- Method: Water Bath Canning
- Cuisine: American
- Diet: Vegetarian
Ingredients
- 4 cups chopped ripe pears (about 2 lbs)
- 1/4 cup lemon juice
- 1/2 teaspoon ground cinnamon
- 1/4 teaspoon ground nutmeg
- 4 cups granulated sugar
Instructions
- Prepare your water bath canner by filling it with water and bringing it to a simmer. Wash and sterilize your canning jars, lids, and bands.
- In a large pot, combine the chopped pears and lemon juice. Stir well to coat the pears.
- Add the cinnamon and nutmeg to the pot and stir to combine.
- Add the sugar to the pot and stir until it is dissolved.
- Bring the mixture to a rolling boil over high heat, stirring constantly.
- Cook, stirring frequently, until the preserves reach the gelling point. This can be tested by dropping a small amount onto a chilled plate; it should mound up and not spread quickly. This usually takes about 20-30 minutes.
- Skim off any foam from the surface of the preserves.
- Carefully ladle the hot preserves into the prepared jars, leaving 1/2 inch of headspace.
- Wipe the rims of the jars clean with a damp cloth. Place the lids on the jars and screw on the bands until fingertip tight.
- Process the jars in the boiling water bath canner for 10 minutes (adjust for altitude if necessary).
- Remove the jars from the canner and let them cool on a wire rack for 12-24 hours. Check for seals before storing.
Notes
- For best results, use ripe but firm pears.
- This recipe makes approximately 4 half-pint jars.
- Adjust sugar content to your preference, but note that sugar acts as a preservative.
- Ensure your jars are properly sealed for safe storage.
Nutrition
- Serving Size: 2 tablespoons
- Calories: 70
- Sugar: 17g
- Sodium: 0mg
- Fat: 0g
- Saturated Fat: 0g
- Unsaturated Fat: 0g
- Trans Fat: 0g
- Carbohydrates: 18g
- Fiber: 0g
- Protein: 0g
- Cholesterol: 0mg