
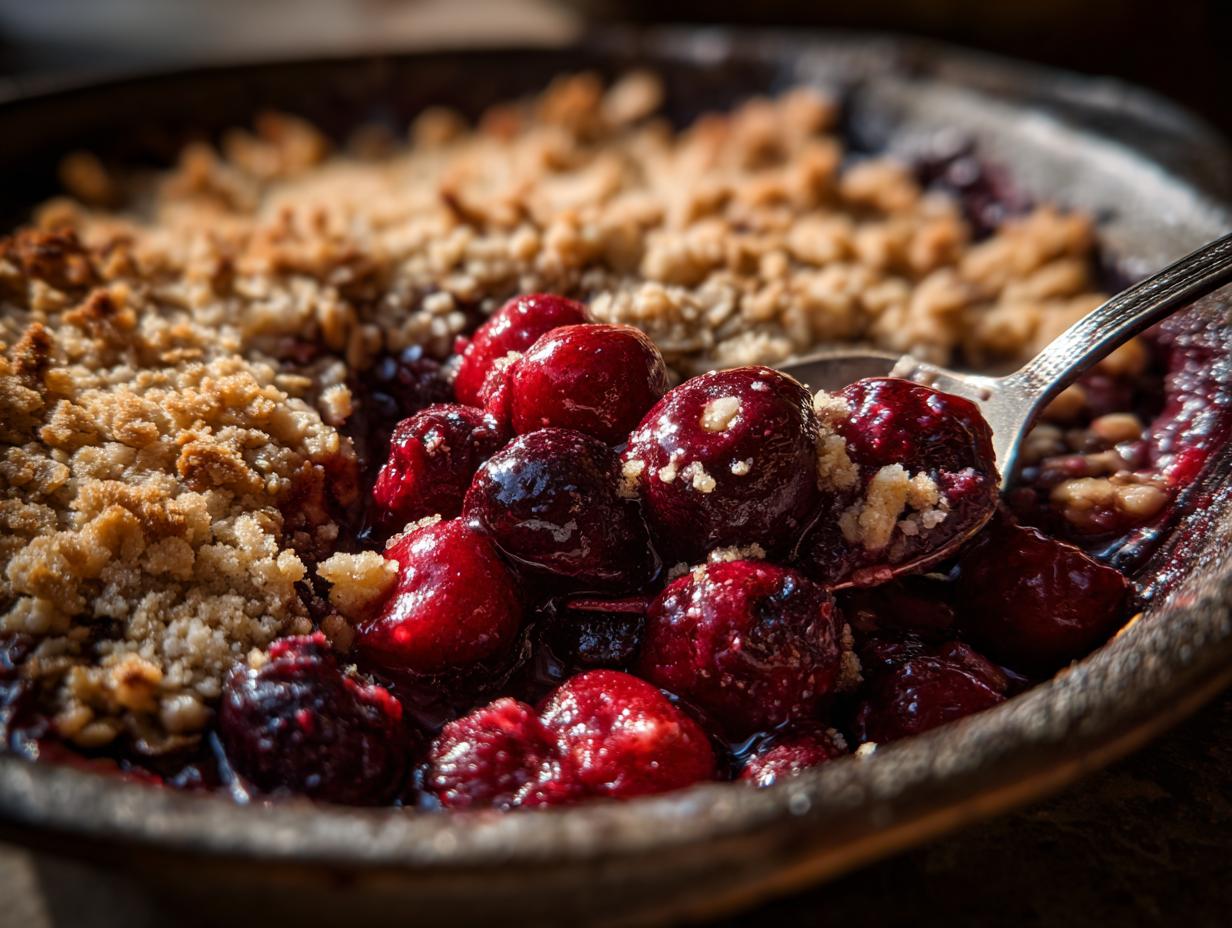
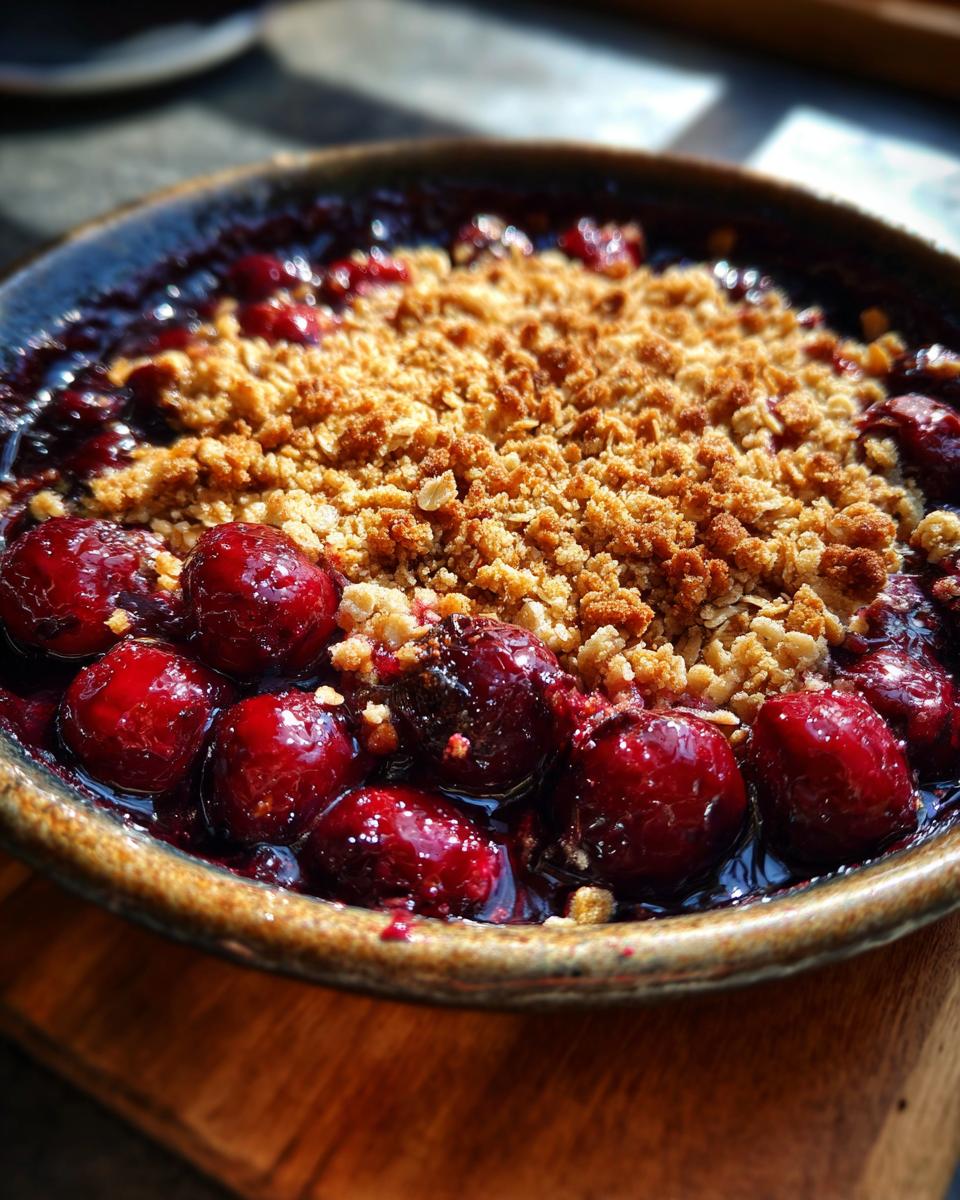
There’s just something magical about summer desserts, isn’t there? When the sun is shining and you’ve got a haul of fresh, tart cherries, you need a dessert that lets them shine without a lot of fuss. That’s where this incredible sour cherry crisp comes in! Forget fussy crusts; this is all about simple, delicious goodness. It’s that kind of effortless, comforting dish you’d find in a busy home kitchen, maybe even a nod to my own grandmother’s knack for turning simple ingredients into pure joy. We’ve tested this recipe over and over right here in our kitchen to make sure it’s just right, giving you that perfect balance of tart cherries and a crunchy, golden topping. It’s truly the best way to celebrate those lovely sour cherries!
- Why You'll Love This Easy Sour Cherry Crisp Recipe
- Ingredients for the Best Sour Cherry Crisp
- How to Make Sour Cherry Crisp: Step-by-Step Guide
- Tips for Success with Your Homemade Sour Cherry Crisp
- Make-Ahead and Storage for Your Tart Cherry Crumble
- Serving Suggestions for Old Fashioned Sour Cherry Crisp
- Frequently Asked Questions About Sour Cherry Recipes
- Nutritional Information for Sour Cherry Crisp
- Share Your Summer Baking Creations
Why You’ll Love This Easy Sour Cherry Crisp Recipe
Seriously, why is this sour cherry crisp so darn good? Let me count the ways!
- Super Quick Prep: We’re talking minimal effort. Seriously, less than 15 minutes to get this into the oven.
- That Flavor Combo! The sweet-tart punch of the cherries with that crunchy, buttery oat topping? Pure perfection.
- Fresh or Frozen, No Problem: Got beautiful fresh sour cherries? Awesome! Frozen ones work like a charm too – so versatile!
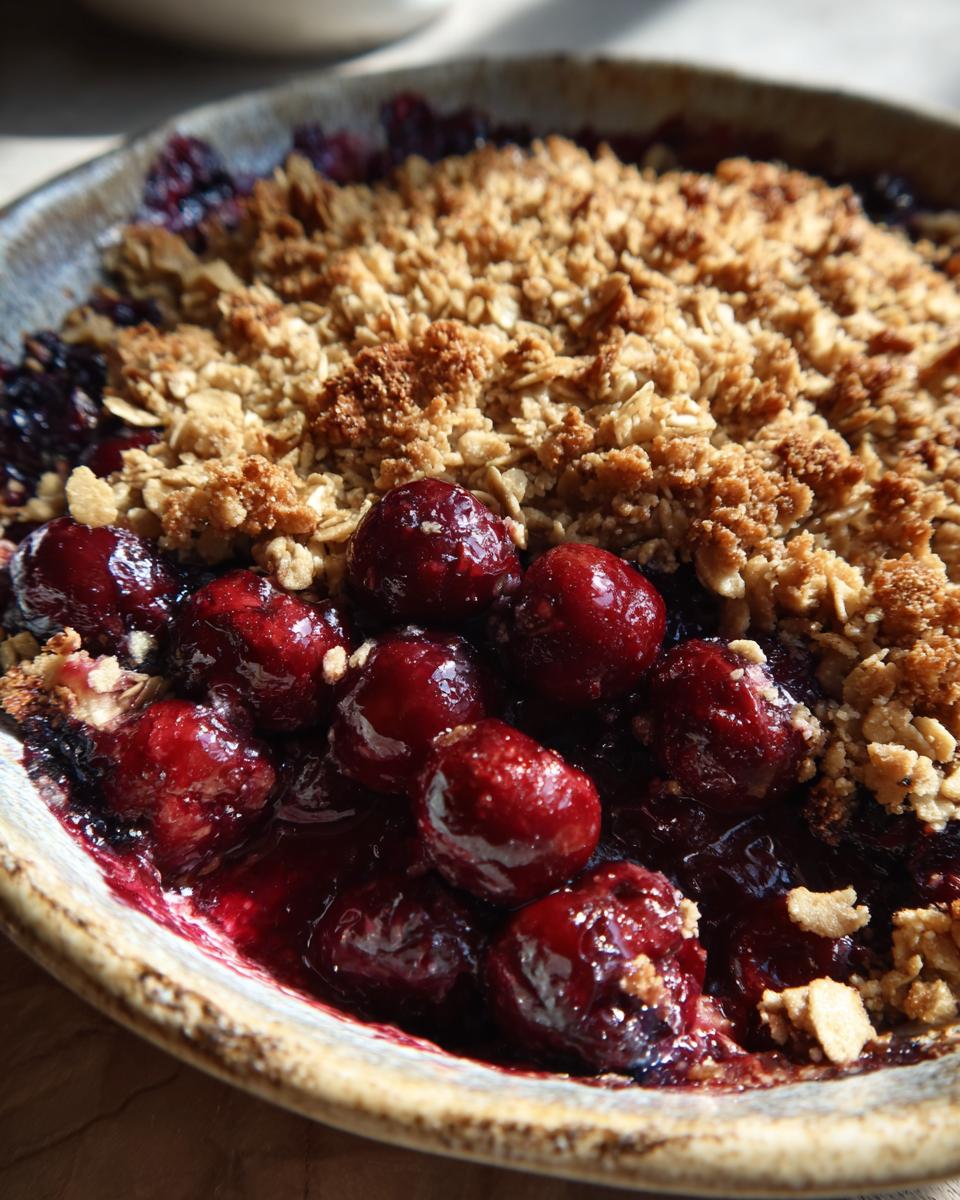
- Ultimate Comfort Food: Nothing beats a warm, bubbly fruit crisp straight from the oven, especially when it’s this easy.
Ingredients for the Best Sour Cherry Crisp
Alright, let’s talk about what makes this sour cherry crisp sing! It’s all about these simple, wholesome ingredients working together to create something truly special. Trust me, picking up these few things at the grocery store is way easier than trying to find a fancy ingredient!
For that gorgeous, bubbly cherry filling, you’ll need:
- 6 cups fresh or frozen sour cherries, make sure they’re pitted! If you’re using frozen, no need to thaw them first (and check out this great tip on how to freeze fresh fruit for later use!).
- 1/2 cup granulated sugar
- 1/4 cup all-purpose flour (this helps thicken up those lovely cherry juices)
- 1 teaspoon lemon zest (brings a little brightness!)
- 1/4 teaspoon salt
And for that irresistible crunchy topping:
- 1 cup rolled oats (use the old-fashioned kind, they give the best texture!)
- 1/2 cup all-purpose flour
- 1/2 cup packed light brown sugar
- 1/2 teaspoon ground cinnamon
- 1/4 teaspoon salt
- 1/2 cup cold unsalted butter, cut into little cubes (cold is key here!)
- 1/2 cup chopped pecans or walnuts (or a mix of both – yum!)
How to Make Sour Cherry Crisp: Step-by-Step Guide
Okay, folks, get ready to make some magic! This sour cherry crisp recipe is so straightforward, you’ll wonder why you haven’t made it every other week. Seriously, it’s that easy. We’re going to break it down into simple steps, and before you know it, you’ll have a bubbling, golden-brown masterpiece.
Preparing the Cherry Filling
First things first, let’s get those gorgeous sour cherries ready to go. In a big ol’ bowl, gently toss together your pitted sour cherries (fresh or frozen, remember!), granulated sugar, that 1/4 cup of flour for thickening, a little lemon zest for brightness, and a pinch of salt. Just give it a tender stir so everything is coated. Pour this beautiful cherry mixture evenly into your greased baking dish. Easy peasy, right?
Creating the Perfect Crisp Topping
Now for the crown jewel – that amazing crisp topping! Grab a separate medium bowl and whisk together the rolled oats, the other 1/2 cup of flour, packed light brown sugar, cinnamon, and that final pinch of salt. Next, it’s time to get your hands in there! Add your cold butter cubes and work it into the dry ingredients. You want it to look like coarse crumbs, kind of like gravel. Your fingertips work great for this, or you can use a pastry blender if you have one. Finally, stir in those chopped nuts. This topping is honestly what makes a crisp a crisp! You can check out King Arthur Baking’s guide for more crisp topping tips if you’re curious.
Assembling and Baking Your Sour Cherry Crisp
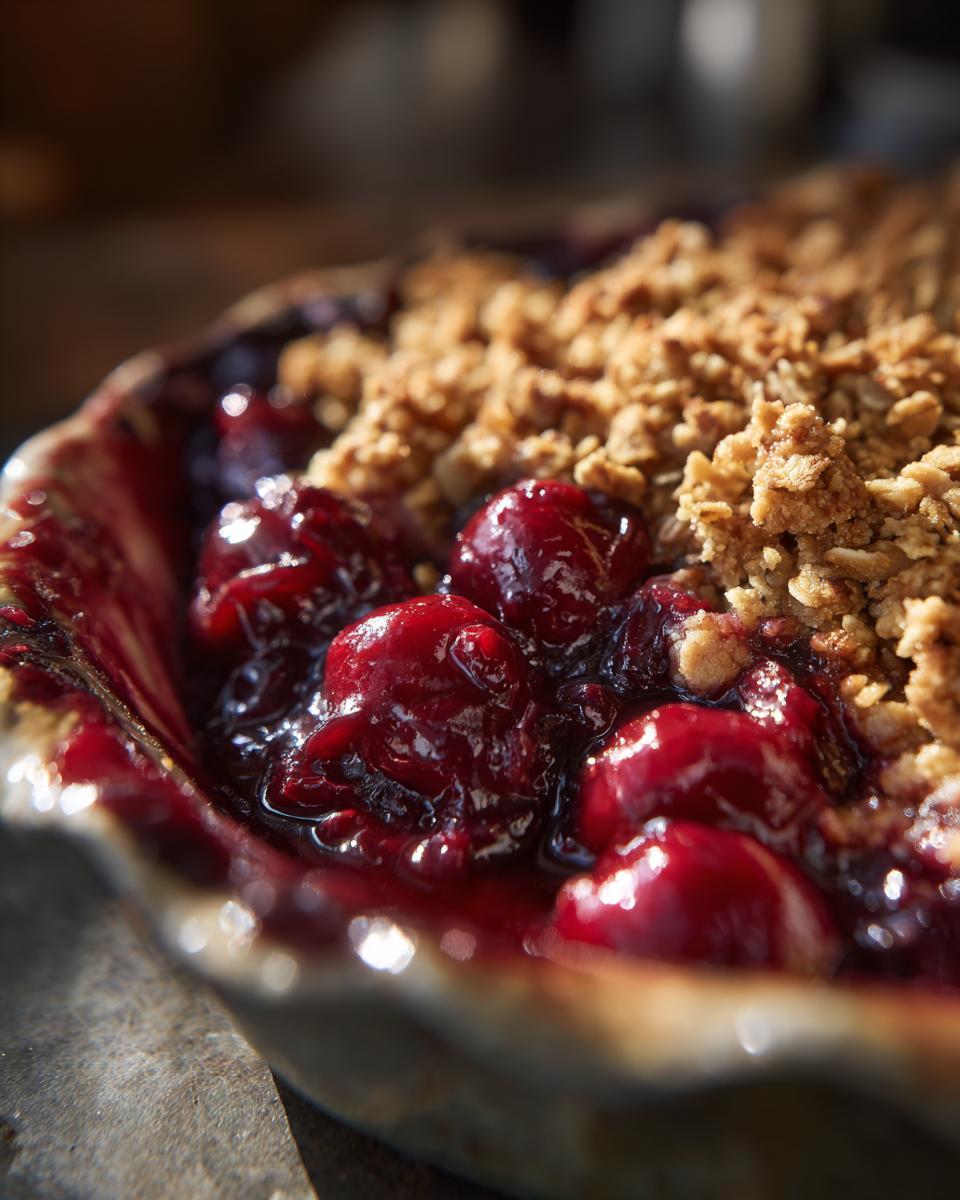
Alright, the grand finale! Spoon that crumbly topping as evenly as you can all over the cherry filling. Don’t press it down; just let it sit there, ready to get golden and delicious. Pop your dish into a preheated oven at 375°F (190°C). You’ll want to bake it for about 35 to 45 minutes. Keep an eye on it – you’re looking for that topping to be a lovely golden brown and the cherry filling to be all bubbly and gorgeous around the edges. That bubbling is the sign of a perfectly cooked fruit filling!
Tips for Success with Your Homemade Sour Cherry Crisp
You’ve got the recipe, you’re ready to bake – that’s fantastic! But let me give you a few little pointers to make sure your sour cherry crisp is absolutely, positively perfect every single time. We want that glorious golden topping, those beautifully bubbly cherries, and absolutely *no* soggy bottom, right? These are the little secrets I’ve learned over the years that really make a difference. Think of it as insider info from someone who’s made more than a few crisps in their day, just like the folks here at Taste This Plate who believe in making delicious food accessible for everyone (learn more about our philosophy)!
Ingredient Notes and Substitutions for Sour Cherry Crisp
Let’s chat ingredients for a second, because using the right ones can really elevate your sour cherry crisp game. First off, sour cherries are key here. They’ve got that lovely tang that’s just divine when baked with sugar. If you accidentally grab sweet cherries, your crisp might end up a bit too sweet and less complex, so try to stick to the sour ones if you can. Now, for those of you looking to make this gluten-free, you’re in luck! It’s super easy. Just swap out the all-purpose flour for a good quality gluten-free baking blend, and make SURE you’re using certified gluten-free rolled oats. Almond flour can also work for the topping, giving it a slightly different, delicious nuttiness. And if nuts just aren’t your jam, or you have an allergy, no worries at all – just leave them out of the topping, or maybe add a few extra oats for crunch!
Make-Ahead and Storage for Your Tart Cherry Crumble
This tart cherry crumble is pretty forgiving, which is one of the things I love most about it! If you’re trying to get ahead of the game, or maybe you just baked it and have leftovers (a good problem to have, right?), here’s what you need to know. You can totally prep the components ahead of time. Just keep the cherry filling in one container and the dry topping mixture in another, both sealed up tight in the fridge, for up to a day. When you’re ready to bake, assemble as usual and go!
If you happen to have leftovers after baking, just cover the dish tightly once it’s cooled down, or portion it into airtight containers. It’ll keep nicely in the refrigerator for about 3-4 days. You can even freeze the whole baked crisp or individual portions – just wrap them well and pop them in the freezer for up to 3 months. Reheat gently in the oven or microwave, and it’s almost like fresh-baked!
Serving Suggestions for Old Fashioned Sour Cherry Crisp
Okay, so you’ve made this amazing old-fashioned sour cherry crisp, and it’s all warm and bubbly. Now for the best part: what to serve with it! Honestly, it’s pretty darn perfect on its own, but a few little extras can really take it over the top. Creamy vanilla ice cream is an absolute classic for a reason – that cold, sweet creaminess against the warm, tart cherries is just heavenly! And don’t forget a big dollop of fluffy whipped cream; it adds a lovely lightness and a hint more creamy goodness. These simple additions just make the whole experience that much more comforting and delicious!
Frequently Asked Questions About Sour Cherry Recipes
Got questions about making the perfect sour cherry crisp, or maybe other yummy sour cherry recipes? I’ve got you covered! We get asked a lot about how to make sure everything turns out just right, so here are some of the most common queries answered. If you’re looking for a fantastic savory dish, check out our easy chicken pot pie recipe too!
Can I use fresh vs. frozen sour cherries?
Yes, absolutely! Both fresh and frozen sour cherries are totally fine for this recipe. If you’re using frozen, you generally don’t even need to thaw them first. Just toss ’em in frozen, but if they look like they’ve released a ton of extra liquid in the bag, you might want to drain some of that off before mixing.
What if my sour cherries are too tart?
Sour cherries, by definition, can be pretty tart, which is what we want! But if yours are extra puckery, don’t sweat it. Just add a little more granulated sugar to the cherry filling mixture – maybe start with an extra tablespoon and taste it to see if it needs more. Remember, the topping has brown sugar to help balance it out too!
What is the best flour for the crisp topping?
For our classic sour cherry crisp topping, good old all-purpose flour is your best bet. It gives that perfect golden, slightly chewy texture. If you’re going gluten-free, a quality gluten-free baking blend works like a charm, or even some almond flour can give it a lovely, richer flavor and a bit of a different texture!
Nutritional Information for Sour Cherry Crisp
Just a heads-up, the nutritional info below is an estimate, okay? It can totally change depending on the exact brands you use and even how you measure things. But this gives you a really good idea of what you’re working with for one serving of our delicious sour cherry crisp. Enjoy every bite!
- Serving Size: 1/6th of crisp
- Calories: 350
- Sugar: 35g
- Sodium: 150mg
- Fat: 18g
- Saturated Fat: 10g
- Carbohydrates: 50g
- Fiber: 5g
- Protein: 4g
- Cholesterol: 40mg
Share Your Summer Baking Creations
I absolutely LOVE hearing from you all! Did you make this amazing sour cherry crisp? I’m dying to know how it turned out! Drop a comment below with your experience, tell me what you thought, or even rate it! And please, PLEASE share photos of your beautiful homemade sour cherry crisp creations with me on social media. Tagging me makes my day! Seeing your baking adventures, like maybe your take on our easy chocolate chip cookies, is the best part of this whole cooking journey!
PrintEasy Sour Cherry Crisp Recipe
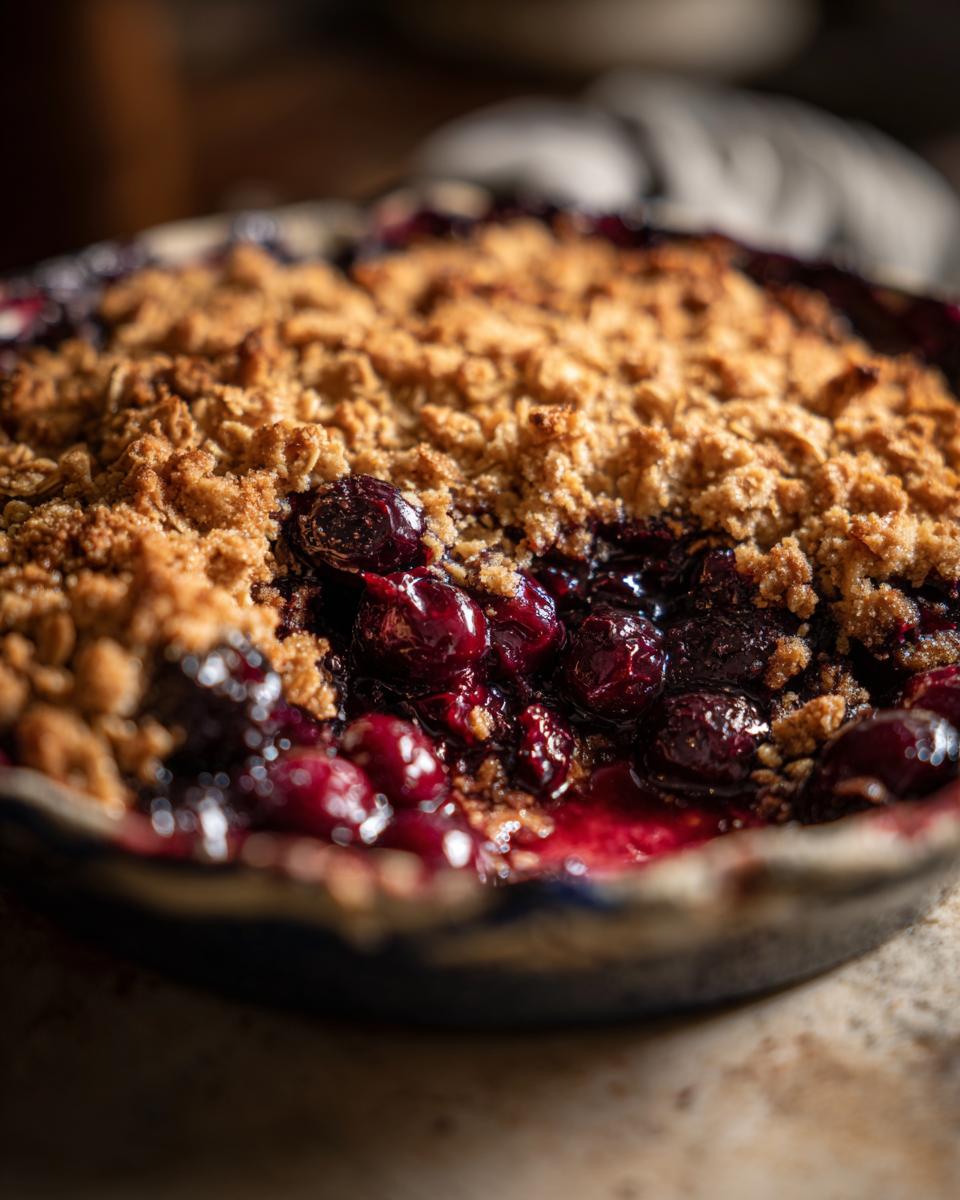
A simple and delicious baked fruit dessert featuring tart cherries with a crunchy oat and nut topping. This homemade sour cherry crisp is perfect for summer baking and a comforting treat.
- Prep Time: 15 min
- Cook Time: 40 min
- Total Time: 55 min
- Yield: 6 servings 1x
- Category: Dessert
- Method: Baking
- Cuisine: American
- Diet: Vegetarian
Ingredients
- 6 cups fresh or frozen sour cherries, pitted
- 1/2 cup granulated sugar
- 1/4 cup all-purpose flour
- 1 teaspoon lemon zest
- 1/4 teaspoon salt
- 1 cup rolled oats
- 1/2 cup all-purpose flour
- 1/2 cup packed light brown sugar
- 1/2 teaspoon ground cinnamon
- 1/4 teaspoon salt
- 1/2 cup cold unsalted butter, cut into small pieces
- 1/2 cup chopped pecans or walnuts
Instructions
- Preheat your oven to 375°F (190°C). Grease a 9-inch pie plate or an 8×8 inch baking dish.
- In a large bowl, combine the sour cherries, granulated sugar, 1/4 cup flour, lemon zest, and 1/4 teaspoon salt. Toss gently to coat the cherries. Pour the cherry mixture into the prepared baking dish.
- In a separate medium bowl, whisk together the rolled oats, 1/2 cup flour, brown sugar, cinnamon, and 1/4 teaspoon salt for the topping.
- Cut in the cold butter using a pastry blender, your fingertips, or two forks until the mixture resembles coarse crumbs. Stir in the chopped nuts.
- Evenly sprinkle the oat topping over the cherry mixture in the baking dish.
- Bake for 35-45 minutes, or until the topping is golden brown and the cherry filling is bubbly.
- Let the crisp cool for at least 15 minutes before serving. This allows the filling to set.
Notes
- For a gluten-free version, use certified gluten-free oats and almond flour or a gluten-free all-purpose baking blend instead of all-purpose flour.
- You can prepare the cherry filling and the topping separately up to 1 day in advance. Store them covered in the refrigerator. Assemble and bake when ready.
- Serve warm with vanilla ice cream or whipped cream for a classic comfort food experience.
Nutrition
- Serving Size: 1/6th of crisp
- Calories: 350
- Sugar: 35g
- Sodium: 150mg
- Fat: 18g
- Saturated Fat: 10g
- Unsaturated Fat: 8g
- Trans Fat: 0g
- Carbohydrates: 50g
- Fiber: 5g
- Protein: 4g
- Cholesterol: 40mg