

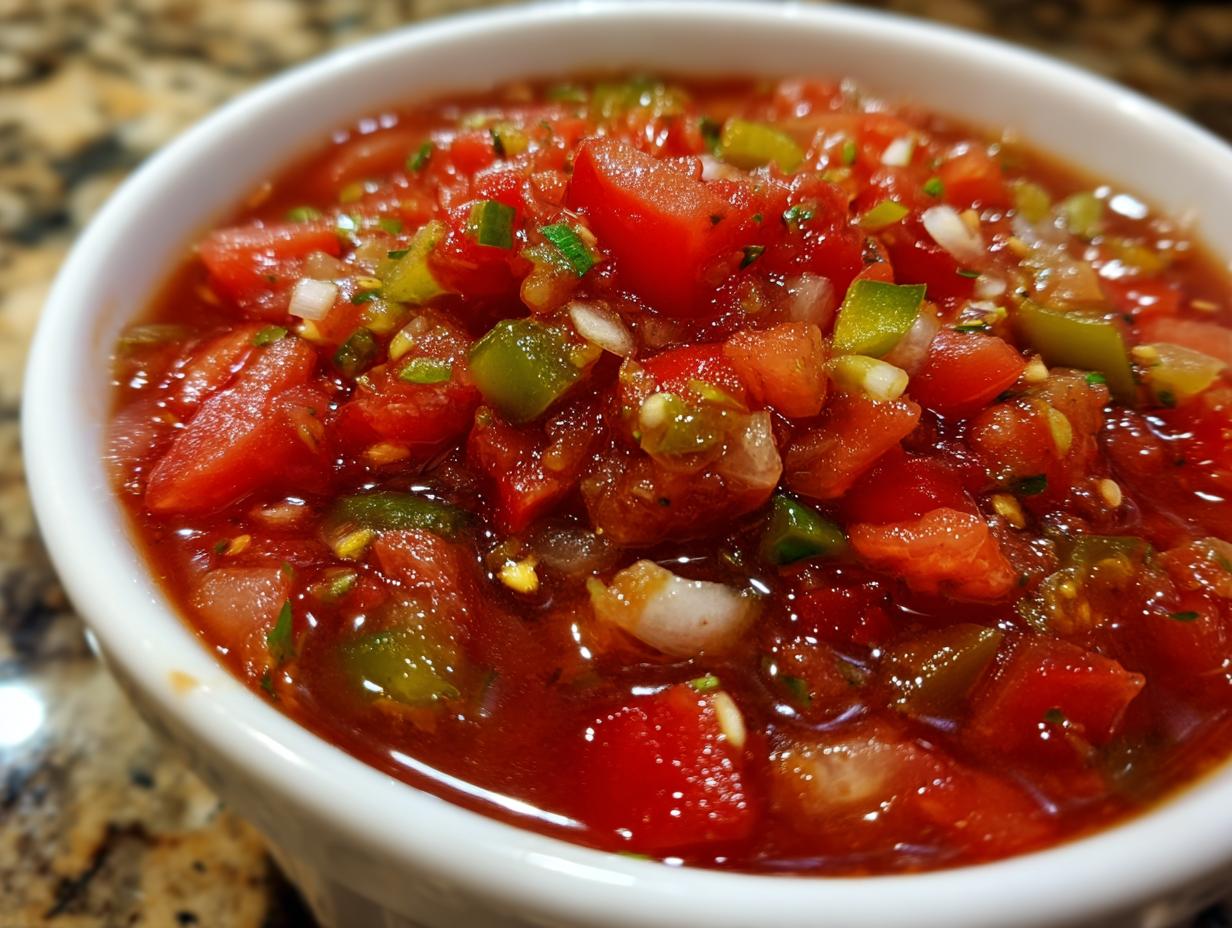
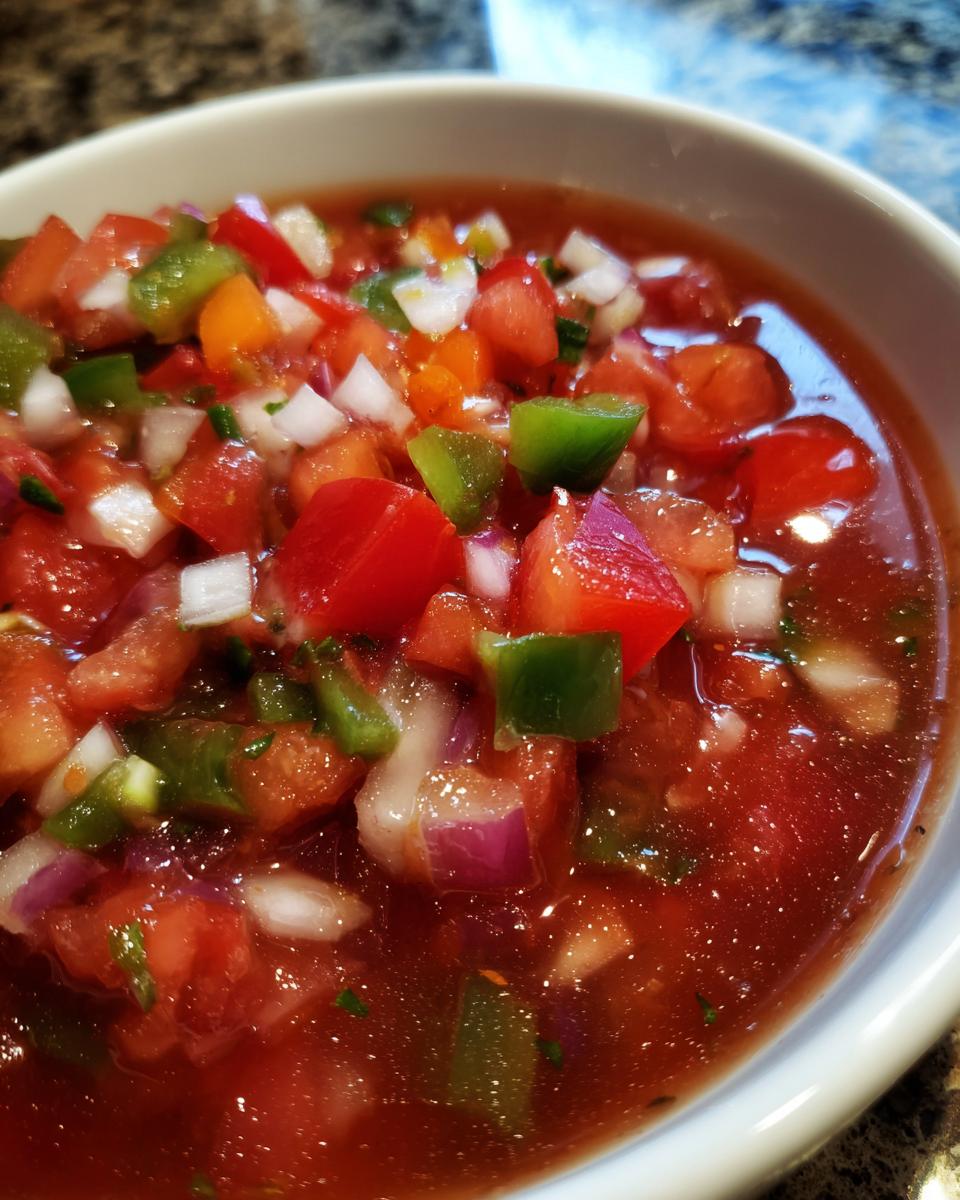
There’s something truly special about opening a jar of homemade salsa on a chilly winter night and tasting the sunshine of summer. If you’ve ever found yourself with an abundance of garden tomatoes, you know the joy (and sometimes, the overwhelm!) that comes with it. That’s exactly why I adore this tomato salsa canning recipe – it’s the perfect way to capture all that vibrant flavor and have delicious, safe, shelf-stable salsa ready for chips, tacos, or anything your heart desires, all year long.
I remember my Grandma Kate’s kitchen, always filled with the comforting aromas of simmering tomatoes and fresh herbs. She taught me that preserving food wasn’t just about saving money; it was about preserving memories and love in a jar. This recipe is inspired by her spirit and the simple, trustworthy methods we believe in here at Taste This Plate. It’s a straightforward, reliable way to turn your fresh harvest into a pantry staple you’ll be so proud of. Trust me, once you try this, you’ll wonder how you ever lived without it!
- Why You'll Love This Tomato Salsa Canning Recipe
- Gather Your Ingredients for This Tomato Salsa Canning Recipe
- Essential Equipment for Safe Canning Salsa
- Step-by-Step Guide to Your Homemade Canned Salsa
- Tips for Success with Your Garden Tomato Salsa
- Ingredient Notes and Substitutions for Your Canned Salsa
- Storing Your Shelf Stable Salsa
- Frequently Asked Questions About Tomato Salsa Canning
- Estimated Nutritional Information for Canned Salsa
- Share Your Canned Tomato Salsa Creations!
Why You’ll Love This Tomato Salsa Canning Recipe
Honestly, this recipe is a keeper! Here’s why you’ll be reaching for it again and again:
- Super Simple to Make: Even if you’re new to canning, this recipe is totally doable.
- Tastes Like Summer: It’s packed with fresh garden flavor that’s way better than anything from a jar.
- Preserves Your Harvest: Lock in that tomato goodness to enjoy all year long.
- Versatile Star: Perfect for snacking, as a topping, or even a base for other dishes.
- Reliable & Safe Methods: Follow our clear steps for perfectly sealed, shelf-stable salsa every time.
Gather Your Ingredients for This Tomato Salsa Canning Recipe
Alright, let’s get our pantry ready! For this fabulous tomato salsa canning recipe, you’ll need some fresh goodies. Grab about 6 quarts of tomatoes – make sure they’re peeled and chopped up nicely. Toss in 1.5 cups of chopped onions and 3-4 jalapeno peppers, seeded and finely chopped (go ahead and adjust this based on how much heat you love!). Also, grab 3/4 cup of chopped green bell peppers and 3 cloves of garlic, all minced. The secret weapon for safe canning? You’ll need 1/4 cup of bottled lemon juice – seriously, don’t skip this! Also, have 2 tablespoons of canning salt, 1 teaspoon each of black pepper, dried oregano, and ground cumin ready to go. That’s it!
Essential Equipment for Safe Canning Salsa
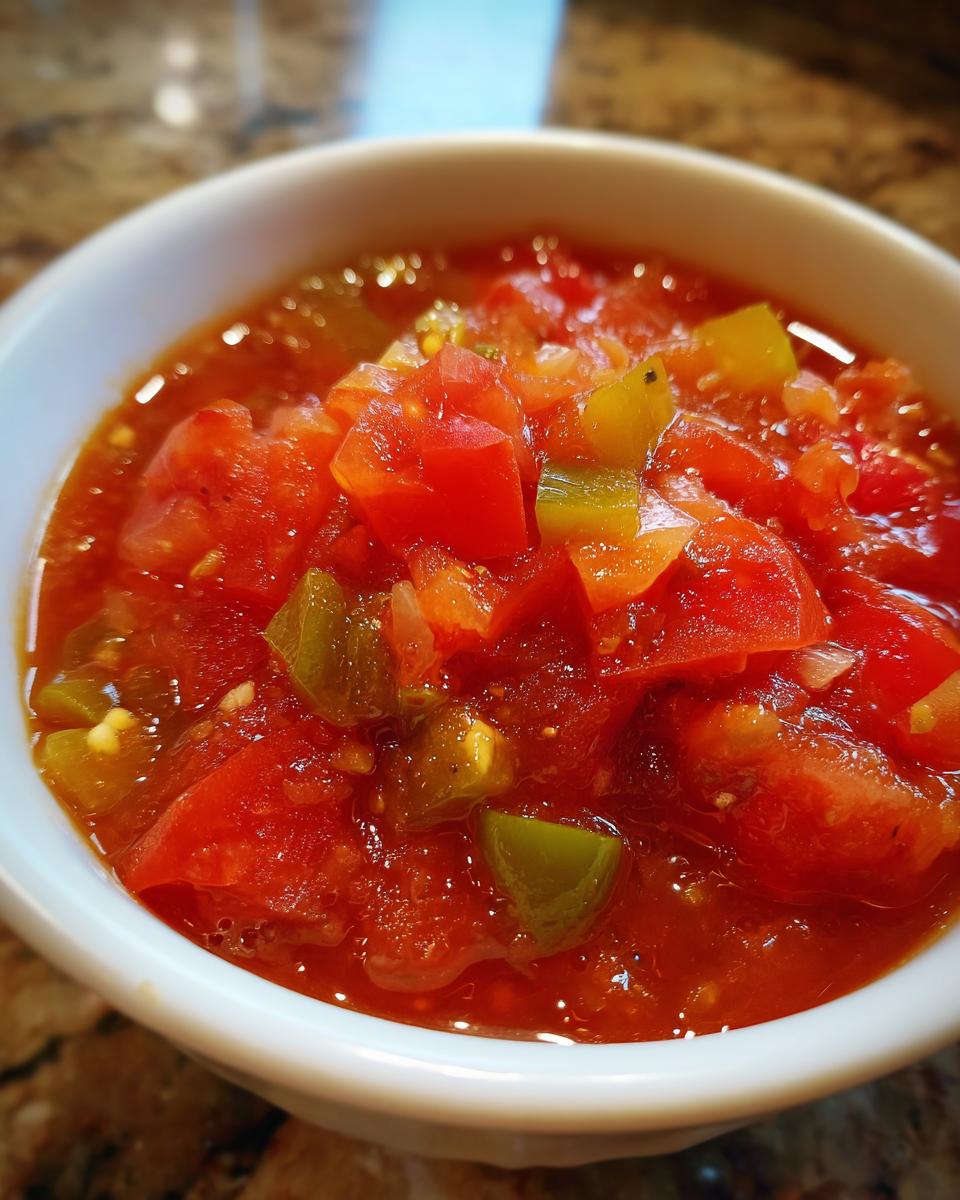
Alright, to make sure your salsa is safe and sound for the pantry, you’ll need a few key things. A good, large pot or a dedicated water bath canner is a must – it’s where all the magic happens safely. You’ll also need clean jars, new lids, and bands. Make sure your jars are hot when you fill them to avoid any cracks! A jar lifter is your best friend here; it helps you move those hot jars without any ouchies. A canning funnel makes filling less messy, trust me! And a headspace tool or even a clean ruler helps you get that just-right space at the top of the jar. All these little helpers ensure your salsa stays perfectly preserved!
Step-by-Step Guide to Your Homemade Canned Salsa
Okay, let’s get this salsa canning party started! This is where the magic truly happens to create those beautiful, shelf-stable jars of flavor. We’re going to break it down into easy steps, explaining exactly why we do things a certain way to keep your salsa safe and delicious. So, grab your apron and let’s dive into making this fantastic tomato salsa canning recipe!
Preparing Jars and Lids for Water Bath Canning
First things first, get your jars, new lids, and bands sparkling clean. A good wash in hot, soapy water is a great start. Keep those jars nice and hot until it’s time to fill them – this really helps prevent them from cracking. Follow the lid manufacturer’s instructions, but usually, they just need a quick warm-up. Hot jars are super important for safe canning, so don’t skip this step!
Cooking the Salsa Base for Shelf Stable Salsa
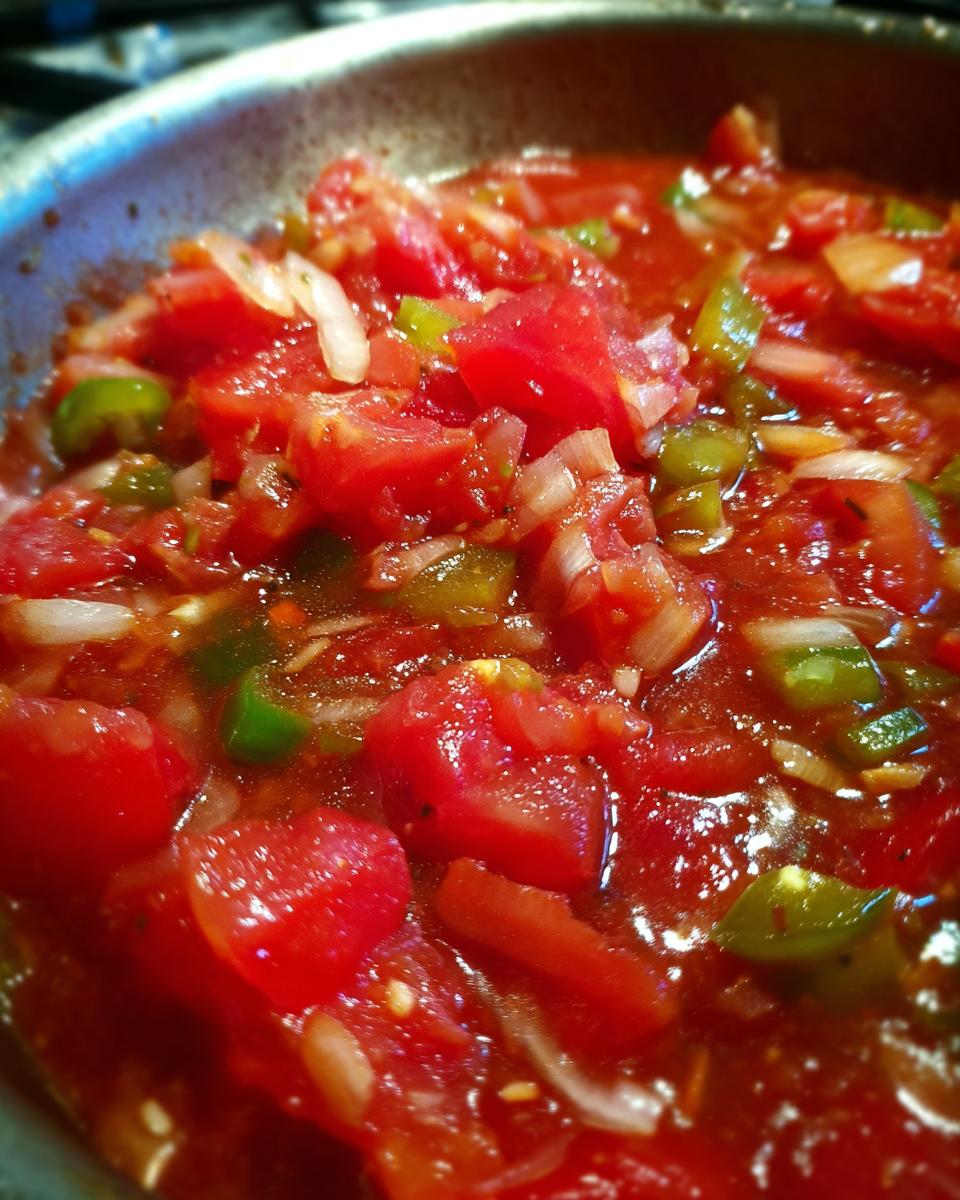
Now, let’s get our salsa simmering! In a big pot, combine those gorgeous chopped tomatoes, onions, peppers, and garlic. Toss in that bottled lemon juice (remember, it’s key for controlling acidity!), canning salt, pepper, oregano, and cumin. Give it all a good stir. Bring this mixture to a boil over medium-high heat, then turn it down and simmer for about 10 minutes. This little simmer helps all those amazing flavors meld together perfectly, getting your salsa ready for its canning journey. It’s a bit like making a quick, flavorful sauce before preserving it, similar to how we’d prepare our easy garden tomato sauce.
Filling and Sealing Jars for Pantry Salsa Jars
This is where your salsa starts looking like future deliciousness! Carefully ladle that hot salsa into your hot jars. Leave about a half-inch of space at the top – this is called headspace, and it’s super important for a good seal. Run a non-metallic spatula or clean chopstick around the inside edge of each jar to get rid of any sneaky air bubbles. Wipe the rims of the jars super clean with a damp cloth – even a little salsa juice on the rim can mess with the seal. Pop on a new lid and screw on the band until you can just feel it resisting; that’s ‘fingertip tight’. Don’t overtighten!
Processing Your Tomato Salsa Canning Recipe in a Water Bath
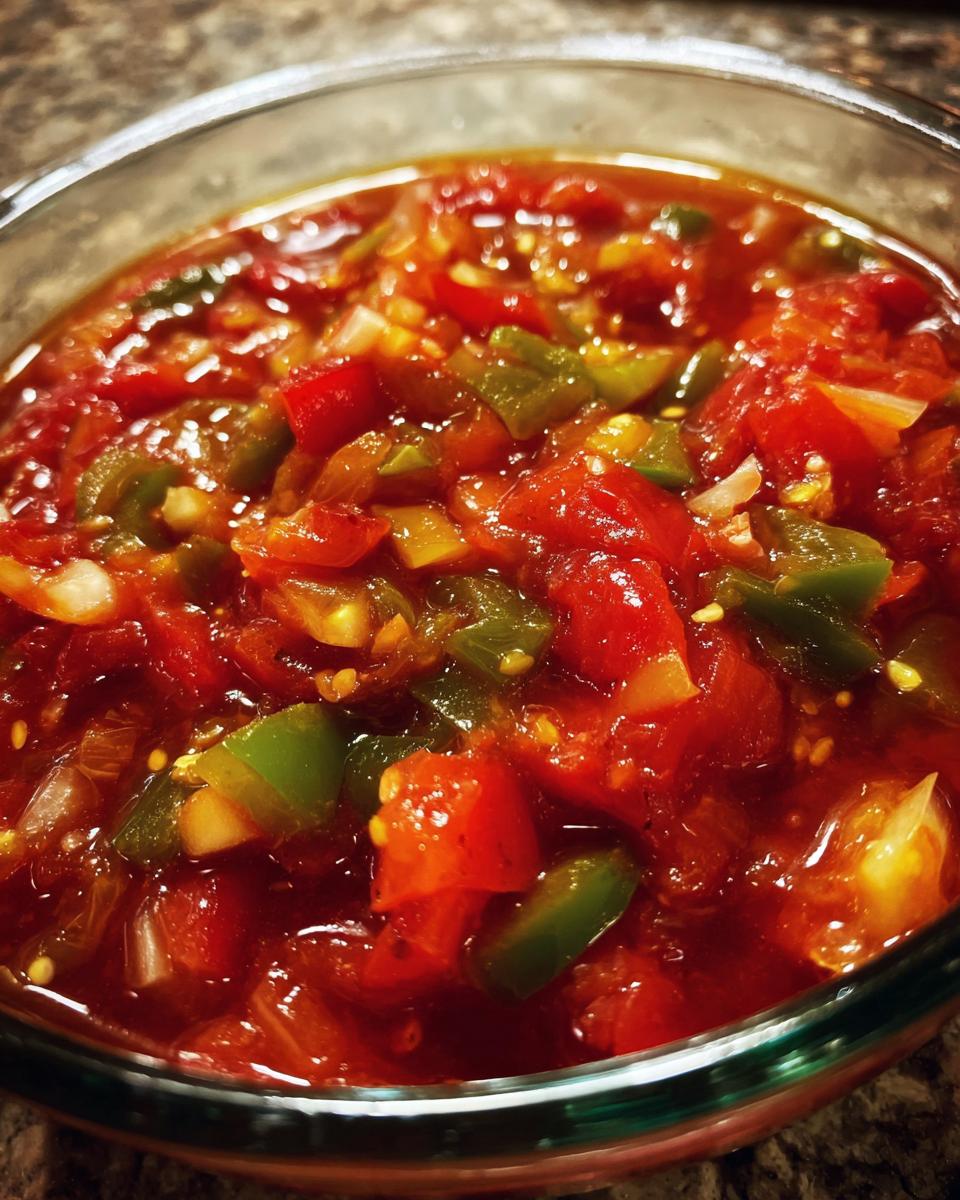
Alright, time for the safe canning part! Carefully place your filled jars onto the rack in your canner. Make sure the jars are covered with at least an inch of water. Bring the water to a nice, rolling boil. Once it’s boiling, cover the canner and let it process. For pint jars, you’ll process for 15 minutes, and for quart jars, it’s 20 minutes. If you live at a higher altitude, remember you’ll need to add extra processing time, so check those guidelines!
Cooling and Checking Seals for Safe Canning Salsa
Once the processing time is up, turn off the heat, but leave the jars in the canner with the lid on for another 5 minutes. This little rest helps them adjust. Then, using your jar lifter, carefully take the jars out and set them on a towel-lined counter. Try not to disturb them at all – let them cool completely, which can take 12 to 24 hours. You’ll hear little ‘ping!’ sounds as they seal. After they’ve cooled, take off the bands, give the jars a quick wipe, and store them in a cool, dark pantry. If any jar didn’t seal (no ping!), just pop it in the fridge and enjoy that salsa soon!
Tips for Success with Your Garden Tomato Salsa
You know, a little tweak here and there can make all the difference! When I’m making my salsa, I always make sure to pick the ripest, most flavorful tomatoes I can find – the better the tomato, the better the salsa, right? Don’t be shy about playing with the spice level; removing seeds and membranes from the jalapenos makes it milder, while leaving them in adds a kick. For herbs, I usually stick to dried oregano and cumin for consistency in canning, but if you love fresh cilantro, stir some in *after* opening a jar, just before serving. And remember, that bottled lemon juice isn’t just for flavor; it’s crucial for making sure your salsa is safely acidic for canning!
Ingredient Notes and Substitutions for Your Canned Salsa
When it comes to canning, a few ingredients are super important for not just flavor, but for safety too! That’s why we really push for the bottled lemon juice. Fresh lemons are wonderful, but their acidity can vary a lot. Bottled lemon juice gives us a consistent level of acidity, which is crucial for making sure your salsa is safe to store on the shelf. When it comes to peppers, feel free to swap things up. If you don’t have green bell peppers, another sweet pepper works just fine. And onions? Red, yellow, white – they all bring something a little different, but any will do. Just remember, for safe canning, stick to the bottled lemon juice!
Storing Your Shelf Stable Salsa
Now that you’ve got these beautiful jars of homemade salsa, storing them is a breeze! Sealed jars should live in a cool, dark place – like your pantry or a cupboard. They’ll stay deliciously good for about a year, maybe even longer! I like to date mine so I know what’s what. If a jar didn’t seal properly, just pop it in the fridge. You can enjoy that one right away, but be sure to finish it up within a few weeks. Happy savoring!
Frequently Asked Questions About Tomato Salsa Canning
Got questions about canning salsa? I get it! Canning can seem a bit daunting at first, but once you know the ropes, it’s totally manageable. Here are some of the most common things people ask about this tomato salsa canning recipe.
Can I Use Fresh Lemon Juice Instead of Bottled?
While fresh lemons taste amazing, bottled lemon juice is your best bet for safe canning. It has a consistent acidity level, which is super important for preventing spoilage. Fresh lemons can vary a lot, so sticking with the bottled stuff ensures your salsa stays safe on the shelf!
What If My Jars Don’t Seal Properly?
Oh no! If a jar didn’t ‘ping’ or seal after cooling, don’t worry. Just put a paper label on it indicating it needs to be refrigerated. You can still totally enjoy that salsa, but make sure to keep it in the fridge and use it up within a few weeks. It’s not shelf-stable, but it’s still delicious!
How Do I Adjust Spice Levels for Spicy Salsa Canning?
Want to crank up the heat for some seriously spicy salsa canning? Easy peasy! To make your salsa spicier, just leave some of the seeds and the white membranes inside the jalapeno peppers when you chop them. You can even add more jalapenos or a pinch of cayenne pepper for an extra kick. Want it milder? Make sure to remove ALL seeds and membranes – that’s where most of the heat lives!
Estimated Nutritional Information for Canned Salsa
You know, when you bottle up all that goodness, the nutrition is pretty impressive too! This homemade salsa is a light and healthy choice. For a half-cup serving, you’re looking at around 40 calories. It’s naturally fat-free and packed with good stuff like fiber and vitamins from all those veggies. You’ll get about 1g of protein and 10g of carbs, with 6g of that being natural sugar. Sodium can vary a bit depending on your salt, but it’s usually around 450mg. Keep in mind these are just estimates, as brands and exact ingredient amounts can change things up a smidge!
Share Your Canned Tomato Salsa Creations!
Okay, now it’s your turn! I really hope you give this tomato salsa canning recipe a try. It’s such a satisfying way to preserve all those amazing garden tomatoes. I’d absolutely LOVE to hear how it turns out for you! Drop a comment below with your thoughts, or better yet, tell me if you’ve tried it and how you seasoned it up. Don’t forget to rate the recipe if you enjoyed it!
PrintCanned Tomato Salsa Recipe
Preserve your garden tomatoes into a delicious, shelf-stable salsa perfect for year-round enjoyment. This recipe provides clear instructions for safe water-bath canning.
- Prep Time: 30 min
- Cook Time: 20 min
- Total Time: 50 min
- Yield: Approximately 7-8 pints 1x
- Category: Preserves
- Method: Water Bath Canning
- Cuisine: American
- Diet: Vegetarian
Ingredients
- 6 quarts prepared tomatoes, peeled and chopped
- 1.5 cups chopped onions
- 3–4 jalapeno peppers, seeded and finely chopped (adjust to spice preference)
- 3/4 cup chopped green bell peppers
- 3 cloves garlic, minced
- 1/4 cup bottled lemon juice
- 2 tablespoons canning salt
- 1 teaspoon black pepper
- 1 teaspoon dried oregano
- 1 teaspoon ground cumin
Instructions
- Prepare your jars, lids, and bands. Wash jars, lids, and bands in hot, soapy water. Rinse and keep jars hot until ready to fill. Prepare lids according to manufacturer’s instructions.
- In a large pot, combine chopped tomatoes, onions, jalapenos, bell peppers, and garlic.
- Add bottled lemon juice, canning salt, black pepper, oregano, and cumin.
- Stir well to combine all ingredients.
- Bring the mixture to a boil over medium-high heat, then reduce heat and simmer for 10 minutes, stirring occasionally.
- Carefully ladle the hot salsa into hot jars, leaving a 1/2-inch headspace.
- Remove air bubbles by running a non-metallic spatula around the inside of the jar.
- Wipe jar rims clean with a damp cloth.
- Center the lid on the jar rim. Screw on the band until fingertip tight.
- Place jars on the rack in the canner, ensuring they are covered with at least 1 inch of water.
- Bring water to a rolling boil, then cover the canner and begin processing.
- Process pints for 15 minutes, or quarts for 20 minutes, adjusting for altitude if necessary.
- Turn off heat, remove lid, and let jars stand in the canner for 5 minutes.
- Carefully remove jars from the canner and place them on a towel-lined counter to cool completely.
- Check seals after 12-24 hours. Remove bands, wipe jars clean, and store sealed jars in a cool, dark place.
Notes
- For a milder salsa, remove all seeds and membranes from the jalapenos. For a spicier salsa, leave some seeds in or add a pinch of cayenne pepper.
- Ensure you use bottled lemon juice for consistent acidity, which is crucial for safe canning.
- Adjust processing time for altitudes above 1,000 feet.
- Discard any salsa that has not sealed properly.
Nutrition
- Serving Size: 1/2 cup
- Calories: 40
- Sugar: 6g
- Sodium: 450mg
- Fat: 0g
- Saturated Fat: 0g
- Unsaturated Fat: 0g
- Trans Fat: 0g
- Carbohydrates: 10g
- Fiber: 2g
- Protein: 1g
- Cholesterol: 0mg