

Oh, is there anything better than walking into a warm kitchen when the air outside is crisp? That smell honestly takes me right back to my grandmother’s Midwestern kitchen, the one filled with the scent of rising yeast and spices. I always loved dissecting *why* an old recipe worked so well—it’s not magic, it’s just technique! That’s why I’m so excited to share my go-to recipe for the **Ultimate Easy & Super Moist Pumpkin Bread**. Seriously, this pumpkin bread knocks every other version out of the park. It’s ridiculously simple, delivers on that incredible moisture everyone craves, and still brings that cozy autumn depth to your table. It’s the easiest classic you’ll ever make. If you want to know more about how we build our reliable recipes here at the blog, check out our philosophy over on the About Page.
- Why This Is the Best Pumpkin Bread Recipe You Will Ever Make
- Essential Ingredients for Perfect Pumpkin Bread
- Step-by-Step Instructions for Easy Pumpkin Bread
- Variations: Chocolate Chip Pumpkin Bread and Maple Glaze
- Tips for Success with Your Spiced Pumpkin Bread
- Storage and Freezer Friendly Bread Instructions
- Serving Suggestions for This Pumpkin Dessert Idea
- Frequently Asked Questions About Pumpkin Bread
- Estimated Nutritional Data for Homemade Pumpkin Bread
- Share Your Cozy Autumn Baking Experience
Why This Is the Best Pumpkin Bread Recipe You Will Ever Make
I know everyone claims to have the “best” recipe, but I promise you, this one delivers something special. We tested this against a ton of fall favorites, and this mix wins every single time. We optimized this recipe specifically to hit those things you really want in a quick bread. It’s all about marrying great texture with next-to-no effort!
- It guarantees you get that rich, melt-in-your-mouth feel, making it one of the best **Moist Pumpkin Bread** recipes out there.
- The mixing process is so straightforward you’ll barely dirty any dishes.
Achieving Ultimate Moisture in Your Pumpkin Bread
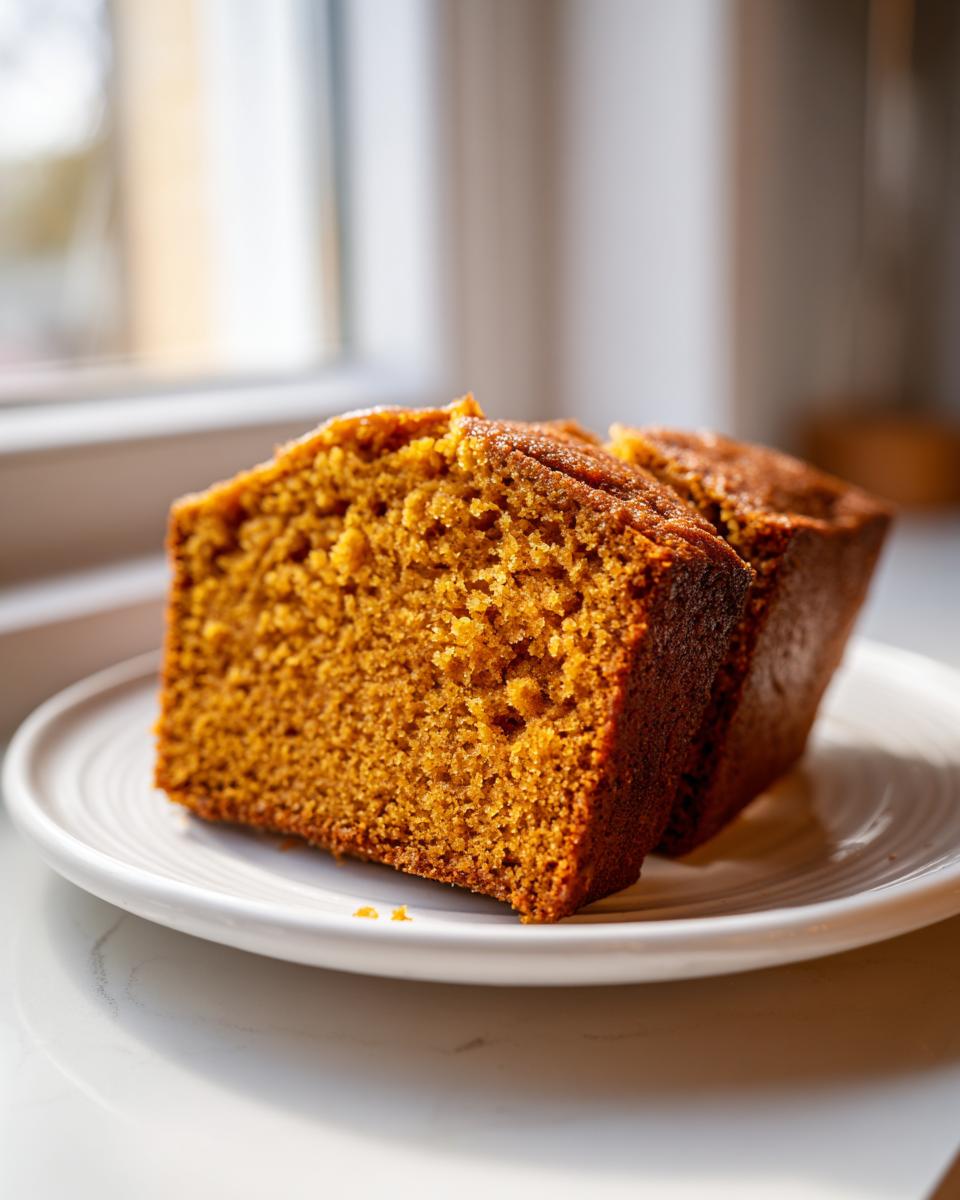
The secret to the tenderness here boils down to two things: we use just the right amount of vegetable oil, and we add a full cup of real pumpkin puree. That combination keeps the crumb fluffy and ridiculously moist for days. You won’t get a dry slice, trust me.
Quick Preparation for Your Homemade Pumpkin Bread
This is truly an **Easy Pumpkin Bread** recipe. You basically spend five minutes mixing the wet stuff, then dump it into the dry stuff. Since the total time is under 75 minutes, it fits perfectly into any of your busy **Fall Baking Recipes** schedules. You can have this done before dinner!
Essential Ingredients for Perfect Pumpkin Bread
I always build my recipes using ingredients that are easy to find at your standard American grocery store—no need to hunt down specialty shops for this **pumpkin bread**!
We’re keeping this simple, focusing on what matters for flavor and moisture. All the exact measurements you need for success are listed right below. If you’re looking for ways to use up that extra *canned* **pumpkin puree recipes** sometimes leave us with, this loaf is the answer!
Ingredient List for the Ultimate Pumpkin Bread
Make sure you grab these items before stepping into the kitchen. I highly recommend using a kitchen scale if you have one, but volume measurements work perfectly fine here.
- 1 3/4 cups all-purpose flour
- 1 teaspoon baking soda
- 1 teaspoon ground cinnamon
- 1/2 teaspoon ground nutmeg
- 1/2 teaspoon ground ginger
- 1/4 teaspoon ground cloves
- 1/2 teaspoon salt
- 1 1/2 teaspoons baking powder
- 1 cup granulated sugar
- 1/2 cup packed light brown sugar
- 1 cup pumpkin puree (not pumpkin pie filling)
- 1/2 cup vegetable oil
- 2 large eggs
- 1 teaspoon vanilla extract
- Optional: 1 cup chocolate chips or 1/2 cup chopped walnuts
Ingredient Notes and Substitutions for Spiced Pumpkin Bread
The spice blend—cinnamon, nutmeg, ginger, and cloves—is what makes this your ultimate **Spiced Pumpkin Bread**. It’s all about balancing that warmth!
Please, please use 100% pure pumpkin puree, not the pre-made pumpkin pie filling—that already has sugar and spices added, and it will throw off the texture completely. For a little richness, you can swap out 1/4 cup of the vegetable oil for melted butter, but the oil is what keeps this bread so reliably soft.
Step-by-Step Instructions for Easy Pumpkin Bread
Okay, this is where the fun really starts! Since this is an **Easy Pumpkin Bread**, we aren’t doing anything crazy here, but following these steps exactly is how we lock in that incredible texture. First things first: get your oven warmed up to 350°F (or 175°C) while you prep your pan. I always use butter and flour in my 9×5 inch loaf pan, but if you want guaranteed clean removal, you might want to check out the hack I use for my banana bread recipe; it works here too!
Mixing the Dry and Wet Components of Your Pumpkin Bread
We keep things separate for maximum aeration! In one bowl, whisk your flour, soda, baking powder, and all those amazing spices until they’re totally integrated. In your second bowl—a medium one works well—use a whisk to really beat the sugars, pumpkin puree, oil, eggs, and vanilla together. You want that sugar partially dissolved into the wet stuff. Then, pour the wet ingredients right into the dry bowl. Mix only until you stop seeing white flour streaks. Seriously, do not overmix, or your loaf will be tough!
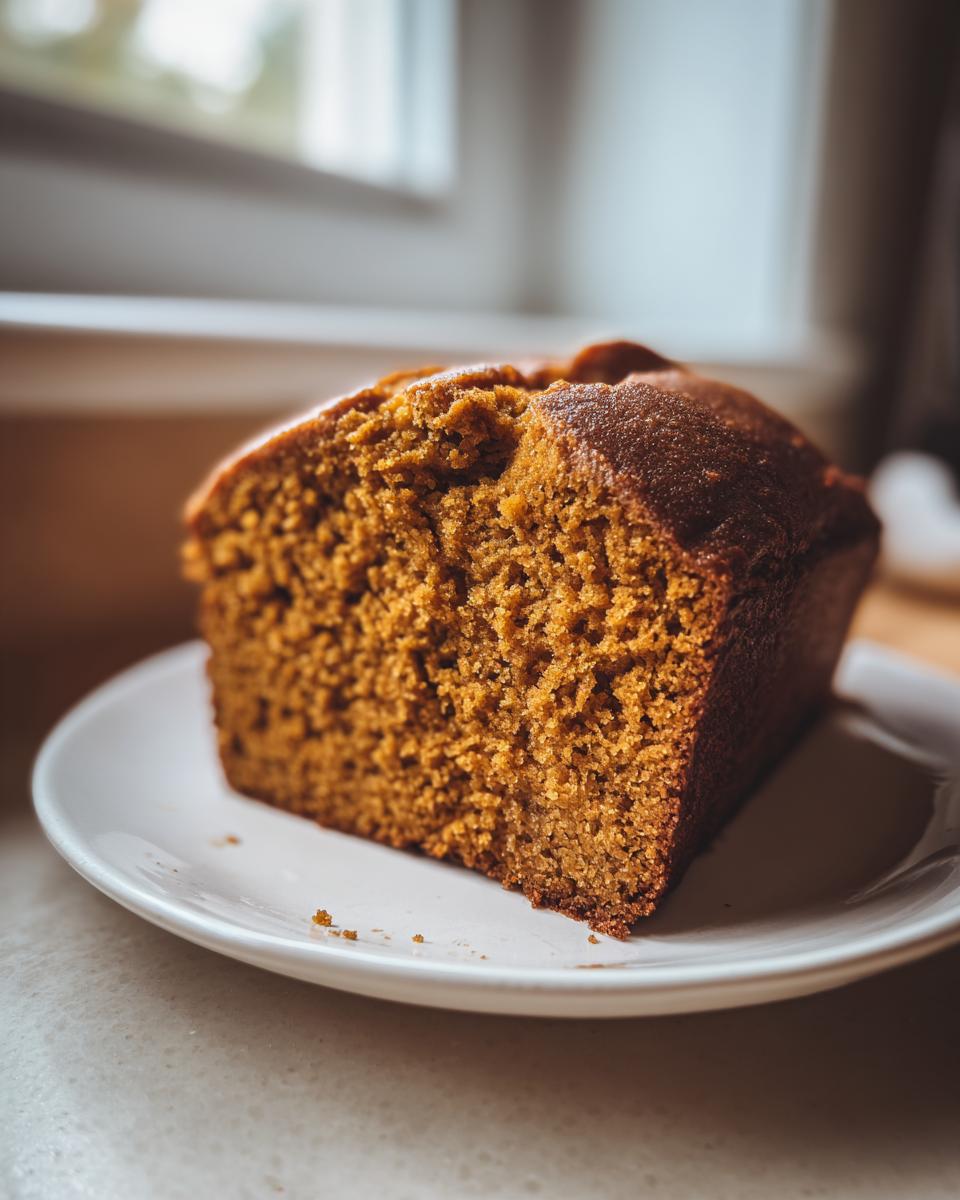
Baking and Cooling Your Perfect Pumpkin Loaf
Pour that beautiful batter into your prepared pan and get it into the hot oven. It needs about 50 to 60 minutes in there. The best way to test doneness for your **Perfect Pumpkin Loaf** is the wooden skewer test right in the center. If it comes out clean—great! Let it hang out in the pan for just ten minutes. That brief rest helps it firm up before you turn it out onto a wire rack to cool completely. If you slice it while it’s hot, it’ll get gummy, and that’s just a tragedy!
Variations: Chocolate Chip Pumpkin Bread and Maple Glaze
Now, while this basic, wonderfully spiced loaf is perfect on its own, I know some of you out there need a little something extra to reach peak cozy levels. That’s why I love this recipe; it’s flexible!
If you opt for the chocolate chips or even chopped walnuts, you add them right at the very end, after the batter is mixed. Gently fold them in with your spatula—we don’t want to deflate all that precious air we created! Don’t stir more than five or six times.
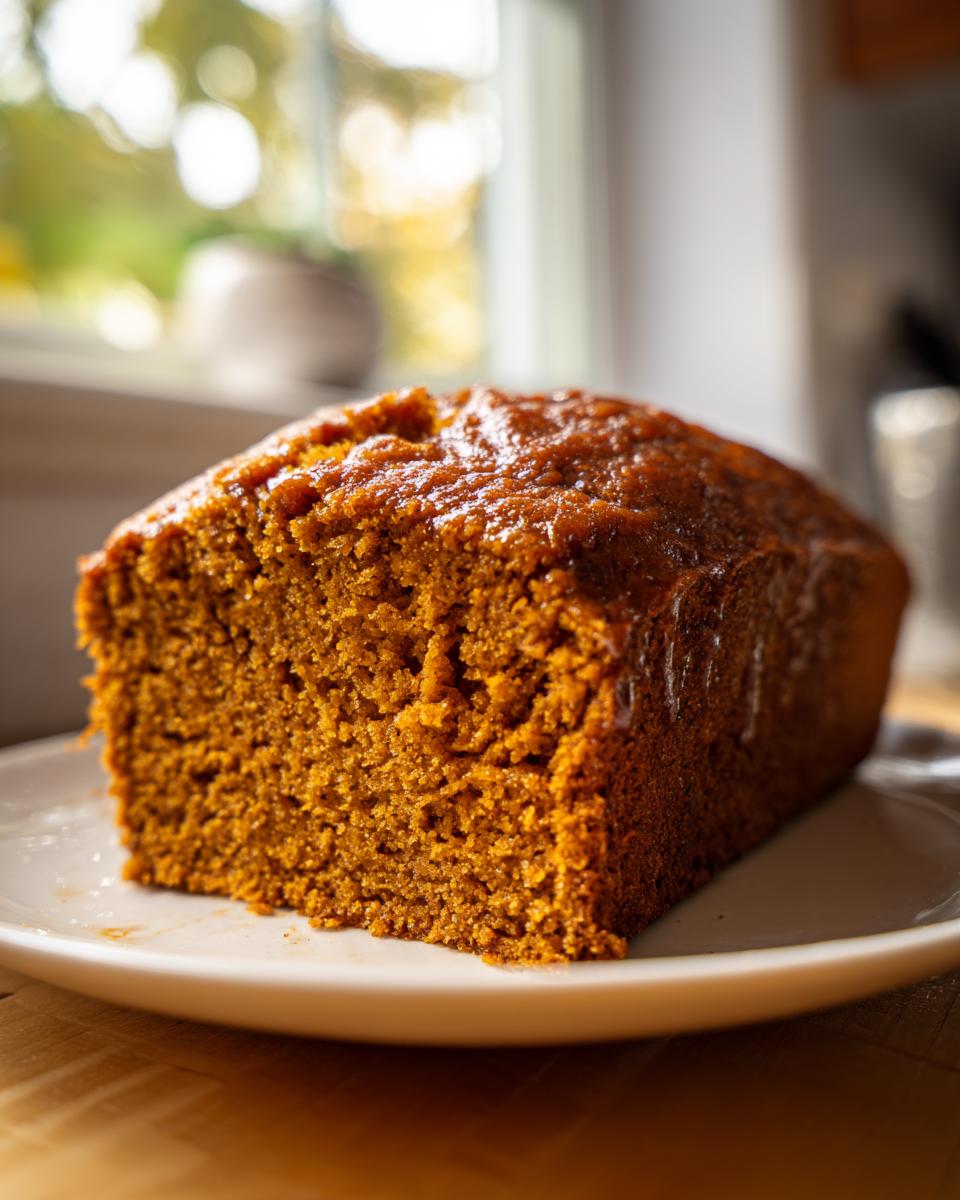
If you want to elevate this even more into a true **Pumpkin Dessert Idea**, use the maple glaze from the notes section. Just whisk one cup of powdered sugar with about two tablespoons of real maple syrup (the good stuff!) and a tiny splash of milk until it drizzles nicely. That glaze looks amazing over the top of a cooled **Chocolate Chip Pumpkin Bread** loaf. It’s like giving your loaf a little autumn crown!
If you love mixing fruit and spice, you should also check out how I handle dried fruit in my carrot banana muffin recipe; the technique for plumping them up is similar and wonderful here too!
Tips for Success with Your Spiced Pumpkin Bread
Even though this is an easy recipe, a few little secrets will take your **Spiced Pumpkin Bread** from good to unforgettable. My biggest, loudest warning is this: Do NOT overmix the batter!
When you combine the wet and dry ingredients, mix *just* until you can’t see distinct streaks of flour anymore. Overmixing develops gluten, and gluten makes your lovely loaf tough and chewy instead of tender. We want the texture where the bread almost melts in your mouth, not one you have to work hard to chew!
Another small tip that really helps the texture? Use room temperature eggs. They incorporate so much better with the oil and sugar, creating a truly smooth base before the flour even hits the bowl. That smooth start means everything blends easily.
Also, please measure those spices carefully! Pumpkin flavor relies heavily on the balance of cinnamon, nutmeg, and clove. Too much of one can overwhelm the other. Get those measurements right, and you’ve nailed the aroma of perfect **Cinnamon Spice Bread**.
If you’re looking for more amazing, tried-and-true fall baking techniques, you can always peek at what my friend Natasha over at Natasha’s Kitchen is doing with her popular pumpkin bread—she has some great visual guides, too! Check out her version here.
Storage and Freezer Friendly Bread Instructions
You’ve made an entire loaf, but life is busy! Guess what? This is a fantastic **Freezer Friendly Bread**. You absolutely do not need to eat it all in two days.
Once your pumpkin loaf is completely cooled down—and I mean totally cool, or you’ll get icy condensation—you need to wrap it tightly. First, wrap the whole loaf snugly in plastic wrap. Then, cover that plastic-wrapped loaf with a layer of heavy-duty aluminum foil. This double barrier keeps freezer burn away.
Wrapped up like treasure this way, it keeps perfectly for up to three months. When you’re ready for a slice, just unwrap it, microwave it for about 20 seconds, or let it thaw on the counter for an hour. It tastes almost as fresh as the day you baked it!
Serving Suggestions for This Pumpkin Dessert Idea
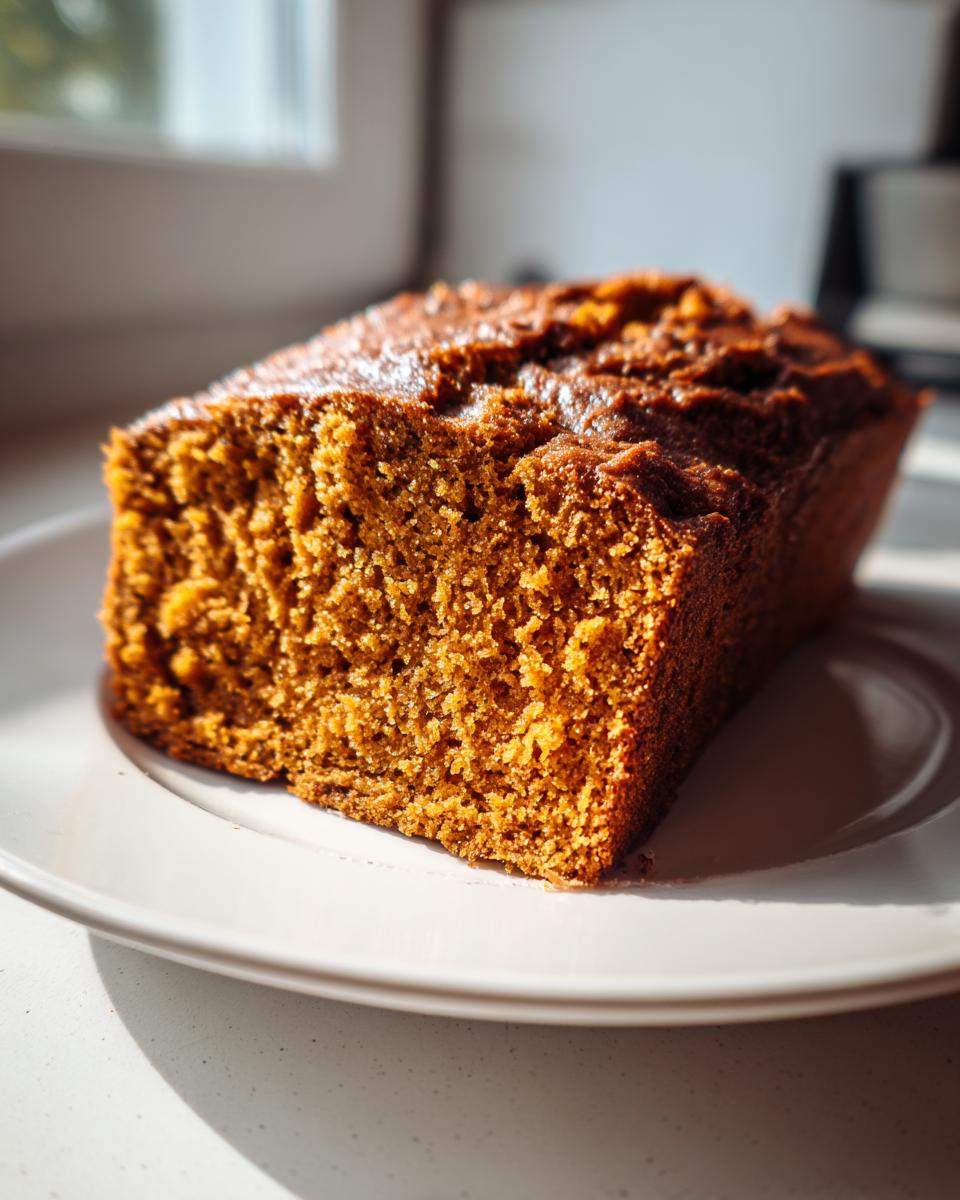
This **pumpkin bread** is truly a shape-shifter! While eating a slice straight off the cooling rack is always a glorious option, don’t stop there. Because it’s so wonderfully structured, it makes an incredible **Breakfast Quick Bread**.
If you toast a thick slice lightly, it transforms! Slather it with some good salted butter; the warmth just melts it beautifully into the spices. Honestly, a slice alongside your morning coffee or that afternoon cup of tea is pure comfort. If you’re looking for other breakfast treats with that cozy crumble factor, check out my recipe for cinnamon streusel coffee cake muffins!
Frequently Asked Questions About Pumpkin Bread
Can I make this pumpkin bread without oil?
Well, you *could*, but I really advise against it if you want that signature tenderness! The oil is crucial for keeping this **pumpkin bread** consistently moist. If you simply must reduce it, you can swap out maybe half of the oil for melted butter. But don’t remove it completely, or you’ll find the texture gets much denser and loses that lovely fluffiness we worked so hard to achieve.
What is the best way to check if my pumpkin bread is done?
The toothpick test is your best friend here! Take a wooden skewer or even just a thin knife and poke it right into the center of the loaf. If it comes out totally clean, you are golden. If it has wet batter stuck to it, give it another five minutes and check again. A few moist crumbs clinging to the skewer means it’s perfect—that’s how you know you’ve hit that sweet spot for **Moist Pumpkin Bread**.
Can I use fresh pumpkin instead of canned for this recipe?
That’s a great question for those who like to roast their own squash! Yes, you absolutely can use fresh pumpkin, but you have to process it correctly. Freshly cooked pumpkin holds way more water than the canned puree. You need to cook it, blend it until smooth, and then strain out all that extra liquid until it matches the thick consistency of the canned stuff. If it’s too watery, it will totally ruin the structure of your bake!
Estimated Nutritional Data for Homemade Pumpkin Bread
I always calculate nutrition because I like to know what I’m getting, but remember these numbers are just estimates based on the specific ingredients and brands I used when testing this recipe. Every tweak you make—like adding extra chocolate chips or using different fats—will change the final count.
- Calories: 320
- Total Fat: 17g
- Carbohydrates: 42g
- Protein: 4g
- Cholesterol: 35mg
This loaf is designed to serve about 10 people, so that’s one slice nutrition listed above. It proves you can enjoy cozy fall baking without feeling guilty about every bite!
Share Your Cozy Autumn Baking Experience
Now that you’ve got your loaf cooling on the rack, the best part is sharing the joy! I really want to know what you think of this recipe. Did it live up to the hype and deliver on that amazing moisture?
Please head down to the comments below and give this recipe a star rating! Telling me if you stuck with the classic flavor or tried the **Chocolate Chip Pumpkin Bread** variation helps other bakers know what to try next. Were you successful with the maple glaze idea, or did you just stick to butter? If you were inspired by the glaze idea, you can see more of that gooey goodness over at Butternut Bakery.
If you snap a picture of your gorgeous **pumpkin bread**—especially if you paired it with something yummy from our snacks collection—please tag us on social media! We absolutely love seeing your homemade creations fill up our screens. Happy baking this season!
PrintUltimate Easy & Super Moist Pumpkin Bread
Make this incredibly moist and tender pumpkin bread using simple ingredients and classic fall spices. This quick bread recipe is perfect for breakfast, snacks, or dessert and freezes well.
- Prep Time: 15 min
- Cook Time: 60 min
- Total Time: 75 min
- Yield: 1 loaf (about 10 servings) 1x
- Category: Dessert
- Method: Baking
- Cuisine: American
- Diet: Vegetarian
Ingredients
- 1 3/4 cups all-purpose flour
- 1 teaspoon baking soda
- 1 teaspoon ground cinnamon
- 1/2 teaspoon ground nutmeg
- 1/2 teaspoon ground ginger
- 1/4 teaspoon ground cloves
- 1/2 teaspoon salt
- 1 1/2 teaspoons baking powder
- 1 cup granulated sugar
- 1/2 cup packed light brown sugar
- 1 cup pumpkin puree (not pumpkin pie filling)
- 1/2 cup vegetable oil
- 2 large eggs
- 1 teaspoon vanilla extract
- Optional: 1 cup chocolate chips or 1/2 cup chopped walnuts
Instructions
- Preheat your oven to 350°F (175°C). Grease and flour one 9×5 inch loaf pan.
- In a large bowl, whisk together the flour, baking soda, cinnamon, nutmeg, ginger, cloves, salt, and baking powder.
- In a separate medium bowl, whisk together the granulated sugar, brown sugar, pumpkin puree, vegetable oil, eggs, and vanilla extract until combined.
- Pour the wet ingredients into the dry ingredients. Mix them together using a spatula until just combined. Do not overmix; a few streaks of flour are acceptable.
- If using, gently fold in the chocolate chips or walnuts.
- Pour the batter into the prepared loaf pan.
- Bake for 50 to 60 minutes, or until a wooden skewer inserted into the center comes out clean.
- Let the bread cool in the pan for 10 minutes before carefully turning it out onto a wire rack to cool completely.
- Slice and serve, or store once fully cooled.
Notes
- For extra moisture, you can substitute 1/4 cup of the oil with melted butter.
- This bread freezes well. Wrap the cooled loaf tightly in plastic wrap, then aluminum foil, and freeze for up to three months.
- To make a simple maple glaze, whisk together 1 cup powdered sugar with 2 tablespoons of maple syrup and 1-2 teaspoons of milk until smooth. Drizzle over cooled bread.
Nutrition
- Serving Size: 1 slice
- Calories: 320
- Sugar: 30
- Sodium: 250
- Fat: 17
- Saturated Fat: 2
- Unsaturated Fat: 15
- Trans Fat: 0
- Carbohydrates: 42
- Fiber: 2
- Protein: 4
- Cholesterol: 35