
Sometimes, the most special things in the kitchen come from slowing down and paying attention to simple ingredients. I think that’s why I fell in love with making homemade candied orange slices—they transform everyday fruit into these stunning, jewel-like treats, right on your countertop! They look fancy, but trust me, this is one of those recipes where the process is actually quite meditative. You might think making an edible orange slice garnish is tough, but our Ultimate Easy Homemade Candied Orange Slices recipe creates something perfectly sweet and wonderfully chewy with minimal fuss. It’s all about showing love through thoughtful preparation.
- Why You Will Love This Recipe for Candied Orange Slices
- Ingredients for the Best Candied Orange Recipe
- How to Make Candied Orange Slices: A Step-by-Step Tutorial
- Tips for Perfect Jewel-like Candied Orange Slices
- Variations: Chocolate Dipped Candied Oranges and More
- Serving Suggestions for Candied Orange Slices
- Storage and Reheating Instructions for Candied Orange Slices
- Frequently Asked Questions About Candied Orange Slices
- Nutritional Estimates for Sweet Orange Peel Candy
Why You Will Love This Recipe for Candied Orange Slices
When I first started playing around with citrus preserving, I had no idea how satisfying this simple process would be. Honestly, these candied orange slices quickly became my go-to for dressing up everything from holiday cheesecakes to a simple glass of sparkling water. Here’s why this homemade citrus candy recipe ends up on my counter every few months:
- Perfectly Chewy Texture: We aren’t going for hard, crunchy candy here! These slices dry down exactly right—they are pliable, satisfying to chew, and not stiff at all.
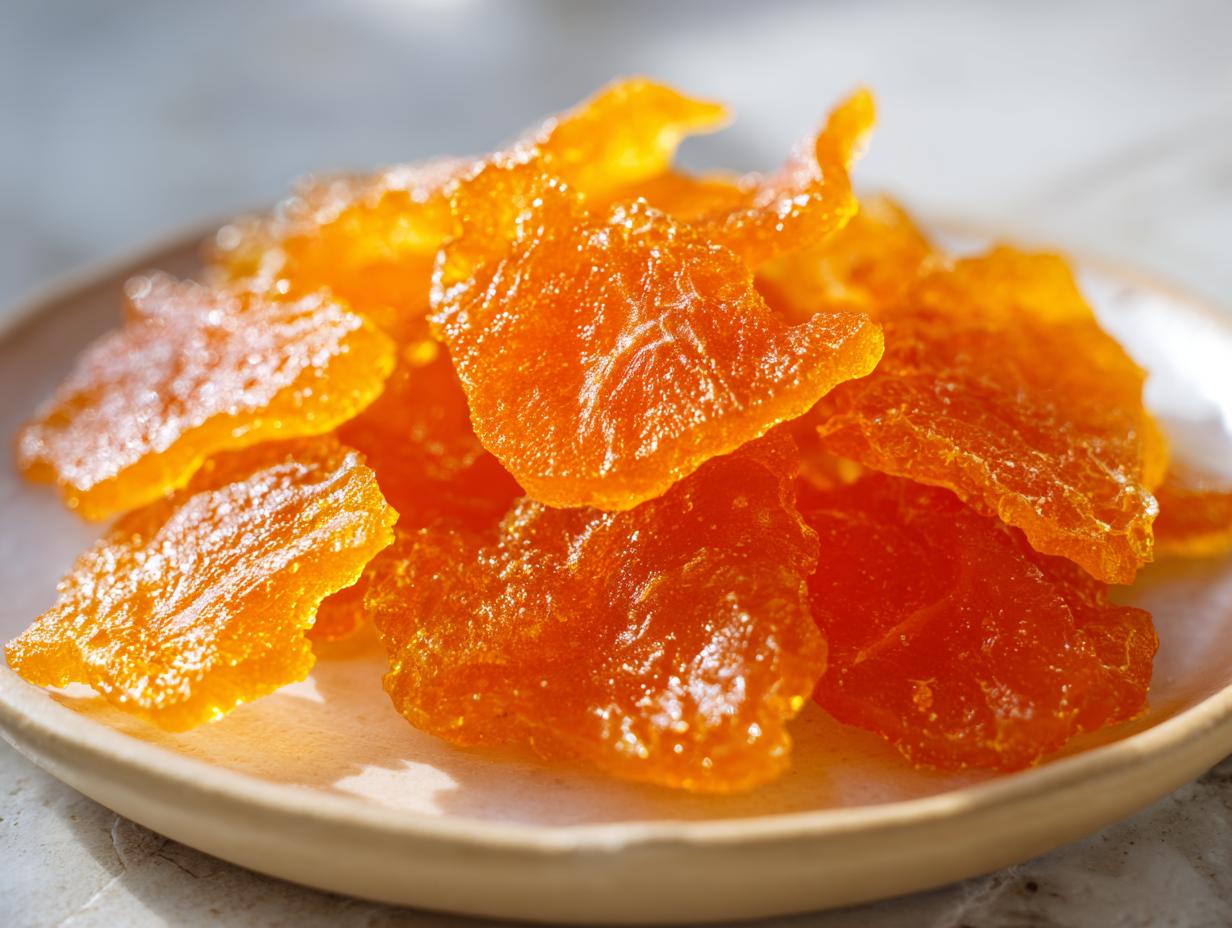
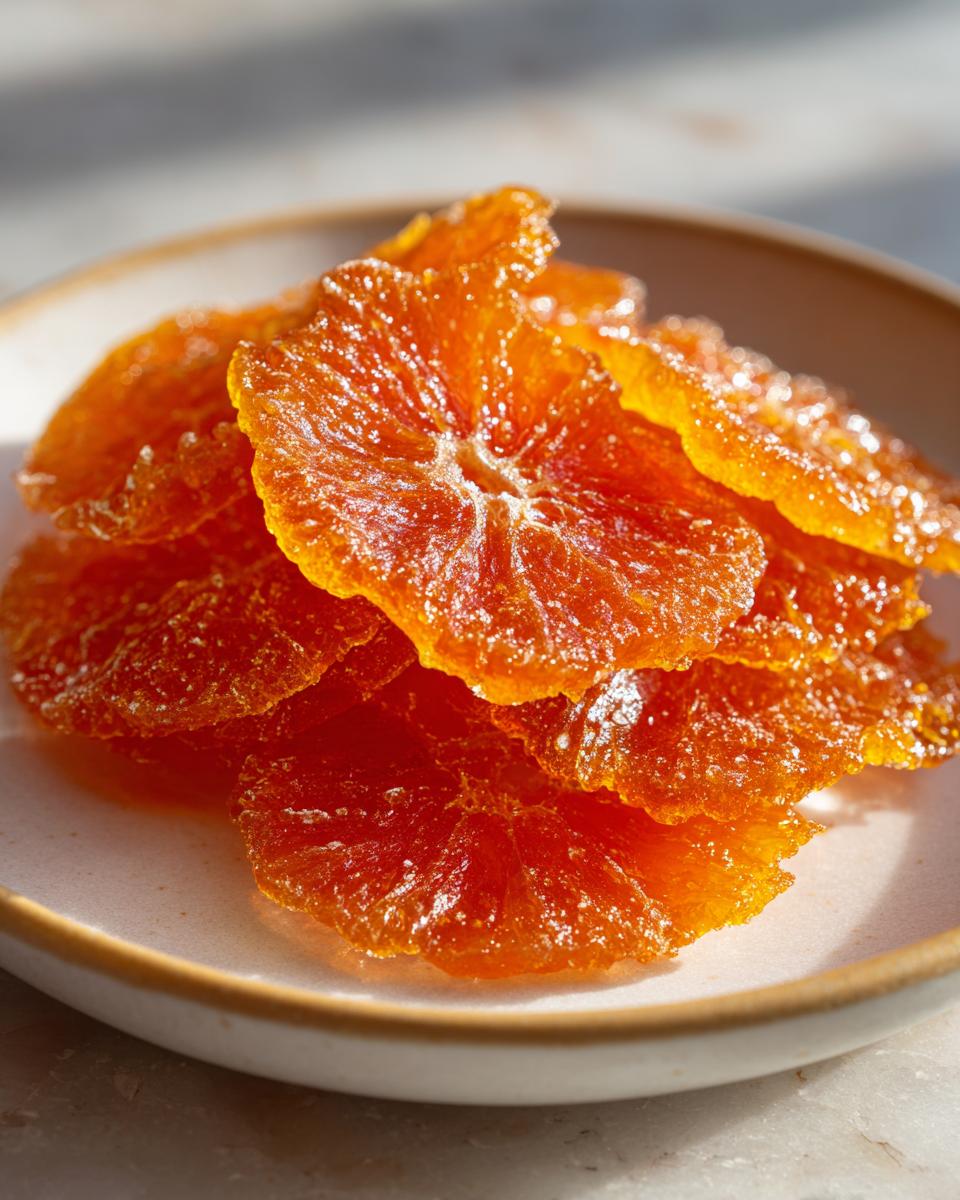
- That Jewel-Like Gloss: After simmering in the simple syrup, the slices turn beautifully translucent. They genuinely look like little pieces of stained glass; they make everything look instantly elegant!
- Sweet and Tangy Flavor Balance: The initial blanching step knocks out any overpowering bitterness, leaving you with pure, bright citrus flavor wrapped in beautiful sweetness.
- Incredibly Versatile: Use them as an edible orange slice garnish, toss them in a trail mix for a sweet and tangy orange snack, or chop them up inside a holiday loaf. They do it all.
- Surprisingly Easy Method: While it takes time, the active work is minimal. It’s mostly waiting while the sugar works its magic, making it a perfect project for a relaxing weekend.
- Great for Gifting: They store so well in airtight jars. These make wonderful, thoughtful holiday citrus treats to give to neighbors or friends when you want to share a little taste of home.
Ingredients for the Best Candied Orange Recipe
When we talk about the best candied orange recipe, Kate always says the magic starts with what you put in the bowl. Since this recipe is all about highlighting that gorgeous fresh orange flavor, we keep the supporting cast simple. You don’t need specialty shops for this! Everything here is easy to find at your standard grocery store. You’ll notice some ingredients are listed as ‘divided’—that’s because we use the water and sugar in two very important stages, so pay close attention to those measurements!
- 3 large navel oranges (or blood oranges for color variation—I love testing colors!)
- 4 cups water, divided
- 4 cups granulated sugar, divided
- 1 tablespoon fresh lemon juice
That’s it! Just four main things, and you get these beautiful, jewel-like orange slices. The lemon juice is just a little something extra I add at the end to brighten up the sweetness during the final dry stage. It gives the finished product that fantastic sweet and tangy finish we are looking for in a sweet orange peel candy.
How to Make Candied Orange Slices: A Step-by-Step Tutorial
Alright, let’s roll up our sleeves! This is where the actual magic happens for our chewy candied orange slices tutorial. Don’t let the number of steps intimidate you; most of this time is hands-off simmering and drying. Just follow these steps exactly, and you’ll see why this is the best way to learn how to candy oranges at home. Sometimes, when I’m waiting for the syrup to heat up, I’ll quickly whip up a batch of simple rice to have on hand for dinner—it’s amazing how much easier life gets when you multitask! You can find my favorite easy butter rice recipe if you need something else going.
Preparing the Oranges and Removing Bitterness
First things first, wash those oranges like you mean it! We are using the peel, after all. Slice them thin—I’m aiming for about 1/8 inch thick. Thicker slices take forever to candy through, and super thin ones might fall apart. Once sliced, put them in a saucepan and cover them completely with about 2 cups of water. Bring that right up to a boil, let it bubble for five minutes, and dump out all that water. This initial blanching step is absolutely non-negotiable, seriously! It cooks out the harsh bitterness in the pith so your final product is just sweet and zesty.
Simmering the Oranges in Simple Syrup for Candied Orange Slices
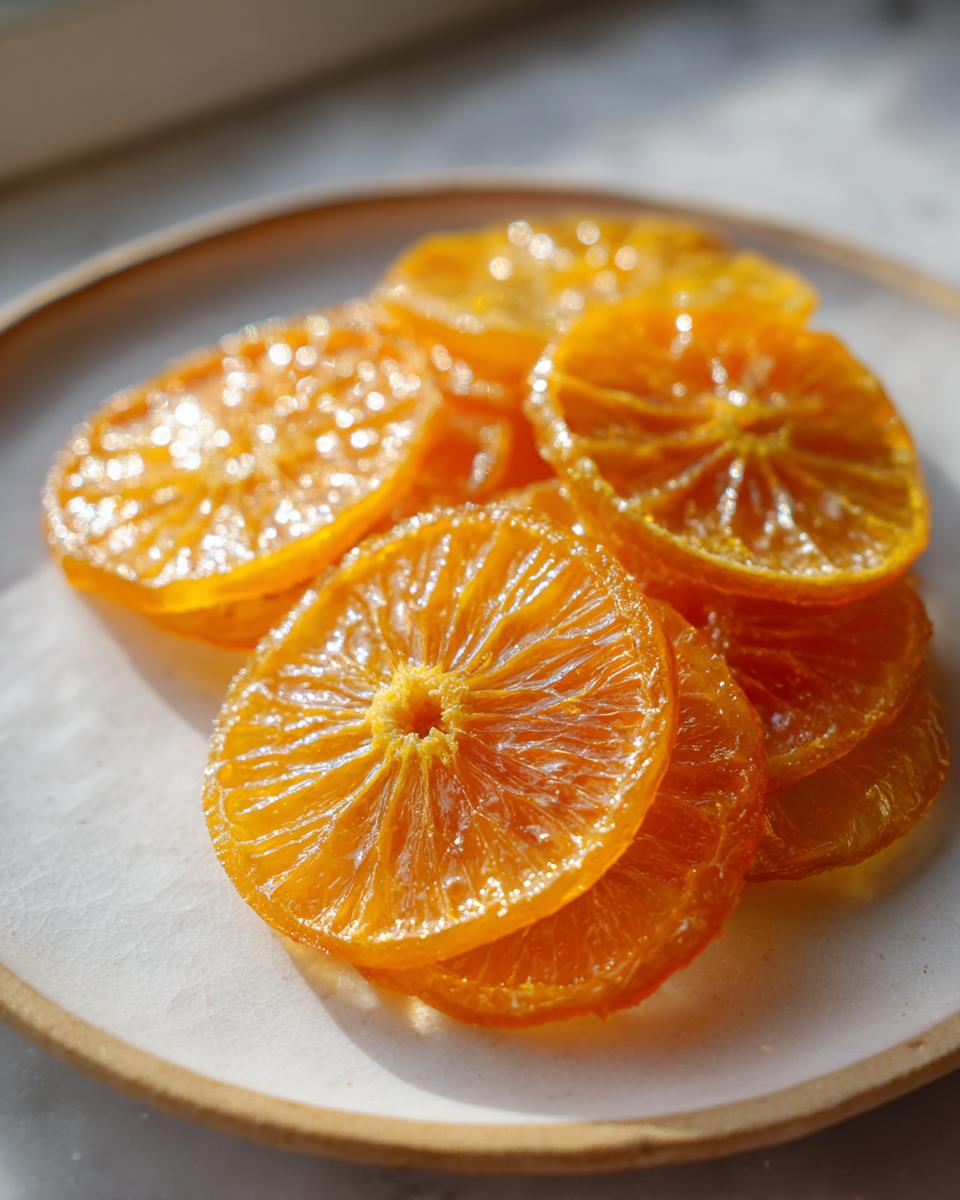
Now for the syrup. Take the same pot—no need to clean it!—and whisk together the 4 cups of sugar and the remaining 2 cups of water. Heat that gently until every single sugar crystal is dissolved. Once it’s clear, toss your blanched orange slices right back in. Drop the heat down immediately to a very low simmer. We want gentle bubbles, barely a quiver on the surface. Simmer these beauties uncovered for 45 to 60 minutes. You’ll see them start to look translucent and tender—that’s your cue they are soaking up all that sweet goodness.
Drying Your Homemade Citrus Candy Recipe
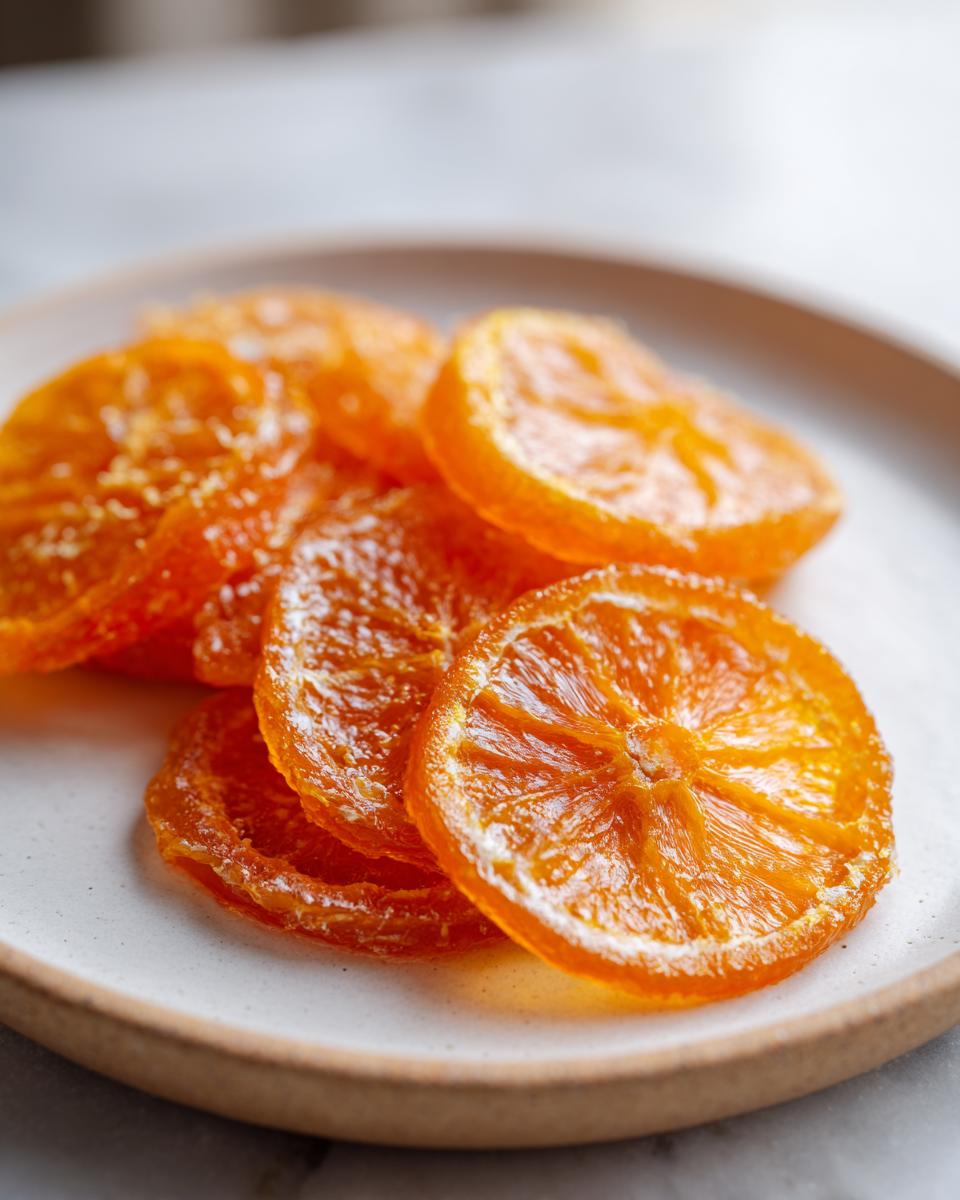
Once they are translucent, use tongs to carefully lift them out and lay them flat on a wire rack set over a baking sheet. Let them drip a bit for about fifteen minutes. Next, preheat your oven to the absolute lowest setting it can handle—we’re talking 170°F to 200°F. Pop the racks in and dry them for 2 to 3 hours. You must flip them every half hour! If you skip the flipping, they’ll stick or dry unevenly. You are aiming for slices that feel dry to the touch but still have a bit of give when you press them. That pliability is the secret to that perfect chewy texture. If you want to coat them with sugar for a crystallized look, toss them while they are still slightly warm!
Tips for Perfect Jewel-like Candied Orange Slices
You know how some recipes just look better than they taste? That is NOT the case here! If you want your candied orange slices to look as incredible as they taste—truly like little works of edible art—you need to focus on a few key visual tricks. I learned these the hard way through batches that looked pale or went hard as rocks! Remember, we are aiming for that gorgeous, sunshiny, translucent look.
My biggest piece of advice for getting those stunning, jewel-like orange slices is consistency in your slicing. Get a ruler out if you have to! When I try to eyeball it, some pieces end up thin and dissolve, while others are too thick and stay bitter inside. Stick to that 1/8 inch mark we talked about earlier. It allows the syrup to penetrate evenly and leads to that beautiful, uniform color.
Another thing that makes a huge visual difference is seeing the syrup bubble during the cook time. You want the liquid to simmer low and slow. If you crank the heat and let it boil hard, the sugars crystallize too fast on the surface, locking out moisture and preventing that signature translucency. A gentle simmer lets the sugar fully penetrate the peel, turning it almost glowing inside. Don’t rush this part.
Finally, pay attention to the draining process after simmering. If you don’t let them drip off heavily before they go into the oven, all that extra syrup washes onto the baking sheet, and then they just steam instead of drying properly. That will give you that sticky mess instead of a beautiful chewy coating. Use a good sturdy rack and let them rest!
If you’re looking for other ways to brighten up your meals with homemade goodness, you should definitely check out my go-to directions for the best homemade salad dressing recipes. A little homemade effort goes a long way!
Variations: Chocolate Dipped Candied Oranges and More
Once you master the basic technique for making these beauties, the fun really starts because you can take them in so many delicious directions! While I adore the simple, glossy candied orange slices as they are—perfect for sipping a cocktail with an elegant rim—I have a few favorite variations, especially when the holidays roll around. These tweaks really kick them up a notch!
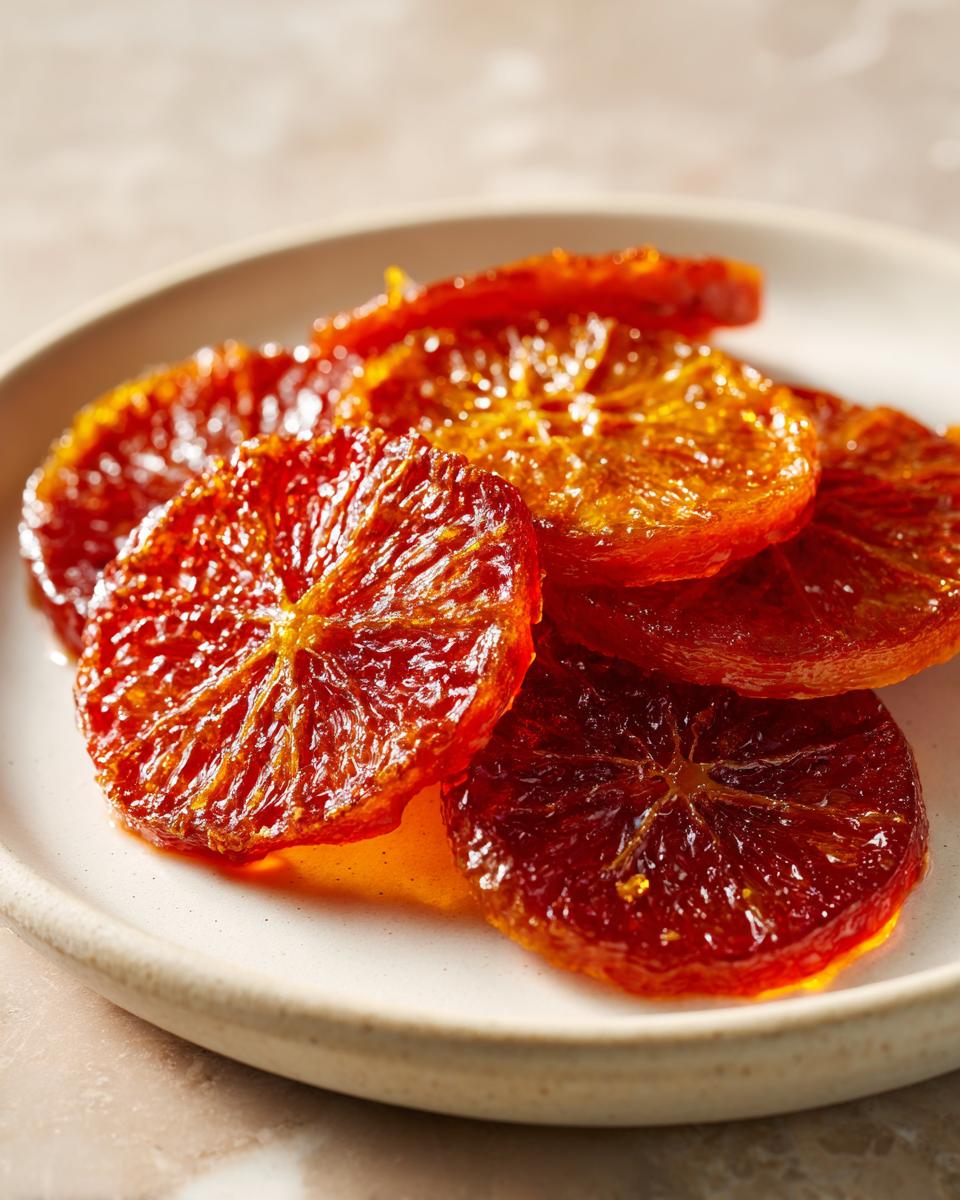
First off, let’s talk color. If you want your final product to look even more stunning, don’t stick just to navel oranges! I’ve recently been making a batch using blood oranges. They turn out this incredible deep ruby color when they come out of the syrup. They are simply breathtaking, and since they are packed with tangy flavor, they make fantastic little sweet and tangy orange snacks on their own.
But my absolute favorite upgrade is turning these into chocolate dipped candied oranges. Oh my goodness, if you haven’t tried this yet, you are missing out! It’s so easy to do after the slices are completely cooled and dried. All you need is some good quality chocolate for melting. I usually use dark chocolate because the slight bitterness plays so nicely against the sweet citrus.
Here’s my quick process for a perfect chocolate dip. First, melt about 4 ounces of your preferred chocolate—you can check out my guide on the easy chocolate dip recipe for ideal melting temps if you need them! Dip half of each cooled, totally dry slice into the melted chocolate. Lay them right onto parchment paper so they don’t stick while setting. The absolute winning move? Sprinkle a tiny pinch of flaky sea salt over the chocolate right before it sets. That final salty crunch against the chewy orange? Perfection!
Whether you stick to the classic flavor or try dipping them, remember that these are wonderful ways to use up different citrus when they are in season. Don’t be afraid to experiment!
Serving Suggestions for Candied Orange Slices
One of the best parts about making a big batch of these treats is figuring out all the beautiful ways you can use them! Once you have your beautiful, chewy candied orange slices, it feels almost criminal to just eat them straight out of the jar (though I certainly do that when no one is looking!). Seriously though, they elevate everything they touch. This is where you stop thinking of them as just candy and start seeing them as vibrant, edible decor.
For me, the primary reason I make these is to have the perfect edible orange slice garnish ready to go. They look so much more intentional than a fresh wedge, especially on baked goods. Picture this: you’ve just frosted a cake, maybe a rich chocolate layer cake or, even better, a tangy citrus-forward cake like my moist coconut cake recipe. Instead of just putting a cherry on top, you drape one of these glossy slices right across the top edge. It adds texture, color, and that wonderful, sweet-tart smell.
They are also absolutely fantastic incorporated into any kind of party spread. Think about your next cheese board or appetizer platter. Instead of just having citrus wedges, tuck a few of these candied beauties among some salty nuts and sharp cheddar. They bridge that sweet and savory gap perfectly. Plus, they make fantastic holiday citrus treats simply laid out on a silver platter because they look so festive!
And let’s not forget about drinks! If you’re making a nice gin and tonic, an Old Fashioned, or even a fancy mocktail, ditch the standard garnish. These slices are perfect candied orange for cocktails. You can even lightly sugar the rims of your glasses with a little granulated sugar mixed with some dried orange zest before pouring your drink. It’s a small touch that makes the whole experience feel special.
So, whether you’re turning them into a shiny topper, pairing them with savory snacks, or just eating them as a sweet and tangy orange snack while watching TV, have fun displaying these little jewels you worked hard to create!
Storage and Reheating Instructions for Candied Orange Slices
You’ve worked hard simmering and drying those beautiful slices, so we definitely want to make sure they last! The great news about making this homemade citrus candy recipe is that once they are properly dried, they are quite stable. They aren’t like fresh fruit; they are preserved through the sugar, which is fantastic for shelf life.
The key to keeping your sweet orange peel candy perfect is air control. You must store them in an airtight container. I prefer using a clean glass jar with a tight-fitting lid. On a warm, humid day, a plastic container might cause the humidity to settle back into the candy, making them sticky again. A glass jar helps maintain that perfectly dry but chewy texture we worked so hard to achieve!
Keep that container right on your counter at room temperature. You really don’t need to refrigerate them at all, and honestly, putting them in the fridge can sometimes introduce condensation when you take them out, which also leads to stickiness. Just keep them in a cool, dark pantry shelf, and they should stay wonderful for up to two weeks!
Now, about reheating—that’s usually not necessary at all! These are meant to be enjoyed at room temperature as a standalone snack or used as a dry garnish. If, somehow, you refrigerated them by accident and they feel a little firm right out of the cold, just let them sit on the counter for about 30 minutes before you plan to use them. They will soften right back up to that ideal chewy texture. They’re pretty resilient, which is why I love this easy citrus preserving method so much!
Frequently Asked Questions About Candied Orange Slices
I know you might have a few questions bouncing around about this recipe. That’s totally normal! When you’re tackling something like how to make crystallized oranges for the first time, you want to make sure you get that perfect texture. We learned how to make them beautifully translucent, but sometimes little sticking points pop up in the kitchen. I’ve gathered the most common things folks ask me about to make sure your results are foolproof!
Can I use the leftover simple syrup from making candied orange slices?
Oh, yes! Please don’t dump that syrup! That leftover liquid is liquid gold, seriously. It’s now a rich, intense simple syrup infused with orange essence. My notes mention this, but I want to emphasize it here: it’s wonderful for so many things. You can use it to sweeten up iced tea when you’ve got company over, or use it instead of plain syrup on pancakes or waffles for a tangy twist. It’s fantastic mixed into a cocktail, too! Just store that leftover syrup in the fridge in a sealed jar, and it will last a good couple of weeks. It’s almost like a bonus recipe!
What is the best way to ensure my candied orange slices are chewy and not hard?
This is the million-dollar question when making any kind of sweet and tangy orange snacks! The texture hinges entirely on that slow drying process in the oven. If you try to just air dry them, especially if your kitchen isn’t super dry, they can either get sticky again or dry out too fast and turn rock hard. The trick is that very low oven temperature—think more warming than baking or roasting. Keep it between 170°F and 200°F and check them often, flipping them every 30 minutes. You want them to feel dry when you touch them, but if you gently press them, they should still yield slightly. Don’t push them until they are totally firm, or they will snap when you bite them!
Can I use different types of citrus besides navel oranges?
Absolutely! While navel oranges are great standard bearers, using different citrus is how you get that exciting color variation I mentioned. If you want something darker and richer, definitely find some blood oranges for that gorgeous ruby red hue. Grapefruit and lemons work too, though you’ll need to blanch the thicker grapefruit peels longer to get them tender enough. Just remember, the thicker the peel, the longer everything takes, so stick with thinner-skinned fruits if you are looking for a faster method!
Why do my glazed orange slices taste slightly bitter?
If your final product isn’t tasting purely sweet and bright, it almost always comes back to that very first step: blanching. This initial boil is specifically designed to pull out the bitterness that lives in the white pith, right under the bright orange zest. If they taste bitter, you probably didn’t boil them long enough, or perhaps you only simmered them for three minutes instead of the full five. You definitely need that full cook time to soften the pith and leach out those bitter compounds before they go into the sugar syrup. Don’t skip that five minutes!
Are these considered a healthier snack alternative?
Well, they are certainly better than a highly processed candy bar, but let’s be real—they are fruit cooked down in equal parts sugar, so they definitely count as a treat! They are a wonderful choice for holiday entertaining or as a garnish because you get the natural fiber and nutrients from the orange peel, but the sugar content is high. Think of them as a lovely, thoughtful dessert element rather than an everyday “healthy” snack. If you need another simple, wholesome side dish recipe that skips the heavy sugar, I have a great easy burrito bake recipe that everyone in the family loves!
Nutritional Estimates for Sweet Orange Peel Candy
I always get asked about the nutrition when I post pictures of these shiny treats, and I want to be totally straight with you: making sweet orange peel candy involves sugar—a lot of it! Remember, we are slowly cooking fresh fruit in a simple syrup until it’s preserved. That beautiful, glossy look comes from the sugar doing its job, so these are definitely a special occasion treat, not a daily diet staple.
That said, since we are starting with whole oranges, you do get some great texture and natural vitamins from the peel, which is more than you can say for most store-bought candies. The following figures are estimates for just one slice, based on the ingredients list above and standard grocery store products. If you use a different brand of sugar or heavier chocolate if you dip them (which I highly recommend you try!), these numbers will shift a bit, so take them as a handy guideline rather than a hard science fact.
- Serving Size: 1 slice
- Calories: 75
- Sugar: 18g
- Sodium: 1mg
- Fat: 0.1g
- Saturated Fat: 0g
- Trans Fat: 0g
- Carbohydrates: 20g
- Fiber: 0.5g
- Protein: 0.2g
- Cholesterol: 0mg
See? All the action is in that sugar content, but that’s what makes them shelf-stable and so perfectly delicious! If you decide to try dipping them in chocolate, you’ll want to factor in the extra fat and sugar from whatever melting chocolate you use. If you’re looking for something for a weeknight that’s a bit more balanced but still satisfies that homemade craving, maybe check out my easy burrito bake recipe. That one feels a little more hearty!
PrintThe Ultimate Easy Homemade Candied Orange Slices: Sweet, Chewy, and Perfect for Garnish

Learn how to make beautiful, jewel-like candied orange slices at home. This simple recipe uses fresh oranges, sugar, and water to create sweet, tangy, and chewy citrus candy perfect for garnishing desserts or enjoying as a snack.
- Prep Time: 15 min
- Cook Time: 1 hr 15 min
- Total Time: 1 hour 30 min
- Yield: About 24 slices 1x
- Category: Dessert
- Method: Simmering and Drying
- Cuisine: American
- Diet: Vegetarian
Ingredients
- 3 large navel oranges (or blood oranges for color variation)
- 4 cups water, divided
- 4 cups granulated sugar, divided
- 1 tablespoon fresh lemon juice
Instructions
- Prepare the oranges: Wash the oranges well. Slice them thinly, about 1/8 inch thick. Discard the ends.
- Blanch the slices: Place the orange slices in a medium saucepan and cover them completely with 2 cups of water. Bring the water to a boil over medium-high heat. Once boiling, reduce heat and simmer for 5 minutes. Drain the slices completely in a colander. This step removes bitterness.
- Make the simple syrup: In the same saucepan, combine the 4 cups of granulated sugar and the remaining 2 cups of water. Bring this mixture to a boil over medium heat, stirring until the sugar dissolves completely.
- Simmer the oranges: Add the blanched orange slices to the boiling syrup. Reduce the heat to low, ensuring the syrup maintains a gentle simmer, not a rolling boil. Simmer uncovered for 45 to 60 minutes, turning the slices occasionally. The slices should become translucent and tender.
- Remove and drain: Carefully remove the slices from the syrup using tongs and place them in a single layer on a wire cooling rack set over a baking sheet. Let them drain for about 15 minutes. Reserve the leftover syrup.
- Dry the slices: Preheat your oven to the lowest setting, usually between 170°F and 200°F. Place the baking sheet with the rack into the oven. Dry the slices for 2 to 3 hours, flipping them every 30 minutes, until they feel dry to the touch but remain slightly pliable and chewy.
- Coat (Optional): For a crystallized finish, toss the warm, slightly tacky slices in extra granulated sugar or a mix of sugar and lemon zest. For a glossy finish, skip the extra sugar and let them cool completely on the rack.
- Store: Once completely cool, store the candied orange slices in an airtight container at room temperature for up to two weeks.
Notes
- For chocolate dipped candied oranges, melt 4 ounces of dark or milk chocolate. Dip half of each cooled slice into the melted chocolate and place them on parchment paper. Sprinkle with flaky sea salt before the chocolate sets.
- Reserve the leftover citrus syrup. You can use this sweet and tangy orange syrup to sweeten iced tea, cocktails, or pour over pancakes.
- If you want jewel-like orange slices, ensure you simmer them long enough until they are fully translucent before drying.
Nutrition
- Serving Size: 1 slice
- Calories: 75
- Sugar: 18g
- Sodium: 1mg
- Fat: 0.1g
- Saturated Fat: 0g
- Unsaturated Fat: 0g
- Trans Fat: 0g
- Carbohydrates: 20g
- Fiber: 0.5g
- Protein: 0.2g
- Cholesterol: 0mg