
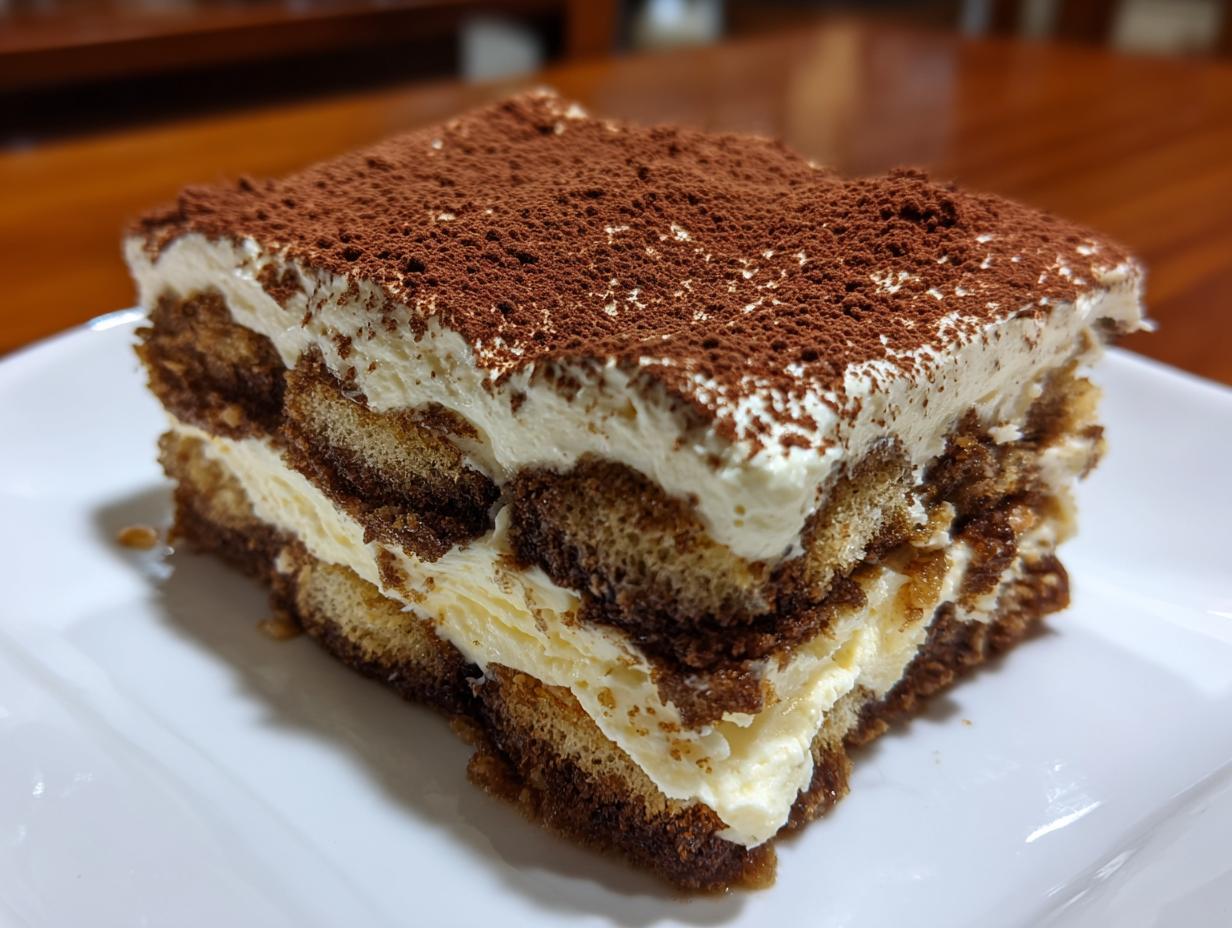
There’s something truly magical about a velvety slice of classic Italian dessert on a slow afternoon. But let’s be honest: sometimes those authentic recipes feel a million miles away from my kitchen, especially when they involve fussy steps or raw ingredients. Well, I’m here to put that stress to rest! I’ve cracked the code for the ultimate, totally easy tiramisu recipe that gets you that incredible, layered flavor without ever heating up the oven or worrying about raw eggs. That’s right—this is completely no-bake!
When I started Taste This Plate, my mission was simple: make memorable food without the fuss. This creamy indulgence is proof you can achieve elegant results with straightforward techniques. It’s become my go-to dessert for dinner parties because it looks like you spent hours on it, but honestly, the prep is done in less time than it takes to make a good cup of coffee. You’re going to love how wonderfully rich this coffee-flavored dessert turns out.
- Why This No-Bake Tiramisu Recipe is Your New Favorite Easy Italian Dessert
- Gathering Ingredients for Your Classic Tiramisu Recipe
- Step-by-Step Instructions for the Best Tiramisu Recipe
- The Essential Chilling Time for a Perfect Tiramisu Recipe
- Tips for Success When Making This Tiramisu Recipe
- Serving Suggestions for Your Show Stopping Desserts
- Storage and Make Ahead Desserts: Keeping Your Tiramisu Recipe Fresh
- Frequently Asked Questions About This Tiramisu Recipe
- Sharing Your Tiramisu Recipe Success
Why This No-Bake Tiramisu Recipe is Your New Favorite Easy Italian Dessert
When you’re looking at a classic dessert, you want the authentic flavor without the complicated steps, right? That’s why I developed this specific tiramisu recipe. We do all the heavy lifting on flavor testing behind the scenes here at the plate, so you get flawlessly structured elegance every time. Forget worrying about tempering eggs; we’ve got a much better, safer way to get that gorgeous texture!
Key Benefits of Our Creamy Tiramisu Recipe
- No Raw Eggs! We achieve that silky texture using heavy cream instead of risking raw yolks. Totally safe and totally delicious.
- Truly No-Bake: Seriously, the oven stays off. This means less stress, less heat in the kitchen, and more time enjoying your company.
- Prep in Minutes: You can have all the layers assembled in about 25 minutes flat. It’s the ultimate easy Italian dessert for last-minute hosting.
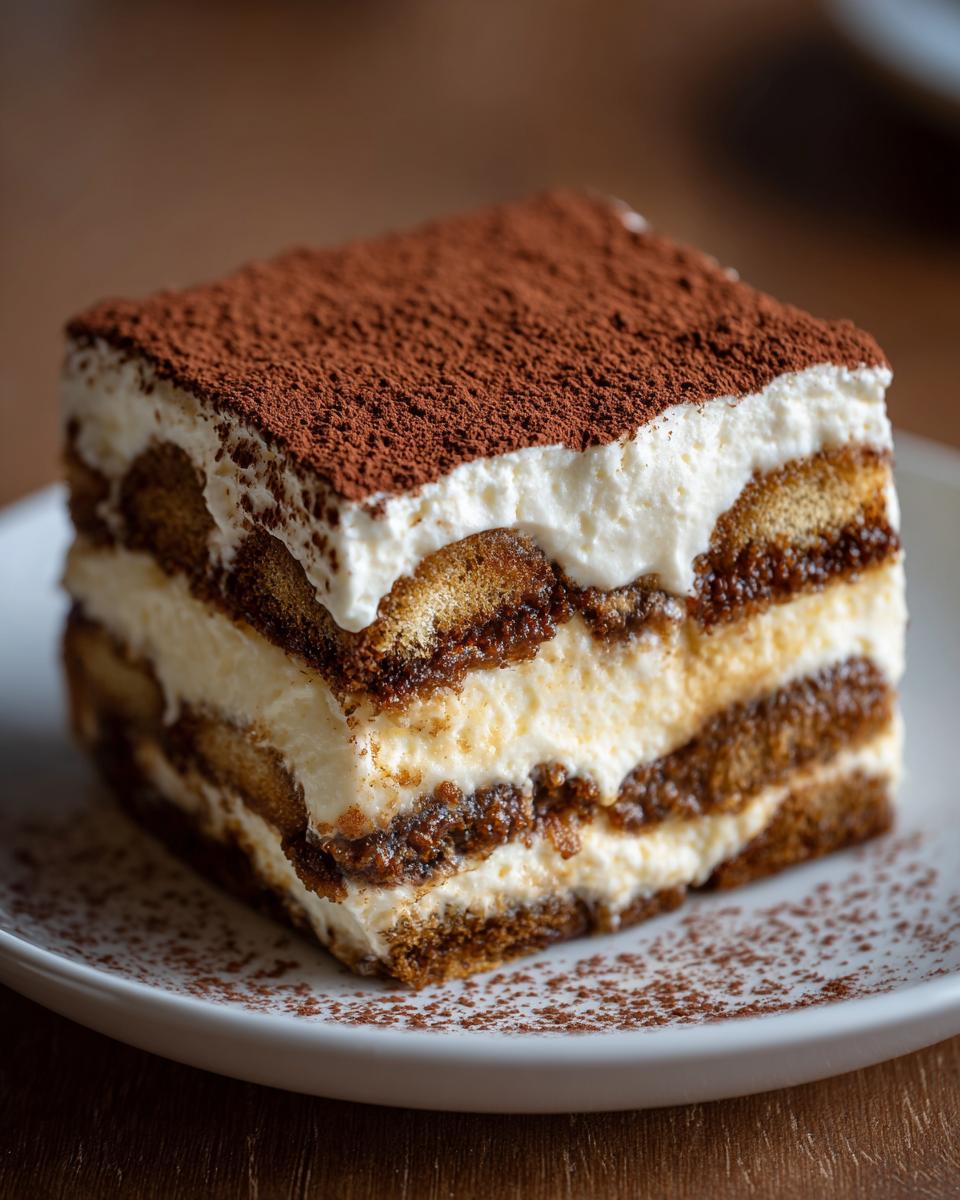
- Unbeatable Creamy Tiramisu: Even though it’s simple, the flavor profile hits that sweet spot of bold espresso and rich mascarpone cream every single time.
Gathering Ingredients for Your Classic Tiramisu Recipe
Okay, let’s talk ingredients! Since this tiramisu recipe is so simple, the quality of what you use really shines through. You don’t need anything complicated, just good basics. You’ll see we divide things up into the soak and the cream. Make sure those heavy whipping cream and the mascarpone cheese are nice and cold when you start mixing—that’s crucial for getting the right fluffy texture we are aiming for!
Here is everything you’ll need to make this amazing creamy tiramisu:
- 1 1/2 cups strong brewed espresso or coffee, cooled
- 1/4 cup coffee liqueur or dark rum (optional, but highly recommended for depth!)
- 1 package (7 oz) ladyfingers (Savoiardi biscuits)
- 1 cup heavy whipping cream, cold
- 1 cup granulated sugar
- 16 oz mascarpone cheese, cold
- 1 teaspoon vanilla extract
- Unsweetened cocoa powder, for dusting
Ingredient Notes and Substitutions for Your Tiramisu Recipe
Honestly, the coffee is the star of the show here. If you use weak coffee, you’ll end up with a bland dessert. Go strong! I always use a fresh double shot of espresso if I can manage it, just to get that deep, traditional note in those espresso soaked ladyfingers. If you skip the liqueur—maybe you’re avoiding alcohol—just add an extra splash of strong coffee to make up the liquid volume. Using the liqueur just adds that little kick that makes it feel truly authentic, though!
As for the ladyfingers? If you absolutely cannot find them, you could theoretically use thin slices of pound cake, but please don’t tell an Italian nonna I said that! Ladyfingers are necessary because they absorb the coffee without turning into mush instantly, which keeps the structure perfect for this layered dessert.
Step-by-Step Instructions for the Best Tiramisu Recipe
If you want an Authentic Italian Dessert that looks like it took forever but absolutely didn’t, this is the section for you! We are going to build this luxurious dessert from the ground up. Honestly, keeping things in order is the trick here, especially when we move onto dipping those delicate ladyfingers. Follow these steps exactly, and you’ll get that melt-in-your-mouth texture we are aiming for.
Preparing the Coffee Soak and Espresso Soaked Ladyfingers
First thing’s first: your coffee needs to chill out! Mix that strong espresso with the optional liqueur in a shallow dish—wide enough for a biscuit, but not too deep. Now, here is the move that separates a good tiramisu from a gloppy mess: you need to dip each ladyfinger *quickly*. Seriously, one second on the bottom, one second on the top, and that’s it. You are just waking them up with coffee, not drowning them! If they fully absorb the liquid before they hit the pan, they dissolve into mush later. Trust me on the quick dip for this creamy tiramisu!
Creating the Mascarpone Cream Recipe (No Raw Eggs)
This is where we nail that creamy goodness without ever touching a raw egg. Start by whipping your cold heavy cream until you get those nice soft peaks—you know, when you lift the whisk, the tip gently flops over. Set that bowl aside, don’t deflate it! Now, in a separate bowl, beat your cold mascarpone cheese with the sugar and vanilla until it’s smooth; you want zero lumps. The most important part is the fold: gently fold that whipped cream into the mascarpone mixture. Use a rubber spatula and cut down the middle and scoop up from the bottom. Stop stirring the second it looks uniform! Overmixing here means you deflate all the air we just beat in.
Assembling Your Simple Layered Dessert
Time to build! Take half of those quickly dipped ladyfingers and lay them snugly in your 8×8 dish to form your base layer. Next, dollop half of that beautiful, airy mascarpone cream right on top and spread it gently to cover the biscuits completely. Now, repeat the whole process for the second layer: quick-dip the rest of your biscuits, arrange them over the cream, and finish by spreading the remaining cream evenly over the top. Make sure the surface is smoothed out nicely—this will be the top you dust later!
The Essential Chilling Time for a Perfect Tiramisu Recipe
Now that you’ve assembled your beautiful layers, you have to resist the urge to dig in! I know, I know, the smell of coffee alone is torture when you’re standing over this dish. But chilling time is non-negotiable for this tiramisu recipe. This isn’t just about making it cold; it’s about letting the flavors actually get to know each other.
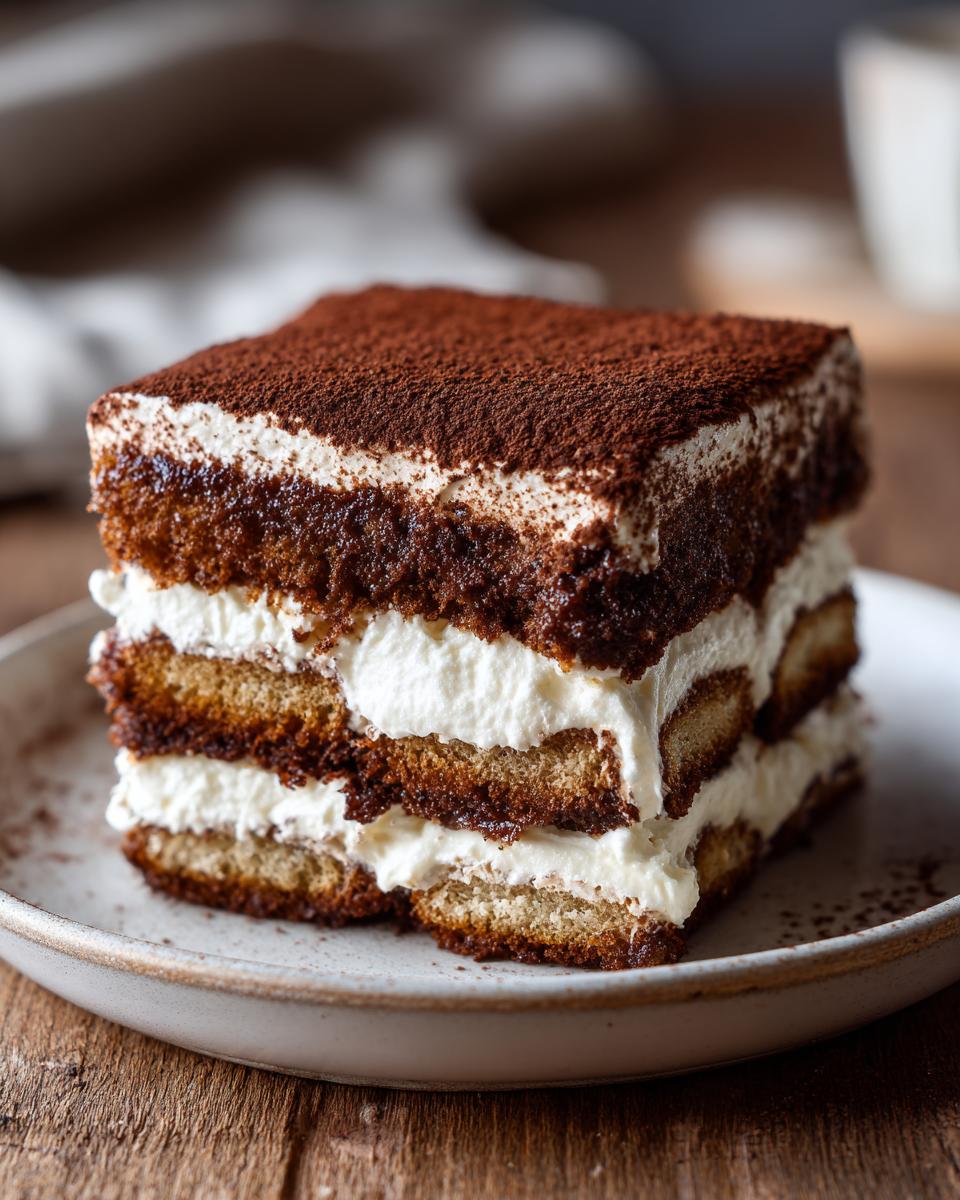
We talk about this being a great Make Ahead Dessert for a reason! If you can manage it, let it chill overnight. When it chills, those espresso-soaked ladyfingers fully soften and the mascarpone cream firms up perfectly. This is what gives you those clean, beautiful slices when you finally serve it. Seriously, minimum six hours, but 12 to 24 hours is just heaven.
Tips for Success When Making This Tiramisu Recipe
Even though this is marketed as an easy tiramisu recipe, a couple of simple pointers can take it from good to absolutely unforgettable. I learned these tricks through trial and error—mostly error when I was new to these layered desserts!—so pay attention to these little details to guarantee that creamy, show-stopping result.
First up: Temperature control is your friend. Remember how I said the mascarpone and heavy cream need to be cold? That’s because if the mascarpone warms up even a little bit before you start whipping, it gets soft and grainy instead of smooth. If your kitchen is boiling hot, put your mixing bowl in the freezer for 10 minutes before you start whipping the cream. Cold components whip up faster and hold more air, giving you that light texture we love.
Second, remember that gentle folding for the cream! When you incorporate the whipped cream into the mascarpone mixture, be patient. If you stir vigorously like you’re beating cake batter, you’ll knock all that beautiful volume right out. Use a big rubber spatula and fold it in just until you stop seeing white streaks. That airy texture is what separates this from being a heavy pudding.
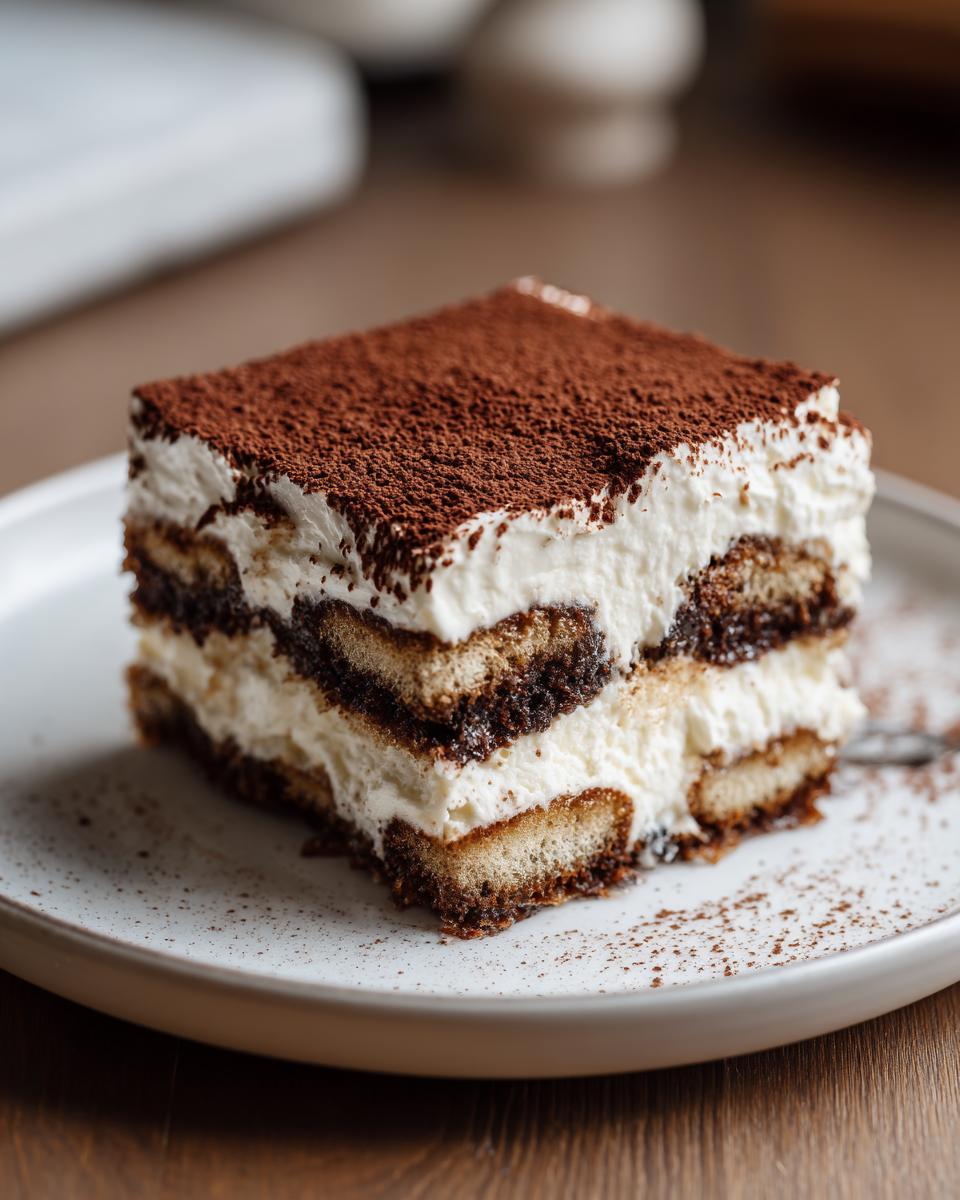
Finally, for the presentation, I have one crucial tip: Don’t dust with the cocoa powder until you are literally ready to serve this Italian coffee dessert. If you dust it the night before, the moisture from the cream will absorb the cocoa, leaving you with a dull, damp, brown top layer instead of that beautiful dark contrast. Dust generously right before slicing! A fine-mesh sieve works best for a professional, even dusting.
Serving Suggestions for Your Show Stopping Desserts
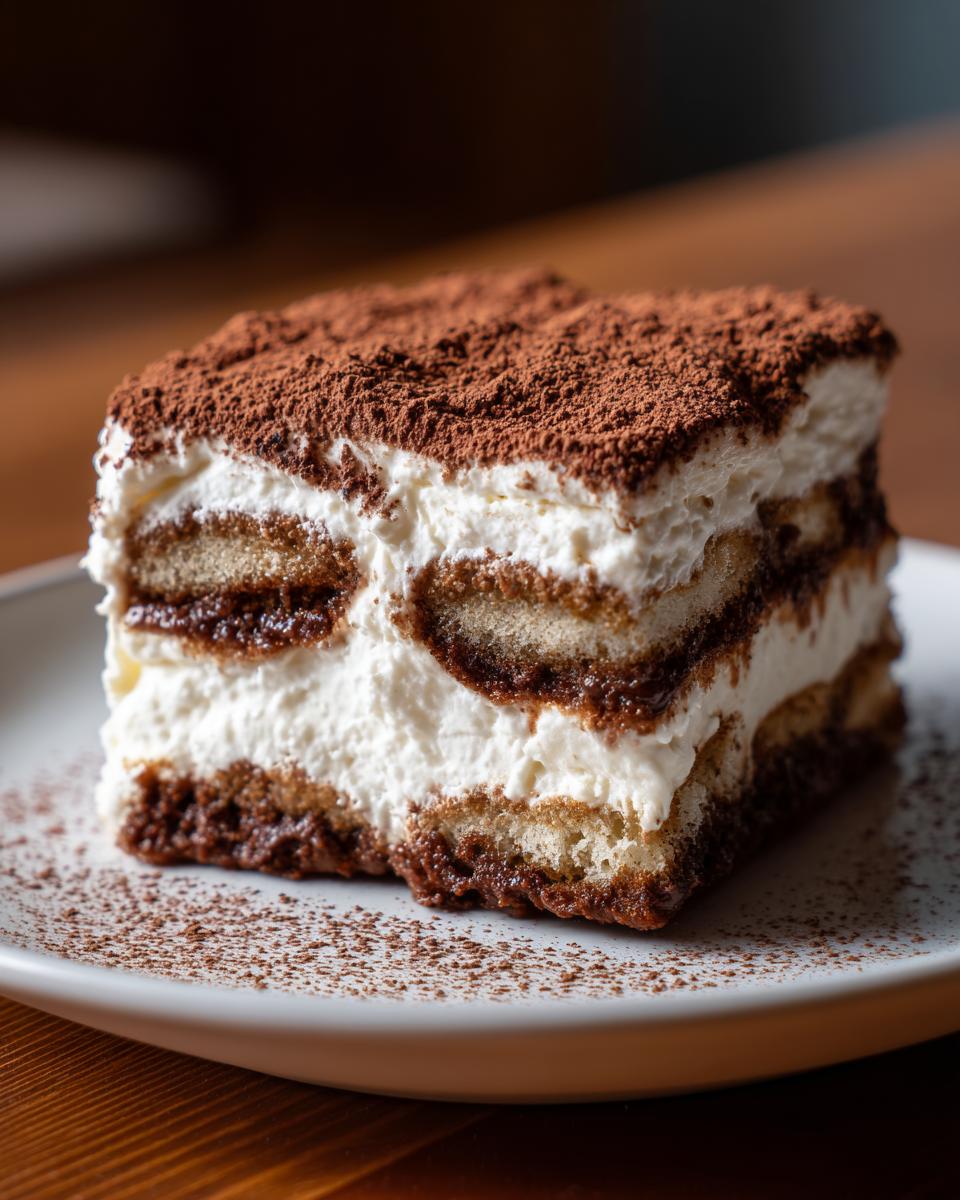
When it’s time to bring this tiramisu recipe out onto the table, you want it to look as good as it tastes! Since this is such an elegant, layered dessert, presentation really matters. Remember I said to only dust the cocoa right before serving? Make sure you use a fine-mesh sieve for that final touch. It gives you a delicate, even layer that looks incredibly polished, turning it into one of those show stopping desserts without any extra baking work!
If you’re serving it out of that main 8×8 dish, just cut clean, generous squares. If you want to get really fancy, sometimes I use individual clear glasses or small ramekins when I make a batch. Layering it in glass makes those distinct coffee-soaked ladyfinger layers and the creamy white layers really pop! It’s an easy trick that elevates it instantly for any special gathering.
Now, what do you serve alongside it? Since this is already a rich, coffee-flavored treat, you want something that complements it, not overpowers it. For late-night gatherings, a tiny demitasse cup of strong, hot espresso is non-negotiable. That’s the classic pairing for a reason! If you’re serving it after a big holiday meal, a small glass of a sweet, dark dessert wine, like a Vin Santo or a deep tawny port, plays beautifully against the bitterness of the cocoa and the deep coffee notes. This is definitely my favorite dessert for dinner parties because the pairings are just as simple as the recipe itself!
Storage and Make Ahead Desserts: Keeping Your Tiramisu Recipe Fresh
Okay, maybe you’re not serving this entire tiramisu recipe today, and you need to know the best way to stash it. Good news! This is designed to be a fantastic Make Ahead Dessert. You must keep it covered tightly with plastic wrap—I hate waste, so I press the plastic slightly onto the surface to minimize air exposure—and store it in the refrigerator. Honestly, it tastes better on day two! It holds up beautifully for about three to four days in the fridge. You don’t need to reheat anything, of course, since it’s no-bake, but letting it sit covered overnight is the secret weapon for the best texture.
Frequently Asked Questions About This Tiramisu Recipe
I know when I first tried making a Classic Tiramisu, I had a million questions swirling around. It’s normal! You want that perfect Italian result without any drama. Here are the things I get asked most often about this recipe:
Can I make this tiramisu recipe with whipped cream instead of eggs?
That’s the beauty of this particular tiramisu recipe! You absolutely can—in fact, you already are! I designed this version specifically to skip the raw egg yolks that traditional recipes use. We achieve that gorgeous, light, yet creamy texture by whipping the heavy cream separately and then folding it into the mascarpone mixture. It gives you all the richness you want in that mascarpone cream recipe but keeps things totally fuss-free and safe!
How long does this easy Italian dessert last in the fridge?
It lasts long enough that you constantly have leftovers, which is a win in my book! Because we aren’t using raw eggs, this dish is very stable. If you keep it covered tightly and refrigerated, this easy Italian dessert tastes fantastic for a solid four days. But honestly, the flavor gets even deeper and more complex on day two, so if you can hold off serving it for 24 hours after assembly, you are in for such a treat!
What is the best coffee to use for espresso soaked ladyfingers?
When it comes to coffee flavored desserts, coffee quality matters more than anything! You want that deep, slightly bitter contrast against the sweet cream. Please avoid weak drip coffee. The best choice is a strong, freshly brewed espresso—even if you have to use a stovetop moka pot! If you’re making this for adults, adding a little dark rum or coffee liqueur deepens the flavor profile into a truly memorable Italian coffee dessert experience. Strong coffee equals big flavor; don’t cheap out here!
Sharing Your Tiramisu Recipe Success
Okay, that’s it! You’ve made it past the coffee dipping and the gentle folding, and now you have this incredible, ready-to-chill masterpiece in your kitchen. I truly hope you enjoyed the process of creating this elegant Best Tiramisu Recipe without any of the stress.
Now that you’ve had a chance to serve it up for your family, I have to know what you thought! Did those layers set up perfectly? Did your guests realize how incredibly easy this simple layered dessert actually was? Drop a comment below and let me know how much time you saved by skipping the oven!
If you tried this recipe, please take a picture! Tag us on social media so I can see your lovely dusty cocoa tops and those beautiful cross-sections. Knowing that another home cook has successfully brought a little bit of Italian love to their table is what this whole site is about. Happy cooking, friends, and thanks for enjoying this sweet treat with me today!
PrintThe Ultimate Easy No-Bake Tiramisu Recipe (Classic Italian with No Raw Eggs)

Create a classic Italian Tiramisu without turning on your oven or using raw eggs. This simple, no-bake recipe delivers creamy mascarpone layers and perfectly espresso-soaked ladyfingers for a decadent, make-ahead dessert.
- Prep Time: 25 min
- Cook Time: 0 min
- Total Time: 6 hr 25 min
- Yield: 8 servings 1x
- Category: Dessert
- Method: No-Bake
- Cuisine: Italian
- Diet: Vegetarian
Ingredients
- 1 1/2 cups strong brewed espresso or coffee, cooled
- 1/4 cup coffee liqueur or dark rum (optional)
- 1 package (7 oz) ladyfingers (Savoiardi biscuits)
- 1 cup heavy whipping cream, cold
- 1 cup granulated sugar
- 16 oz mascarpone cheese, cold
- 1 teaspoon vanilla extract
- Unsweetened cocoa powder, for dusting
Instructions
- Prepare the coffee soak: Mix the cooled espresso and coffee liqueur (if using) in a shallow dish. Set aside.
- Make the cream: In a large bowl, beat the cold heavy cream with an electric mixer until soft peaks form. Set aside.
- In a separate bowl, beat the cold mascarpone cheese, granulated sugar, and vanilla extract until the mixture is smooth and creamy. Do not overmix.
- Gently fold the whipped cream into the mascarpone mixture until just combined. You want the cream to remain light and airy. This is your creamy mascarpone filling.
- Assemble the tiramisu: Quickly dip each ladyfinger, one at a time, into the coffee mixture. Do not soak them too long, or they will become soggy.
- Arrange a single layer of the dipped ladyfingers in the bottom of an 8×8 inch baking dish or a similar-sized serving dish.
- Spread half of the mascarpone cream evenly over the layer of ladyfingers.
- Repeat the process: Dip the remaining ladyfingers and arrange them over the cream layer.
- Spread the remaining mascarpone cream evenly over the second layer of ladyfingers. Smooth the top surface.
- Cover the dish tightly with plastic wrap. Chill the tiramisu in the refrigerator for at least 6 hours, or preferably overnight, to allow the flavors to meld and the dessert to set.
- Before serving, generously dust the top layer with unsweetened cocoa powder using a fine-mesh sieve. Slice and serve this easy Italian dessert.
Notes
- Use high-quality, strong espresso for the best coffee flavor in your espresso-soaked ladyfingers.
- Chilling time is essential; this allows the ladyfingers to soften properly and the cream to firm up, making clean slices possible.
- For a non-alcoholic version, simply omit the coffee liqueur or rum and use only strong brewed coffee.
- This is a perfect make-ahead dessert for dinner parties, as it tastes better when prepared a day in advance.
Nutrition
- Serving Size: 1 slice
- Calories: 450
- Sugar: 35g
- Sodium: 110mg
- Fat: 30g
- Saturated Fat: 18g
- Unsaturated Fat: 12g
- Trans Fat: 0.5g
- Carbohydrates: 38g
- Fiber: 1g
- Protein: 8g
- Cholesterol: 120mg