
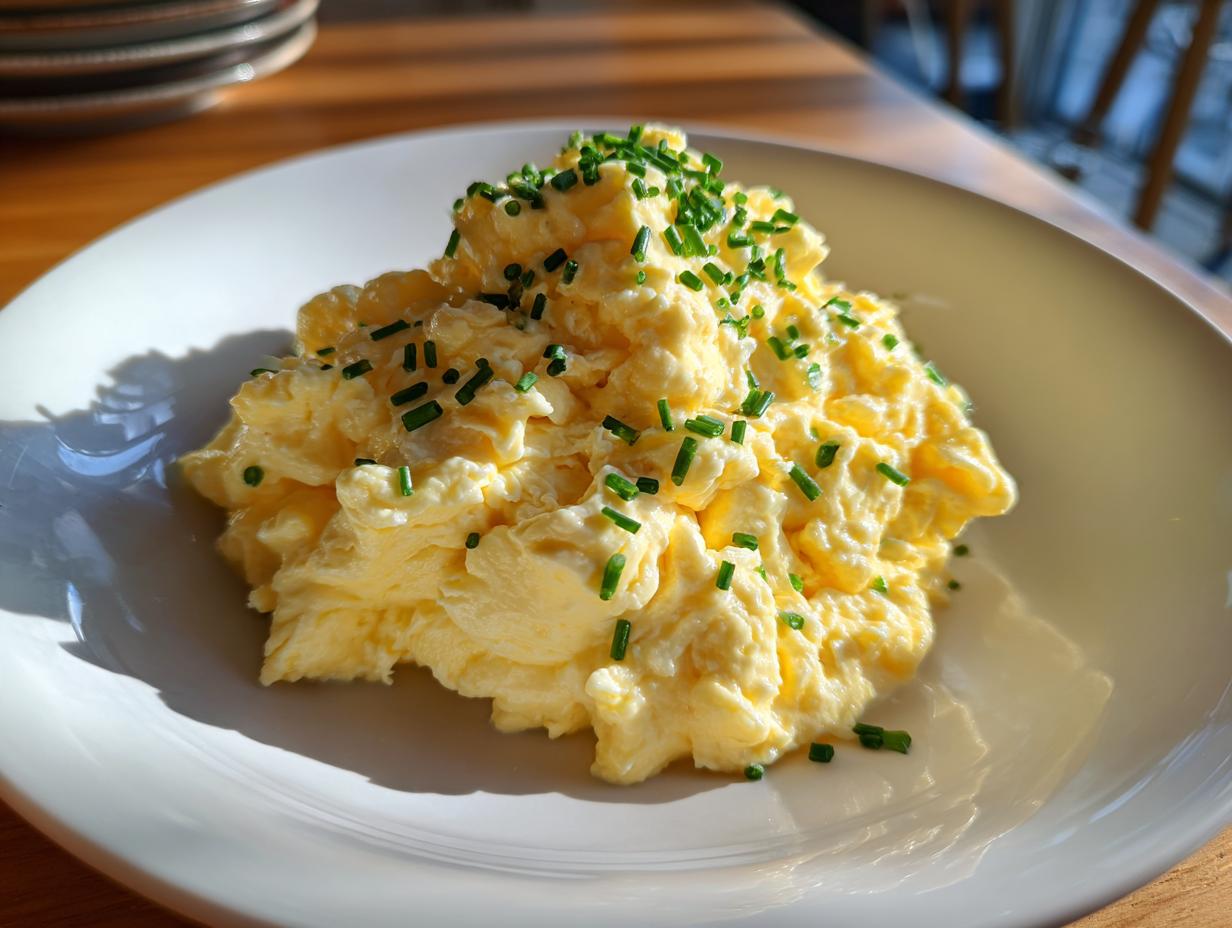
Oh, partner, have you ever been served a plate of stiff, rubbery eggs and felt that little sinking feeling? I’ve been there! For years, I thought that was just how scrambled eggs were supposed to be—a necessary evil before my real brunch began. But trust me, making truly exceptional ones is simple once you know the secrets. That’s why I put this low-and-slow method together. We’re moving past the dry, sad stage and landing squarely in the ultimate fluffy and creamy scrambled eggs territory. Mastering simple techniques like this is what Taste This Plate is all about. It takes practice, but once you see those silky curds form, you’ll never go back!
- Why Our Ultimate Fluffy and Creamy Scrambled Eggs Recipe Works
- Gathering Ingredients for Your Fluffy Scrambled Eggs Recipe
- How to Prepare Restaurant Style Eggs At Home: Step-by-Step Instructions
- Tips for Success When Making Fluffy Scrambled Eggs
- Variations: Making Cheesy Scrambled Eggs or Cottage Cheese Eggs Recipe
- Storage and Reheating Instructions for Leftover Scrambled Eggs
- Serving Suggestions for Your Perfect Scrambled Eggs
- Frequently Asked Questions About Making Scrambled Eggs
- Share Your Ultimate Fluffy Scrambled Eggs
Why Our Ultimate Fluffy and Creamy Scrambled Eggs Recipe Works
I spent way too many mornings wrestling with my pan, trying to rush breakfast along. That’s how I learned that making the *best* scrambled eggs is less about speed and more about respecting how delicate an egg curd can be. This recipe ensures you get that light, cloud-like texture we all crave. Forget tough eggs; we’re focusing on mastering egg texture.
- You get a truly Fluffy Scrambled Eggs Recipe that doesn’t deflate when you look at it.
- The texture is consistently rich and never dry—perfect for impressing guests at brunch.
- You finally understand the foundation of Perfect Scrambled Eggs Technique!
The Secret to Velvety Eggs: Low Heat is Non-Negotiable
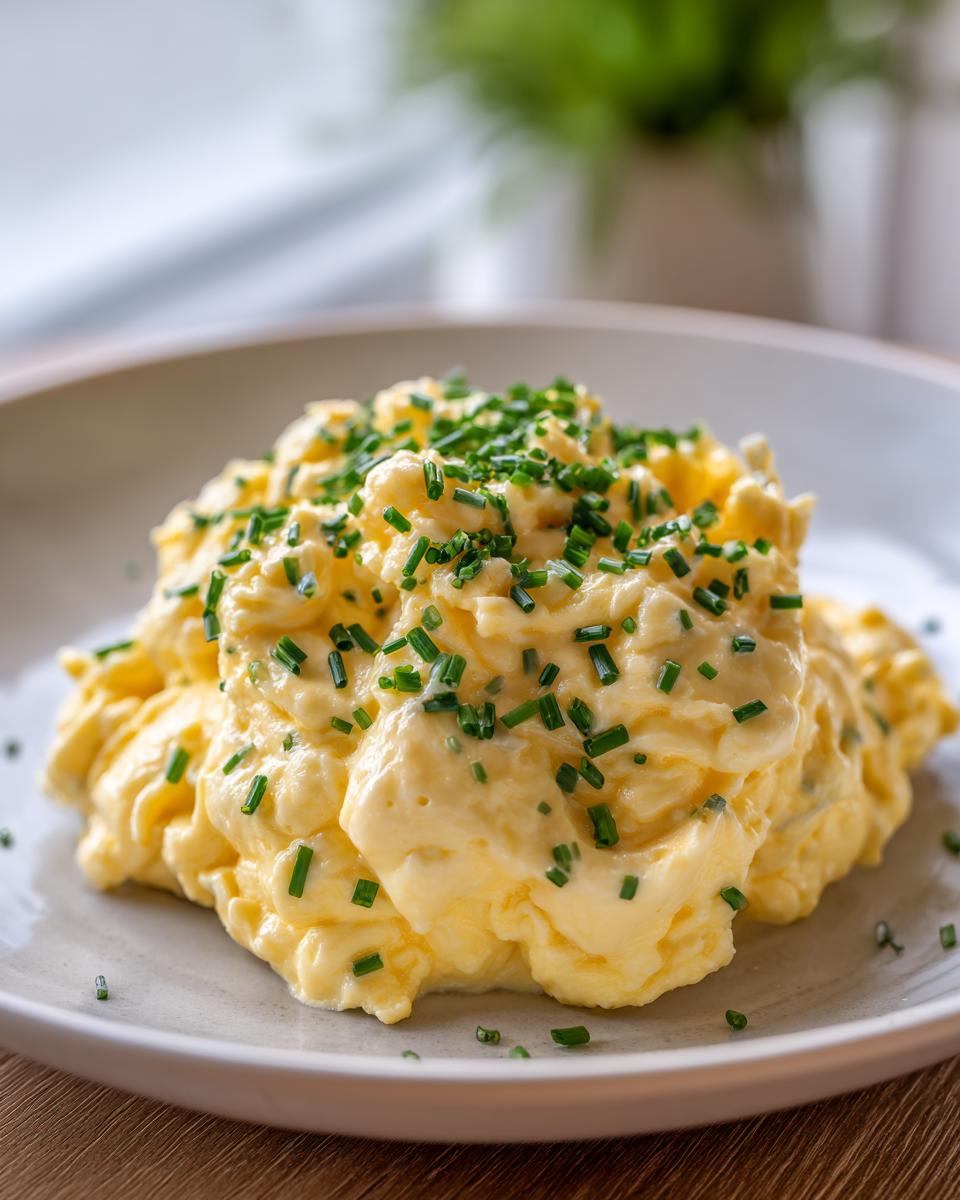
Here is my big takeaway: high heat makes the proteins in the egg snap together too fast. When that happens, you lose all that beautiful moisture and get those grainy or blue-tinged curds. We need them to gently swell. This slow cooking is the key to that gorgeous Velvety Eggs Tutorial end result. Keep that flame down low, seriously!
Achieving Perfect Scrambled Eggs Technique with Added Cream
The heavy cream isn’t just for show, folks. That extra fat content coats the egg proteins, which slows down coagulation even more. This means the eggs cook gently without drying out. It’s the simplest way to guarantee wonderfully Creamy Scrambled Eggs every single time, adding that luxurious mouthfeel we usually only find at fancy hotels.
Gathering Ingredients for Your Fluffy Scrambled Eggs Recipe
Okay, this is where we set ourselves up for success. For the best batch of scrambled eggs you’ve ever made, just grab these simple things. I’m listing exactly what I use because precision matters when you’re chasing that perfect texture. Don’t worry if you don’t have everything; I’ve got a couple of quick tweaks for you down below!
- 4 large eggs (this is the standard size we tested with!)
- 2 tablespoons heavy cream (don’t skimp here, this is our secret weapon!)
- 1 tablespoon unsalted butter (we want control over the salt content)
- 1/4 teaspoon fine sea salt
- A pinch of black pepper, freshly cracked is always better
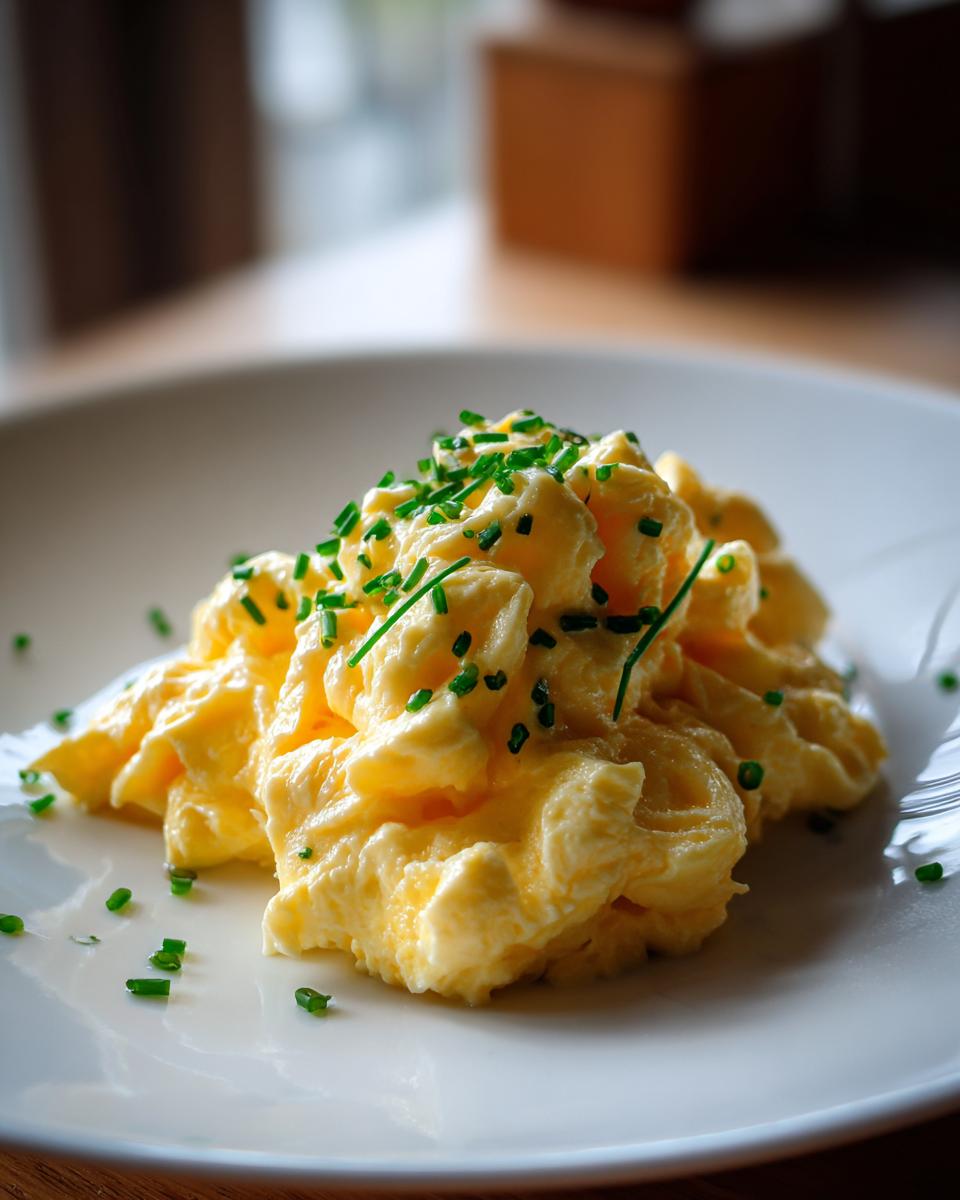
- 1 teaspoon fresh chives, finely chopped (totally optional, but they make it pretty)
Ingredient Notes and Simple Substitutions
Since we are aiming for that restaurant quality, using large eggs is important for the volume measurement. When it comes to the butter, always use unsalted so you can manage the sodium yourself—it tastes cleaner that way. If you’re tired of the gentle savory flavor and want Cheesy Scrambled Eggs instead, toss in about 1/4 cup of sharp shredded cheddar right when the eggs look almost done. That’s all it takes to switch things up!
How to Prepare Restaurant Style Eggs At Home: Step-by-Step Instructions
Alright, this is where the magic actually happens! Anyone can dump eggs in a pan, but this gentle technique is what separates a decent breakfast from glorious, Restaurant Style Eggs At Home. I highly recommend you read through all these steps before you even think about turning on the stove so you know exactly when to pull the pan off the heat—that timing is everything when we’re making perfect scrambled eggs.
The Whisking and Pan Prep for Perfect Scrambled Eggs
First things first: whisk those eggs and cream until they are perfectly uniform, maybe a little frothy, but not fluffy like meringue! Next, get your non-stick skillet on medium-low heat. I mean it, medium-low! Add your cold butter and let it fully melt until it just starts to foam up. This even heat distribution is what stops everything from seizing up too fast.
Mastering the Slow Fold Technique for Creamy Scrambled Eggs
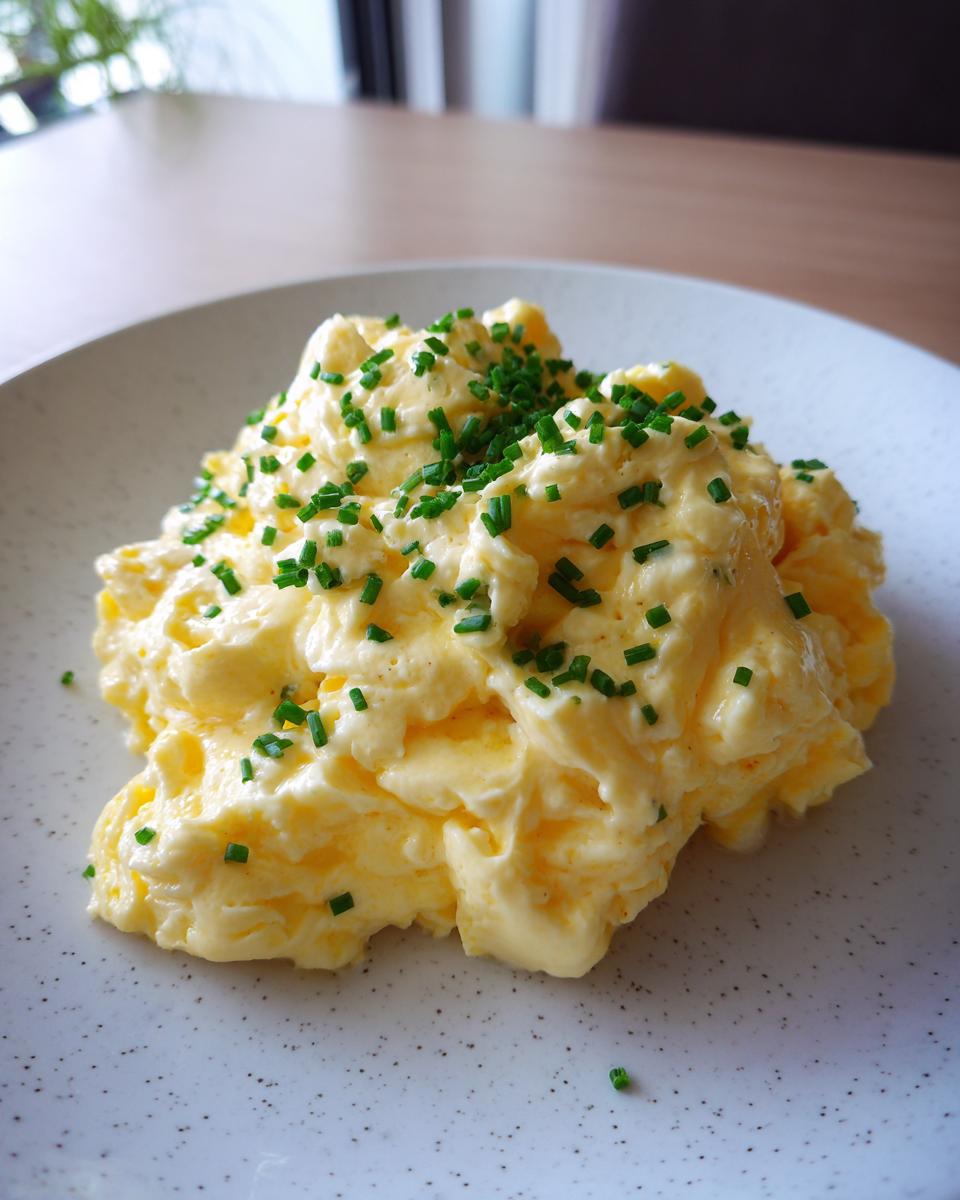
Pour the egg mixture in and let it sit, untouched, for maybe 30 seconds. Just until you see the edges start to firm up slightly. Now, take your rubber spatula and gently push those set edges inward, tilting the pan so the raw egg flows right underneath. You must keep this motion going—slowly pushing and folding—to build those gorgeous, soft curds. When they look mostly wet and glossy—I mean really shiny—take the pan completely off the burner right away. Residual heat finishes them perfectly for that silky smooth eggs texture. Don’t forget to read about a similar, technique by Chef Ramsay here!
Tips for Success When Making Fluffy Scrambled Eggs
I know it can feel tricky when chasing that cloud-like texture, but trust me, these few little tricks are what make all the difference between basic eggs and the Best Way To Scramble Eggs you’ve ever had. My biggest tip, which comes straight from the notes I took while testing, is about adding a little something extra right at the end. When you pull the pan off the heat, whisk in a tiny extra pat of cold, unsalted butter, stirring like crazy!
This technique, often used in restaurant kitchens, immediately stops the cooking process while adding incredible shine and richness. Seriously, try this once, and you’ll understand what I mean about achieving that superior texture. If you’re struggling to get breakfast ready fast, remember that while this method is low-and-slow, the total time is still under 15 minutes, making it a wonderfully Quick Morning Meal!
Variations: Making Cheesy Scrambled Eggs or Cottage Cheese Eggs Recipe
Now that you’ve mastered the base recipe for glorious, soft scrambled eggs, let’s talk about jazzing things up a bit, because sometimes you just need that extra salty, gooey kick! If you’re craving that rich, melty texture everyone loves, adding cheese right at the end is super satisfying. This is how you turn our creamy base into incredible Cheesy Scrambled Eggs in seconds.
For those looking for a serious protein boost or perhaps trying that viral trend, the cottage cheese variation is amazing. I’ve played around with it—and you can check out my thoughts on using cottage cheese in baking right here. When scrambling, simply blend a small amount of cottage cheese with your eggs before cooking, or you can actually stir it in at the very end for big pockets of creamy flavor, just like they do in some of the best Cottage Cheese Eggs Recipe tutorials!
Storage and Reheating Instructions for Leftover Scrambled Eggs
Honestly, the absolute best version of these scrambled eggs happens the second they come off the heat. I’ll just admit that upfront because these soft, velvety eggs do not love sitting around!
However, if you have leftovers—maybe you made too much for a weekend brunch—you can save them. Store them in a shallow, airtight container in the fridge for up to two days. When you reheat them, you have to be gentle. Use the lowest heat setting on your pan and add a tiny splash of milk or cream for every half cup of eggs you’re warming up. A gentle stir is all they need until they are just warmed through. If you’re looking for other quick meals that reheat well, check out my recipe for quick easy fried noodles!
Serving Suggestions for Your Perfect Scrambled Eggs
Now that you have these gorgeous, soft eggs, you need the perfect platform for them! We made these aiming for the best Brunch Ideas Eggs, so don’t let them sit lonely on a plate. They are fantastic piled on top of thick, toasted sourdough bread. And you absolutely have to try them with my super simple, creamy avocado toast—you can find the recipe right here!
If you’re looking for a balanced plate that still counts as a Quick Morning Meal, add a few lightly sautéed spinach leaves or some sliced tomatoes on the side. A sprinkle of everything bagel seasoning over the top ties it all together beautifully!
Frequently Asked Questions About Making Scrambled Eggs
I know you might still have a few lingering questions when trying to transform your morning routine! That’s totally okay. When you’re trying to achieve the perfect scrambled eggs technique, sometimes you just need a quick confirmation on the details. I tried to cover all the little things that tripped me up when I was first learning how to whip up these soft eggs.
Can I make these fluffy scrambled eggs ahead of time?
My honest answer is, please don’t! These recipes are built for immediate enjoyment. Once these beautiful, fluffy scrambled eggs cool down, they deflate a bit. If you absolutely must prep ahead, try undercooking them by a full minute, rapidly cool them in the fridge, and then reheat them *very* gently with a splash of cream later. But truly, for the best experience, aim to eat them right away!
What is the difference between Gordon Ramsay Scrambled Eggs and this method?
That’s a great question! Chef Ramsay’s method is intense—lots of heating and cooling on and off the stove really fast. My approach focuses on a gentler, more consistent low-and-slow heat for about 8 minutes total, which is easier for a consistent result when you’re making Restaurant Style Eggs At Home for a family. We both agree on the low heat and the constant stirring, though—that’s the foundation of creamy, luscious eggs!
How do I make these the best way to scramble eggs without browning?
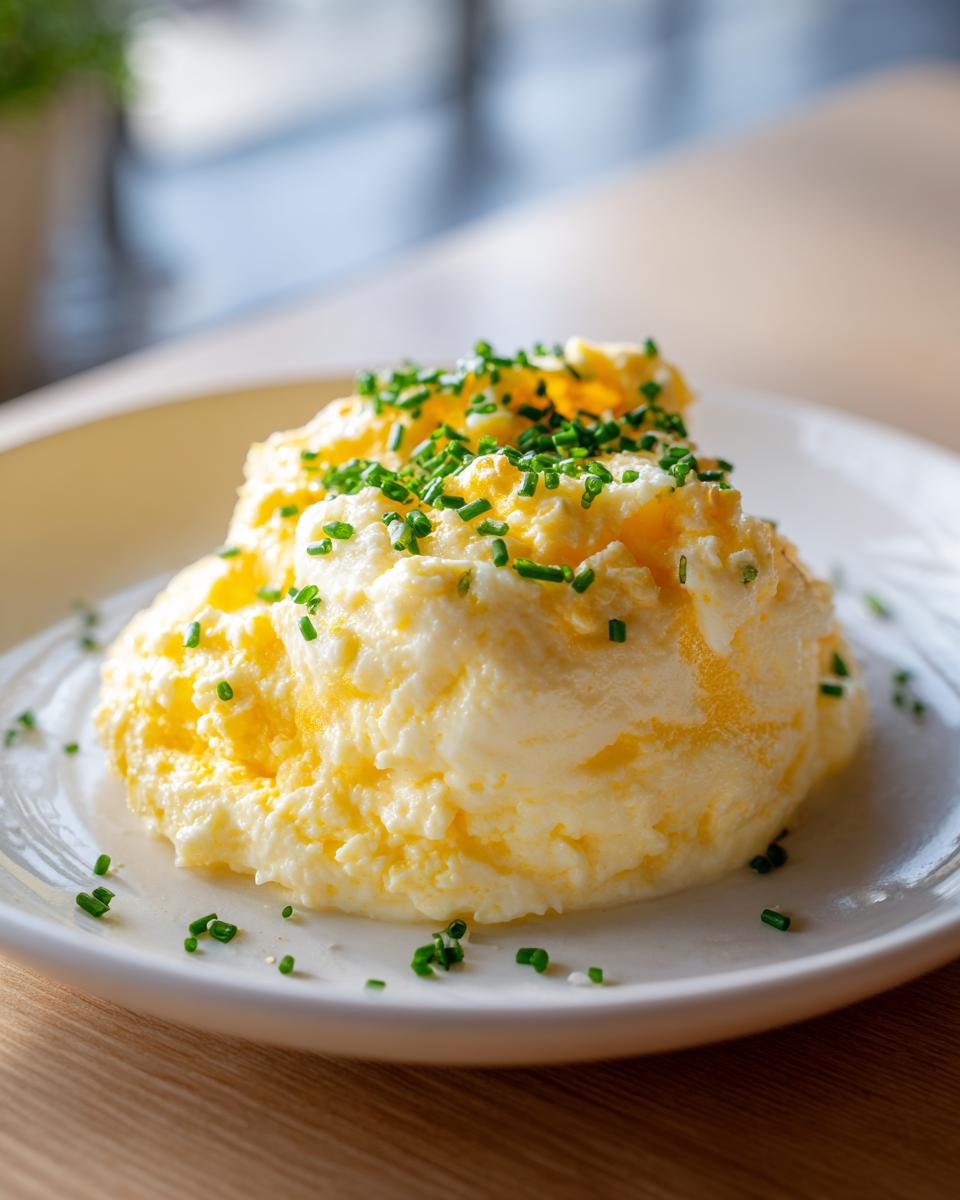
Browning means too much heat, plain and simple. To ensure they stay beautifully pale and fluffy, two things are key here. First, always use medium-low heat—never skip this setting. Second, and this is crucial for that Silky Smooth Eggs texture, pull the pan off the burner when the eggs still look slightly wet and glossy. They will cook another minute or two just from the heat of the pan itself. If you wait until they look ‘done’ in the pan, they’ll be overdone on the plate!
If you’re looking for some great pairing ideas for your perfect breakfast, don’t forget to check out my recipe for stuffed French toast for your next brunch!
Share Your Ultimate Fluffy Scrambled Eggs
And just like that, you’ve made restaurant-quality scrambled eggs! I worked so hard figuring out that low-and-slow technique, and nothing makes me happier than hearing that someone else finally achieved that perfect, creamy texture at home. So, I need to hear all about it!
Did you manage to get those pillow-soft curds we talked about? Did you try the trick with adding the cold butter right off the heat? Please don’t be shy! Head down to the comments below and let me know how this recipe worked for you. Your feedback helps me keep refining these simple recipes for everyone else!
If you snapped a picture of your beautiful, velvety eggs, I would absolutely love to see it! You can share your creations with me directly over on my contact page right here. Seriously, sharing what you cook is the best part of this whole journey. Happy cooking, and I can’t wait to see your results!
PrintThe Ultimate Fluffy and Creamy Scrambled Eggs: Restaurant Style At Home

Learn the foolproof low-and-slow technique to achieve soft, velvety, and fluffy scrambled eggs every time. This simple method guarantees restaurant-style eggs perfect for a quick breakfast or brunch.
- Prep Time: 5 min
- Cook Time: 8 min
- Total Time: 13 min
- Yield: 2 servings 1x
- Category: Breakfast
- Method: Stovetop Cooking
- Cuisine: American
- Diet: Vegetarian
Ingredients
- 4 large eggs
- 2 tablespoons heavy cream
- 1 tablespoon unsalted butter
- 1/4 teaspoon fine sea salt
- Pinch of black pepper
- 1 teaspoon fresh chives, finely chopped (optional)
Instructions
- In a medium bowl, whisk the eggs and heavy cream together until the mixture is uniform in color and slightly frothy. Do not over-whisk; you want to incorporate air but avoid making it too bubbly.
- Place a non-stick skillet over medium-low heat. Add the butter and let it melt completely until it foams slightly.
- Pour the egg mixture into the skillet. Let the eggs sit undisturbed for about 30 seconds until the edges just begin to set.
- Using a heat-resistant rubber spatula, gently push the cooked egg from the edge toward the center, tilting the pan so the uncooked egg flows underneath.
- Continue this slow pushing and folding motion across the entire surface of the pan. Keep the heat low to prevent browning and toughness.
- When the eggs are mostly set but still look wet and glossy (this is key for creaminess), remove the pan from the heat immediately. The residual heat will finish the cooking process.
- Stir in the salt and pepper. If using, sprinkle with fresh chives.
- Serve the velvety eggs immediately for the best texture.
Notes
- For extra richness, add a small pat of cold butter right before removing the eggs from the heat and stir it in quickly.
- If you prefer cheesy scrambled eggs, stir in 1/4 cup of shredded sharp cheddar during the last minute of cooking.
- Do not use high heat; low and slow cooking is the secret to mastering soft, cloud-like egg texture.
Nutrition
- Serving Size: 1 serving
- Calories: 220
- Sugar: 1
- Sodium: 250
- Fat: 17
- Saturated Fat: 9
- Unsaturated Fat: 8
- Trans Fat: 0.5
- Carbohydrates: 2
- Fiber: 0
- Protein: 14
- Cholesterol: 450