
When the sweet tooth hits hard, especially when you’re short on time or energy, what do you do? If you’re anything like me, you avoid the extra step of turning on the oven. That’s exactly why I developed this ultimate easy, no-bake solution: the 3-Ingredient Cool Whip candy. Forget complicated candy-making; this is pure magic. The goal here, true to the Taste This Plate philosophy from Kate Reilly, is to create something incredibly memorable without turning your kitchen into a stressful confectionary lab. I promise you, the texture of this candy—light, fluffy, and melt-in-your-mouth—is the closest thing you’ll get to a homemade 3 Musketeers copycat you can whip up in minutes!
- Why This Easy No Bake Cool Whip Candy Is Your New Favorite
- Gathering Ingredients for Your Cool Whip Candy
- How to Make This Easy No Bake Cool Whip Candy
- Tips for Perfect Cool Whip Candy Success
- Variations on This Simple Homemade Candy
- Storage and Freezing Instructions for Cool Whip Candy
- Serving Suggestions for This Creamy No Bake Bars
- Frequently Asked Questions About Cool Whip Candy
- Estimated Nutritional Data for This Quick Candy Recipe
Why This Easy No Bake Cool Whip Candy Is Your New Favorite
If you need a quick fix that tastes gourmet, this is it. Seriously, this recipe is all about delivering maximum payoff for minimum effort. I love sharing easy no bake candy ideas, and this one always wins because it checks all the boxes that busy home cooks need checked.
- It’s completely no-bake, meaning zero excuses not to try it!
- It’s perfect for holidays or just satisfying that random evening craving.
- The result is shockingly delicious, often fooling people into thinking it took hours.
The Ultimate 3 Ingredient Recipe Advantage
We are talking about a 3 ingredient recipe for the center! How amazing is that? When I talk about simple ingredients, I mean it. This keeps your shopping list short and your prep time under fifteen minutes. It’s truly a minimal ingredient dessert masterpiece.
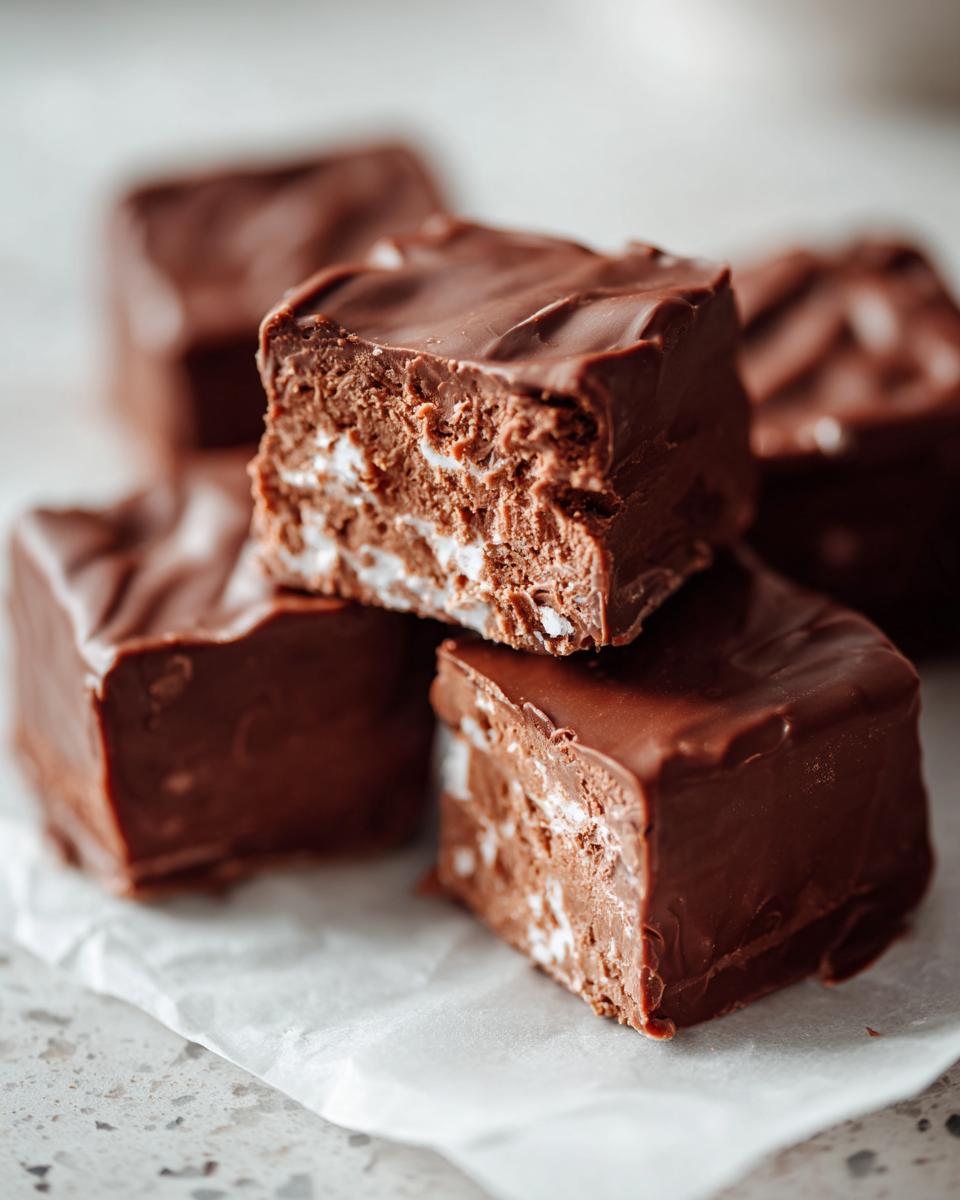
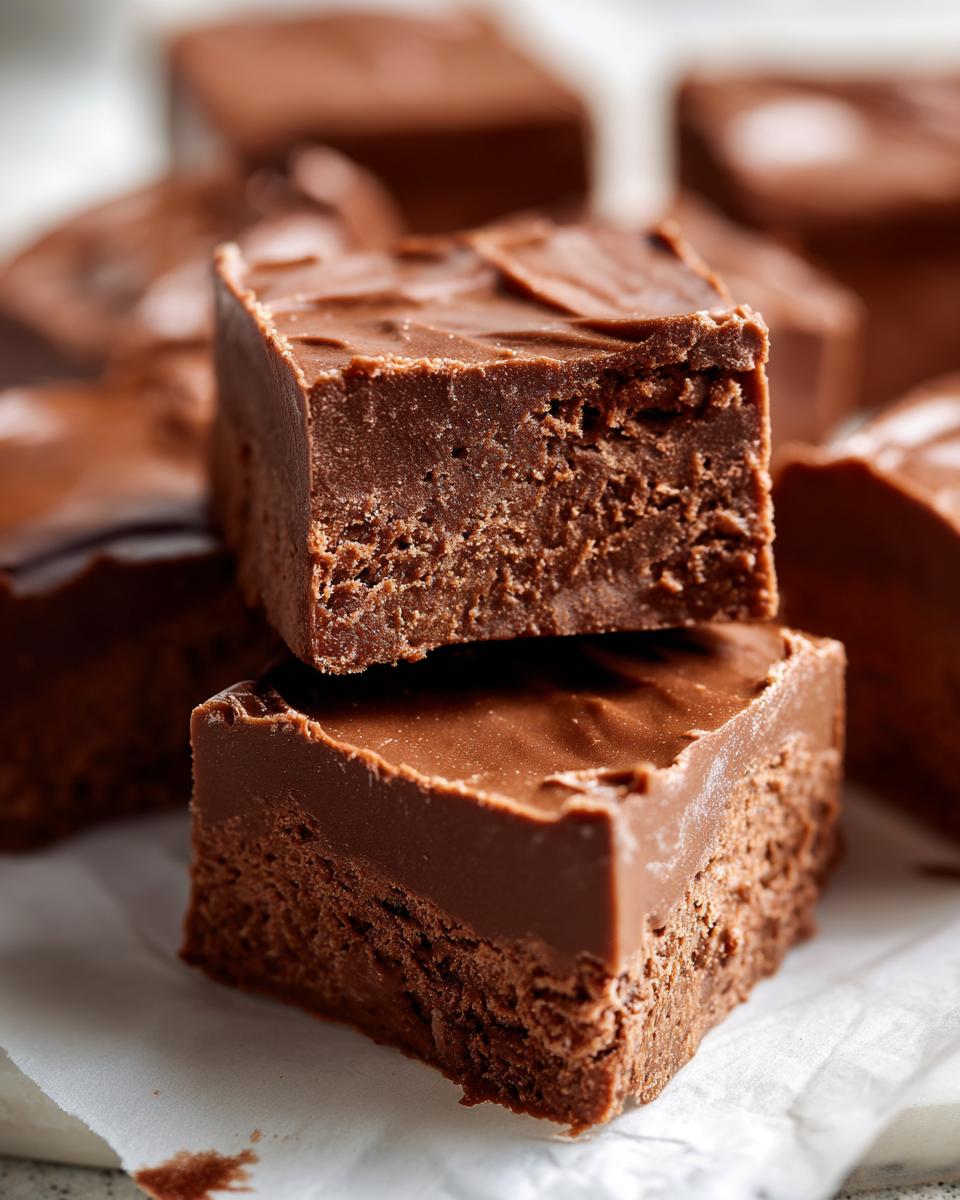
Perfect 3 Musketeers Copycat Texture
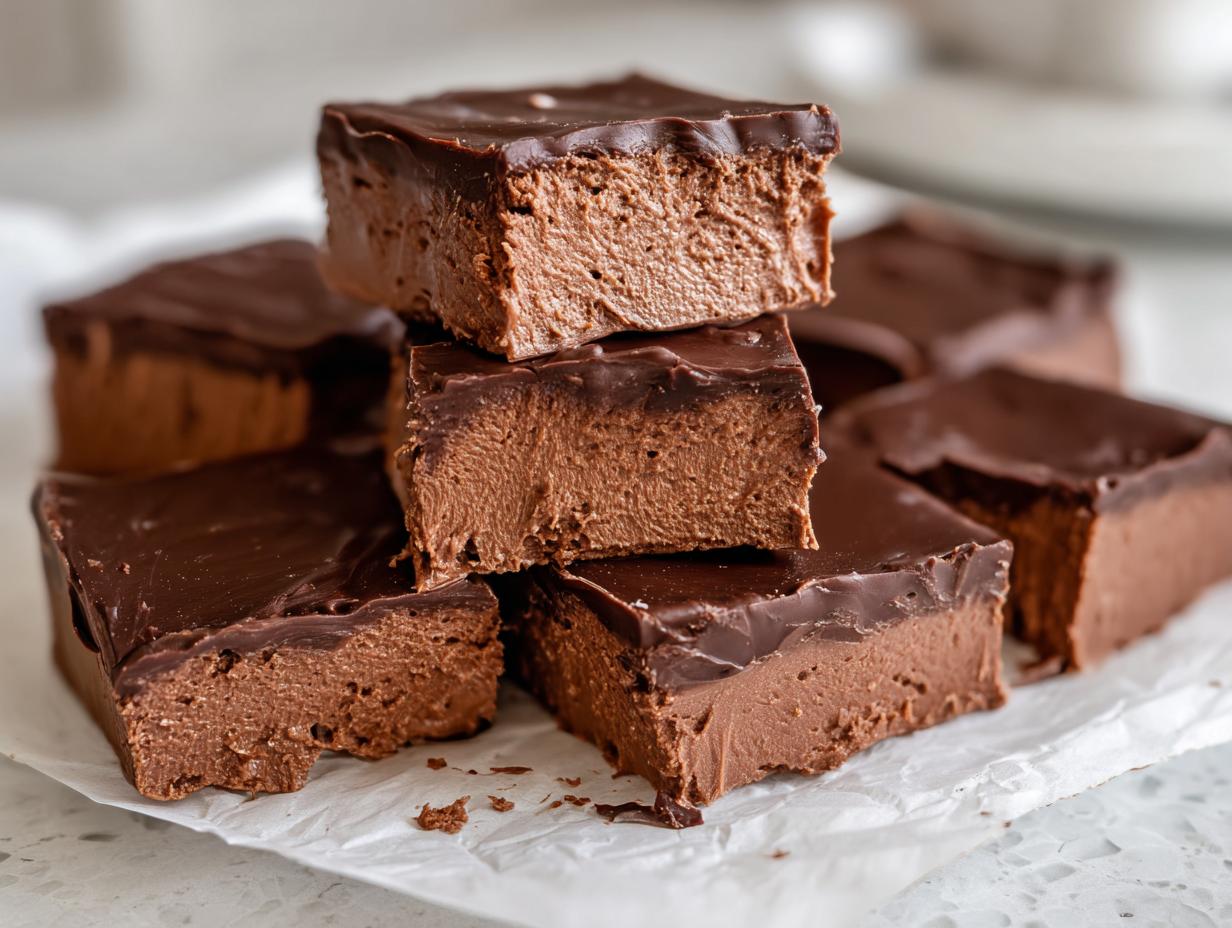
This is the real star of the show. That light, impossibly fluffy texture you get in that classic candy bar? We nail it here. If you’re hunting for a decadent 3 musketeers copycat that melts in your mouth the second it hits your tongue, you’ve found your winner.
Gathering Ingredients for Your Cool Whip Candy
I always say that building a great recipe starts with having the right components ready to go. Since this is such a quick, no oven required sweets recipe, having everything measured out before you start mixing the center is a game-changer. You won’t need much, but those few ingredients have to be exactly right!
For the Fluffy Cool Whip Candy Center
You only need three major things for that dreamy center. Trust me here: make sure your whipped topping is completely thawed but still nice and cold when you start—this keeps the mixture firm later on. You’ll need:
- One (8 ounce) container of frozen whipped topping, thawed
- One (3.4 ounce) package of instant chocolate pudding mix (not the cook-and-serve kind!)
- One cup of powdered sugar, plus whatever extra you need for dusting later.
For the Chocolate Coated Candy Finish
This is what makes it a true, indulgent treat. After the center is frozen and cut up, you’ll need the coating. We use 12 ounces of semi-sweet chocolate. You just need to make sure it’s fully melted and smooth for that perfect chocolate coated candy shell.
How to Make This Easy No Bake Cool Whip Candy
Making this cool whip candy is surprisingly straightforward, even though the texture feels like you cheated! We are definitely going to follow Kate Reilly’s guidance here: get the technique right, and the results will be flawless every single time. Don’t worry about complicated steps; this is truly beginner-friendly. If you love other simple recipes like our no-bake dirt cake, you’re going to fly through this one!
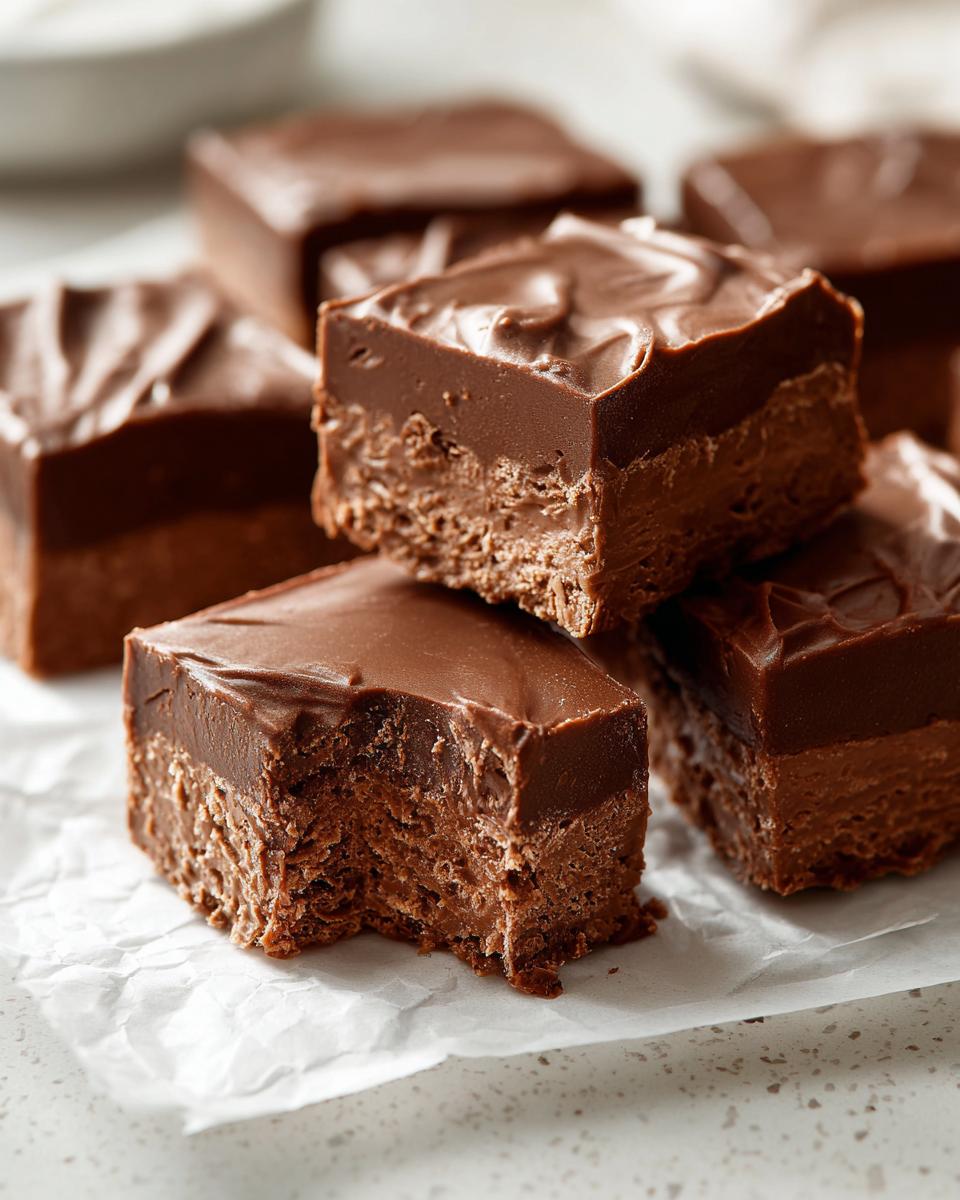
Mixing the Fluffy Chocolate Treat Base
First up, grab a medium bowl. Gently combine your thawed whipped topping with the instant chocolate pudding mix. I always say to stir gently—just until you see that uniform color. If you overmix this, you’ll knock out all the air! That’s how we lose the light texture. Once it’s blended, fold in that cup of powdered sugar until everything disappears into the mixture. This is your beautiful, fluffy chocolate treat base.
Freezing and Cutting the Cool Whip Candy Block
Next, line an 8×8 dish with parchment paper, making sure you leave some overhang on the sides. This overhang is your secret weapon for getting the candy out cleanly later! Press your mixture evenly into the pan, cover it up tight, and send it to the freezer for at least four hours. Seriously, don’t touch it for four hours! Once it’s totally firm, lift the whole block out using those parchment handles and cut it into small, bite-sized squares.
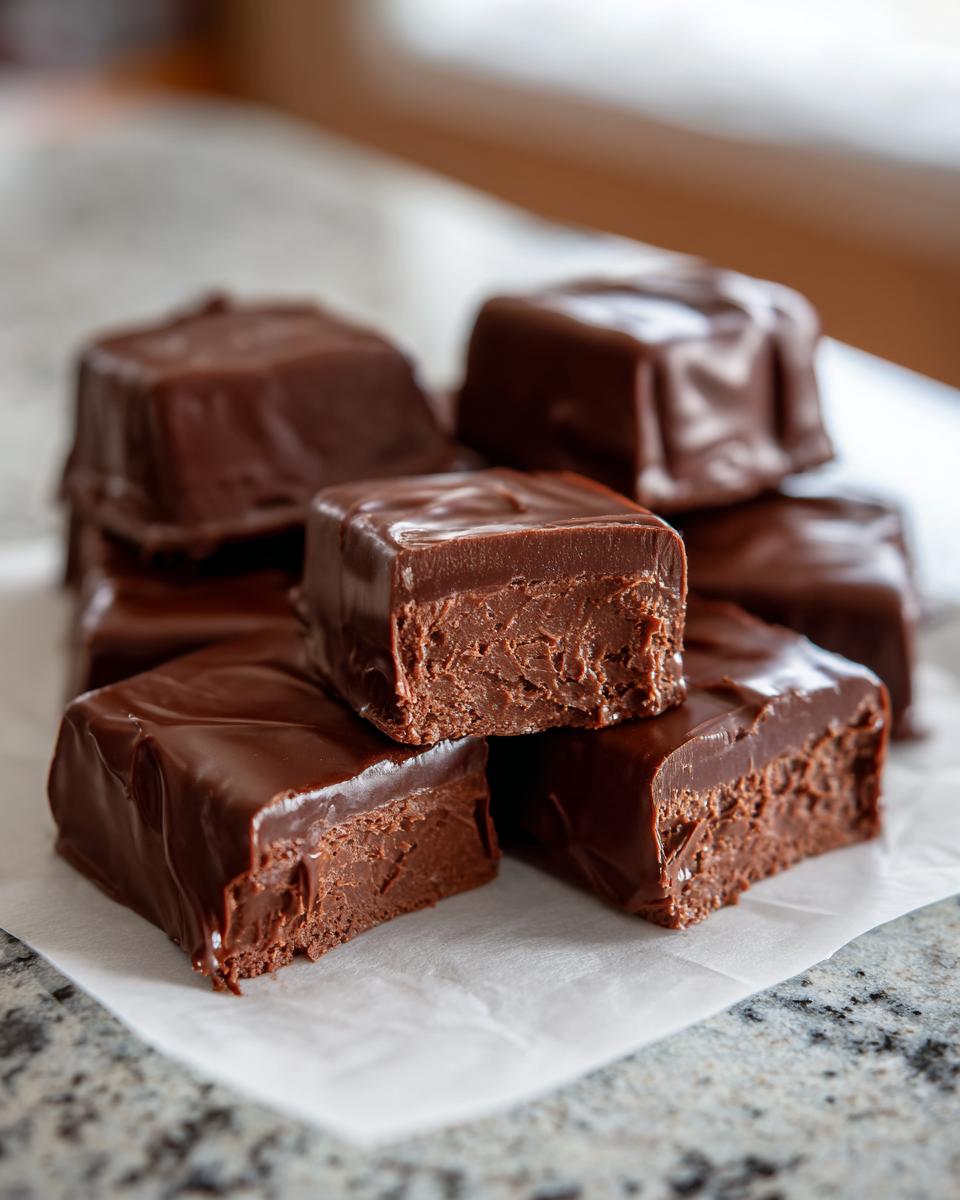
Achieving the Perfect Chocolate Coated Candy
Now for the fun part! Melt your semi-sweet chocolate. I always do this in the microwave in short bursts—30 seconds at a time—stirring well in between, which stops the chocolate from seizing up. Dip each frozen square into that smooth chocolate, letting any extra drip right off. Pop the coated candies onto a baking sheet lined with parchment. If you want that extra beautiful look, give them a light dusting of powdered sugar right away before the chocolate sets, and then pop them back into the freezer until that coating hardens.
Tips for Perfect Cool Whip Candy Success
You’re so close to having those gorgeous, melt-in-your-mouth squares! Even though this is simple cool whip candy, following a few tricks can take it from good to absolutely perfect, just like that 3 musketeers copycat texture we are aiming for. These little pointers are the difference between successful homemade candy and a sticky mess!
Temperature Matters for the Cool Whip Candy Center
I can’t stress this enough: the temperature of your whipped topping when you mix it is everything. You need it thawed—we aren’t using a rock-hard tub!—but it should still be cold and holding its shape a bit. If it’s warm or soupy, you’re going to introduce too much extra moisture, and your center won’t firm up properly when it freezes. We need that cold structure to support the pudding mix and sugar!
Preventing Chocolate Cracking When Dipping
This is a common headache when you dip something frozen into warm chocolate. If your candy squares aren’t fully solid, they can break apart when you push them down into the coating, or the chocolate will crack when it shrinks as it cools. So, before you even start melting the chocolate, make sure those chunks are solid bricks in the freezer. A quick 10-minute stay in the deep freeze right before dipping helps the chocolate shell set fast and stay intact, giving you that beautiful, smooth finish.
Variations on This Simple Homemade Candy
The core recipe for this Cool Whip candy is fantastic because it’s so adaptable! Even though the three-ingredient center is magical, sometimes you want to tweak things a bit, especially if you’re making a big batch for a holiday tray. I love seeing how people make this whipped topping dessert their own. These small changes are perfect for shaking things up without turning it into a complicated bake!
Changing the Center Flavor Profile
The beauty of using instant pudding mix is that you can swap out the chocolate! If you want something that leans even closer to that classic, slightly vanilla nougat flavor, just swap the chocolate pudding mix for instant vanilla pudding mix. You still get that lovely light texture, but the interior flavor profile shifts completely. Then, when you dip it in dark chocolate, you get this intense, complex flavor contrast. It feels fancier, but it’s still just as easy.
Making It a Quick Sweet Snack with Different Coatings
Once you master the coating, the possibilities for customizing your cool whip candy are endless. If you want something brighter, melt down white chocolate chips instead! That gives you a beautiful, stark white shell around that dark chocolatey center. For holiday candy recipes, I often chop up some festive sprinkles or crushed peppermint—you know, the little candy cane pieces—and toss them onto the wet chocolate coating right before it sets. It makes these little bites look instantly special for any party or potluck.
Storage and Freezing Instructions for Cool Whip Candy
Since this is really the ultimate frozen cool whip treat, storage is super easy! We want to keep that fluffy center firm and fresh, which is thankfully simple because this candy actually thrives in the freezer. When you’re done coating all your squares, return them to a parchment-lined tray and make sure that chocolate is completely hard before wrapping.
Store your finished cool whip candy in a truly airtight container. You can keep these delicious bites in the freezer for up to three weeks, maybe even more! I just make sure they are layered between parchment paper so the chocolate doesn’t stick together. Seriously, grab a handful right out of the freezer whenever you need that quick sweet snack!
Serving Suggestions for This Creamy No Bake Bars
Honestly, I find myself making this easy holiday baking treat year-round, but it really shines when you put it out for guests! Since they are frozen, they hold up incredibly well on a dessert table, which is something you can’t say for every sweet treat.
These little squares make perfect additions to any platter you put together. They look fancy because of the chocolate coating, but they are so ridiculously simple, which is the best kind of entertaining, if you ask me! Arrange them next to frosted cookies or maybe some fudge for a true celebration tray for your next gathering.
They are also excellent fillers for cookie tins when you’re gifting holiday candy recipes—they travel well in a cooler bag because they start frozen! For a quick visual pop, I often use small, colorful paper candy cups when serving them immediately at a party. It just elevates them from a frozen snack to a pretty little confection!
Frequently Asked Questions About Cool Whip Candy
It’s totally normal to have questions when you’re trying a new, super-easy recipe like this one! When you’re dealing with frozen toppings and no-bake desserts, you want to make sure you get that perfect light texture. I’ve gathered the questions I get most often about making this cool whip candy so you can feel totally confident before you even grab your bowl!
Can I substitute the instant pudding mix in this 3 ingredient recipe?
That’s a great question about changing up the 3 ingredient recipe! You absolutely can substitute it, but I need to give you a friendly warning: the instant pudding mix is what gives the center its necessary structure; it sets up really firm when frozen, giving you that classic fluffy layer. If you use something else, you risk ending up with just sweetened whipped topping that might not firm up properly when you try to cut it into those nice little squares.
Is this cool whip candy recipe truly no oven required sweets?
Yes, I promise! This is the best of the no oven required sweets category! The center only requires gentle stirring and then freezing time. The only bit of heat comes from melting your chocolate coating, and we handle that quickly in the microwave. You won’t heat up your kitchen at all, making this perfect for summer or when you just don’t feel like baking.
How long does the Cool Whip candy last in the freezer?
Because this is essentially a frozen cool whip treat, it lasts ages, provided you keep it sealed tight! When stored in a good airtight container, layered between sheets of wax paper or parchment, your cool whip candy stays wonderful in the freezer for several weeks. Just pull them out about 15 minutes before serving so they soften up just a tiny bit for that perfect melt-in-your-mouth experience.
Estimated Nutritional Data for This Quick Candy Recipe
Now, I know we’re focused on taste and ease here, and honestly, the joy of this Cool Whip candy isn’t why we count calories! But because I always want you to have the full picture of what’s in your homemade treats—that’s part of building trust in the kitchen—here are the general estimates for one small square of this light and fluffy dessert.
Just remember, these numbers are based on the specific ingredients listed, especially the type of chocolate and sugar used. If you use dark chocolate instead of semi-sweet, or happen to drizzle extra chocolate over the top (and who could blame you?), these values will shift a touch. It’s always an estimate for a minimal ingredient dessert like this one!
- Serving Size: 1 piece
- Calories: Approximately 150
- Sugar: 18g
- Fat: 8g
- Protein: 2g
See? Delicious and surprisingly light for a chocolate-coated treat! It’s a wonderful addition to any holiday tray or when you just need a quick sweet snack.
Print3-Ingredient Cool Whip Candy Copycat (Fluffy Chocolate Treat)

Make this incredibly simple, no-bake Cool Whip Candy that tastes like a 3 Musketeers bar. This recipe uses only three ingredients for a light, fluffy chocolate-coated treat perfect for quick snacks or holiday trays.
- Prep Time: 15 min
- Cook Time: 5 min
- Total Time: 4 hr 20 min
- Yield: About 30 pieces 1x
- Category: Dessert
- Method: Freezing
- Cuisine: American
- Diet: Vegetarian
Ingredients
- 1 (8 ounce) container frozen whipped topping, thawed
- 1 (3.4 ounce) package instant chocolate pudding mix
- 1 cup powdered sugar, plus more for dusting
- 12 ounces semi-sweet chocolate, melted (for coating)
Instructions
- In a medium bowl, combine the thawed whipped topping and the instant chocolate pudding mix. Stir gently until just combined and the mixture is uniform in color. Do not overmix.
- Fold in the 1 cup of powdered sugar until it is fully incorporated into the whipped topping mixture.
- Line an 8×8 inch baking dish with parchment paper, leaving an overhang on the sides for easy removal. Press the candy mixture evenly into the prepared dish.
- Cover the dish with plastic wrap and freeze for at least 4 hours, or until firm enough to cut cleanly.
- Once frozen, use the parchment paper overhang to lift the candy block out of the dish. Cut the block into small, bite-sized squares (about 1 inch).
- Melt the semi-sweet chocolate according to package directions, usually in the microwave in 30-second intervals, stirring between each interval until smooth.
- Dip each frozen candy square into the melted chocolate, allowing excess chocolate to drip off. Place the coated candies onto a parchment-lined baking sheet.
- If desired, immediately sprinkle the tops with a light dusting of powdered sugar before the chocolate sets.
- Return the coated candies to the freezer until the chocolate coating is completely firm. Store frozen until ready to serve.
Notes
- For the best 3 Musketeers copycat texture, make sure your whipped topping is fully thawed but still cold when mixing.
- If you want a slightly different flavor, you can use vanilla instant pudding mix instead of chocolate for a lighter nougat center before dipping in chocolate.
- If you are making this for a party, you can cut the frozen block into small rectangles to mimic the shape of a candy bar.
Nutrition
- Serving Size: 1 piece
- Calories: 150
- Sugar: 18g
- Sodium: 80mg
- Fat: 8g
- Saturated Fat: 5g
- Unsaturated Fat: 3g
- Trans Fat: 0g
- Carbohydrates: 19g
- Fiber: 1g
- Protein: 2g
- Cholesterol: 5mg