
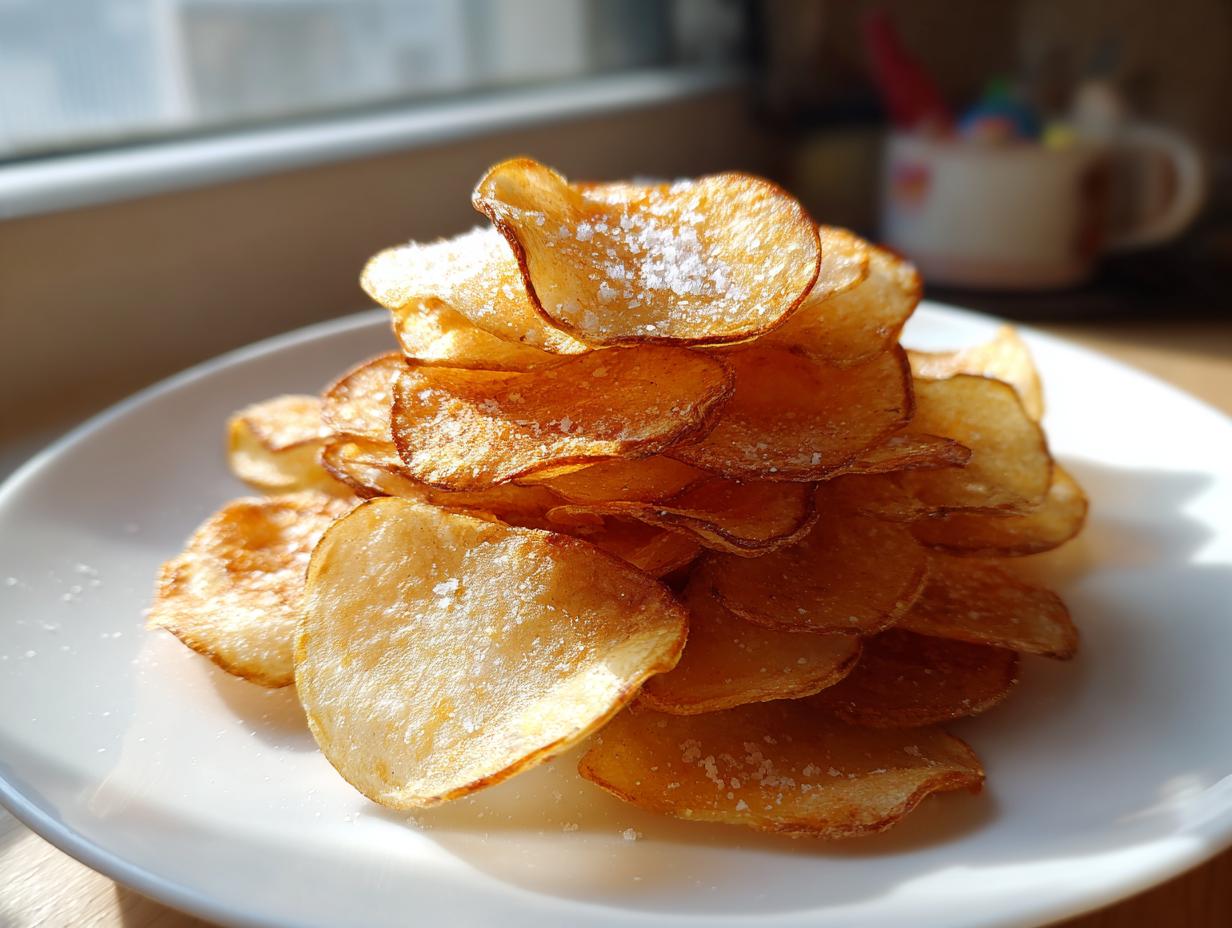
Oh, that sound! You know the one I mean—that sharp, definitive *crunch* when you bite into a perfect slice? That’s the sound of happiness, isn’t it? For years, I thought achieving that flawless crispiness meant defaulting to the greasy, store-bought bags, but I’m here to tell you that making the best potato chips from scratch is totally doable for you. Seriously!
Forget the stress! My mission here is simple: I’ve broken down the absolute best techniques to guarantee you incredible homemade potato chips, no matter how you like them cooked. We’re covering the classic, indulgent deep-fried method, the wonderfully light oven baked technique, and of course, the speedy air fryer option. Trust me; once you nail these simple steps, you’ll never look at the snack aisle the same way again!
- Why You Will Love These Crispy Potato Chips Recipe Methods
- The Best Potatoes for Potato Chips and Essential Ingredients
- How to Make Potato Chips From Scratch: The Crucial Prep Steps
- Deep Fried Potato Chips: The Classic Crunchy Homemade Potato Chips
- Oven Baked Potato Chips: Making Guilt Free Chips
- Air Fryer Potato Chips: Quick and Crunchy Homemade Potato Chips
- Mastering Seasoned Potato Chips: Flavor Variations
- Storage and Reheating Instructions for Homemade Snacks
- Frequently Asked Questions About Making Potato Chips
Why You Will Love These Crispy Potato Chips Recipe Methods
When I started developing this guide, I realized one size just doesn’t fit all when it comes to snacking. That’s why I insist on giving you control over the outcome! I want you to have the crispy potato chips recipe that fits your mood and your goals.
- Maximum Crunch Factor: Every single method is tuned specifically for crispiness. We soak those potatoes for a reason! You get that satisfying shatter every time.
- Three Ways, One Great Chip: Whether you need that rich flavor from deep frying, a healthier alternative, or a super fast movie night snack, we have the perfect instructions for you right here.
- It’s Easier Than You Think: Honestly, the *making* part is simple—it’s the prep that turns good chips into great ones. Follow my soaking and drying instructions, and you’re halfway there!
- Total Flavor Control: No more mysterious flavorings! You control the salt, the oil, and the spice blend. Hello, customized seasoned potato chips!
The Best Potatoes for Potato Chips and Essential Ingredients
If you want superior homemade potato chips, you need to start with the right foundation. This isn’t the time to use those waxy red potatoes lurking in your pantry, trust me! The secret here lies in starch. High starch means crispy, light chips; low starch means chewy chips.
For the absolute best results, you need either Russet or Yukon Gold potatoes. Russets are the classic choice for deep-fried chip lovers because they are high in starch. Yukon Golds are great if you’re baking or air frying because they have a bit more natural body and a nice, subtle buttery flavor.
Here’s what you’ll need to get started making these crunchy homemade snacks:
- 3 large Russet or Yukon Gold potatoes, scrubbed well—we’re keeping the peel on for that rustic look!
- Vegetable oil, for deep frying (you’ll need about 4 cups for a pot, but check your pot size).
- 2 tablespoons olive oil, specifically for the oven baking or air frying methods.
- 1 teaspoon fine sea salt, or whatever amount you think is perfect for your taste.
- 1/2 teaspoon garlic powder (this just adds a little warmth, I love it).
- 1/2 teaspoon paprika (for a little color and gentle flavor).
Ingredient Notes and Substitution Tips for Perfect Potato Chips
Now, let’s talk oil and spices, because they change depending on your method. If you’re deep frying, you need a neutral oil with a high smoke point—like vegetable or canola. Olive oil won’t cut it there; it breaks down too quickly at high temperatures.
For the oven baked potato chips or the air fryer method, olive oil is actually wonderful! It coats the thinly sliced potatoes beautifully and gives them a lovely aroma as they crisp up. Don’t be afraid to play with the seasonings once you master the base recipe. If you prefer spicy potato chips, swap out the paprika for cayenne pepper. Or, for a savory punch, mix a little of your favorite store-bought BBQ seasoning in with the salt after they come out of the heat source.
How to Make Potato Chips From Scratch: The Crucial Prep Steps
Okay, listen up, because this next part is where the magic of making how to make potato chips from scratch happens. You can have the best oil or the perfect oven temperature, but if you skip these prep steps, you’ll end up with sad, floppy things instead of satisfying, crunchy homemade snacks. Our goal here is maximum crispiness, and that starts with getting rid of the enemy: starch!
First, we slice them thin—I mean paper thin. This uniform slicing ensures they cook evenly, whether you’re deep frying or baking. If some slices are thick and others are translucent, the thin ones will burn by the time the thick ones are done. No good!
Next, and this is non-negotiable, we soak them. Pop all those gorgeous, thin slices into a big bowl of very cold water. Letting them sit for at least 30 minutes allows the surface starch to leach right out into the water. It turns cloudy fast, which is a sign it’s doing its job! This step is the single biggest tool we have for getting truly crispy potato chips.
Finally, the drying step. This is where people get lazy, and it costs them their crunch! Drain the potatoes and then you need to pat every single slice completely dry. I lay mine out on a couple of clean kitchen towels and just press down firmly. If there’s any water left on them when they hit the heat, they will steam instead of crisping up. Don’t rush this part!
Potato Chip Hacks: Achieving Thinly Sliced Potatoes
I’m going to be honest with you: if you want that professional-level thinness that makes the best potato chip recipe work, you really, really need a mandoline slicer. It’s worth the investment, I promise, and it saves your fingers! You should aim for about 1/16 of an inch—that’s super thin—and let the tool do the work so every single slice is identical.
If you absolutely do not have a mandoline, you can use a very sharp knife, but you have to go slow and steady. Lay the potato on its side and use long, smooth strokes. Hold the potato firmly because it gets slippery. Remember, uniformity is the secret weapon here for getting truly crispy potato chips recipe success!
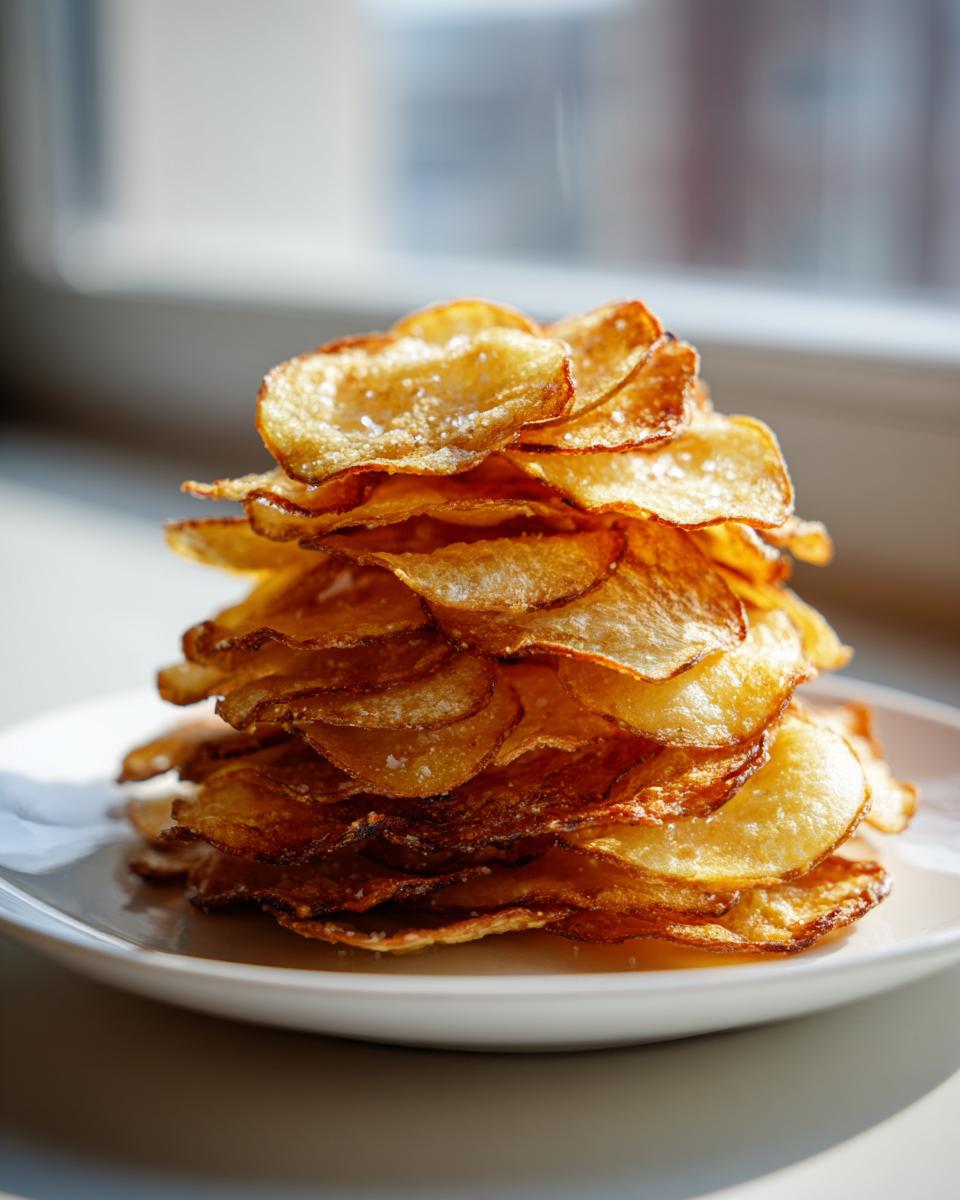
Deep Fried Potato Chips: The Classic Crunchy Homemade Potato Chips
If you’re looking for that pure, unapologetic crunch—the kind that makes a satisfying sound right when you reach for the bag—then deep frying is the way to go. This is the technique that makes truly classic, golden potato chips. It takes a little more attention, but the payoff is huge!
First things first: oil safety! Pour about three to four inches of a high smoke-point oil, like vegetable or canola, into a heavy-bottomed pot. You absolutely must heat this up to a steady 325°F (160°C). If you don’t have a thermometer, you can test it by dropping a tiny sliver of potato in; if it sizzles immediately and lightly, you’re good. If it flares up, it’s too hot!
The next most important rule for deep-fried chips? Work in small batches! Don’t crowd your pot, seriously. Adding too many slices at once will instantly drop the oil temperature, and then you’re stewing your potatoes instead of frying them. We want them to crisp up beautifully in about three to five minutes. You are looking for gorgeous pale golden brown edges.
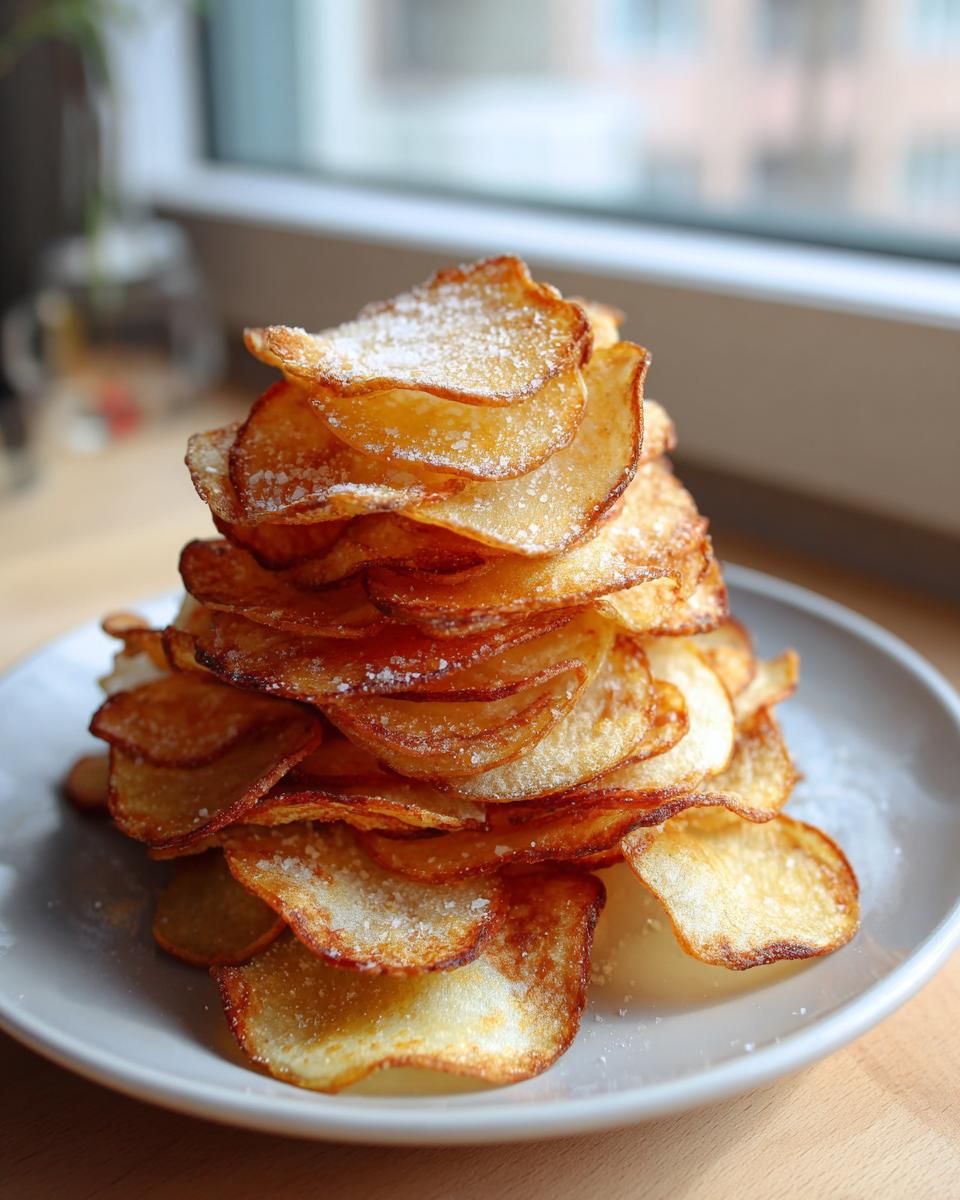
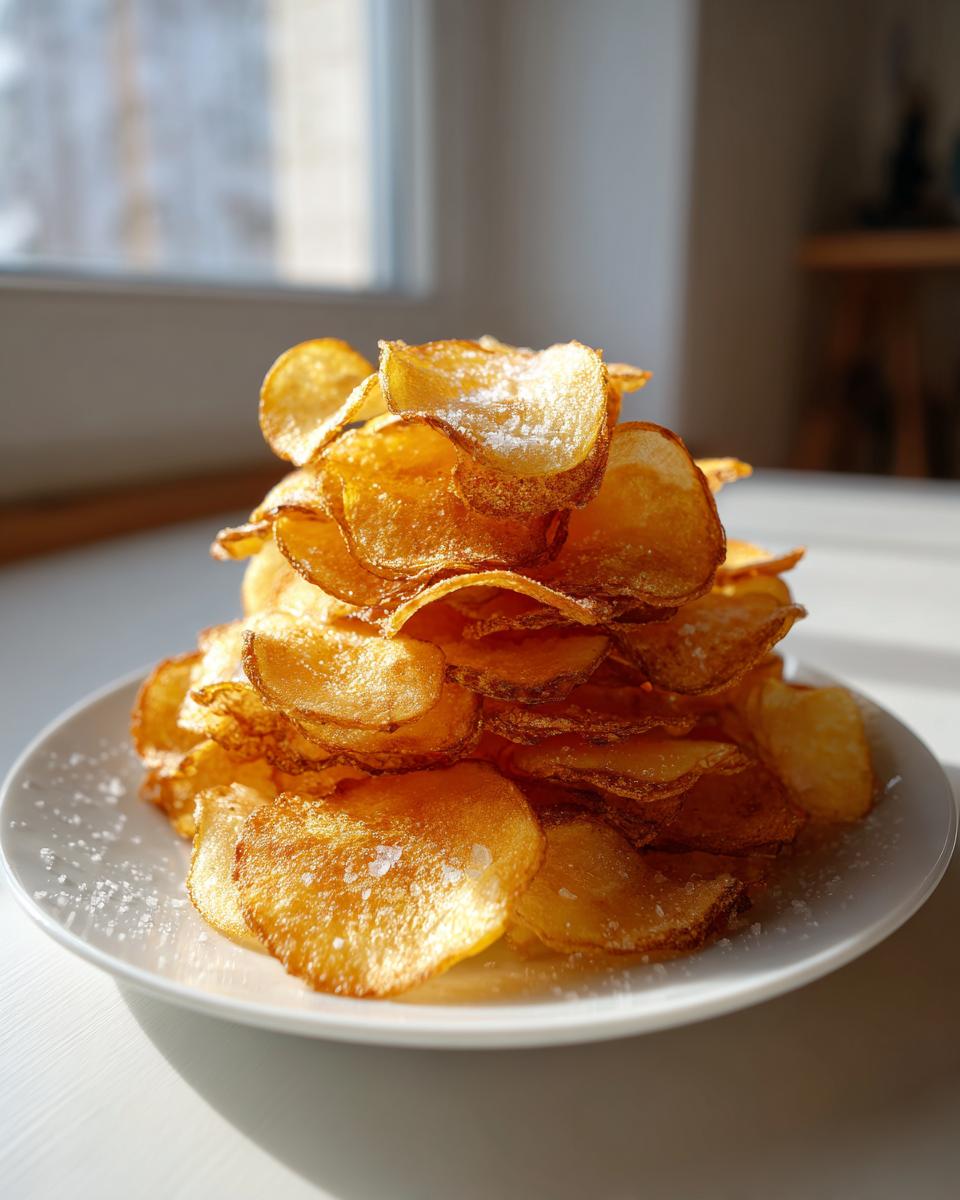
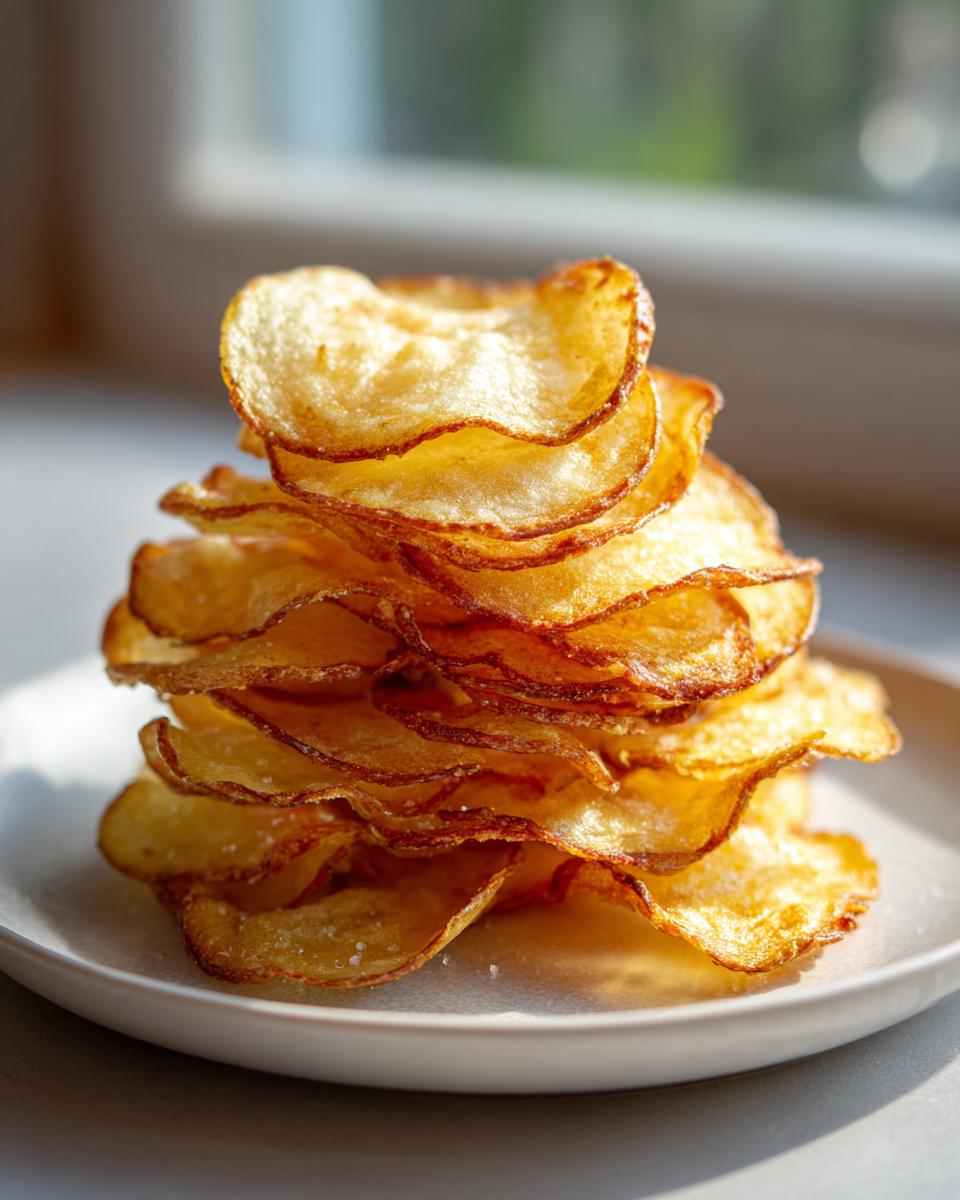
As soon as they hit that perfect color, use a slotted spoon to gently scoop them out and set them right on a wire rack that you’ve placed over a paper towel-lined baking sheet. This lets the excess oil drip off. And here’s the crucial part: salt them immediately while they are piping hot! Salt won’t stick nearly as well once they start cooling down. If you followed the prep steps correctly, these will be the crunchiest homemade potato chips you’ve ever made!
Oven Baked Potato Chips: Making Guilt Free Chips
Now, I totally get it—sometimes you want that amazing crunch without frying, right? Maybe it’s for lunch mid-week, or maybe you just don’t want to deal with gallons of hot oil. That’s where the oven shines! These oven baked potato chips are truly a fantastic, lighter alternative, and they still give you that salty, satisfying experience we all crave.
We are setting the oven pretty high here: preheat it to 400°F (200°C). This high heat is what helps pull the moisture out quickly so they crisp up instead of steaming. Remember those dry, thinly sliced potatoes we worked so hard on? They are about to pay off!
Toss your dried slices with just two tablespoons of olive oil—that’s plenty!—along with your salt and seasonings. I love using the garlic powder and paprika mix here because it toasts up nicely in the oven. But you can try that spicy powder mix we talked about, too! The key thing is how you arrange them on the pan.
You MUST use baking sheets lined with parchment paper for this method. And here’s the critical part: spread those seasoned slices in a single, even layer. They cannot overlap! If they touch too much, they will steam against each other and become soft. Think of it like baking cookies; there needs to be space for the heat to circulate around every single slice.
They usually take between 15 to 20 minutes, depending on how thin you managed to get them. Set a timer for 15 minutes. You must flip them halfway through! Use a thin spatula to give everything a gentle turn. Check them; the edges should be turning golden brown and look a little curly. If they seem bendy, give them another minute or two. If you need more inspiration or a different perspective on baking chips, check out this great recipe for crispy oven baked potato chips with garlic and paprika. Once they look perfect, pull them out and transfer them immediately to a bowl to season again while hot!
Air Fryer Potato Chips: Quick and Crunchy Homemade Potato Chips
Okay, let’s talk about my newer favorite way to get those incredible snack results: the air fryer! If you want fast, air fryer potato chips that taste almost as good as the deep-fried ones but use a fraction of the oil, this is your method. It’s fast, it’s less messy, and it’s perfect for making small batches of crunchy homemade snacks when the craving hits mid-week.
You still need those beautifully prepped, super-dry, thinly sliced potatoes for this step. Fairness in cooking requires us to do the prep work first! For the air fryer, we are setting the temperature to 350°F (175°C). This is a medium heat that allows the potatoes to crisp up nicely before they burn.
Toss your dry slices with just about one tablespoon of olive oil and your seasonings. We are keeping the oil light here to encourage that crunchy, baked texture. Now, here’s the biggest difference from the oven method: you cannot overcrowd the air fryer basket, period. You have to cook these in batches!
Place a single layer of potatoes in the basket—they can overlap just a tiny bit more than they can in the oven, but don’t pile them high. Set the timer for 10 minutes to start. The most important thing here is the shaking! Every five minutes, you need to pull that basket out and shake it vigorously. This movement redistributes the heat and makes sure all sides get that wonderful exposure needed to become truly crispy, golden air fryer potato chips.
They usually take between 10 to 15 minutes total, depending on your machine and how thin you sliced them. You’ll know they are done when they look golden and sound firm and dry when you shake the basket. Pull them out right away, dump them into your bowl, and toss them with your final sprinkle of salt. That’s it! You’ve got fast, homemade potato chips ready for your next movie night snack!
Mastering Seasoned Potato Chips: Flavor Variations
So, you’ve nailed the crispiness, whether you fried ‘em, baked ‘em, or zapped ‘em in the air fryer. Congratulations! Now comes the really fun part—the finishing touch! The moment those potato chips come off the heat, they are covered in a light sheen of oil or moisture, which means they are perfect, hungry sponges just waiting for seasoning.
If all you do is add a pinch of salt, you’re doing fine, but honestly, why stop there when you can create incredible seasoned potato chips? You must season them immediately! If you wait even five minutes, the salt or spice mix just won’t adhere properly to the surface. It’ll just fall off into the bottom of the bowl.
Here are my favorite ways to turn a simple batch of homemade chips into something truly legendary for your next party snack recipes:
- The Spicy Kick: If you love heat, mix your salt with a little cayenne pepper or even some smoked paprika and chili powder. This creates amazing spicy potato chips that are addictive! Toss them right after they come out and shake that bowl like you mean it.
- Garlic Parmesan Dream: This one tastes fancy but is so easy. While the chips are still hot, sprinkle them generously with garlic powder and some finely grated, dry Parmesan cheese. The heat melts the cheese just enough to stick, giving you a rich flavor bomb.
- Tangy BBQ Mix: For the baked or air-fried versions, you can replicate that classic flavor we see in store-bought bags. Mix brown sugar (just a teaspoon!), onion powder, a little smoked paprika, and a pinch of mustard powder. Toss this mixture on immediately for that sweet and savory profile.
Remember, since you control the salt level, you can be much more generous with your flavoring agents than you would be with store-bought versions. That’s the beauty of making snacks from scratch!
Storage and Reheating Instructions for Homemade Snacks
Okay, let’s be real for a second. The absolute, undeniable, best way to enjoy these homemade potato chips is about five minutes after they come out of the oil, oven, or air fryer. That moment when they are perfectly seasoned and still radiating heat? Nothing beats it!
Because we intentionally removed so much moisture to get that amazing crunch, these chips are quite eager to reabsorb humidity from the air. That means they won’t stay crisp for days and days like the stuff from the store, which has all those preservatives!
If you do manage to have leftovers—which, honestly, takes some serious willpower—here’s how to handle them. You need an airtight container, like a good quality Tupperware or a jar with a tight-sealing lid. Store them at room temperature. Do *not* put them in the fridge; the moisture in the fridge will make them soften much faster.
Now, if you pull out last night’s batch this morning and they’ve lost a little of their snap, don’t panic! We can bring some of that crunch back. This is a little potato chip hack I use often. Spread the sad, slightly soft chips out on a baking sheet. Pop them into a 300°F (150°C) oven for just about five to seven minutes. You aren’t trying to cook them again, just gently drive out any superficial moisture they picked up overnight. Pull them out, let them cool for a minute, and they should be much, much crunchier again. Enjoy those savory snacks from scratch while they’re fresh!
Frequently Asked Questions About Making Potato Chips
It happens to all of us, right? You follow the steps, but maybe your first batch of potato chips didn’t turn out quite as shatteringly crisp as you hoped. That’s totally okay! Cooking is a learning process, and gathering feedback is what helps us become better bakers and fryers. I’ve gathered the most common questions I get about avoiding sogginess and mastering the thin slice so you can make perfect easy potato chips every time.
Can I use sweet potatoes instead of regular potatoes for chips?
Oh yes, you absolutely can! Sweet potatoes make fantastic chips, and they offer a slightly different, sweeter flavor profile. If you use them, just keep in mind they have a bit more natural sugar than Russets. This means they will brown faster, so watch them closely, especially in the air fryer or oven. You still need to slice them thinly, but you can get away with soaking them for maybe 15 minutes instead of the full 30. They are a wonderfully healthy potato snacks alternative when you want a treat!
Why are my homemade potato chips soggy instead of crispy?
This is the number one complaint I hear, and almost always, it boils down to one of two things, or maybe both! First, you didn’t dry them well enough after soaking. I cannot stress this enough: if there is ANY surface water, those slices will steam, and steamed potatoes turn into soft little pancakes. Second, you overcrowded your fryer, baking sheet, or air fryer basket. If the heat can’t circulate around every slice, they steam each other instead of crisping up. Always work in small batches for the best crunchy homemade snacks.
What is the best oil temperature for deep frying potato chips?
For that beautiful deep-fried crunch, temperature control is everything. We need the oil hot enough to instantly crisp the outside, but not so hot that it burns the outside before the inside has a chance to dry out. Stick to 325°F (160°C). If your oil is too hot—say, pushing 375°F—the potato slices will burn brown almost instantly, but they’ll still have a soft, doughy center. Keeping it steady at 325°F ensures you get those perfectly golden, shatteringly crisp deep fried potato chips!
PrintUltimate Crispy Homemade Potato Chips: Oven Baked, Air Fryer, and Deep Fried Methods
Learn how to make the best homemade potato chips from scratch using three reliable methods: deep frying for classic crunch, oven baking for a healthier option, or air frying for quick, guilt-free snacks. We explain the simple techniques for achieving maximum crispiness every time.
- Prep Time: 45 min
- Cook Time: 20 min
- Total Time: 65 min
- Yield: 6 servings 1x
- Category: Snack
- Method: Frying, Baking, Air Frying
- Cuisine: American
- Diet: Vegetarian
Ingredients
- 3 large Russet or Yukon Gold potatoes, scrubbed
- Vegetable oil, for deep frying (about 4 cups)
- 2 tablespoons olive oil, for baking/air frying
- 1 teaspoon fine sea salt, or to taste
- 1/2 teaspoon garlic powder (optional)
- 1/2 teaspoon paprika (optional)
Instructions
- Prepare the Potatoes: Slice the potatoes as thinly as possible, ideally using a mandoline slicer. Aim for uniform thickness (about 1/16 inch) for even cooking.
- Remove Starch: Place the sliced potatoes in a large bowl of cold water. Let them soak for at least 30 minutes, or up to 2 hours. This step removes excess starch, which is key to achieving crispy potato chips.
- Dry Completely: Drain the potatoes and rinse them briefly. Spread the slices in a single layer on several clean kitchen towels or paper towels. Pat them completely dry. Moisture prevents crisping, so this step is important.
- Choose Your Method: Decide whether you will deep fry, bake, or air fry.
- Deep Fry Method (For Classic Crunch): Heat 3 to 4 inches of oil in a heavy-bottomed pot to 325°F (160°C). Fry the chips in small batches, stirring occasionally, until golden brown and crisp (about 3 to 5 minutes). Remove with a slotted spoon and drain on a wire rack set over paper towels. Immediately sprinkle with salt.
- Oven Baked Method (For Guilt-Free Chips): Preheat your oven to 400°F (200°C). Toss the dry potato slices with 2 tablespoons of olive oil and your desired seasonings (salt, garlic powder, paprika). Spread the slices in a single layer on baking sheets lined with parchment paper; do not overlap. Bake for 15 to 20 minutes, flipping halfway through, until edges are brown and crisp.
- Air Fryer Method: Preheat the air fryer to 350°F (175°C). Toss the potato slices with 1 tablespoon of olive oil and seasonings. Place the slices in a single layer in the air fryer basket (work in batches). Cook for 10 to 15 minutes, shaking the basket every 5 minutes, until golden and crunchy.
- Season and Serve: While the chips are still hot, transfer them to a large bowl and toss with the remaining salt or your preferred seasoning mix. Serve immediately for the best crunchy homemade snacks experience.
Notes
- For extra flavor, try tossing baked chips with a light dusting of BBQ seasoning or cayenne pepper after they come out of the oven or air fryer.
- If you want to make potato chips from scratch without frying, soaking the slices in ice water for one hour before drying can help them crisp up better in the oven.
- Always slice potatoes thinly and uniformly; this is the most important technique for crunchy homemade potato chips.
Nutrition
- Serving Size: 1 cup
- Calories: 180
- Sugar: 0.5
- Sodium: 150
- Fat: 10
- Saturated Fat: 1.5
- Unsaturated Fat: 8.5
- Trans Fat: 0
- Carbohydrates: 22
- Fiber: 2
- Protein: 2
- Cholesterol: 0