
If you’ve ever looked at a gorgeous, velvety dessert and thought, “Oh, I could never make that,” then I am so glad you landed here. That very feeling is why I started this whole thing—to prove that you can whip up something truly memorable without spending hours stressing in the kitchen. And when it comes to impressive desserts that require zero oven time, nothing beats a classic **grasshopper pie**.
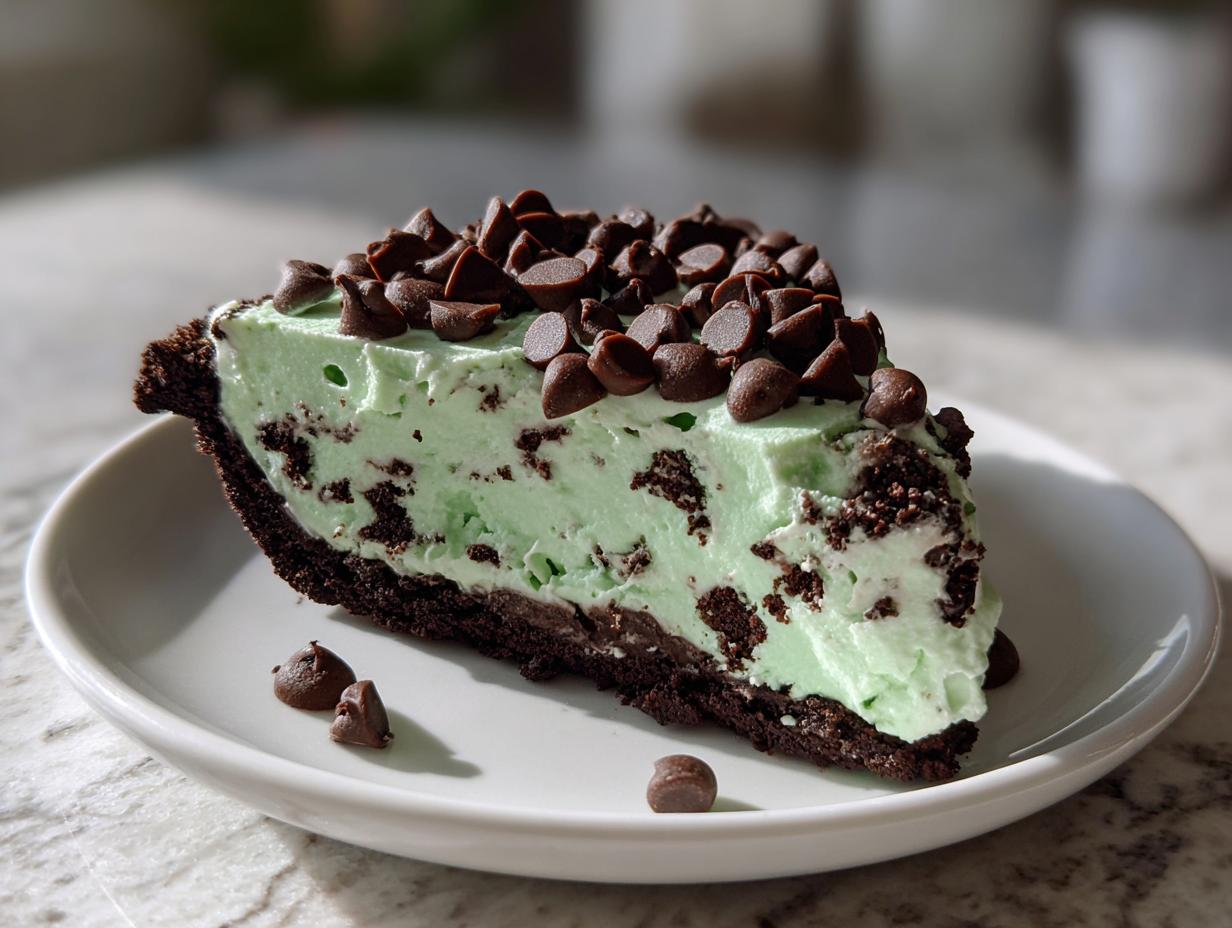
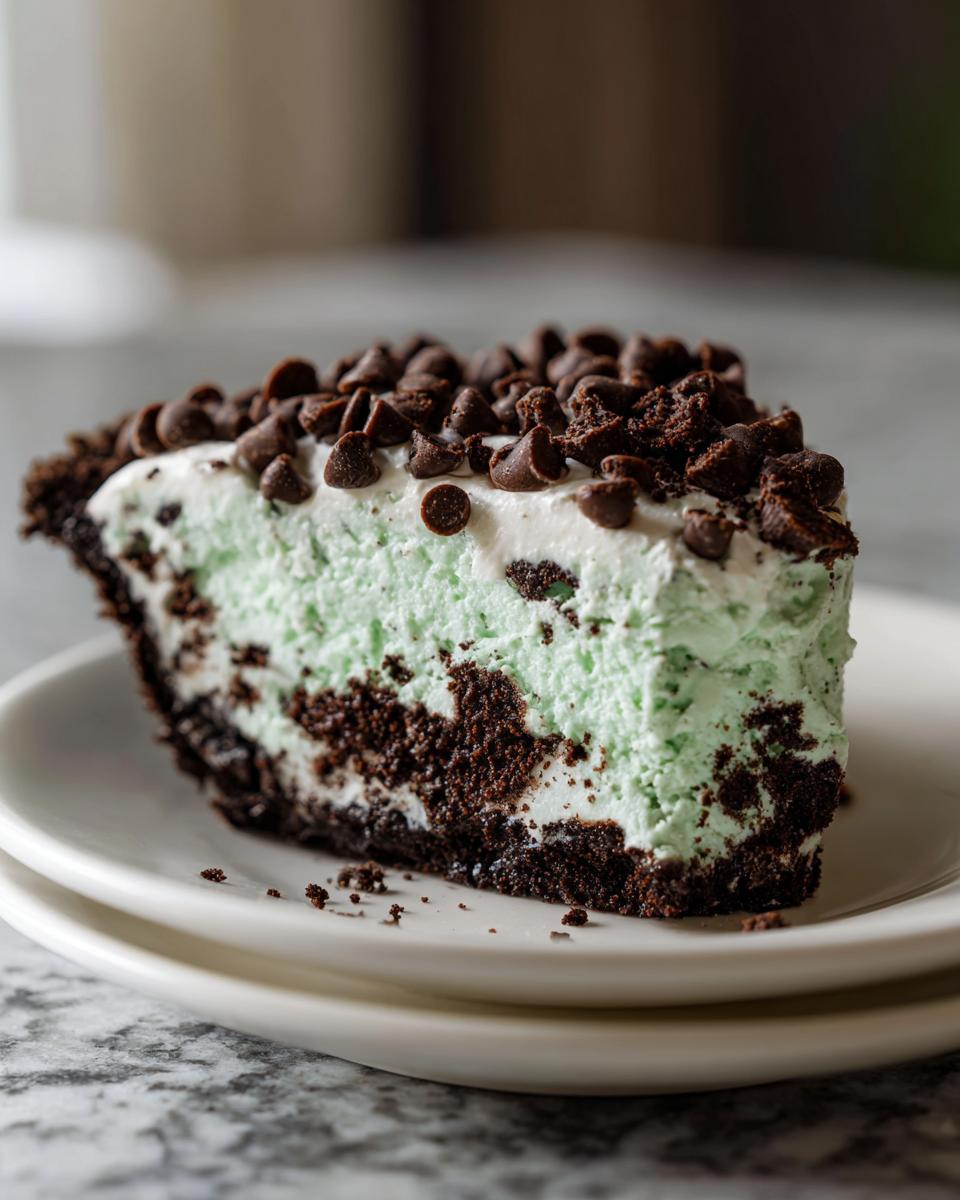
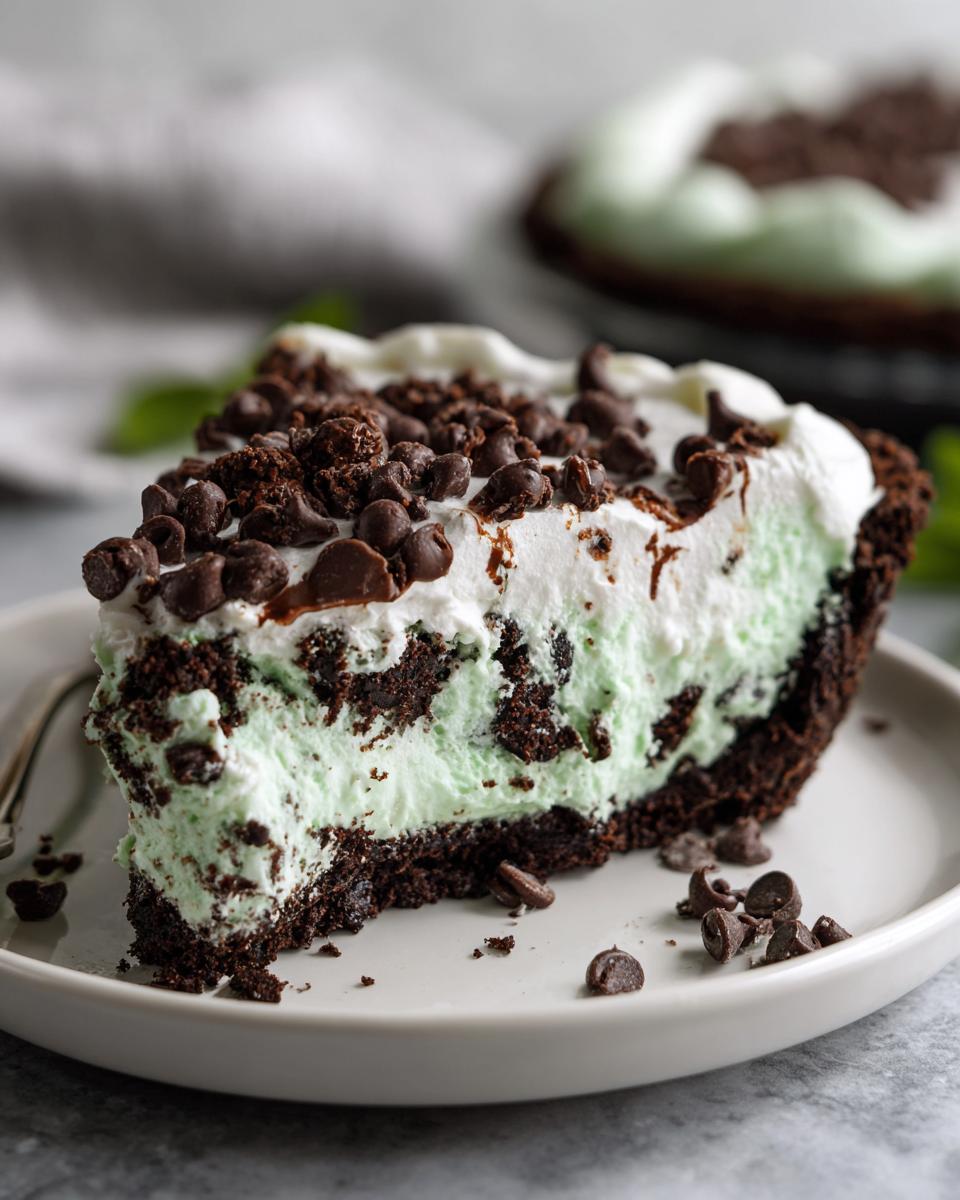
This creamy, mint chocolate dream features that perfectly crunchy Oreo crust, and honestly, it tastes like a five-star experience. We’re keeping things simple here at the table, so forget complicated steps. We’re showing you how to get that decadent, refreshing mint pie flavor that everyone loves, making for one of those excellent make ahead desserts for your next gathering.
- Why This Easy Grasshopper Pie Recipe Is a Keeper
- Gathering Ingredients for Your Creamy Mint Chocolate Pie
- Step-by-Step Instructions for No Bake Grasshopper Pie
- Tips for Success: Perfecting Your Grasshopper Pie
- Serving Suggestions for Your Refreshing Mint Pie
- Storage and Make Ahead Desserts Tips for Grasshopper Pie
- Frequently Asked Questions About This Easy Grasshopper Pie Recipe
- Understanding the Nutrition in This Chocolate Mint Dessert
- Share Your Minty Creamy Treats Experience
Why This Easy Grasshopper Pie Recipe Is a Keeper
I promise you, this isn’t one of those recipes that looks simple but trips you up on Step 3. We tested this until it was flawless so you don’t have to guess! It truly hits all the right notes for a perfect potluck dessert.
- No Bake Magic: Seriously, we aren’t turning on the oven for this one. Keep cool on hot days!
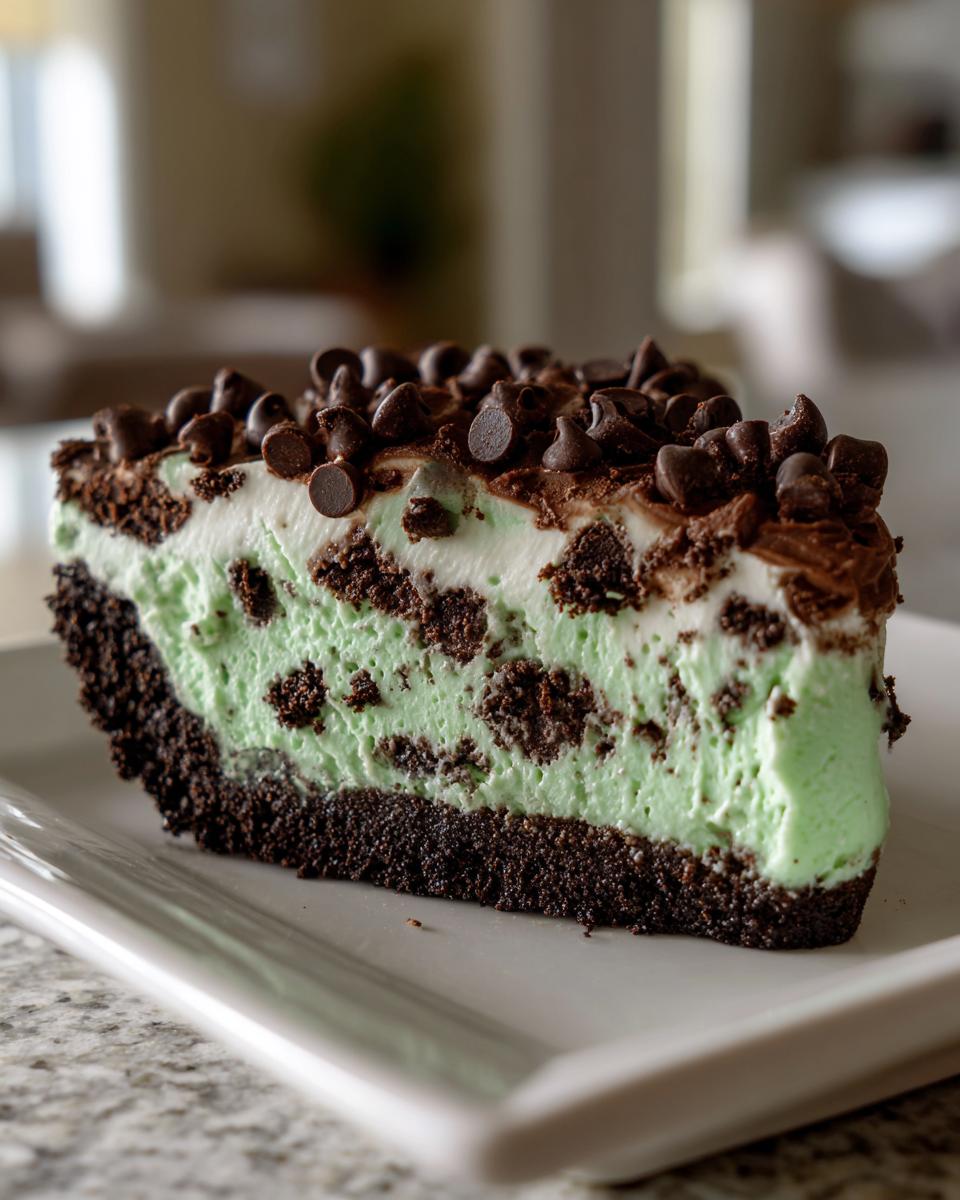
- Incredibly Creamy Texture: That smooth, velvety mint filling against the crisp chocolate cookie crust is just heavenly.
- Simple Ingredients: Everything here is easy to find at any standard grocery store. No fancy sourcing needed.
- Perfect Make Ahead Dessert: You mix it, chill it, and walk away. It gets better while you’re busy doing other things!
Gathering Ingredients for Your Creamy Mint Chocolate Pie
Before we get this no-bake wonder put together, we need to check our pantry! Getting everything measured out first—what we call mise en place—is half the battle won. Nothing ruins the flow of a simple dessert like realizing you’re short on butter or out of vanilla.
For this classic grasshopper pie, we are keeping the ingredients straightforward but impactful. Remember, using quality heavy cream is non-negotiable for that fluffy texture we are aiming for! Here is what you’ll need to gather up:
For the Chocolate Cookie Crust
This is the sturdy, delicious foundation that holds everything together. Trust me, skipping the cookies and using a store-bought graham cracker crust won’t give you the same rich depth!
- 1 3/4 cups chocolate cookie crumbs (If you’re crushing your own, you’ll need about 25 standard Oreo cookies—just pulse them in the food processor until they are fine crumbs.)
- 6 tablespoons unsalted butter, melted—make sure it’s cooled just slightly before mixing!
For the Mint Filling of the Grasshopper Pie
This creamy mint filling is where the magic happens. We have options here depending on how grown-up you want your dessert to be!
- 8 ounces cream cheese, softened—this has to be truly soft, or it won’t mix smoothly!
- 1 cup powdered sugar
- 1 teaspoon vanilla extract
- 1/2 cup cold milk
- 1/2 cup crème de menthe liqueur (This is optional, but it gives that amazing boozy kick and natural color.)
- 1 teaspoon peppermint extract (Use this, along with the green coloring, if you skip the liqueur.)
- 1/2 teaspoon green food coloring (Just a drop or two gets you that perfect minty hue.)
- 1 cup heavy whipping cream, cold
- 1/2 cup powdered sugar (This is separate, for whipping the heavy cream.)
For Garnish
Keep it simple and chocolatey on top for contrast!
- 1/2 cup chocolate chips, for topping
Step-by-Step Instructions for No Bake Grasshopper Pie
Okay, deep breath! We are moving fast now, but trust me, this process is so quick because we aren’t fighting an oven. The key here is organization and quick movements, especially when we get to the folding stage. Follow these steps exactly, and you’ll have the best grasshopper pie you’ve ever tasted. If you love creamy, easy recipes like this, be sure to check out all the great desserts we have on the site!
Preparing and Chilling the Oreo Crust Mint Pie Base
First up is making that wonderful chocolatey base layer. We need it nice and cold before we fill it. Take your chocolate cookie crumbs—if you made them fresh, great!—and put them in a mixing bowl. Pour that melted butter right over them and stir it up well until every last crumb looks sandy and damp. You shouldn’t see any dry crumbs left clinging to the bottom of the bowl.
Next, press that mixture firmly into the bottom and up the sides of your 9-inch pie plate. I like to use the bottom of a flat measuring cup to really pack it down evenly—you want a nice, solid shell. Pop that whole plate into the freezer right now. It needs to chill while we focus on that gorgeous mint filling.
Creating the Cream Cheese Base for Your Grasshopper Pie
Now we tackle the filling! Grab your mixer and beat that softened cream cheese in a large bowl until it’s absolutely lump-free. Remember, if the cream cheese is cold, you’ll end up stirring lumps later, so make sure it’s patient and soft first!
Once smooth, gradually mix in that first cup of powdered sugar and the vanilla. Keep mixing until it looks uniform. Then, you’ll slowly stream in the cold milk and your flavoring agents—either the liqueur or the extract and food coloring. Beat it until everything is perfectly blended and that beautiful light green color starts showing up.
Whipping Cream and Folding the Filling
Here is where we build the airiness! In a completely separate, clean bowl—and I mean sparkling clean because fat hates soap residue—whip your cold heavy cream and the second half-cup of powdered sugar. Beat it until you get stiff, firm peaks. You should be able to turn that bowl upside down over your head—though please don’t try it, haha!
Now, the most important part: gently fold that fluffy whipped cream into the cream cheese mixture. Use a spatula and cut down the middle, sweeping up the side gently. We are folding, not stirring! You want to keep all that fresh air trapped in there. Just fold until you don’t see any streaks of white cream left.
Assembling and Setting the Classic Grasshopper Pie
Time to bring it all together! Take that chilled crust out of the freezer. Pour all that beautiful, light mint filling right into the crust and smooth the top gently with your spatula. Don’t press down hard!
Cover the pie loosely with plastic wrap—make sure the plastic isn’t touching the surface of the filling! Pop this delicate beauty into the refrigerator. We need it to set up completely, so give it a minimum of four hours. If you’re planning ahead, you can even let it firm up more in the freezer for about two or three hours if you want a truly Frozen Grasshopper Pie Dessert consistency for serving.
Tips for Success: Perfecting Your Grasshopper Pie
Even though this is an easy grasshopper pie recipe, there are always a few little secrets to making it the *best* creamy mint chocolate pie on the block. I’ve learned these by trial and error—mostly errors involving runny filling! When serving something that is meant to be rich and set, a few small checks make all the difference.
Ingredient Notes and Substitutions
Let’s talk about the flavor and texture agents! If you are avoiding alcohol but still want that vibrant mint flavor, here is my advice. You’ll need about one teaspoon of good quality peppermint extract, coupled with a few drops of green food coloring. That liqueur packs a punch, so taste your mixture as you go if you use the extract!
Also, sometimes people ask me about using Cool Whip instead of heavy whipping cream—and yes, you absolutely can! If you choose to do that, let one cup of the thawed stuff stand for about ten minutes, then gently fold it right into your cream cheese mixture just like we did with the homemade whipped cream. It makes for an even quicker, stabilized filling, though I still think freshly whipped cream wins on pure flavor.
Achieving the Best Creamy Mint Chocolate Pie Texture
The texture is what separates an okay pie from one everyone raves about. The absolute key is keeping your heavy whipping cream super cold when you whip it. If your cream is lukewarm, it takes forever to stiffen up, and it just doesn’t hold as well. Use a bowl that’s been chilling in the freezer for ten minutes, too!
Once you have those beautiful stiff peaks going, slow down! When folding that whipped cream into the base, remember: gentle is the keyword. If you stir vigorously, you knock all the air out. We want that airy lightness, so keep folding until it’s *just* combined. This ensures you get that wonderful, light chew in every slice of your make ahead dessert.
Serving Suggestions for Your Refreshing Mint Pie
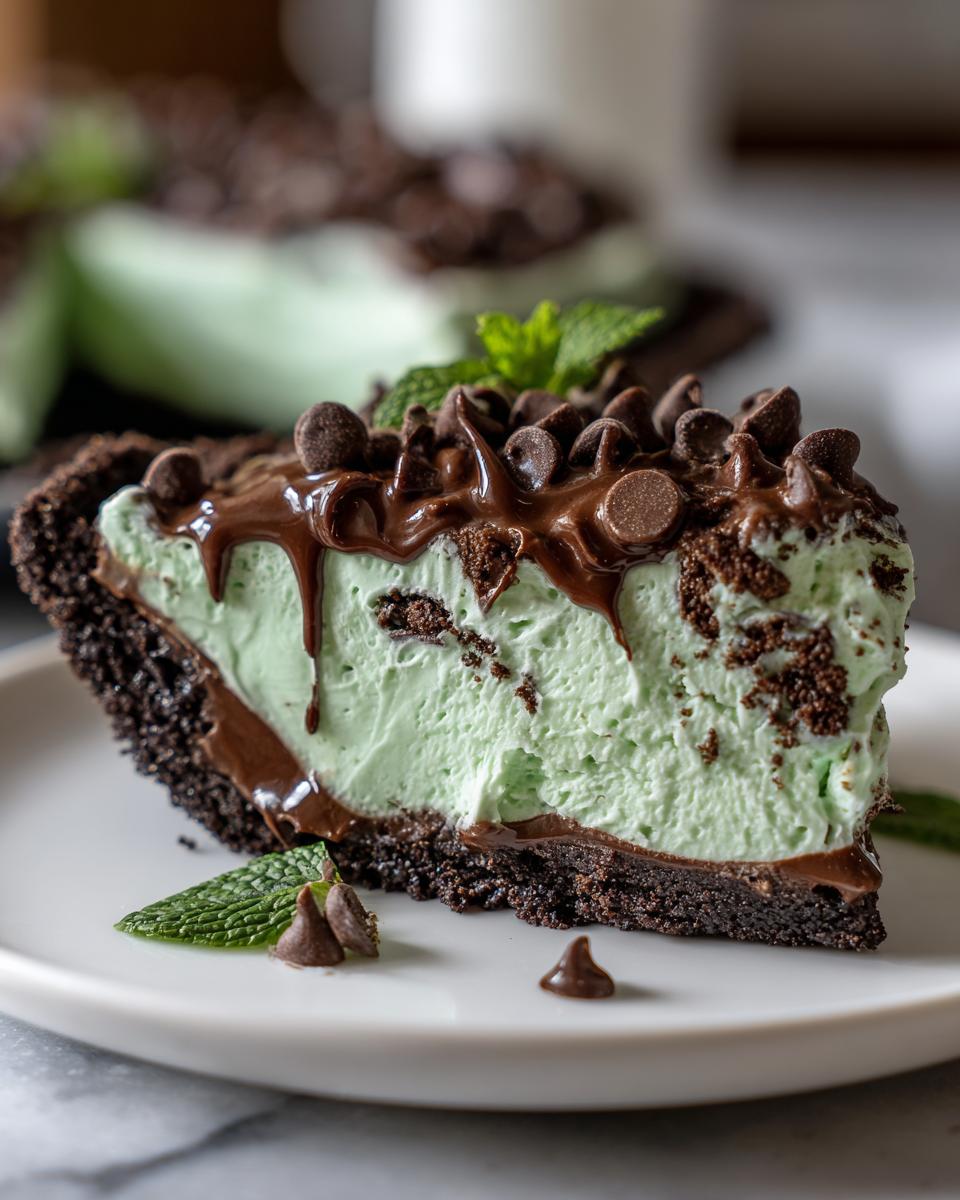
Now that you have this stunning, no-bake grasshopper pie ready to go, how should you serve it up? Honestly, it’s so rich and minty, it barely needs anything extra. A little dusting of powdered sugar on top works great if you skipped the chocolate chips, but I love pairing it with something warm or tart to cut through the richness.
It is absolutely divine alongside a hot cup of black coffee—that dark bitterness pairs perfectly with the sweet chocolate crust. If you’re looking for a fresh contrast, try topping individual slices with a few fresh raspberries or a dollop of unsweetened whipped cream. If you need a special drink to go with it, check out some of our cocktail recipes for a perfect pairing!
Storage and Make Ahead Desserts Tips for Grasshopper Pie
One of the best parts about this **grasshopper pie** recipe is how perfectly suited it is for planning ahead! Since this is a straightforward, no-bake dessert, the chilling time is actually necessary for the filling to firm up well. It’s truly a champion among make ahead desserts because it relies on cold, not heat, to set.
You must keep this pie covered tightly in the refrigerator. If you don’t cover it, it’s going to absorb every smell in your fridge, and trust me, you don’t want your minty treat smelling like yesterday’s leftovers! When wrapped securely with plastic wrap (make sure the wrap isn’t touching the surface of the pie itself), it stays wonderfully fresh and creamy for up to two full days.
Can you freeze it? Yes, you absolutely can! If you want that truly firm, almost ice-cream-like texture—which is great for summer—go ahead and pop the whole covered pie into the freezer. It usually takes about two to three hours for it to firm up nicely to that point. If you leave it longer than that, it might get too hard. If you do freeze it solid, just plan to let it thaw on the counter for about 20 to 30 minutes before slicing. That little bit of time brings back the perfect creamy texture we worked so hard to achieve!
Frequently Asked Questions About This Easy Grasshopper Pie Recipe
I know you might have a few last-minute panics before diving in, so let’s clear up the most common questions about making this stellar appetizers and snacks contender!
Can I turn this into a frozen grasshopper pie dessert?
You certainly can! While it sets beautifully in the fridge, if you want that really firm, almost ice cream feel, simply pop the whole thing, covered, into the freezer. Give it about 2 to 3 hours. Just remember to pull it out about 20 minutes before serving so it isn’t rock solid when you try to cut into it!
Do I have to use the Crème de Menthe liqueur?
Not at all! Many families prefer a completely non-alcoholic version of the **No Bake Grasshopper Pie**. If you skip the liqueur, just use one teaspoon of pure peppermint extract and add a few drops of green food coloring to get that classic look. It tastes just as minty and wonderful!
What if I don’t have Oreo cookies for the chocolate cookie crust pie?
That crunchy chocolate base is essential, but if you’re out of Oreos, don’t panic! You can use any dark chocolate wafer cookie. If you are in a real pinch and only have vanilla wafers or graham crackers, you can use those, but you absolutely must add about 1/4 cup of unsweetened cocoa powder to the crumbs before mixing with the butter to get that deep chocolate flavor we need.
Can I use a store-bought crust instead of making one?
Yes, you can! Using a pre-made graham cracker or even better, a store-bought chocolate cookie crust, will save you about ten minutes. Just make sure it’s a 9-inch crust. Since this Chocolate Cookie Crust Pie relies on a solid base, ensure the store-bought crust fits snugly in your pie dish before you add the filling!
Understanding the Nutrition in This Chocolate Mint Dessert
Since we love to bake with real ingredients here at the table, it’s good to have a general idea of what’s in our slice of heaven! If you’re counting or just curious about this rich **Chocolate Mint Dessert**, I’ve pulled the estimates below. Now, here is a big important note though: because ingredients can vary (did you use the liqueur or the extract? I swapped butter for a different brand once!), these values are just a good guideline based on the standard recipe measurements we used.
When you look at the numbers, remember this is a rich, satisfying dessert, so we usually count it as a special occasion treat! Here’s the breakdown for one slice of our **Creamy Mint Chocolate Pie**:
- Calories: About 380 per slice
- Fat: Around 24 grams (That butter and cream do their job!)
- Carbohydrates: We are looking at about 38 grams
- Protein: Roughly 4 grams
If you are watching sugar or saturated fat, that’s where the bulk of the calories come from, as expected in any amazing pie! But honestly, enjoying a slice of this homemade **No Bake Grasshopper Pie** guilt-free is part of the experience. You made it yourself with love, and that’s what counts!
Share Your Minty Creamy Treats Experience
Now that you’ve made your own stunning, easy **grasshopper pie**, I truly want to know how it went! Seeing what you create in your own kitchen is genuinely the best part of my job here. Food is about sharing love, and this recipe travels so well, I bet yours looked incredible on the table.
Did you keep it non-alcoholic, or did you go all-in with the Crème de Menthe? Did the Oreo crust hold together perfectly, or did you have a little crumb disaster? Don’t keep those triumphs or tiny little oopsies to yourself!
If you followed along, please take a moment to leave a star rating right down below. Five stars means you loved the simplicity and the creamy mint chocolate flavor, of course! If you had any hiccups, tell me about them in the comments so I can make sure future bakers have even clearer instructions.
I also absolutely love seeing photos! If you snap a picture of your finished dessert—especially that perfect slice on a plate—feel free to send it over via my contact page. If you want to see other fantastic, easy-to-make recipes that people are raving about, check out the amazing results over at Margot’s site, too; she has a fantastic take on this no bake grasshopper pie recipe!
Thank you so much for bringing this simple, impressive dessert into your home. Happy cooking, and I’ll see you at the next table!
PrintEasy No-Bake Grasshopper Pie with Oreo Crust

Make this creamy, mint chocolate Grasshopper Pie without turning on your oven. It features a simple Oreo cookie crust and a refreshing, light mint filling, making it a perfect make-ahead dessert for any gathering.
- Prep Time: 20 min
- Cook Time: 0 min
- Total Time: 4 hr 20 min
- Yield: 8 servings 1x
- Category: Dessert
- Method: No Bake
- Cuisine: American
- Diet: Vegetarian
Ingredients
- 1 3/4 cups chocolate cookie crumbs (about 25 Oreo cookies)
- 6 tablespoons unsalted butter, melted
- 8 ounces cream cheese, softened
- 1 cup powdered sugar
- 1 teaspoon vanilla extract
- 1/2 cup cold milk
- 1/2 cup crème de menthe liqueur (optional, for flavor)
- 1 teaspoon peppermint extract (if omitting liqueur)
- 1/2 teaspoon green food coloring (optional)
- 1 cup heavy whipping cream, cold
- 1/2 cup powdered sugar (for whipped cream)
- 1/2 cup chocolate chips, for topping
Instructions
- Prepare the crust: Place the chocolate cookie crumbs in a food processor and pulse until fine crumbs form. Transfer crumbs to a bowl and mix with the melted butter until evenly moistened. Press the mixture firmly into the bottom and up the sides of a 9-inch pie plate. Place the crust in the freezer while you prepare the filling.
- Make the cream cheese base: In a large bowl, use an electric mixer to beat the softened cream cheese until smooth. Gradually beat in the 1 cup of powdered sugar and vanilla extract until fully combined.
- Add the mint flavor: Slowly mix in the cold milk, crème de menthe (if using), or peppermint extract and green food coloring (if using). Beat until the mixture is smooth and creamy.
- Whip the cream: In a separate, clean bowl, beat the cold heavy whipping cream and the remaining 1/2 cup of powdered sugar until stiff peaks form.
- Combine the filling: Gently fold the whipped cream into the cream cheese mixture until no streaks remain. Do not overmix.
- Assemble the pie: Pour the mint filling into the chilled Oreo crust and spread evenly.
- Chill the pie: Cover the pie loosely with plastic wrap and refrigerate for at least 4 hours, or until firm. For a firmer, frozen grasshopper pie dessert, freeze for 2-3 hours.
- Garnish and serve: Before serving, sprinkle the top with chocolate chips. Slice and serve this impressive easy dessert chilled.
Notes
- If you skip the crème de menthe liqueur, use peppermint extract for flavor and add a few drops of green food coloring to achieve the classic color.
- You can substitute Cool Whip for the heavy whipping cream if you prefer a quicker, stabilized filling. Fold 1 cup of thawed Cool Whip into the cream cheese mixture.
- This is a great make ahead dessert; it holds well in the refrigerator for up to two days.
Nutrition
- Serving Size: 1 slice
- Calories: 380
- Sugar: 28g
- Sodium: 250mg
- Fat: 24g
- Saturated Fat: 14g
- Unsaturated Fat: 10g
- Trans Fat: 0.5g
- Carbohydrates: 38g
- Fiber: 1g
- Protein: 4g
- Cholesterol: 55mg