
Oh, friends, there are some cravings only chocolate and cream cheese can fix, right? When that deep desire for a truly decadent dessert hits, forget everything else—what you need is the ultimate Oreo cheesecake. I spent ages tweaking recipes, trying to figure out how to get that bakery-level richness without the dreaded cracks creeping in. But I finally cracked the code!
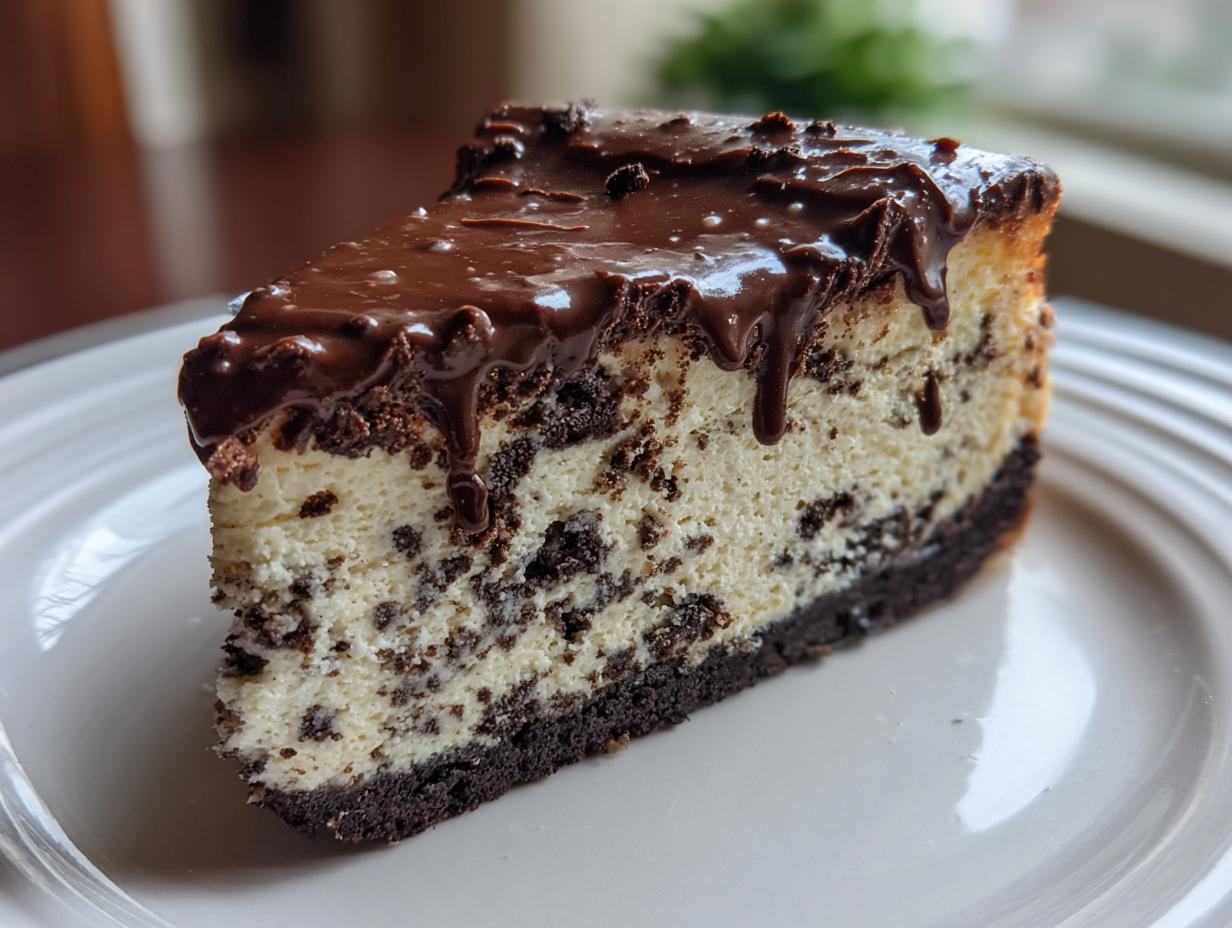
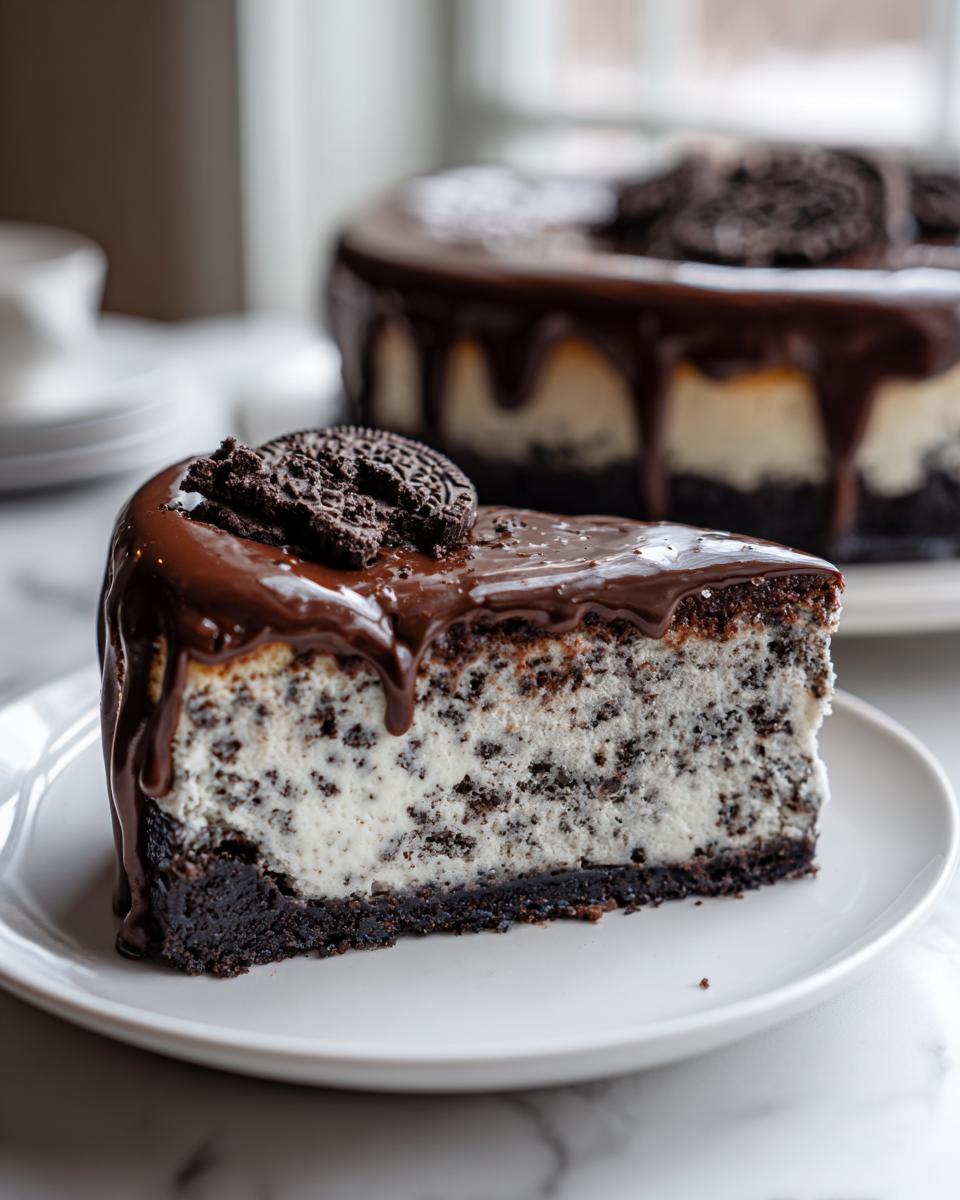
This baked version is my absolute go-to for when I want something truly impressive. We’re talking a buttery crust, a filling studded with cookie pieces, and that gorgeous, glossy chocolate ganache finish. It’s exactly the kind of classic comfort dessert that makes gathering around the table feel special. Trust me, once you master the simple techniques here, you’ll be making this homemade Oreo cheesecake all the time.
- Why This Baked Oreo Cheesecake Recipe Works Every Time
- Ingredients Needed for the Ultimate Oreo Cheesecake
- Step-by-Step Instructions for Baked Oreo Cheesecake
- Making the Chocolate Ganache for Your Oreo Cheesecake
- Tips for the Best Oreo Cheesecake Success
- Serving Suggestions for Your Decadent Oreo Dessert
- Storage and Reheating for Homemade Oreo Cheesecake
- Frequently Asked Questions About Oreo Cheesecake
- Share Your Perfect Oreo Cheesecake Creation
Why This Baked Oreo Cheesecake Recipe Works Every Time
I know a lot of people are scared of baked cheesecake, usually because they end up with a cracked mess! But that’s because they skip a few key steps that my testing process uncovered. This isn’t just a recipe; it’s a foolproof system designed to deliver that rich, velvety texture we all crave. If you follow these three non-negotiables, you’re set. It’s all about creating the right environment for the cream cheese to set beautifully, just like we focus on gentle heating when making my famous creamy hot chocolate.
- The Water Bath: We bake this nestled sweetly in a hot water bath. This creates a steamy, gentle environment so the edges don’t cook faster than the middle. It’s the secret weapon for a perfect, creamy Oreo cheesecake.
- Room Temperature Ingredients: If your cream cheese or eggs are cold, you’ll get lumps, period. Letting them warm up properly ensures everything blends into the smoothest batter imaginable.
- The Slow Cool Down: We let the cheesecake nap inside the turned-off oven for a full hour. Rushing the cooling is the number one cause of surface shrinking and cracking! Who has time for that stress?
Achieving the Perfect Creamy Oreo Cheesecake Texture
The texture is everything when we’re aiming for creamy Oreo cheesecake perfection. The biggest mistake people make is over-beating the eggs. When you add those gorgeous room-temperature eggs, you have to mix only until they disappear—seriously, swap to a spatula after the eggs go in. Why? Because excessive mixing incorporates air bubbles. And guess what those air bubbles do when heated? They expand and then collapse, giving you those ugly cracks on top. We want dense, smooth, and luscious, not puffy and split!
Ingredients Needed for the Ultimate Oreo Cheesecake
Okay, gathering your crew of components is half the battle won! For this Oreo cheesecake recipe to shine, you absolutely need everything prepared right before you start mixing. Remember what I said about room temp? Make sure you set out your cream cheese and eggs early so they’re happy and soft. We keep things simple here—nothing exotic required, just the good stuff!
For the Buttery Oreo Crust
We start with that satisfying crunch at the bottom. Don’t skimp on crushing those cookies properly, either!
- 1 3/4 cups Oreo cookie crumbs (about 30 cookies)
- 1/4 cup unsalted butter, melted
For the Rich Oreo Cheesecake Filling
This is where the magic happens. See how we use a combination of sour cream and cream cheese? That’s what keeps these slices so tender.
- 3 (8 ounce) packages cream cheese, softened to room temperature
- 1 1/2 cups granulated sugar
- 1 teaspoon vanilla extract
- 1/2 cup sour cream
- 4 large eggs, room temperature
- 1 cup crushed Oreo cookies (for filling)
For the Decadent Chocolate Ganache Topping
This glossy layer just takes things over the top. It’s super quick, so have these ready nearby!
- 1/2 cup heavy cream
- 1/2 cup semi-sweet chocolate chips
- 1 tablespoon light corn syrup
Step-by-Step Instructions for Baked Oreo Cheesecake
Alright, let’s get baking! Making this homemade Oreo cheesecake isn’t hard if you follow the timing exactly. My goal here is zero fuss and maximum results. We’re moving straight from the crust to the batter, and then the super important water bath comes into play. Pay close attention to how slowly we cool this beauty down; that’s how we guarantee that silky texture!
Preparing the Crust and Oven Setup
First things first: get that oven warmed up to 325 degrees Fahrenheit—no cheating! While it heats, wrap the outside bottom of your 9-inch springform pan really well with a couple of layers of heavy foil. We don’t want any sneaky water getting in there during the bath! Mix your cookie crumbs and melted butter until it feels like wet sand, then press that mixture firmly into the bottom of your pan. Pop it in for 10 minutes just to set it up, then pull it out to cool while you tackle the filling.
Mixing the Creamy Oreo Cheesecake Batter
Grab your largest bowl! Start by beating the softened cream cheese until it’s completely smooth—this is key for a lump-free experience. Next, beat in the sugar until it’s fully combined, then mix in the vanilla and sour cream. Now, here’s where you slow down: add the eggs one by one, mixing only on low speed, just until the yolk disappears. Remember what I always say? Don’t overmix once the eggs are in! Lastly, gently fold in that cup of crushed Oreos by hand.
Baking with a Water Bath for Smoothness
Pour your beautiful batter over that cooled crust. Find a roasting pan that’s bigger than your springform pan. Carefully place the cheesecake pan inside the big pan, and *then* pour hot water into the roasting pan until it comes about halfway up the sides of your springform. Bake this setup for 55 to 65 minutes. When you gently nudge the side of the pan, the edges should look firm, but the middle two inches should still have a tiny little wiggle.
The Essential Slow Cooling Process
This is my favorite part because it requires almost no work! Turn the oven off entirely, but don’t take the cheesecake out yet. Just crack the door open a little bit—I use the handle of a wooden spoon to prop it slightly. Let your homemade Oreo cheesecake chill in that warm, steamy environment for a full hour. After the hour is up, remove it from the water bath and let it finish cooling on a rack. Then, wrap it up tight and refrigerate it for at least six hours, but honestly, overnight is always best for that ultimate texture!
Making the Chocolate Ganache for Your Oreo Cheesecake
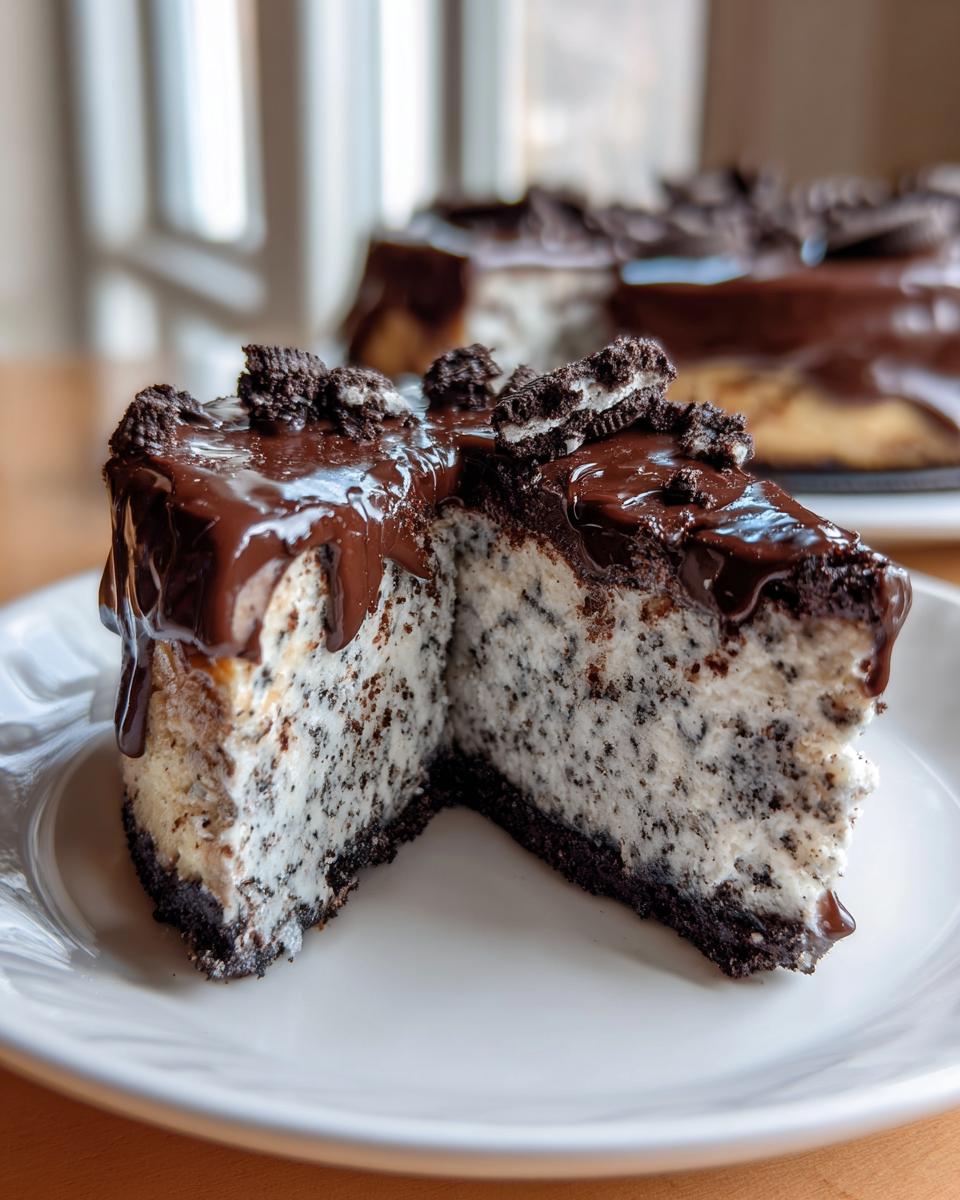
I love this topping because it feels incredibly fancy but takes about five minutes if you’re organized! This chocolate ganache is what gives our Oreo cheesecake that final, rich layer that makes everyone wonder if you bought it from that famous cheesecake place downtown. We’re using a little secret weapon here—a touch of corn syrup—that helps the ganache stay super glossy and stops it from getting that hard, brittle shell when it chills.
First, get your chocolate chips ready in a small, clean bowl. Then, on the stovetop, heat up the heavy cream and that tablespoon of light corn syrup together. You want to watch it super carefully until it just starts to bubble around the edges—that’s when it’s simmering, but don’t let it boil aggressively!
Now, pour that hot cream mixture right over those chocolate chips. Resist the urge to stir immediately! Walk away for five full minutes. That waiting time lets the heat gently melt everything evenly. After five minutes, grab a whisk and start in the center, slowly working your way outward. Whisk gently until it’s completely smooth, rich, and shiny. You’ve basically just made magic happen! Once your cheesecake is totally chilled, pour this beautiful topping over the top and gently spread it to the edges. Then, let it firm up in the fridge for about 30 minutes before slicing. If you love chocolate, you might also want to check out my recipe for homemade chocolate pudding for another simple indulgence!
Tips for the Best Oreo Cheesecake Success
Even with a great recipe, sometimes you need a little extra nudge to turn a good result into the best Oreo cheesecake ever! I’ve tucked away a few tricks I learned over the years—and yes, some of these came from moments where I messed up and had to fix it later! These aren’t complicated; they just ensure you get that perfect, velvety bite every single time.
Ingredient Temperature Matters for Oreo Cheesecake
I can’t emphasize this enough for the filling: your cream cheese and eggs MUST be at room temperature. If they’re cold, you’ll end up mixing and mixing, trying to beat out lumps, and that introduces too much air—bad news for cracks! Take them out about 45 minutes before you plan to start. If you’re having a busy day and forget, you can soften the cream cheese slightly in the microwave in 10-second bursts, but be super cautious!
Troubleshooting: Preventing Cracks in Your Oreo Cheesecake
If you want a cheesecake that looks as good as it tastes, it all comes down to gentle heat and patience. Remember our two most important rules? You need that deep water bath—it’s like giving your cake a spa treatment. And then, that slow transition when you turn the oven off, crack the door, and let it rest inside for an hour. These two steps work together to stop the cheesecake from suddenly shrinking when it hits cool air. It’s the secret to a flawless top, similar to the tips I share over on my post about the best cheesecake recipe!
For more amazing inspiration on using this classic flavor profile, you might love the version featured over at Handle the Heat—it’s always a good idea to see how other bakers tackle this cookie-cream dream!
Serving Suggestions for Your Decadent Oreo Dessert
Whew! You managed to keep that gorgeous Oreo cheesecake intact through baking and chilling—that deserves a celebration! Now comes the fun part: serving up this totally decadent Oreo dessert. Because this recipe is so rich and deeply satisfying, you really don’t need much fuss on the side. Simple truly is best here!
If you’re looking for a little something extra to balance the richness, I always lean toward something tart or bright. A small dollop of fresh, slightly sweetened whipped cream on the side is just perfect. It cuts through the richness beautifully. Or, if you’re feeling extra fancy, a tiny drizzle of raspberry sauce around the plate adds a lovely pop of color and tang.
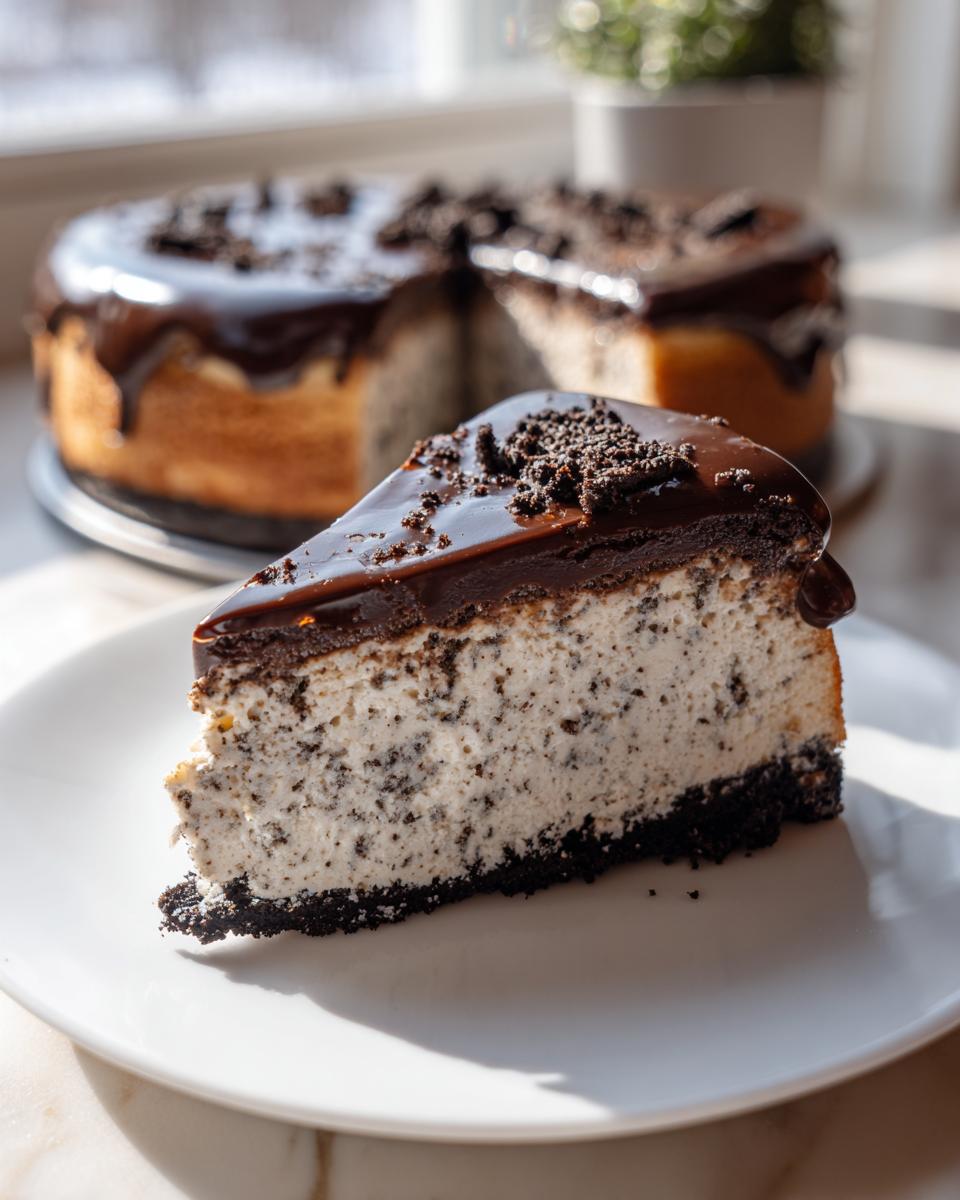
The Secret to Perfect Slices: This is crucial, especially after all that care you took not to crack it! You want clean slices that show off that creamy interior and cookie crunch. Don’t just use a regular knife. Fill a tall glass with very hot water (near boiling). Dip your sharpest slicing knife into the hot water, wipe it completely dry, and then make one smooth, downward cut. Before you slice the next piece, dip and wipe the knife again. It sounds fussy, I know, but this technique melts the chocolate ganache and the cream cheese just enough to glide right through without dragging or smearing. You’ll get beautiful, professional-looking wedges every time.
For another incredibly rich, but different, dessert experience, you have to try my chocolate bourbon pecan pie sometime. But for now, enjoy slicing into this masterpiece!
Storage and Reheating for Homemade Oreo Cheesecake
Now that you’ve successfully navigated the baking, chilling, and glorious ganache process, let’s talk about keeping your spectacular homemade Oreo cheesecake fresh. This dessert is truly better the next day once it has had time to fully firm up, but how you store it matters!
The bottom line is simple: this keeps best when wrapped up tight and kept cold. After the ganache has set completely (give it at least 30 minutes in the fridge after topping it), you need to protect that gorgeous surface. I carefully place a piece of plastic wrap directly against the ganache—not loosely over the top, but gently touching the chocolate surface. Then, I wrap the entire springform pan or cake plate lightly with foil. Storing it this way keeps it from absorbing any weird fridge smells and prevents condensation from making the crust soggy.
In the refrigerator, you can expect this beauty to stay perfectly delicious for about 4 to 5 days. Honestly, I’ve never known one to last longer than that because everyone hides small slices! We’ve tried leaving it out on the counter, but because of the sour cream and the eggs, it really needs that cold environment to maintain that rock-solid, creamy structure.
What about freezing? Yes, you absolutely can! If you know you won’t devour it within five days, freezing is a great option, especially if you made this oreo cheesecake for a party where you only served half. Make sure the cheesecake is fully chilled and the ganache is set before freezing. Wrap it *very* well—first in plastic wrap, then in a layer of aluminum foil. Pop it in the back of the freezer, where it’s coldest, for up to two months. When you’re ready to eat it, just transfer the whole wrapped thing to the refrigerator and let it thaw slowly overnight. Never try to rush cheesecake thawing at room temperature or in the microwave; it totally ruins that creamy texture we worked so hard to achieve!
Frequently Asked Questions About Oreo Cheesecake
I love getting your questions! It means you’re getting ready to bake, and that makes me so happy. When you make something as spectacular as this Oreo cheesecake, it’s natural to have a few last-minute thoughts before you commit to that long chill time. Here are some of the most common things folks ask me about recreating this dessert at home.
Can I make this Oreo cheesecake recipe without a water bath?
I know the water bath sounds fussy, but trust me on this one! Can you skip it? Yes, technically, but you are rolling the dice big time. If you skip it, you significantly increase the risk of getting dry edges or those dreaded cracks across the top. The water bath creates steam, which is totally non-negotiable when you are aiming for that signature creamy Oreo cheesecake texture. It keeps the internal temperature even and low, slow-cooking the filling perfectly.
What is the difference between this and a no bake Oreo cheesecake?
That’s a great question! They’re both delicious, but they are totally different experiences. This recipe we just made is baked, which gives you that classic, dense, rich texture that feels incredibly substantial—it really captures that New York style or even a copycat version of a Cheesecake Factory recipe! A no bake Oreo cheesecake, on the other hand, is much lighter. Those versions rely on heavy whipping cream or sometimes gelatin to set up in the fridge, so they are creamier in a lighter, fluffier way rather than being dense and velvety.
How do I get the Oreo crust to stay put?
A sliding crust is just sad, isn’t it? The key here is multi-faceted, but totally achievable! First, when you press the crumbs and butter mixture into the bottom of that 9-inch springform pan, you need to use the bottom of a measuring cup or glass to really pack it down nice and firm. Second, we don’t skip that essential 10-minute pre-bake! Those 10 minutes help toast the crust slightly and make those butter molecules really bind the crumbs together. A little extra melted butter in your mix never hurts either!
If you are curious about other styles of cheesecakes, some people swear by the technique outlined over at Recipe Horizon for that specific restaurant style. Either way, baking is fun!
Share Your Perfect Oreo Cheesecake Creation
Whew! Making this big, beautiful baked dessert takes a little time and a lot of love, but I promise it is so worth it!
Now that you’ve conquered the water bath, the slow cool down, and slathered on that gorgeous shiny ganache, I would absolutely love to hear what you thought. Did it come out perfectly creamy? Did your family devour the entire thing before you could even think about leftovers? Drop a little note in the comments section below and let me know!
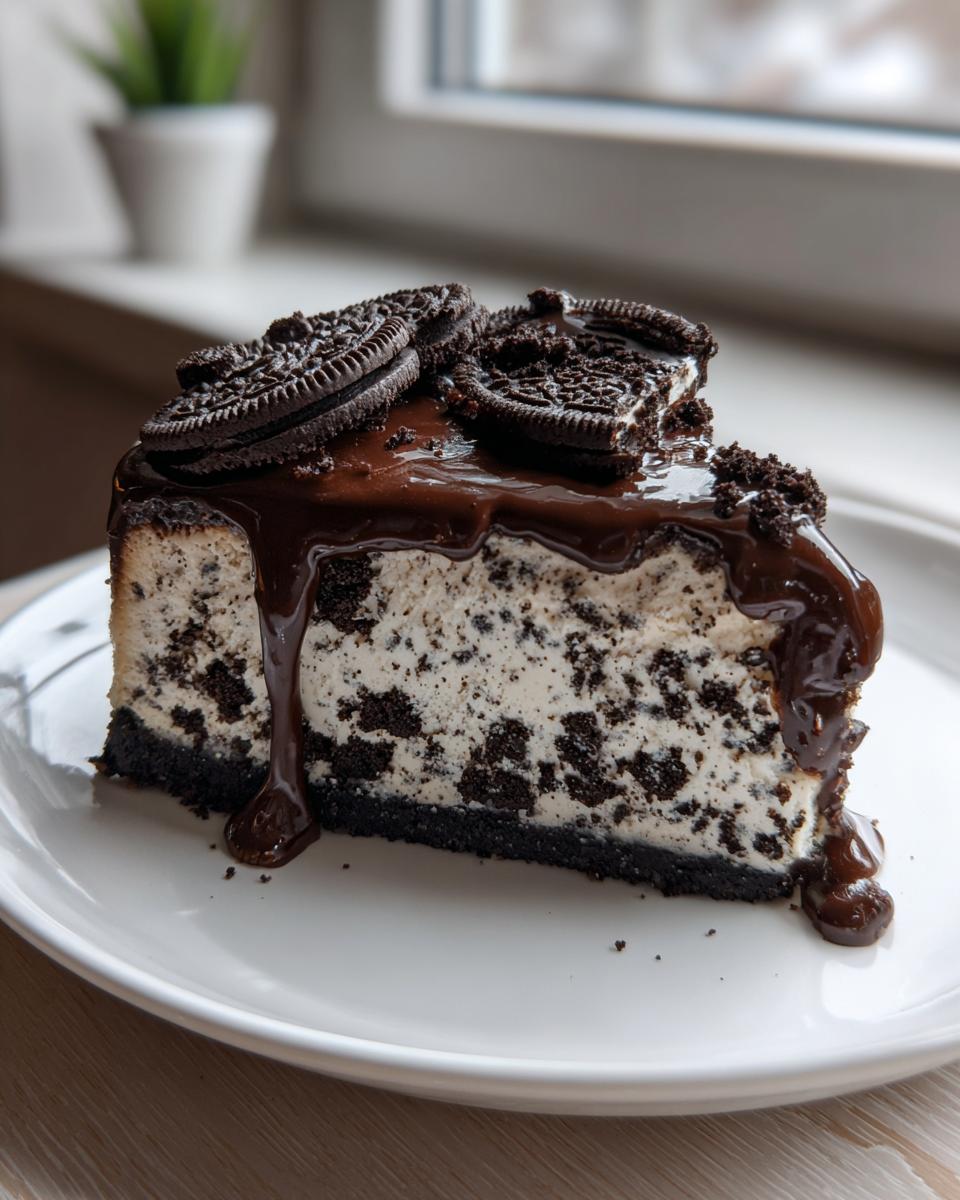
If you want to share a snap of your amazing Oreo cheesecake creation—maybe you topped it with extra crushed cookies or tried my raspberry sauce trick—please tag us! Seeing your beautiful results truly makes my day and reassures me we’re all creating wonderful things together in the kitchen. If you have any lingering questions that I missed in the FAQ section, feel free to reach out through my contact page. Happy baking, everyone!
PrintThe Ultimate Baked Oreo Cheesecake with Chocolate Ganache
Make a rich, creamy Oreo cheesecake from scratch with a buttery cookie crust. This recipe includes steps to achieve a smooth texture and a decadent chocolate ganache topping.
- Prep Time: 25 min
- Cook Time: 65 min
- Total Time: 8 hours 30 min
- Yield: 12 servings 1x
- Category: Dessert
- Method: Baking
- Cuisine: American
- Diet: Vegetarian
Ingredients
- 1 3/4 cups Oreo cookie crumbs (about 30 cookies)
- 1/4 cup unsalted butter, melted
- 3 (8 ounce) packages cream cheese, softened to room temperature
- 1 1/2 cups granulated sugar
- 1 teaspoon vanilla extract
- 1/2 cup sour cream
- 4 large eggs, room temperature
- 1 cup crushed Oreo cookies (for filling)
- 1/2 cup heavy cream
- 1/2 cup semi-sweet chocolate chips
- 1 tablespoon light corn syrup
Instructions
- Preheat your oven to 325 degrees Fahrenheit. Wrap the outside bottom of a 9-inch springform pan tightly with heavy-duty aluminum foil.
- Prepare the crust: Combine the Oreo cookie crumbs and melted butter in a bowl. Press the mixture firmly and evenly into the bottom of the prepared springform pan. Bake the crust for 10 minutes. Remove from the oven and let it cool while you prepare the filling.
- Prepare the filling: In a large bowl, beat the softened cream cheese with an electric mixer until smooth. Gradually add the granulated sugar and beat until fully combined. Mix in the vanilla extract and sour cream. Beat until the mixture is creamy.
- Add the eggs one at a time, mixing on low speed after each addition just until combined. Do not overmix the batter once the eggs are added. Gently fold in the 1 cup of crushed Oreo cookies.
- Pour the cheesecake batter over the cooled crust. Place the springform pan inside a larger roasting pan. Carefully pour hot water into the roasting pan until the water reaches about halfway up the sides of the springform pan. This water bath helps prevent cracks.
- Bake for 55 to 65 minutes. The edges should look set, but the center 2 inches should still have a slight jiggle when gently nudged.
- Turn off the oven, crack the oven door open slightly, and let the cheesecake cool inside the oven for 1 hour. This slow cooling process helps prevent cracking.
- Remove the cheesecake from the water bath and foil. Let it cool completely on a wire rack. Once cool, cover and refrigerate for at least 6 hours, or preferably overnight, before serving.
- Prepare the chocolate ganache topping: Place the chocolate chips in a small, heatproof bowl. In a small saucepan, heat the heavy cream and corn syrup over medium heat until it just begins to simmer. Pour the hot cream mixture over the chocolate chips. Let it sit for 5 minutes, then whisk until smooth and glossy.
- Pour the ganache over the chilled cheesecake. Spread evenly. Refrigerate for 30 minutes to allow the ganache to set slightly before slicing and serving.
Notes
- Use room temperature ingredients for the cream cheese and eggs; this prevents lumps and ensures a smooth, creamy texture.
- For the best results in preventing cracks, make sure your water bath is deep enough and follow the slow cooling process inside the turned-off oven.
- If you want a thicker crust, increase the amount of butter by one tablespoon.
Nutrition
- Serving Size: 1 slice
- Calories: 450
- Sugar: 35g
- Sodium: 320mg
- Fat: 30g
- Saturated Fat: 18g
- Unsaturated Fat: 12g
- Trans Fat: 0.5g
- Carbohydrates: 40g
- Fiber: 1g
- Protein: 7g
- Cholesterol: 95mg