
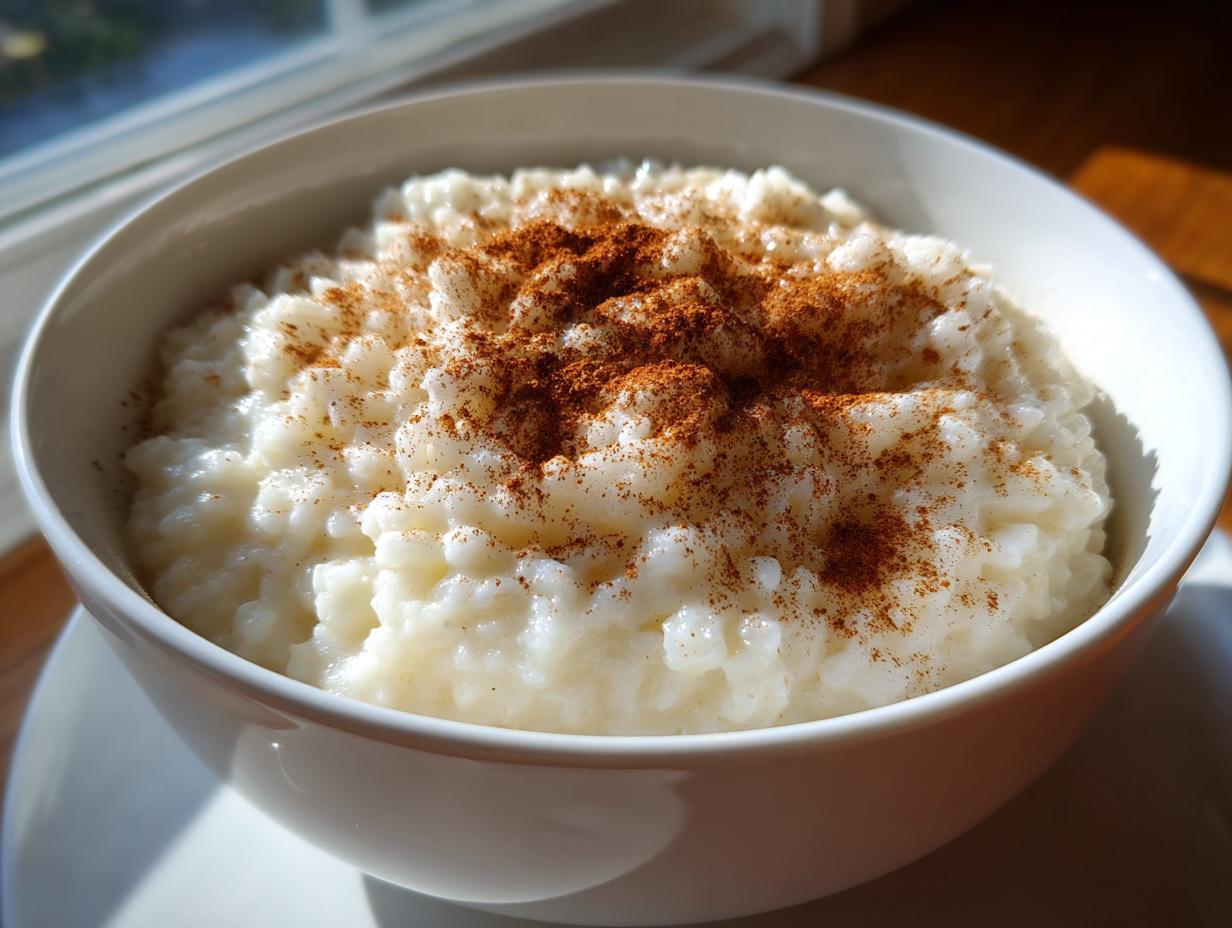
You know those desserts that feel like a warm hug on a chilly evening? That’s exactly what we’re making today. Forget those watery, overly-sweet cups you grab in a pinch; we’re going back to basics with the real deal. I’ve spent ages tinkering in my kitchen—pulling apart and refining old family methods—to bring you what I truly believe is the best rice pudding you’ll ever make: The Ultimate Creamy Old Fashioned Stovetop Rice Pudding.
This recipe is all about simplicity and texture. It requires patience—you can’t rush this kind of comfort—but the payoff is this thick, velvety, nostalgic sweet that tastes exactly like childhood. Trust me, mastering this classic dessert from scratch is easier than you think, and I’ll show you exactly how to get that perfect, dreamy consistency every time.
- Why This Creamy Rice Pudding Recipe Delivers Comfort
- Gathering Ingredients for Your Homemade Rice Pudding
- Step-by-Step Stovetop Rice Pudding Instructions
- Finishing Touches for Your Classic Dessert Rice Pudding
- Tips for Success Making Perfect Stovetop Rice Pudding
- Serving Suggestions for This Comfort Food Dessert
- Storage and Reheating Your Homemade Rice Pudding
- Frequently Asked Questions About Rice Pudding
- Share Your Experience with This Nostalgic Dessert
Why This Creamy Rice Pudding Recipe Delivers Comfort
Why bother with another dessert when you can have pure nostalgia in a bowl? This creamy rice pudding recipe checks every box for that warm, comforting feeling. We’re keeping things simple, classic, and totally homemade here!
- It delivers that signature thick rice pudding texture you dream about.
- It uses minimal, simple ingredients, making it an easy pudding recipe.
- It’s the definition of an old fashioned rice pudding—no weird additions here!
Achieving the Perfect Old Fashioned Rice Pudding Texture
Listen, the secret to getting that dreamy texture is sticking to the stovetop method. Baking is lovely, sure, but for this specific rich outcome, you need direct heat and your full attention. We aren’t trying to make a baked custard; we want true, velvety creaminess. That’s why frequent stirring is non-negotiable! When you stir constantly, you’re essentially rubbing those little rice grains against each other, forcing them to release their starch right into the milk. That starch is what transforms simple milk into the most luxurious, thick pudding possible.
Gathering Ingredients for Your Homemade Rice Pudding
When we talk about homemade rice pudding, we are talking about pulling simple pantry items together to create something magical. You don’t need specialty items for this classic dessert; just quality staples make all the difference. The key here, especially since we are aiming for that thick, delicious finish, is choosing the right foundation. I always suggest short-grain rice or Arborio in my formula because they break down just enough to create that creamy texture we love. Using whole milk is also a crucial step for richness!
I’ve laid out the exact measurements below, but keep this list handy because these ingredients are the backbone of a truly satisfying bowl of comfort.
- 1 cup short-grain white rice (Arborio or medium-grain works well)
- 4 cups whole milk
- 1 cup water
- 1/2 cup granulated sugar
- 1 teaspoon vanilla extract
- 1/4 teaspoon salt
- 1/2 teaspoon ground cinnamon (plus extra for topping)
Ingredient Notes and Simple Substitutions
Let’s talk specifics because ingredient choices matter when you’re looking for that ultra-creamy result. Please, please use short-grain rice if you can find it. Long-grain like Basmati just won’t release enough starch to give you that proper, decadent homemade pudding. You need that gummy, starchy release that only the right rice provides!
For the milk, whole milk is the standard here because the fat content helps carry the flavor and adds necessary richness. If you’re feeling truly indulgent, swap out one cup of the whole milk for heavy cream or half-and-half. Don’t try to go low-fat here; this is comfort food, and creaminess comes from fat! We keep the sugar simple and let the vanilla extract shine through, giving us that perfect vanilla rice pudding flavor.
Step-by-Step Stovetop Rice Pudding Instructions
Okay, deep breaths! This is where we put in the work, but I promise it’s all very simple, just slow. We aren’t turning on the oven; everything happens right here on the stovetop. The goal is to cook the rice until it’s tender and starts to plump up before we introduce the milk. I know it feels redundant, but starting the rice in plain water makes sure the grains absorb moisture evenly before the milk’s milk proteins have a chance to set too fast. Think of this part as building the foundation for our ultimate creamy rice pudding.
Initial Rice Cooking and Adding Milk for Creamy Rice Pudding
First things first: grab that heavy-bottomed saucepan—you need the thick bottom to prevent scorching! Combine your rice and plain water. We’re bringing that water to a boil over medium-high heat, just until it practically vanishes, about five minutes. Once that’s gone, pour in all four cups of whole milk. Bring this whole milky mixture up to a gentle simmer over medium heat. Don’t walk away during this stage! Give it frequent stirs so the tender rice grains don’t weld themselves to the bottom of the pan right away.
The Long Simmer: Creating Thick Rice Pudding
This is the patience test, but it’s worth every single minute you stand stirring. Once the milk is simmering gently, drop that heat immediately down to low. We want a whisper of a bubble, not a rolling boil! Now, you cook, stirring often—I mean every four or five minutes—for a solid 45 to 60 minutes. You must keep scraping the bottom! You’ll notice the liquid reducing slowly and the pudding starting to look decidedly thick and creamy. This prolonged, gentle cooking time is what makes this stovetop rice pudding so dreamy.
Finishing Touches for Your Classic Dessert Rice Pudding
We are almost there! The hard work of coaxing that starch out is done, and now it’s time for the flavor layer. Take the pan completely off the heat before you add your sugar. If you add sugar while it’s still boiling, sometimes it gets a little grainy, and nobody wants gritty pudding! I add the sugar, the full teaspoon of vanilla extract, and that little pinch of salt all at once. Stir gently until that sugar fully vanishes. If you love strong vanilla notes, you might want to check out how I make my fluffy vanilla buttercream for contrast later!
Next is the spice—the classic touch! Stir in half a teaspoon of ground cinnamon. This is vital for that traditional flavor profile everyone expects from a lovely, vanilla rice pudding. Now, the most important final step: taste it! Seriously, taste it right now. Does it need a little more sweetness? Add sugar just one tablespoon at a time, stirring it in until it melts completely, and taste again. Make it perfect for *your* palate!
Tips for Success Making Perfect Stovetop Rice Pudding
I want your homemade rice pudding experience to be flawless, honestly. Because we are stirring milk for over an hour, there are a couple of things I’ve learned through trial and error—mostly error, early on! The biggest mistake you can make is using a thin-bottomed pot. Seriously, ditch the stainless steel pot that scorches everything the second you look away. You absolutely need a heavy-bottomed saucepan for this stovetop rice pudding; it distributes the heat so much more evenly and keeps your rice from burning onto the bottom, which can ruin the whole batch with a burnt flavor.
If you forget to stir for a minute and it looks like it’s getting awfully thick or starting to stick? Take it off the heat immediately! You can always put it back on. Remember those raisins people sometimes ask about? If you want to include those, toss them in during the last 15 minutes of cooking. They need time to plump up, but you don’t want them stewing for the whole hour. Also, embrace the starch! If it cools down and becomes too firm—it might look like an actual block—don’t panic! Just stir in a splash of milk or even a little heavy cream to loosen it back up to your desired consistency. It blends right back in; it’s magic!
Serving Suggestions for This Comfort Food Dessert
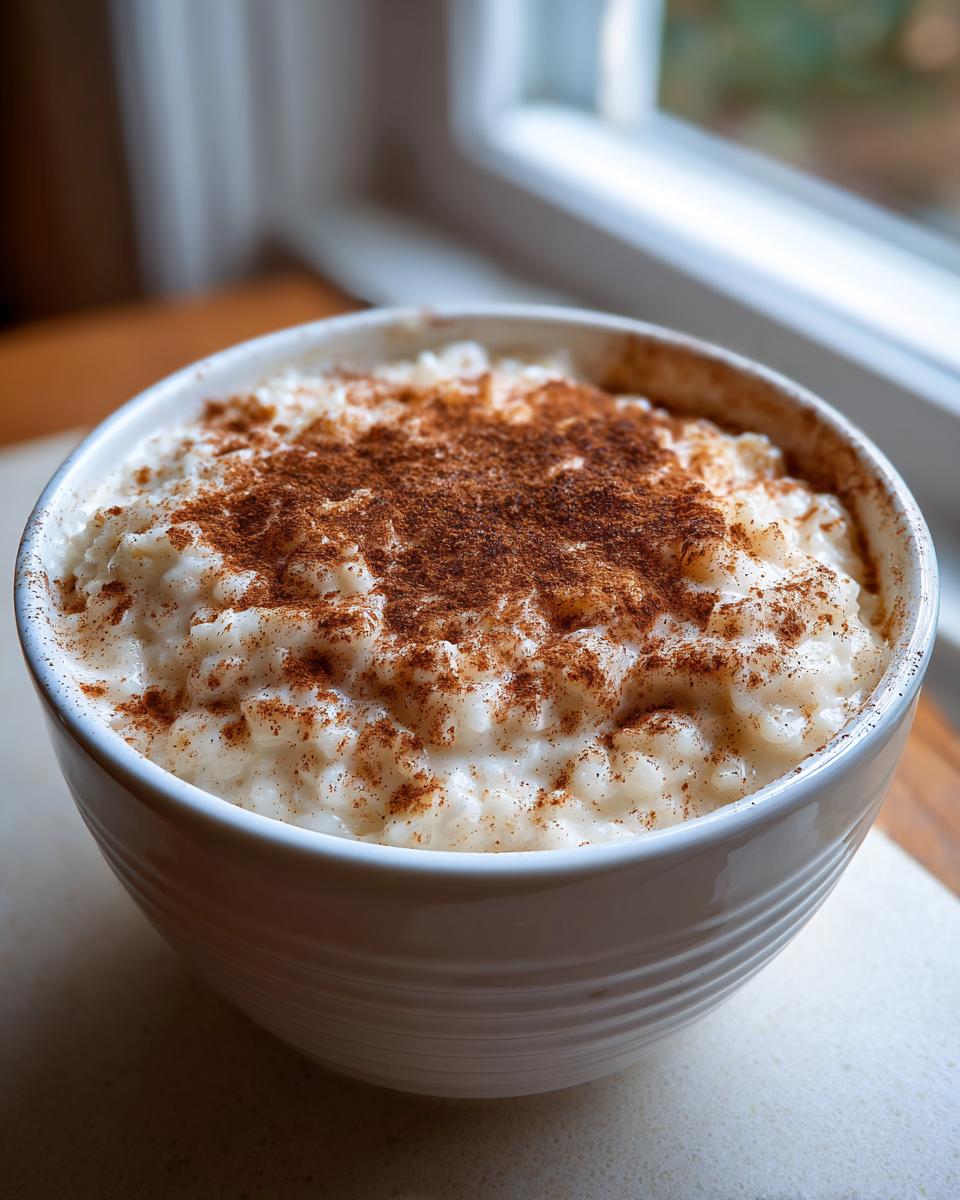
The best part about this classic rice pudding is its versatility! You can genuinely eat it any way you like, and it still qualifies as one of the ultimate comfort food desserts. If you serve it straight from the pot while it’s still warm, it stays wonderfully soft and comforting. Honestly, I love eating it that way with just a simple dusting of extra cinnamon right on top.
However, if you chill this creamy rice pudding completely—say, overnight—it firms up into that beautiful, thick, scoopable texture that reminds me of those old Kozy Shack cups. For a real treat, try stirring in some fresh orange zest or serving it with a dollop of whipped cream and maybe a side of my delicious creamy hot chocolate on a snowy day!
Storage and Reheating Your Homemade Rice Pudding
Because this is such a wonderfully hearty and thick rice pudding, it actually makes the best leftovers! If you have any remaining after dinner, you need to store it correctly to maintain that homemade quality. Transfer the pudding into an airtight container—a glass one is great so you can see how much you have left!—and keep it settled in the refrigerator. It keeps well for anywhere from three to five days, which means you have several days of easy dessert ready to go!
Now, when you pull it out later, don’t be surprised if it seems a little too firm or dense. That’s normal; the starches tighten up once it chills! The trick to revival is simple: just warm it gently on the stovetop over low heat, adding a splash or two of whole milk or heavy cream while you stir. That little bit of extra liquid restores the creamy texture perfectly. You’ll have a fresh bowl of comfort ready in minutes!
Frequently Asked Questions About Rice Pudding
I know when you’re making a classic dessert recipe like this, you might have a few little lingering questions before you start stirring. That’s totally fair! This stovetop rice pudding is straightforward, but understanding the ‘why’ behind the steps makes all the difference for beginners. I’ve put together the most common things people ask me about to make sure your batch turns out perfectly creamy and satisfying on the first try.
Can I use long-grain white rice instead of short-grain for rice pudding?
Oh, you absolutely *can*, but I really have to advise against it if you’re striving for that ultimate creamy rice pudding texture. Long-grain rice, like Basmati or Jasmine, is designed to stay separate and fluffy when cooked. When we’re making a creamy rice pudding recipe, we want the rice to release starch and almost melt into the milk. Long-grain rice just doesn’t release that starch, so you end up with a soupier dish, not the thick, nostalgic pudding we are aiming for. Stick with Arborio or another medium/short-grain rice for the best results!
How do I make this rice pudding recipe thicker?
You have two great options for thickness, depending on when you check on it! If it’s still on the stove and you notice it’s thinner than you’d like, just keep simmering it on low and stirring frequently. It will absolutely thicken as the liquid evaporates. Sometimes it feels like it’s taking forever, but don’t rush it with high heat! If the pudding is already finished and cooling down—maybe you’re making my simple homemade sweets ahead of time—it will naturally thicken significantly as it cools off. If it gets too thick overnight, just stir in a splash of milk or cream when reheating. That brings it right back to life!
Can I use milk alternates like almond or oat milk?
While I always push for the creaminess that only whole milk or heavy cream can give, I understand the substitutions need to happen sometimes. Oat milk is actually a decent substitute because it generally has a higher fat content and creaminess factor than almond milk. However, almond milk is much thinner and won’t give you that rich, comforting mouthfeel we’re looking for in an easy pudding recipe. If you use a non-dairy alternative, expect less richness and possibly a slightly longer cooking time to achieve the same reduction.
Why do I need to keep stirring if I barely have the heat turned up?
I get this question all the time, especially from people new to making rice pudding with cinnamon! Even on the lowest setting, if you let milk and starch sit still in a pan for 45 minutes, that starch settles firmly on the bottom and burns instantly. That burnt smell will ruin your entire batch, and trust me, it’s almost impossible to salvage! Stirring prevents that sticking, yes, but more importantly, stirring is the mechanical action that physically encourages the rice to break down and release its starches into the surrounding liquid, which is the whole secret to that signature creamy texture.
Share Your Experience with This Nostalgic Dessert
Now that you have the blueprint for the ultimate bowl of creamy comfort, I really want to know what you think! Did this stovetop rice pudding bring back some wonderful memories for you? Please leave a rating below on the recipe card, and if you feel like sharing, let me know in the comments what your favorite topping is!
If you run into any snags or just want to share a picture of your beautiful creation, you can always reach out to me directly through my contact page. Happy cooking, everyone!
PrintThe Ultimate Creamy Old Fashioned Stovetop Rice Pudding

Create a truly comforting, nostalgic dessert with this old fashioned rice pudding recipe. This stovetop method yields an incredibly creamy texture, flavored simply with vanilla and cinnamon. It is an easy homemade sweet perfect for any occasion.
- Prep Time: 5 min
- Cook Time: 60 min
- Total Time: 65 min
- Yield: 6 servings 1x
- Category: Dessert
- Method: Stovetop
- Cuisine: American
- Diet: Vegetarian
Ingredients
- 1 cup short-grain white rice (Arborio or medium-grain works well)
- 4 cups whole milk
- 1 cup water
- 1/2 cup granulated sugar
- 1 teaspoon vanilla extract
- 1/4 teaspoon salt
- 1/2 teaspoon ground cinnamon (plus extra for topping)
Instructions
- Combine the rice and water in a medium, heavy-bottomed saucepan. Bring the water to a boil over medium-high heat, then reduce heat and simmer until the water is almost completely absorbed, about 5 minutes.
- Add the whole milk to the saucepan. Bring the mixture to a gentle simmer over medium heat, stirring frequently to prevent the rice from sticking to the bottom.
- Once simmering, reduce the heat to low. Continue to cook, stirring often (every 3 to 5 minutes), for 45 to 60 minutes. The pudding thickens as the liquid reduces and the rice softens. You want a thick, creamy consistency.
- When the pudding reaches your desired thickness, remove the pan from the heat. Stir in the sugar, vanilla extract, and salt. The sugar will dissolve quickly.
- Stir in 1/2 teaspoon of ground cinnamon. Taste the pudding; if you prefer it sweeter, add sugar one tablespoon at a time.
- Serve the rice pudding warm, sprinkled with extra cinnamon, or chill it completely for a thicker, scoopable texture.
Notes
- For the creamiest result, use whole milk and stir frequently during the simmering process. This releases the starch from the rice.
- If the pudding becomes too thick while cooling, stir in a splash of milk or cream to reach your preferred texture.
- You can add 1/2 cup of raisins during the last 15 minutes of cooking if you like a traditional variation.
Nutrition
- Serving Size: 1 cup
- Calories: 310
- Sugar: 25g
- Sodium: 150mg
- Fat: 7g
- Saturated Fat: 4g
- Unsaturated Fat: 3g
- Trans Fat: 0g
- Carbohydrates: 55g
- Fiber: 1g
- Protein: 10g
- Cholesterol: 25mg