
There are just some days when the thought of turning on the oven feels like climbing a mountain, right? Especially when the craving hits for something deeply chocolatey and incredibly rich. That’s exactly when I turn to my favorite kind of magic: the make-ahead dessert. For me, nothing beats the decadent simplicity of a truly great brownie refrigerator cake. I developed this version because, like so many of you, I needed a show-stopping centerpiece that didn’t require babysitting a hot oven. This recipe is my tried-and-true answer for busy weekends, last-minute potlucks, and those quiet evenings when only chocolate will do. Every layer sets up perfectly in the chill, guaranteeing you a flawless, trustworthy result that embodies the simple joy of home baking.
- Why This Ultimate Brownie Refrigerator Cake is Your New Go-To Dessert
- Gathering the Components for Your Brownie Refrigerator Cake
- Step-by-Step Assembly of the Brownie Refrigerator Cake
- Tips for the Perfect Brownie Refrigerator Cake Set
- Variations on the Simple Whipped Cream Dessert
- Serving and Storing Your Chilled Chocolate Dessert
- Frequently Asked Questions About Making a Brownie Refrigerator Cake
- Estimated Nutritional Snapshot for This Decadent No Bake Treat
- Share Your Experience Making the Brownie Refrigerator Cake
Why This Ultimate Brownie Refrigerator Cake is Your New Go-To Dessert
Life gets busy, and sometimes you just can’t afford kitchen chaos. That’s why this recipe sings! It’s the ultimate make ahead chocolate cake because once it’s assembled, the refrigerator does all the heavy lifting. You get that amazing, comforting chocolate hit without ever breaking a sweat. This absolutely confirms our belief here at Taste This Plate: simple ingredients should always lead to extraordinary meals.
The Magic of a No Bake Brownie Dessert
When the summer heat is blazing or you’re just buried in work, this No Bake Brownie Dessert is your savior. It means you can skip turning on the oven entirely! Forget worrying about delicate sponges or uneven baking; this is pure assembly magic. It’s the single-best No Oven Chocolate Dessert solution I’ve dreamed up for parties.
Simple Ingredients, Extraordinary Flavor
You won’t need anything fancy here, promise! We stick to pantry staples to create this gorgeous Layered Chocolate Icebox Cake. Every component—the fudgy base, the creamy middle—is designed for guaranteed success right out of the fridge. It’s rich, it’s layered, and it requires zero professional skill to look incredible.
Gathering the Components for Your Brownie Refrigerator Cake
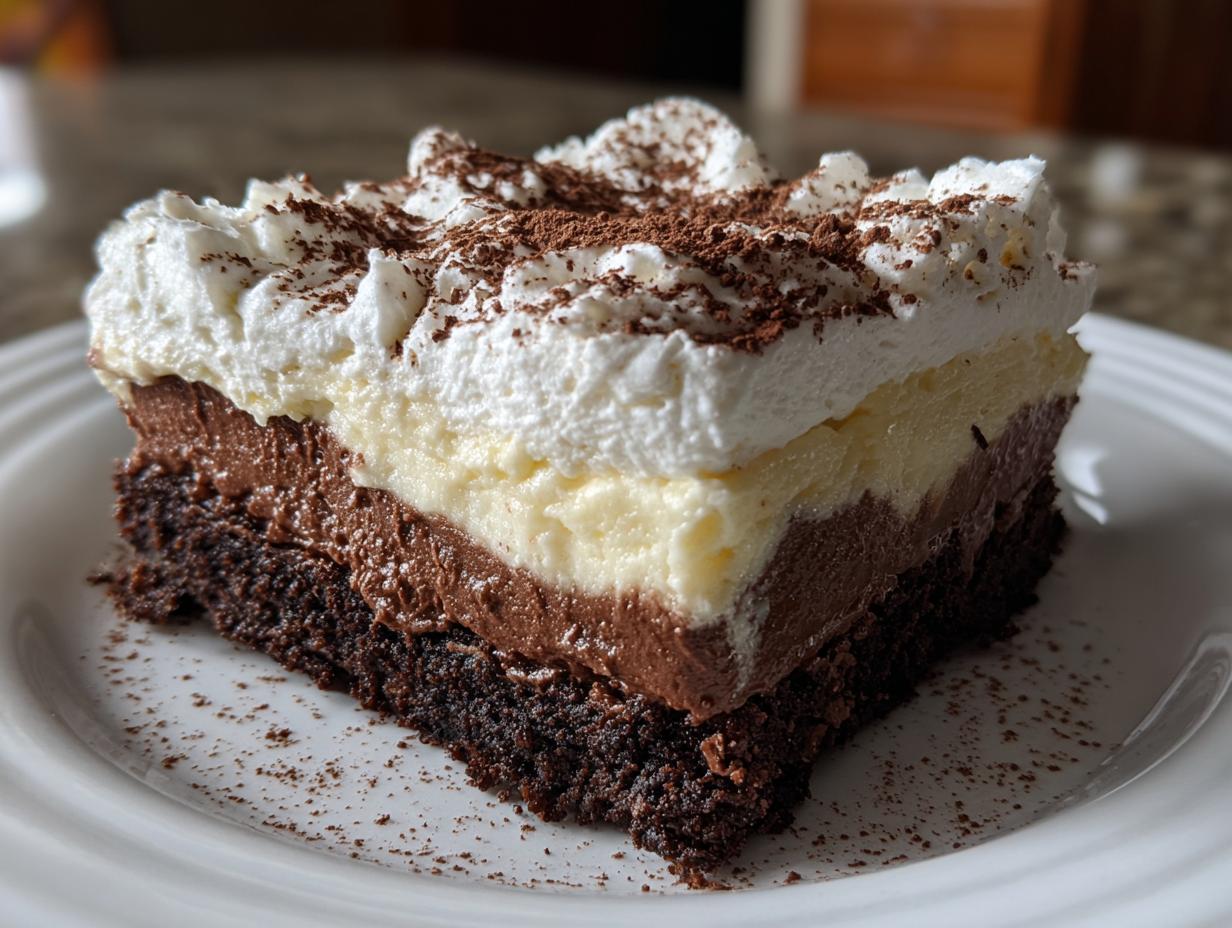
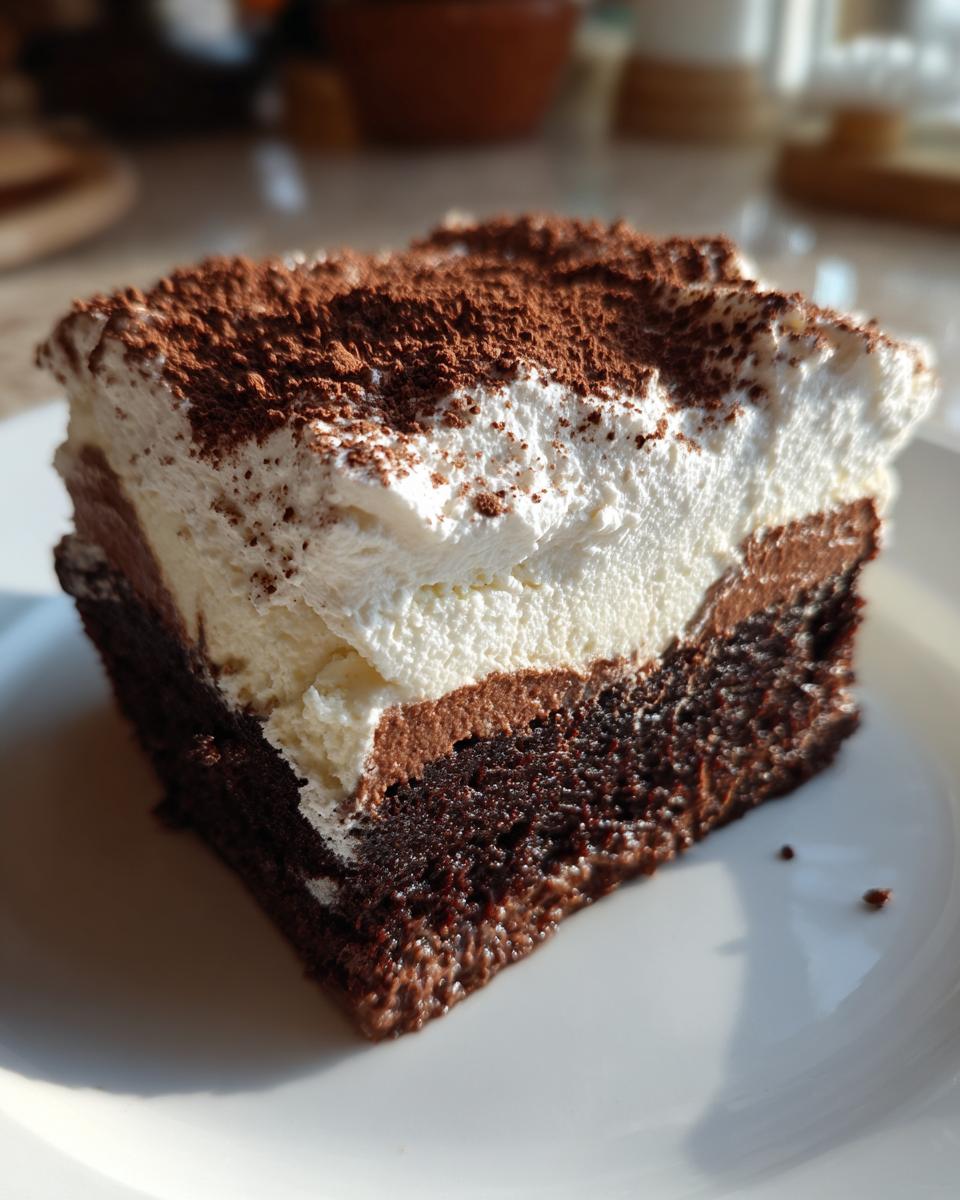
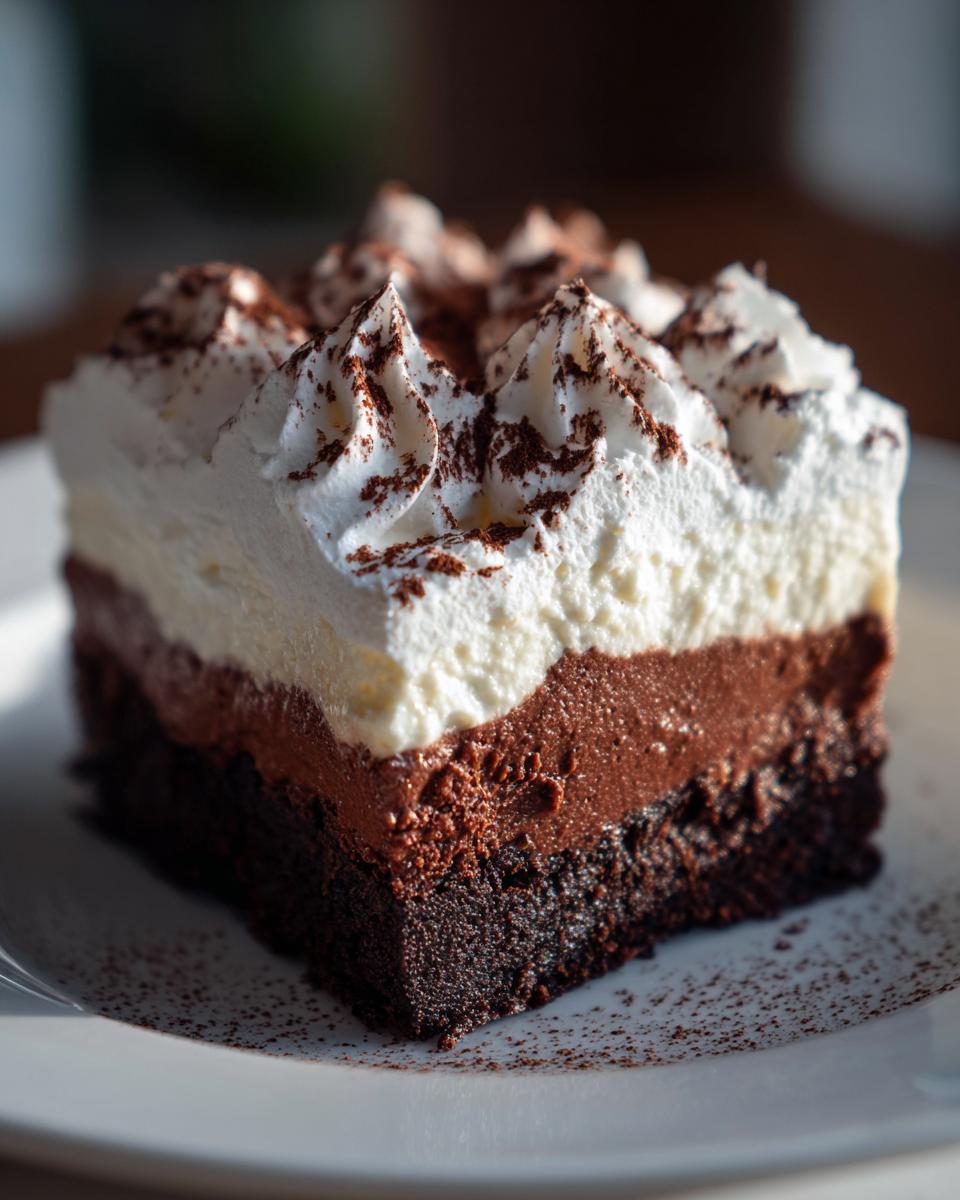
Okay, now that you know this is going to be the easiest, most impressive dessert on the block, let’s talk ingredients. Remember, our philosophy centers on simple, accessible things creating extraordinary results. You don’t need a specialty grocery run for this Fudgy Brownie Dessert Recipe! Everything is going to assemble into three main, glorious layers of chocolate heaven.
For the Fudgy Brownie Base
The base is everything. If you try to use a cakey brownie recipe, this whole Simple Brownie Layer Cake might fall apart when you try to slice it. You want dense, fudgy goodness here! You’ll need one basic box mix; just make sure you bake it according to the package directions for a 9×13 inch pan, and then you MUST let it cool completely. That cooling time is non-negotiable!
- 1 (18.25 ounce) box fudgy brownie mix, prepared and cooled
For the Creamy Brownie Pudding Cake Filling
This is where the richness comes in, transforming your simple brownies into a true **Creamy Brownie Pudding Cake**. You need that slight tang from the cream cheese balanced by the instant pudding mix. Make sure that cream cheese is actually soft—I mean *really* soft—or you’ll end up with lumps, and we definitely don’t want lumps in our Easy Refrigerator Cake layers!
- 1 cup cold milk (for the pudding)
- 1 package (3.9 ounces) instant chocolate pudding mix
- 8 ounces cream cheese, softened until completely yielding
- 1 cup powdered sugar (for the cream cheese mix)
- 1 teaspoon vanilla extract (for the cream cheese mix)
For the Light Whipped Topping
We finish it off with something light and airy to balance all that dark chocolate richness. Don’t skip the chilling step for the heavy cream; that’s how you get those beautiful, stiff peaks that look so professional!
- 1 cup heavy whipping cream, super cold
- 1/4 cup powdered sugar (for the whipped cream)
- 1 teaspoon vanilla extract (for the whipped cream)
- Chocolate shavings or cocoa powder, for dusting the top
Step-by-Step Assembly of the Brownie Refrigerator Cake
Putting this showstopper together is so much easier than it looks, I promise! Since this is a No Bake Brownie Dessert, we move quickly through the mixing stages, then it’s all about careful layering. Trust me on these steps—they are the exact sequence that guarantees your **brownie refrigerator cake** stays structured and beautiful when you slice into it later.
Preparing the Brownie Layers for the Simple Brownie Layer Cake
First things first: the foundation. You absolutely must have your brownies cooled down. I mean *totally* cool to the touch. If they are even slightly warm when you cut them, they’ll get mushy when the cool filling hits them. Once cooled, chop them up into even squares, or if you’re feeling rustic, just crumble them coarsely. You’ll use half for the bottom layer and the rest for the middle layer.
- Prepare the brownies according to package directions using a 9×13 inch pan. Let the brownies cool completely, then cut them into uniform squares or crumble them coarsely.
Creating the Creamy Filling for Your Easy Refrigerator Cake
This is where we combine three components to make our rich, cloud-like filling. Start by beating that softened cream cheese until it’s utterly smooth. Then, whip in the pudding mix, powdered sugar, and vanilla. Once that’s combined—and only then—it’s time for the whipped cream. The trick here is to *fold* the whipped cream in gently. If you mix too aggressively, you’ll deflate all those wonderful air bubbles we worked so hard to create, and we want this filling light, not dense!
- Prepare the instant chocolate pudding according to package directions, using 1 cup of cold milk. Whisk until slightly thickened, about 2 minutes. Set aside.
- In a large bowl, beat the softened cream cheese, 1 cup of powdered sugar, and 1 teaspoon of vanilla extract until the mixture is smooth and creamy.
- Gently fold the prepared chocolate pudding into the cream cheese mixture until just combined. Do not overmix.
- In a separate bowl, beat the cold heavy whipping cream with 1/4 cup of powdered sugar and 1 teaspoon of vanilla extract until stiff peaks form. This is your whipped topping.
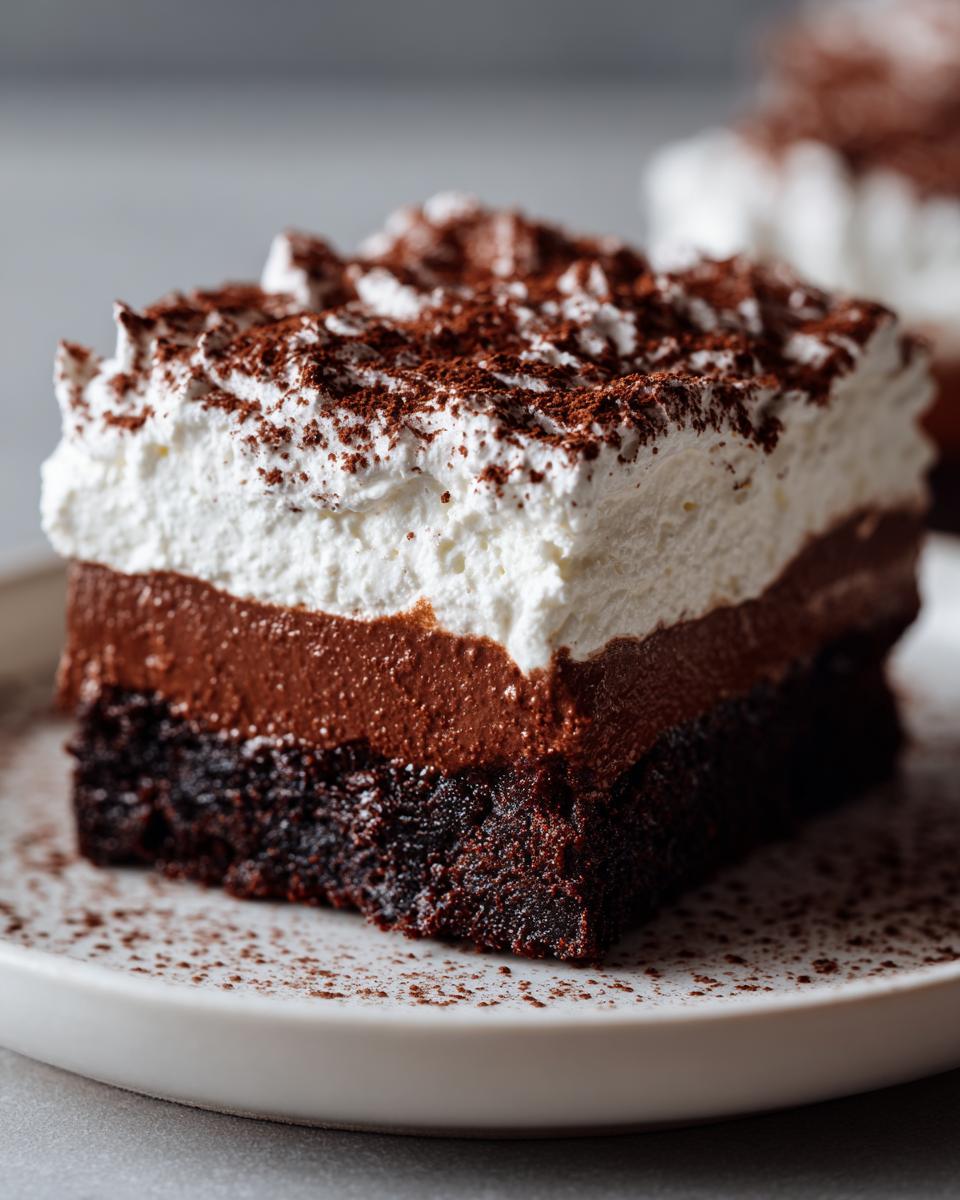
Layering the Decadent No Bake Treat
Now for the fun part, building this incredible Decadent No Bake Treat! Work patiently here to keep your layers clean, especially if you’re using a springform pan. Start with a nice, even blanket of brownies on the bottom. Then spread half of that dreamy pudding-cheese mixture over the top. Repeat with the second layer of brownies, followed by the rest of the creamy filling. Finally, dollop on that fluffy whipped cream and smooth it out right to the edges. Don’t forget the final dusting!
- Assemble the brownie refrigerator cake in a 9×13 inch dish (or a springform pan for cleaner slices). Start with a layer of brownie pieces covering the bottom.
- Spread half of the creamy pudding-cream cheese mixture evenly over the brownie layer.
- Add a second layer of brownie pieces over the cream cheese layer.
- Spread the remaining half of the cream cheese mixture over the second brownie layer.
- Top the cake with the prepared whipped cream, spreading it evenly to cover the entire surface.
- Sprinkle the top with chocolate shavings or dust lightly with cocoa powder.
- Cover the dish tightly with plastic wrap and chill in the refrigerator for at least 6 hours, or preferably overnight, to allow the layers to set firmly.
- Slice and serve this easy refrigerator cake cold.
Tips for the Perfect Brownie Refrigerator Cake Set
We’ve put in all the work creating those gorgeous layers, so we absolutely need to make sure this **brownie refrigerator cake** sets up beautifully! Since this is one of my very favorite Fudgy Brownie Dessert Recipe options, I’ve learned a few tricks over the years to guarantee structural integrity. Getting the texture right in a no-bake dessert is all about preparation and patience during the final chilling phase. These little details are what separate a good dessert from a *wow* dessert!
Choosing the Right Brownies for Your Brownie Refrigerator Cake
This is probably the most important structural decision you’ll make. I know the recipe calls for using a basic box mix, but here’s my two cents from testing this a million times: You want dense, fudgy brownies, not the light, airy cake-style ones. Why? Because the cakey ones tend to disintegrate when they get wet from the creamy filling. Fudgy brownies, on the other hand, hold their shape. They provide a sturdy base and middle layer that supports a clean slice later. If you’re buying them ready-made, always lean toward something marked as “fudgy” or “dense.”
Achieving the Best Chill Time
Listen, I know waiting is terrible, especially when chocolate is involved. But you have to honor the chill time! If you cut into the Easy Refrigerator Cake after only two hours, you’re going to have swampy layers that slide everywhere when you serve them. It’s crucial that the cream cheese/pudding layer firms up properly, and the whipped topping gets stable.
The recipe calls for a minimum of six hours, but seriously, if you can wait until the next day—do it! Overnight chilling does wonders. It lets the moisture from the filling really permeate the brownies just enough so they soften wonderfully without turning soupy. This extended chill time is what ensures you get those clean, beautiful squares that make everyone think you worked all day!
Variations on the Simple Whipped Cream Dessert
Part of the fun of having a reliable base recipe like this **brownie refrigerator cake** is knowing you can tweak it endlessly without breaking anything. Since the structure relies on the brownies and the cream cheese—both neutral players—you can totally customize the flavor profile of your Simple Whipped Cream Dessert!
The filling is where you get to play dress-up. Think about what pairs well with rich chocolate. My first thought is always peanut butter. Mix in about half a cup of creamy peanut butter right along with your cream cheese mixture. It turns this into a dreamy, rich, peanut butter lover’s Layered Chocolate Icebox Cake. Just make sure it’s well incorporated!
For something completely different, try swapping out the chocolate pudding for vanilla or even butterscotch instant pudding. That dramatically changes the creamy layer, making it less intensely chocolatey. If you want a cool, refreshing vibe, drop a teaspoon of peppermint extract into the whipped topping instead of vanilla. Suddenly, you have a mint-chocolate powerhouse that’s perfect around the holidays!
And don’t forget the brownies themselves! If you see a salted caramel brownie mix on sale, grab it! That little hint of salt and caramel baked into the base adds so much depth to this **Easy Refrigerator Cake**. Remember, these simple changes allow you to serve this crowd-pleaser over and over without anyone ever feeling like they ate the exact same thing!
Serving and Storing Your Chilled Chocolate Dessert
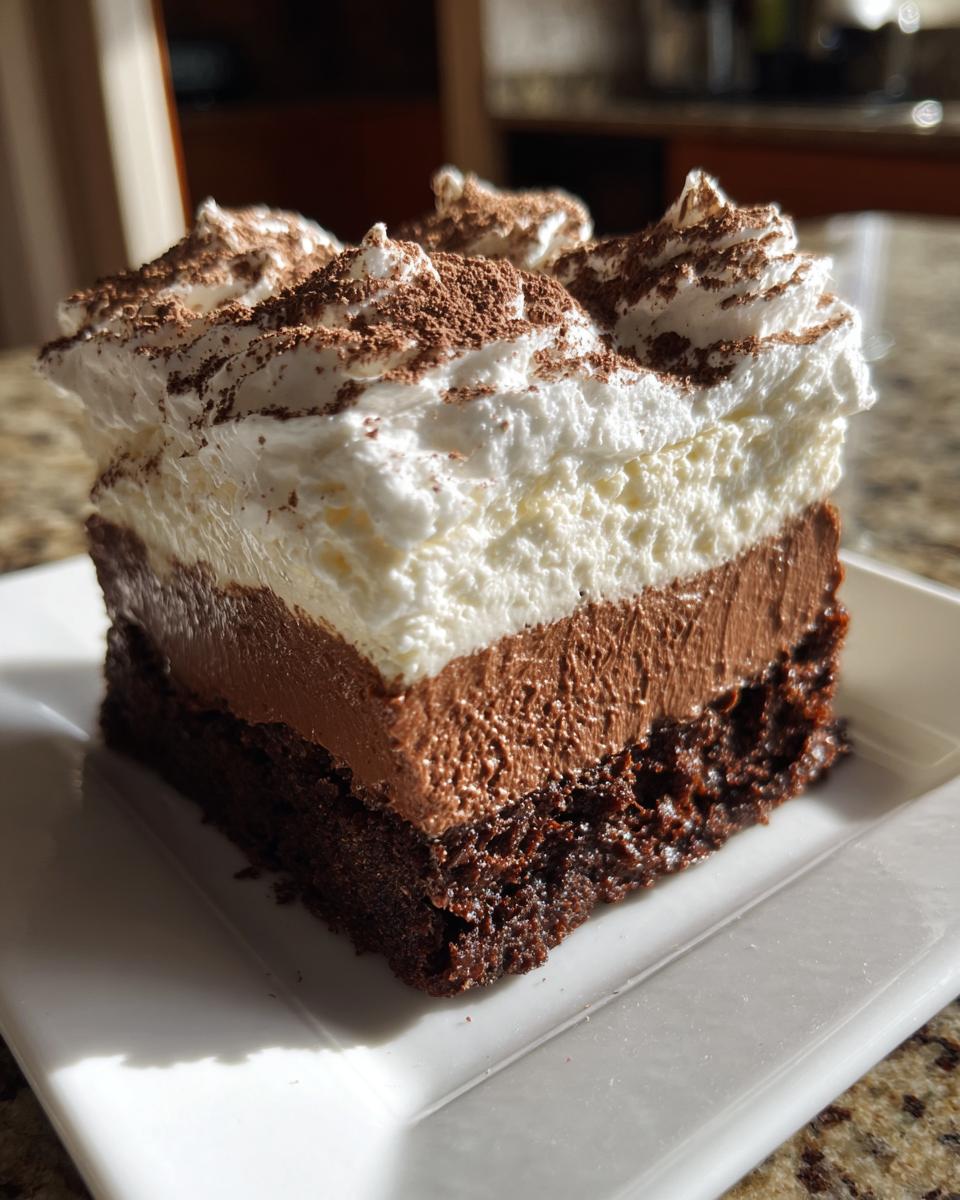
The most rewarding part of planning ahead is pulling this gorgeous Chilled Chocolate Dessert out of the fridge when everyone is ready. Since this **brownie refrigerator cake** relies on the chill to maintain those beautiful layers, the serving technique matters a whole lot! You want to serve it cold—straight from that chilling time—to ensure those layers stay defined.
When it’s time to cut, here is my trick for getting those picture-perfect squares, just like you see in the photos. Don’t use the same knife twice without wiping it clean because that whipped topping will smudge everywhere. Take a long, sharp knife and dip it into a pitcher of very hot water. Wipe the blade completely dry with a paper towel, then make your first slice. Repeat that hot water rinse and dry process before every single cut. It sounds fussy, but trust me, a clean knife glides right through the creamy layers and leaves you with gorgeous, show-stopping edges.
Now, for storage—which is simple, thankfully! Since this is such a rich American dessert, it lasts longer than most things. Cover your whole dish tightly with plastic wrap. Make sure the plastic isn’t touching the whipped topping layer—you can stick a few toothpicks strategically in the corners to keep it tented up. Stored this way, your **brownie refrigerator cake** stays perfectly fresh in the fridge for at least three to four days. It’s just as good on day three as it was on day one, which is the beauty of a good Make Ahead Chocolate Cake!
Frequently Asked Questions About Making a Brownie Refrigerator Cake
I get so many questions about how to swap things out in this recipe, or how to manage the chill time when you’re eager to eat it! That’s totally normal. When you create a reliable base recipe like this **brownie refrigerator cake**, people start wanting to customize it immediately. Here are the top things readers always ask me about creating the perfect No Bake Layered Dessert.
Can I skip baking the brownies for this No Bake Brownie Dessert?
Oh, absolutely! I often do this myself when I need a truly lightning-fast assembly. That’s why I stressed that using store-bought, pre-made fudgy brownies is actually my favorite way to handle the base for this **brownie refrigerator cake**. You are skipping a whole step, and since the brownies are just going to soak up some moisture and be covered anyway, you don’t lose any flavor or texture integrity. In fact, it makes this the ultimate Quick Dessert for Parties!
How long does this Easy Refrigerator Cake last in the fridge?
Because this is such a rich, chilled dessert, it holds up really well! I recommend keeping it tightly covered in the refrigerator. Honestly, the flavor deepens nicely on day two. I find it’s best eaten within three to four days. After that, the brownie pieces start getting a little too soft against the cream cheese filling, but if you eat it quickly, it’s fantastic! Just make sure you don’t remove the plastic wrap until you are ready to serve.
Can I freeze this Creamy Brownie Pudding Cake?
This is a tough one, and I have to give you an honest answer based on texture. Technically, yes, you *can* freeze portions of this **Creamy Brownie Pudding Cake**. However, I don’t recommend freezing the whole thing if it’s topped with homemade whipped cream. When you thaw the whipped cream, it tends to weep or separate, giving you a watery mess on top of your beautiful cake. If you really need to freeze it, slice it first, store the slices in an airtight container, and skip the final whipped topping until *after* thawing. For the best experience, stick to refrigeration for this Simple Brownie Layer Cake.
Estimated Nutritional Snapshot for This Decadent No Bake Treat
When we talk about creating truly memorable, comforting food, we also need to know what we’re working with, right? Transparency is a huge part of building trust in the kitchen. Since this **brownie refrigerator cake** is built with rich ingredients like cream cheese and fudge brownies, it packs a satisfying punch! It’s more of a special occasion dessert than an everyday snack, but knowing the details helps you plan your portions.
Please keep in mind that these figures are just estimates, based on the standard ingredients listed—everything from the box mix to the type of sugar we used. If you swap out instant pudding for homemade custard, or use a different brand of cream cheese, these numbers might shift a little. But for planning purposes for your Decadent No Bake Treat, here is what you can generally expect per slice:
- Serving Size: 1 slice
- Calories: 380
- Sugar: 35g
- Sodium: 250mg
- Fat: 20g
- Saturated Fat: 10g
- Trans Fat: 0.5g
- Carbohydrates: 48g
- Fiber: 2g
- Protein: 5g
- Cholesterol: 45mg
Like I mentioned in our philosophy, we focus on accessible ingredients that deliver extraordinary results. This layered chocolate delight is definitely decadent, making it perfect for those times you want a real celebration dessert without having to fire up the oven!
Share Your Experience Making the Brownie Refrigerator Cake
Well, that’s it! You’ve successfully assembled the Ultimate No-Bake **Brownie Refrigerator Cake**. Seriously, take a moment to admire those layers before you dive in, because this Simple Brownie Layer Cake is a masterpiece of chill time and simple ingredients. I’m so proud of you for making something so rich and impressive without ever touching the temperature gauge on your oven!
Now that you’ve enjoyed this decadent treat, I truly want to hear all about it! Did you use store-bought fudgy brownies or did you bake them fresh? Did you stick to the classic layers, or did you sneak in some of those flavor variations we talked about? Please, don’t be shy! Drop a comment down below and let me know how it turned out. Knowing that this recipe is making its way into your kitchens and onto your family tables is the whole reason I do this.
If you snapped a picture of your gorgeous, chilled slice, I’d love to see it! Tag us on social media—it genuinely makes my day to see your amazing results. And if you have any lingering questions about storage for this Easy Refrigerator Cake, hit that contact button. We’re always here to help troubleshoot or just share a virtual slice with you. Happy baking (or, well, *chilling*!)
PrintUltimate No-Bake Brownie Refrigerator Cake
Create a decadent, layered chocolate dessert that requires no oven time. This easy brownie refrigerator cake combines fudgy brownies, creamy filling, and whipped topping for a perfect make-ahead treat.
- Prep Time: 25 min
- Cook Time: 0 min
- Total Time: 6 hr 25 min
- Yield: 12 servings 1x
- Category: Dessert
- Method: Chilling/No-Bake
- Cuisine: American
- Diet: Vegetarian
Ingredients
- 1 (18.25 ounce) box fudgy brownie mix, prepared and cooled
- 1 cup cold milk
- 1 package (3.9 ounces) instant chocolate pudding mix
- 8 ounces cream cheese, softened
- 1 cup powdered sugar
- 1 teaspoon vanilla extract
- 1 cup heavy whipping cream, cold
- 1/4 cup powdered sugar (for whipped cream)
- 1 teaspoon vanilla extract (for whipped cream)
- Chocolate shavings or cocoa powder, for topping
Instructions
- Prepare the brownies according to package directions using a 9×13 inch pan. Let the brownies cool completely, then cut them into uniform squares or crumble them coarsely.
- Prepare the instant chocolate pudding according to package directions, using 1 cup of cold milk. Whisk until slightly thickened, about 2 minutes. Set aside.
- In a large bowl, beat the softened cream cheese, 1 cup of powdered sugar, and 1 teaspoon of vanilla extract until the mixture is smooth and creamy. This forms your cheesecake layer.
- Gently fold the prepared chocolate pudding into the cream cheese mixture until just combined. Do not overmix.
- In a separate bowl, beat the cold heavy whipping cream with 1/4 cup of powdered sugar and 1 teaspoon of vanilla extract until stiff peaks form. This is your whipped topping.
- Assemble the brownie refrigerator cake in a 9×13 inch dish (or a springform pan for cleaner slices). Start with a layer of brownie pieces covering the bottom.
- Spread half of the creamy pudding-cream cheese mixture evenly over the brownie layer.
- Add a second layer of brownie pieces over the cream cheese layer.
- Spread the remaining half of the cream cheese mixture over the second brownie layer.
- Top the cake with the prepared whipped cream, spreading it evenly to cover the entire surface.
- Sprinkle the top with chocolate shavings or dust lightly with cocoa powder.
- Cover the dish tightly with plastic wrap and chill in the refrigerator for at least 6 hours, or preferably overnight, to allow the layers to set firmly.
- Slice and serve this easy refrigerator cake cold.
Notes
- Using pre-made, dense, fudgy brownies works best for structure in this no bake brownie dessert.
- For a richer cream cheese layer, substitute half of the instant pudding with softened mascarpone cheese.
- If you want a quicker assembly, you can use a tub of frozen whipped topping instead of making your own whipped cream.
Nutrition
- Serving Size: 1 slice
- Calories: 380
- Sugar: 35
- Sodium: 250
- Fat: 20
- Saturated Fat: 10
- Unsaturated Fat: 10
- Trans Fat: 0.5
- Carbohydrates: 48
- Fiber: 2
- Protein: 5
- Cholesterol: 45