
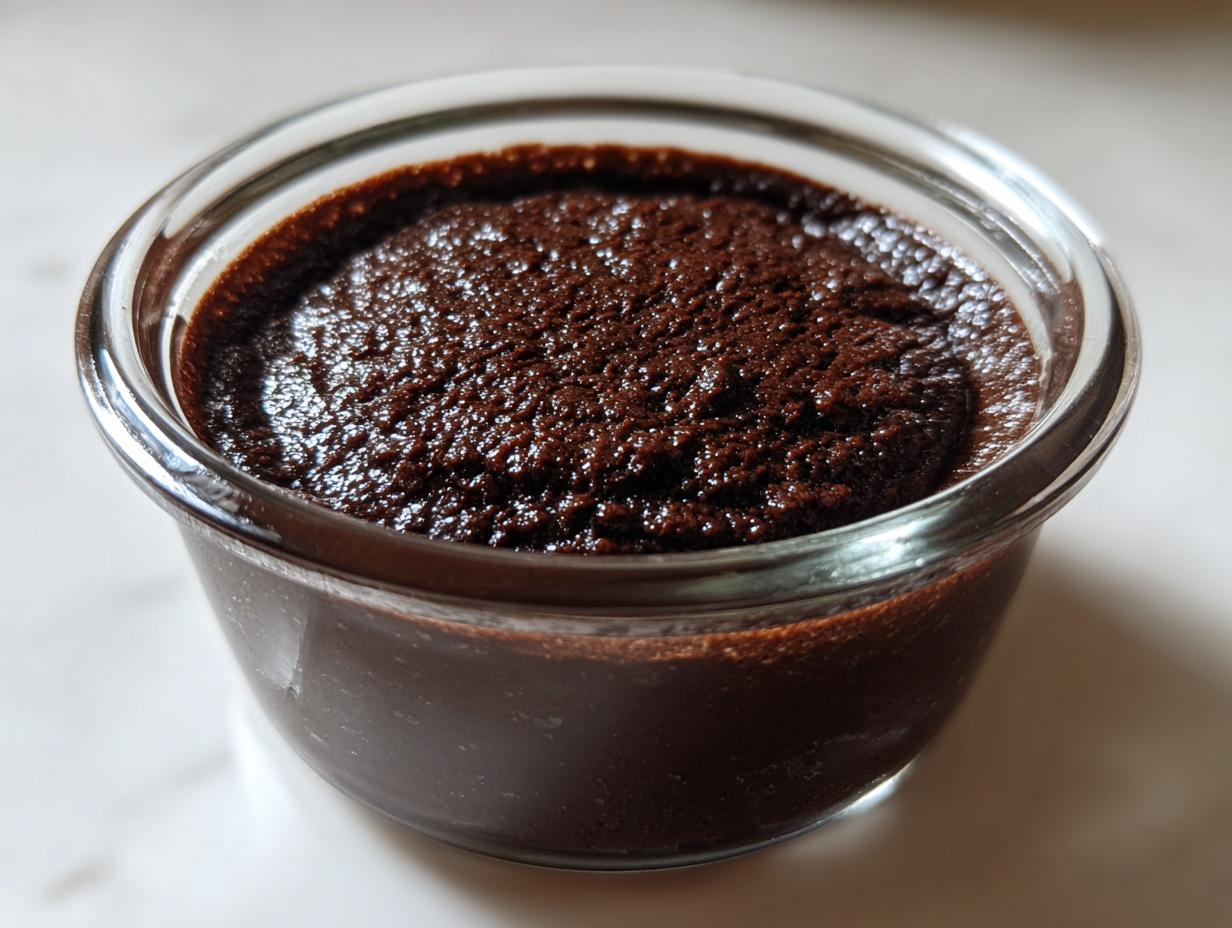
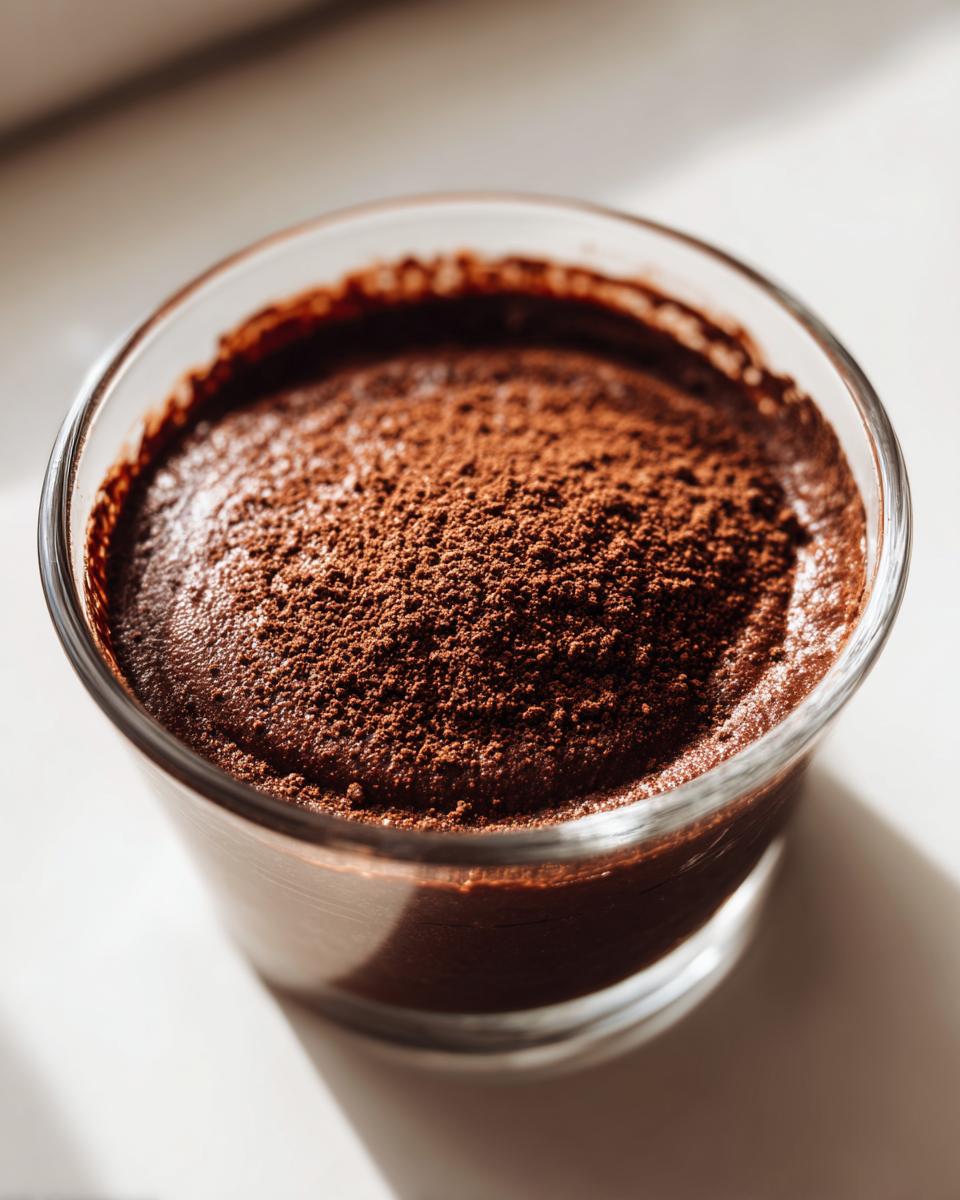
There is just something about a classic comfort dessert, isn’t there? Something rich, cozy, and immediately nostalgic. I truly believe the best memories are made right there in the kitchen, turning simple things into something wonderful for the people you love. Forget those chalky, sad boxed mixes, friends. Today, we are tackling the ultimate classic: Velvety Smooth, Rich Homemade Chocolate Pudding From Scratch.
I know what you might be thinking—pudding from scratch sounds fussy. Trust me, it’s not! With a few pantry staples and a couple of simple techniques I learned from breaking down the best comfort food desserts, we are going to achieve a texture that is unbelievably silky and creamy. This recipe is my go-to example for proving that incredible results don’t require complicated steps. For the full walkthrough, you can check out my guide on Homemade Chocolate Pudding. We’re making something amazing, and you’re going to feel so confident doing it!
- Why This Homemade Chocolate Pudding Recipe Works So Well
- Gathering Your Ingredients for Chocolate Pudding
- The Simple Steps to Make Creamy Pudding Recipe
- Finishing Touches for the Richest Chocolate Pudding
- Chilling and Serving Your Silky Smooth Dessert
- Tips for Perfect Chocolate Pudding Every Time
- Storage and Reheating Instructions for Homemade Chocolate Pudding
- Frequently Asked Questions About This Classic Chocolate Pudding
- Share Your Experience Making This Dessert
Why This Homemade Chocolate Pudding Recipe Works So Well
I get asked all the time how I get my homemade chocolate pudding to be so perfectly rich and never lumpy. The answer is that we focus heavily on technique, even when using Simple Ingredients for Rich Chocolate Pudding. We aren’t relying on weird stabilizers; we are relying on simple physics to get that phenomenal result! If you ever need a warm cocoa fix while this cools, don’t forget to check out my recipe for Best Creamy Hot Chocolate Recipe.
- It’s fast! Active time is low, making it a true Easy Chocolate Dessert option for busy weeknights.
- It prioritizes texture: We build layers of richness so every spoonful is dense, yet light.
- It’s totally trustworthy. Every step is designed to prevent common fails, like scorched bottoms or that dreaded grainy texture.
Achieving Silky Smooth Dessert Texture
The foundation of a truly luscious dessert lies in preventing those annoying lumps! We use cornstarch, which is a powerhouse thickener, but you have to treat it right. We whisk it thoroughly with the sugar and cocoa *before* adding any liquid. This dry mixing step is non-negotiable; it coats every particle so it dissolves cleanly when the milk goes in. Then, when we use the tempering trick—slowly introducing heat to the egg yolk—we make sure that yolk sets the pudding wonderfully without scrambling into little bits of cooked egg white. That’s how you ensure a Silky Smooth Dessert and a truly great bowl of chocolate pudding.
Simple Ingredients for Rich Chocolate Pudding
You don’t need specialty items to make the best dessert. Seriously, this is why I love this recipe for From Scratch Pudding. We are using pantry staples: cocoa powder, sugar, milk, cornstarch, and an egg yolk for luxury. That’s it! My philosophy is always about what you can pull out of your standard cupboard to create something extraordinary. No trips to the specialty store required for this decadent treat! You deserve this Homemade Chocolate Pudding.
Gathering Your Ingredients for Chocolate Pudding
Okay, time to get organized! Having everything measured and ready—what we call mise en place—makes cooking the pudding base feel totally relaxed. Remember, since we are skipping the box, these simple ingredients are doing all the heavy lifting to give you that deep, satisfying chocolate pudding flavor. If you ever need a decadent alternative for holidays, you should also try my Chocolate Bourbon Pecan Pie Recipe!
Here is exactly what you need for four gorgeous servings:
- 1/4 cup granulated sugar
- 1/4 cup unsweetened cocoa powder (I like using dark Dutch-processed, but natural works too!)
- 2 tablespoons cornstarch (our secret weapon for thickness!)
- 1/4 teaspoon salt
- 1 1/2 cups whole milk
- 1/2 cup heavy cream
- 1 large egg yolk (just the yolk, please!)
- 1 teaspoon vanilla extract
- 2 tablespoons unsalted butter, cut into small pieces (this finishes it off beautifully!)
The Simple Steps to Make Creamy Pudding Recipe
Now that we have our ingredients ready, let’s get this Easy Chocolate Dessert going! Making this chocolate pudding is all about timing and gentle heat management on the stovetop. It moves fast once the milk heats up, so stay near the stove! For a general guide on making comfort food classics on the stove, you can check out my tips for Easy Stovetop Chicken and Gravy Comfort. Follow these steps, and that wonderfully creamy texture will be yours in minutes!
Combining Dry Ingredients to Prevent Lumps
Step one is perhaps the most important bit of insurance you can buy yourself! In your medium saucepan—don’t put it on the heat yet—grab a whisk and mix together the sugar, cocoa powder, cornstarch, and salt until no dry streaks remain. Why are we doing this? Because if that cornstarch hides in a pocket of powder, it will bloom into a gross, floury lump when the milk hits it later. We want a smooth base, and whisking the dry team together first ensures every bit dissolves perfectly!
Stovetop Pudding Recipe: Thickening the Base
Once your dry ingredients are happy, slowly treat them to the whole milk, whisking constantly until it’s completely unified and smooth—no grit allowed! Now, put the pot over medium heat. From this point on, you must stir constantly, really scraping the bottom and sides of the pan. Don’t walk away! The goal is to cook this Stovetop Pudding Recipe until it starts to bubble slightly and has noticeably thickened. This takes about 5 to 8 minutes. Constant motion is what keeps that rich chocolate pudding from sticking and scorching!
Tempering the Egg Yolk for Velvety Chocolate Dessert
This is the magic trick for that gorgeous, rich texture without scrambling anything. See that egg yolk sitting in a small bowl? We need to wake it up slowly! Take about half a cup of that hot milk mixture (careful, it’s hot!) and drizzle it into the yolk *while you whisk the yolk constantly and vigorously*. This little bit of heat slowly brings the yolk’s temperature up. Once it looks relaxed and whisked, you can pour that tempered mixture right back into the saucepan. This technique ensures your final bowl is a Velvety Chocolate Dessert and not a sad scramble!
Finishing Touches for the Richest Chocolate Pudding
We are so close! Right after that tempering step and after cooking for just one more minute to ensure it’s properly set, take that pan right off the heat. This final stage is where we transform the base into the absolute Richest Chocolate Pudding imaginable. Stir in your heavy cream and that little splash of vanilla extract. Vanilla might seem small, but it just deepens the cocoa flavor so much—don’t skip it! For context on using vanilla well in desserts, feel free to look at my guide on Vanilla Buttercream Recipe Fluffy Stable.
Then come the butter pieces. Drop those cubes in and whisk gently until they melt completely into the hot base. That butter does two wonderful things: it adds incredible richness, and it gives the final chocolate pudding that beautiful, smooth, almost glossy shine. It just looks more decadent once the butter’s incorporated!
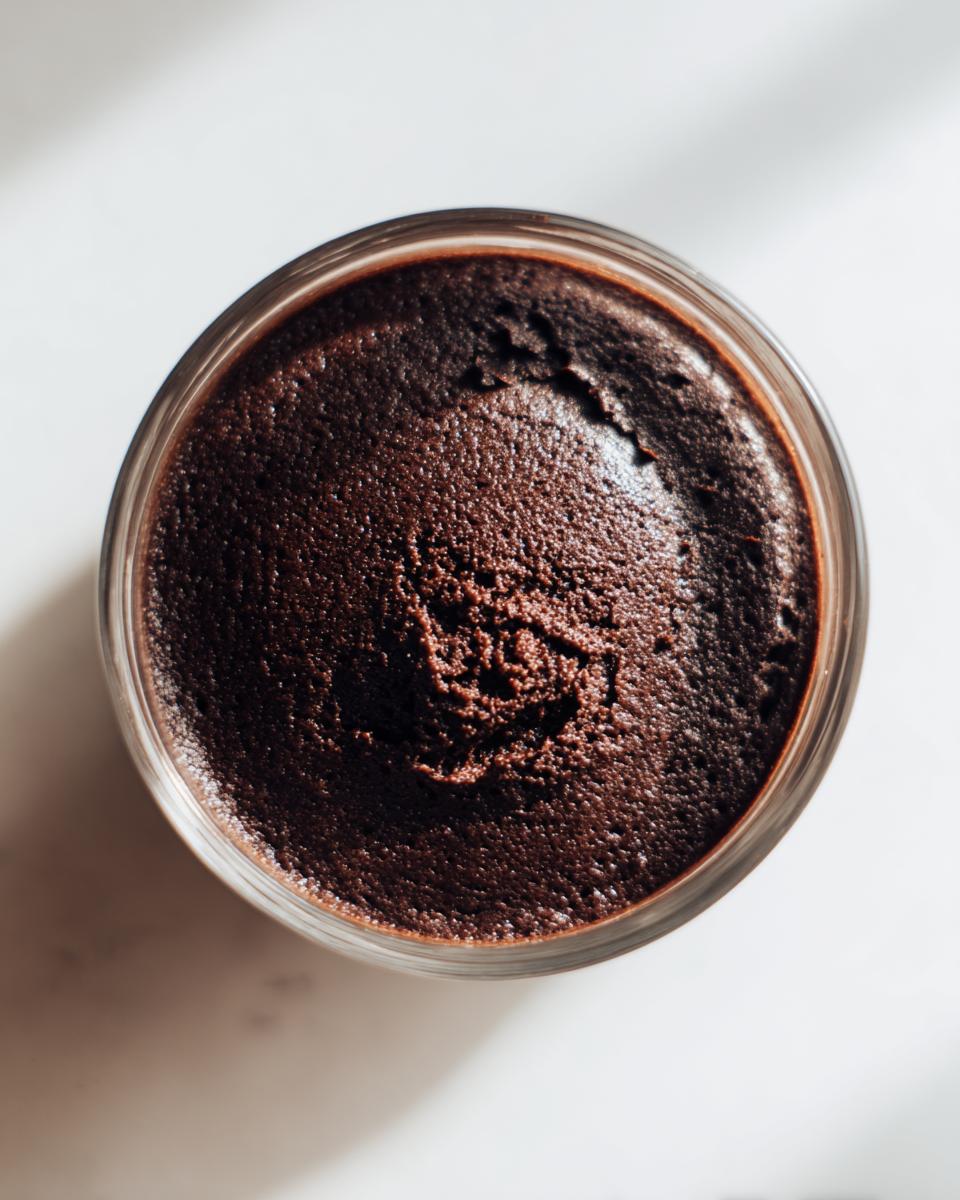
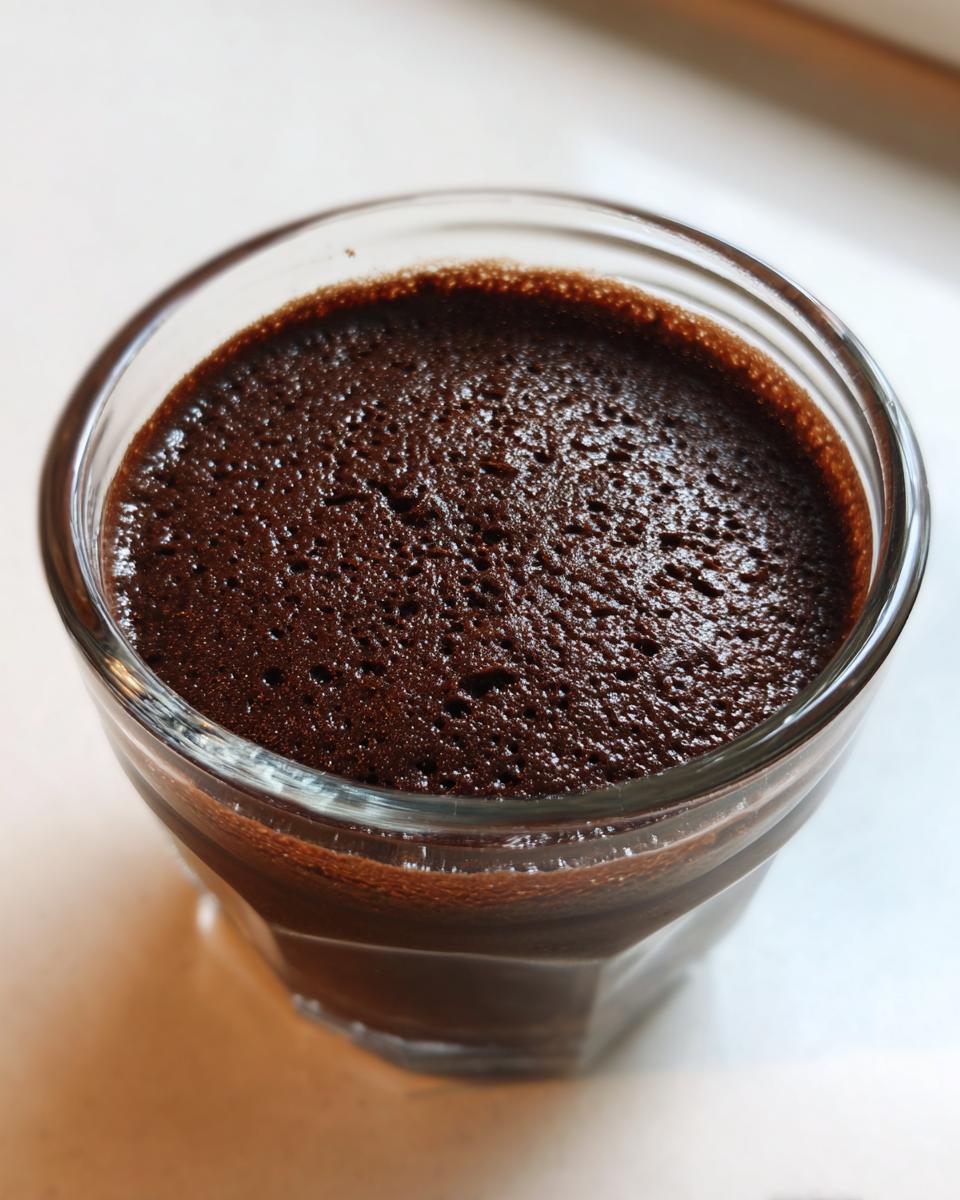
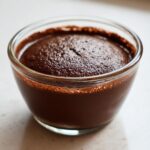
Chilling and Serving Your Silky Smooth Dessert
We’ve cooked it, we’ve enriched it, and now we have to practice the hardest skill in baking: patience! You cannot rush the chill phase if you want that incredible, scoopable, chocolate pudding texture we’ve worked so hard for. Pour your warm pudding right away into your chosen serving dishes. You might be using cute little ramekins, or maybe one big glass bowl—whatever works for your family!
Now, here is the absolute #1 tip that separates amazing homemade pudding from sad, rubbery pudding—and it’s all about the seal. You must press a piece of plastic wrap directly onto the surface of the pudding in each dish. Like, physically touching it! If you let plastic wrap float an inch above the surface, guess what forms? A thick, rubbery skin that you then have to awkwardly scrape off your perfect dessert. No thank you!
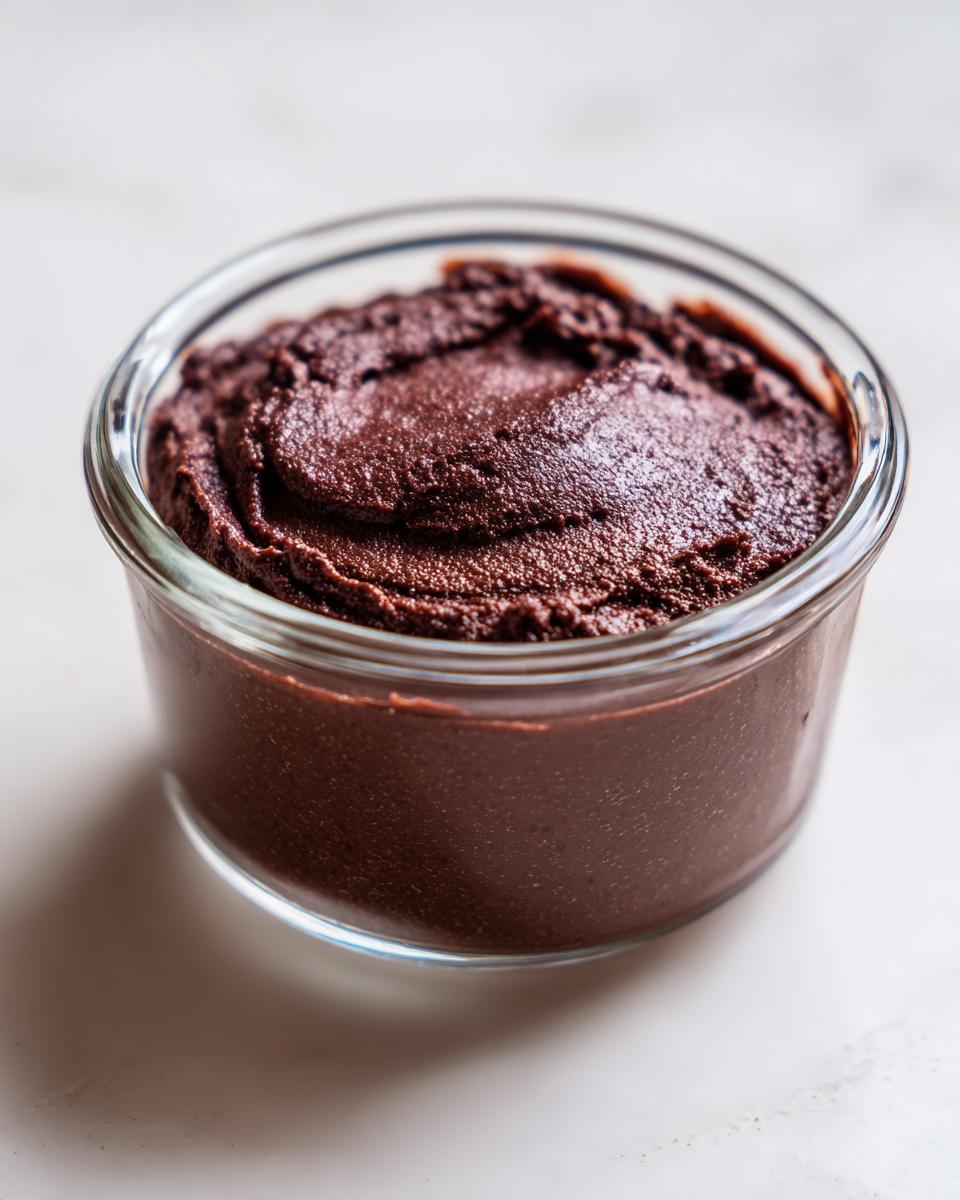
Once it’s sealed up tight to avoid that skin, slide everything into the refrigerator. It needs at least two hours to fully set and firm up. When it’s cold, it firms up beautifully, turning into that dense, velvety masterpiece. If you’re planning ahead, this is a perfect make-ahead dessert. It’s actually even better the next day! When you’re ready to serve, you can top it with fresh whipped cream or maybe even my Vanilla Buttercream Frosting Recipe if you’re feeling really decadent!
Tips for Perfect Chocolate Pudding Every Time
I love sharing these little secrets that take a good recipe and make it absolutely foolproof. Even though this recipe is simple, sometimes we need a little nudge to navigate substitutions or ensure that texture is 100% spot-on. I always say that getting the *process* right is half the battle; the other half is knowing when to tweak for your own preferences. I usually make a giant batch, but if you’re looking for something smaller, you might appreciate my tips on making Best Caesar Salad Recipe when you only need a small serving!
Ingredient Swaps and Flavor Boosts
Sometimes you realize you’re out of whole milk, or maybe you just want your dessert to wake you up a little bit! Don’t panic. If you want to deepen that cocoa flavor—and I mean *deeply*—try swapping out a quarter cup of that whole milk for strong, freshly brewed coffee. Trust me, you won’t taste coffee, you’ll just taste intensely rich chocolate. It adds such a wonderful layer of complexity to the final product.
Now, what if you like your pudding to rival the density of actual cake filling? That’s an easy fix, too. If you prefer a thicker result than what the standard cornstarch measurement gives you, just bump it up. Increase the cornstarch from 2 tablespoons to 3 tablespoons. That little extra starch will create a much firmer set once chilled. That’s the beauty of a From Scratch Pudding; you get to tailor it!
And speaking of texture, if you are obsessed with that ultimate silky smooth dessert feel, I have one final trick. Right after you take the pot off the heat and before you pour it into the dishes, push that entire pudding mixture through a fine-mesh sieve. It catches any tiny whisper of a clump or any stubborn bit of egg that didn’t temper perfectly. It takes about 30 seconds, and the result is pure velvet. You deserve that flawless spoonful!
Storage and Reheating Instructions for Homemade Chocolate Pudding
So, you made the best batch of homemade chocolate pudding ever, and now you have leftovers—lucky you! Storing this properly is key to maintaining that beautiful, creamy texture we worked so hard on. Remember how I stressed pressing the plastic wrap directly onto the surface? That is crucial for keeping it fresh in the fridge! If you do that, your pudding will hold up really well for about 3 to 4 days.
It’s certainly best eaten cold straight from the fridge. The chilling process really solidifies that velvety structure, which is what makes it such a fantastic light dessert after a heavy meal. I rarely ever try to reheat it, honestly, because the texture of stovetop pudding changes when it’s warmed back up; it can sometimes get a little loose or fragile.
If you absolutely must serve it warm—maybe you’re craving a really old-school comfort food vibe—you’ll need to do it gently. Take the portion you want to serve and place it in a small saucepan over very low heat, stirring constantly. I mean *constantly*. Warm it only until it’s just barely hot to the touch, maybe 30 seconds. Do not let it simmer or boil, or you risk separating the starches and fats, and you’ll end up with a soupy mess instead of your perfect pudding!
For storage days later, if you notice a tiny bit of condensation or slight tightening on the surface, just give it a quick, gentle whisk right in the container before serving. That little bit of agitation wakes it right back up and restores that just-made, luscious mouthfeel. Enjoy those leftovers!
Frequently Asked Questions About This Classic Chocolate Pudding
It happens every time I share a recipe on the blog—you all have such thoughtful questions! I totally get it; getting that perfect texture in a chocolate pudding recipe can feel like walking a tightrope. I’ve pulled together the most common things folks ask when they are trying to make this Homemade Chocolate Pudding from scratch for the first time. If you’re looking for other simple swaps, maybe you’ll find inspiration over on my guide for Creamy Avocado Sauce Recipe, just to mix things up!
Can I make this chocolate pudding without an egg yolk?
This is a great question for people watching what they eat or just dealing with an empty fridge! The short answer is yes, you absolutely can skip the yolk. Cornstarch is doing most of the heavy lifting here as the primary thickener, so the pudding will still set up nicely. However, that little yolk adds so much wonderful richness and body—it takes the texture from good to truly decadent. If you decide to leave it out, I suggest increasing your cornstarch from 2 tablespoons to about 2 and 1/2 tablespoons, just to be sure you hit that perfect, thick consistency you’re looking for in this Creamy Pudding Recipe.
How do I ensure my stovetop pudding doesn’t scorch?
Scorch marks on the bottom of the pan are the nemesis of any good Stovetop Pudding Recipe! The trick is twofold, really. First, keep that heat right at medium—don’t let it run hot! If you crank the burner, the milk and sugar at the bottom will burn before the center even warms up. Second, and this is essential: you have to whisk constantly. I mean it, keep that whisk moving, making sure the whisk head scrapes the very bottom center of the pan where the heat is most direct. If you hear anything start to stick, immediately pull the pan off the heat for 10 seconds while stirring hard, and then put it back on. That’s how you maintain that beautiful, clean flavor for your Silky Smooth Dessert.
Is this recipe suitable for a Quick Chocolate Treat?
It earns the title of an Easy Chocolate Dessert because the active cooking time is incredibly short. Honestly, once you mix the ingredients and start heating it, you’re looking at only about 15 minutes of stirring before it thickens up! That’s super fast! But here’s the catch for calling it “quick”: you absolutely must plan ahead for chilling. For the best, firmest, and most luscious texture, the chocolate pudding needs at least two hours in the fridge. So, while the *making* is quick, the *eating* requires a little patience. Save this for a day when you can pop it in the fridge by lunchtime!
Share Your Experience Making This Dessert
Now it’s your turn, friends! Seeing your creations is genuinely the best part of my job here at Taste This Plate. I poured all my knowledge about technique into this recipe for chocolate pudding so you could feel like a total pro walking away with a truly rich and creamy dessert. It’s moments like these—sharing a homemade classic—that bring so much joy to the everyday, right?
When you give this recipe a try, please come back here and let me know how it went! Did it set up perfectly for you in two hours? Did you add a dollop of homemade whipped cream? Drop a star rating right below this section—it truly helps other home cooks find reliable recipes they can trust. I read every single comment because understanding what works for you in your kitchen is how I keep improving our mission to make great meals simple.
If you took a snap of your beautifully silky bowls, I’d absolutely love to see them! You can tag me on social media, or if you just want to chat more about comfort food desserts or need advice on any other culinary adventure, pop over to my About Page and say hello. Happy cooking, and I hope this Homemade Chocolate Pudding brings a little extra comfort to your table!
PrintVelvety Smooth, Rich Homemade Chocolate Pudding From Scratch
Make the richest, creamiest chocolate pudding on the stovetop. This easy recipe uses simple ingredients to create a silky smooth dessert that tastes far better than any boxed mix.
- Prep Time: 10 min
- Cook Time: 15 min
- Total Time: 25 min
- Yield: 4 servings 1x
- Category: Dessert
- Method: Stovetop
- Cuisine: American
- Diet: Vegetarian
Ingredients
- 1/4 cup granulated sugar
- 1/4 cup unsweetened cocoa powder (natural or Dutch-processed)
- 2 tablespoons cornstarch
- 1/4 teaspoon salt
- 1 1/2 cups whole milk
- 1/2 cup heavy cream
- 1 large egg yolk
- 1 teaspoon vanilla extract
- 2 tablespoons unsalted butter, cut into pieces
Instructions
- In a medium saucepan, whisk together the sugar, cocoa powder, cornstarch, and salt. This step prevents lumps later.
- Gradually whisk in the whole milk until the mixture is completely smooth.
- Place the saucepan over medium heat. Cook, stirring constantly with a whisk, until the mixture thickens and just begins to bubble. This usually takes 5 to 8 minutes. You must stir constantly to prevent scorching the bottom.
- In a small bowl, whisk the egg yolk lightly. Scoop about 1/2 cup of the hot milk mixture into the egg yolk while whisking the yolk vigorously. This tempers the egg, preventing it from scrambling.
- Pour the tempered egg mixture back into the saucepan with the remaining hot pudding base. Whisk well.
- Continue to cook over medium heat, stirring constantly, for 1 minute more until the pudding thickens significantly. Do not let it boil rapidly after adding the egg.
- Remove the saucepan from the heat. Stir in the heavy cream, vanilla extract, and butter until the butter is fully melted and incorporated, giving the pudding a rich finish.
- Pour the pudding into individual serving dishes or a large bowl. Press plastic wrap directly onto the surface of the pudding to prevent a skin from forming.
- Chill in the refrigerator for at least 2 hours, or until completely cold and set. Serve cold for the best velvety texture.
Notes
- For an extra rich flavor, substitute 1/4 cup of the milk with strong brewed coffee.
- If you prefer a thicker pudding, increase the cornstarch to 3 tablespoons.
- To ensure a truly silky smooth dessert, strain the finished pudding through a fine-mesh sieve before chilling.
Nutrition
- Serving Size: 1 serving
- Calories: 310
- Sugar: 30
- Sodium: 150
- Fat: 17
- Saturated Fat: 10
- Unsaturated Fat: 7
- Trans Fat: 0
- Carbohydrates: 34
- Fiber: 2
- Protein: 7
- Cholesterol: 55