
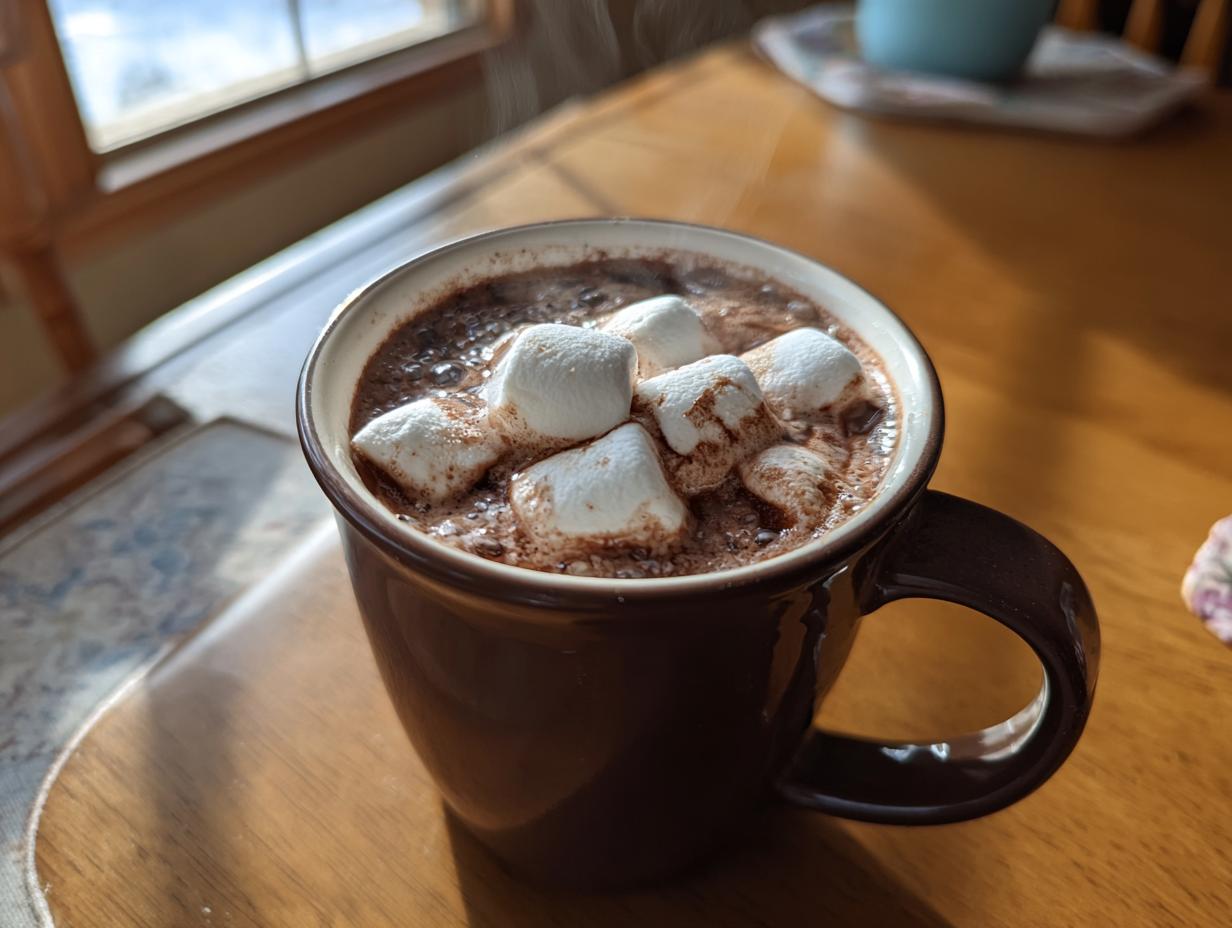
There is just nothing on this earth that beats the feeling of wrapping your hands around a big, warm mug when the air outside is just biting cold. If you’re anything like me, you’ve been searching for that perfect, decadent cup, and you’ve probably been disappointed by dusty brown packets. Well, stop right there! I’m Kate Reilly, and I can promise you that this recipe for homemade hot cocoa delivers the richest, creamiest experience you can imagine—way better than anything manufactured. My love for real, slow comfort food started right in my grandmother’s Midwestern kitchen, where every meal was an act of love. I took her passion for quality and applied my analytical mind, ensuring this recipe works perfectly every single time. Trust me, once you try this from scratch, you’ll never go back to the instant stuff. For more simple, heartwarming recipes inspired by my family’s table, check out my best creamy hot chocolate recipe!
- Why This Homemade Hot Cocoa Recipe Works Better Than Packets
- Ingredients for Your Creamy Homemade Hot Cocoa
- How to Prepare the Easy Stovetop Cocoa
- Making a Shelf-Stable Hot Cocoa Mix Recipe
- Tips for Making Your Homemade Hot Cocoa Even Better
- Serving Suggestions for Cozy Evening Beverages
- Storing Leftovers and Reheating Your Homemade Hot Cocoa
- Frequently Asked Questions About Homemade Hot Cocoa
- Share Your Decadent Homemade Hot Cocoa Experience
Why This Homemade Hot Cocoa Recipe Works Better Than Packets
When I look at those little instant hot cocoa packets, I see a whole lot of sugar and stabilizers I don’t need! Making your own is better because you control the quality, and honestly, it just tastes like chocolate, not dusty sweetness. If you want to make something truly delicious that beats store-bought every time, the difference is in these real ingredients we use.
- Achieving Rich Traditional Cocoa Flavor: The packets rely on one thin layer of cocoa flavor. We are building depth here! We use good quality unsweetened cocoa powder, but the optional step—which I highly recommend—is stirring in actual finely chopped chocolate. That combination delivers a truly rich traditional cocoa flavor that you just can’t replicate any other way.
- The Secret to Creamy Hot Cocoa From Scratch: Packets often need dry milk powder or cornstarch to fake that thickness. Not here! We use whole milk, and if you want pure decadence, a splash of half-and-half makes it incredibly rich. This is how you get that amazing, velvety smooth hot chocolate texture—it comes from the fat content in real dairy.
Ingredients for Your Creamy Homemade Hot Cocoa
I know you probably want this delicious drink right now, so let’s get the pantry items lined up! The great thing about making homemade hot cocoa is that the ingredient list is short and uses things I bet you already have. We’re keeping this simple but focused on those elements that really create that luxurious mouthfeel. We have distinct ingredient lists, depending on whether you are making a single mug right now or prepping a big batch of DIY hot cocoa powder for later.
For the Stovetop Homemade Hot Cocoa
- 4 cups whole milk (or preferred milk—don’t skip the whole milk if you can help it!)
- 1/2 cup granulated sugar
- 1/2 cup unsweetened cocoa powder
- 1/4 teaspoon salt
- 2 ounces semi-sweet or dark chocolate, finely chopped (This is optional, but it’s the secret weapon for that deep flavor!)
- 1/2 teaspoon vanilla extract
For the DIY Hot Cocoa Powder Mix
- 2 cups powdered sugar (Note: we use powdered sugar for the mix, not granulated!)
- 3/4 cup unsweetened cocoa powder
- 1/4 teaspoon salt
How to Prepare the Easy Stovetop Cocoa
You’ll love how quickly this comes together—it’s perfect when you need a warm hug in a mug, fast! Making this easy stovetop cocoa is all about gentle heating and constant movement. Since we aren’t using pre-mixed powders, we have to encourage that sugar to melt totally into the milk, otherwise, you get a grainy drink, and nobody wants that! Remember, this is real chocolate goodness coming together, so take your time on the stove without rushing it. If you need quick inspiration for other fast meals while you wait for winter treats, I have some great ones, like my quick, healthy air fryer salmon tacos!
Combining Ingredients and Heating
Grab a medium saucepan—nothing too heavy. First, dump in your four cups of milk, the really good unsweetened cocoa powder, the granulated sugar, and that tiny pinch of salt. Pop it over medium heat. This is the crucial part: you have to whisk constantly while it heats up. We want the sugar granules to completely vanish into the liquid so you don’t have any grit left. Keep whisking until the mixture is hot all the way through, but please, whatever you do, don’t let it boil! Boiling can scorch the milk and break down the cocoa flavor.
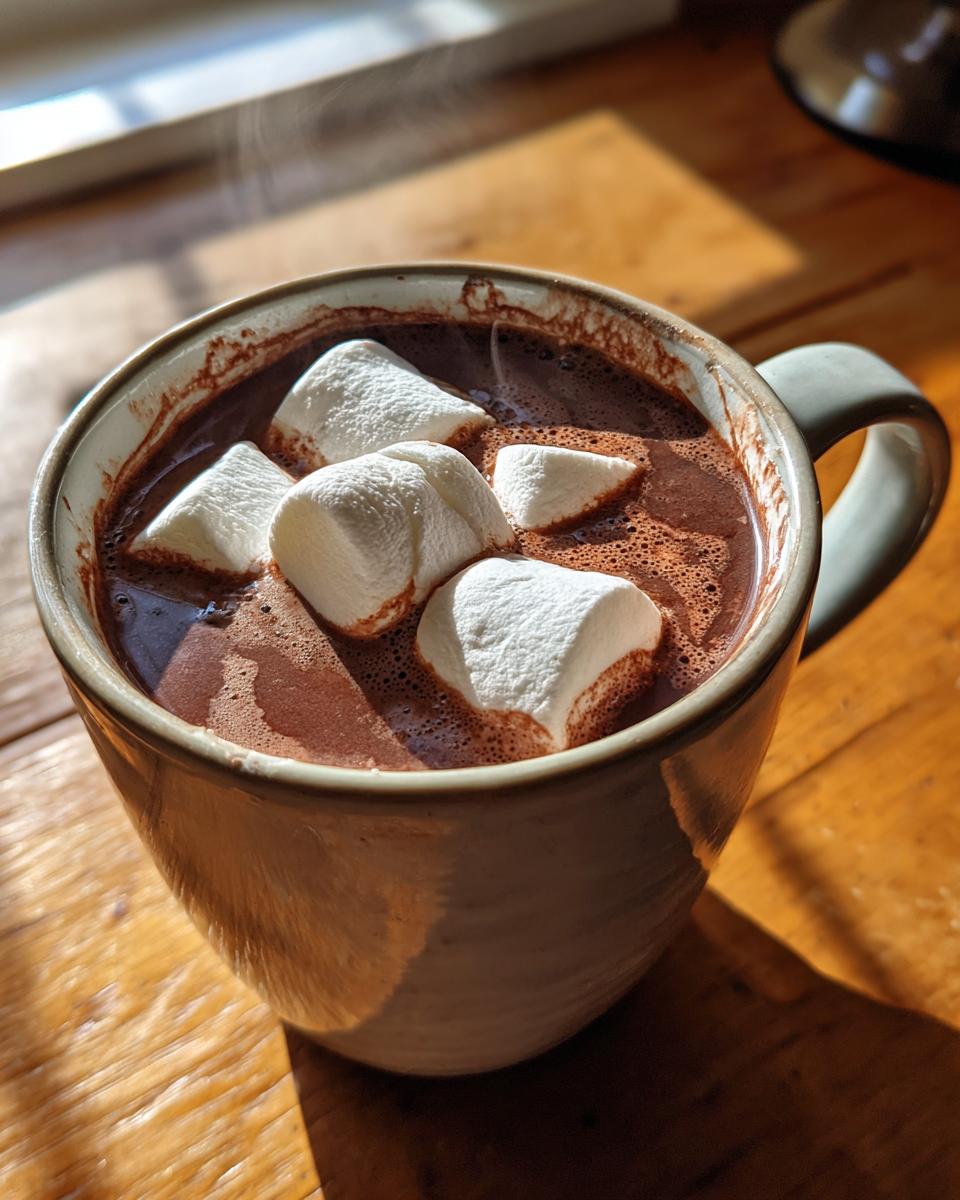
Finishing Touches for Perfect Homemade Hot Cocoa
Once it’s steaming nicely, turn that heat *off*. Now is the time for the good stuff! If you are using that optional chopped chocolate for that incredible depth of flavor, stir it in now until it’s completely smooth. It melts so fast! Next, whisk in your vanilla extract right off the heat. That finishes the flavor base for your amazing homemade hot cocoa. From here, just ladle it right into your favorite mugs. Seriously, top everything with mini marshmallows or a big dollop of real whipped cream. If you are looking for more ways to make your hot chocolate an event, check out these tips from my friends over at Flavor Spire on making that rich and creamy cocoa!
Making a Shelf-Stable Hot Cocoa Mix Recipe
Sometimes you just need a warm mug right now, but other times, knowing you have comfort waiting in the pantry is just as nice! This is where our hot cocoa mix recipe comes in handy. I love having this ready to go, especially since it uses much better ingredients than those crinkly packets we used to buy. Making this big batch DIY hot cocoa powder means you just need to boil some water or warm up some milk, and you’re set for a delicious treat in minutes.
To start the mix, you’ll need a large bowl—you want plenty of room so you don’t create a brown cloud when you start whisking! Add the powdered sugar, the cocoa powder, and that tiny bit of salt we included in the mix list. Whisk this together super well until everything looks totally uniform. Seriously, take a minute or two here to make sure there are no pockets of white sugar hiding in there. Once it’s mixed perfectly, transfer it to an airtight container. I keep mine in a big mason jar on the counter. It lasts for months, which is perfect!
When you’re ready for a truly cozy evening, making just one mug is so quick. Remember, you need about 3 tablespoons of this dry mix for every 1 cup of liquid. Whisk those 3 tablespoons right into a hot cup of milk—or water if you’re in a pinch, though the milk makes it so much better. If you were planning on gifting some, you can layer these dry ingredients beautifully in a jar, and it makes such a sweet gift! If you want more chocolate inspiration, I share my recipe for homemade chocolate pudding next.
For the best results when serving the mix, try reading the great tips my friends have on making a fantastic homemade hot cocoa mix—they always talk about texture, which is key!
Tips for Making Your Homemade Hot Cocoa Even Better
Now that you have the base recipe locked down—which is already miles above anything store-bought—we can talk about making your homemade hot cocoa truly legendary. I love experimenting, especially when the base is this solid. Remember, cooking is all about understanding *why* an ingredient works, and once you know that, you can start tweaking it to your own taste. These simple ideas are how I always elevate my cozy evening beverages when I have friends over!
Ingredient Swaps for Richness and Flavor
Don’t feel trapped by the list! If you’re feeling decadent, swap out about a cup of that whole milk for heavy cream or half-and-half when you’re on the stove. It makes the finished drink unbelievably rich. Also, the granulated sugar is great, but using packed brown sugar instead adds this gorgeous, subtle caramel note that plays so well with the cocoa. If you want to get really adventurous and make it a little spicy, try adding just the tiniest pinch of cayenne pepper when you warm the milk. It doesn’t make it hot; it just wakes up the chocolate flavor beautifully. My friends over at Small Town Scratch always talk about how great customizing is when you make an easy homemade hot cocoa!
Presentation Ideas for Gourmet Hot Cocoa at Home
Presentation totally matters when you’re serving up something special. Sure, a few store-bought marshmallows are fine, but if you have the time, making your own whipped topping really pushes this into gourmet hot cocoa at home territory. If you have my recipe for fluffy, stable vanilla buttercream, you can whip up almost the same thing for topping! Otherwise, you can’t go wrong with a generous dusting of fresh nutmeg or a few elegant chocolate shavings melted right on top of the foam. And remember that dry mix we made? Don’t forget to package those layers in a pretty jar with a cute ribbon. It becomes the best kind of homemade gift!
Serving Suggestions for Cozy Evening Beverages
Okay, you’ve got this rich, beautiful cup of homemade hot cocoa, steaming perfectly in your hands. Now, what do you dunk in it? Since this drink is so decadent all by itself, you don’t need anything complicated. We’re talking about those perfect cozy evening beverages moments, right? For me, everything tastes better with a simple, buttery cookie on the side. A classic shortbread cookie is the ideal partner because it’s sturdy enough for dunking but doesn’t compete with the chocolate flavor.
If you’re using the dry mix version, which is perfect for when you don’t want to turn on the stove, pairing is just as important! I always love having a few simple sugar cookies ready. If you want to try the easiest, melt-in-your-mouth recipe I have, you must check out my classic butter cookie recipe. It’s amazing for dipping!
Storing Leftovers and Reheating Your Homemade Hot Cocoa
Don’t let any of that creamy goodness go to waste! If you made a big pot of the stovetop version, you probably have some left over. The good news is that true homemade hot cocoa keeps quite well, especially since we didn’t load it up with artificial stabilizers. The key to keeping it fresh is proper storage. Pour any remaining liquid cocoa into an airtight container—a mason jar works perfectly—and pop it right into the fridge. It’s best enjoyed within three to four days, tops. After that, you might notice a slight separation, but don’t worry about that; it’s totally normal with real dairy.
When you’re ready for a second mug of pure comfort, reheating is super easy. My preferred way is always back on the stove over low heat. Whisk it gently as it warms up; this helps everything emulsify again. If you’re in a massive rush and only reheating a single serving, you can carefully use the microwave. Just heat it in 30-second bursts, stirring well between each burst, so you don’t scorch the bottom of the mug. Remember, the microwave can heat unevenly, so low and slow is always the move here!
And what about that dry mix we made? That stuff is practically immortal! If you sealed your DIY hot cocoa powder properly in an airtight container away from heat and moisture, it can easily stay shelf-stable for up to a year. Seriously! It’s amazing knowing you can whip up a quick, delicious cup anytime without having to buy anything new. Just whisk those 3 tablespoons into 1 cup of hot milk, and you’re good to go!
Frequently Asked Questions About Homemade Hot Cocoa
I’ve answered just about every question I can think of on making your perfect mug, but I know sometimes you just need a quick answer! These are the things people ask me most often when they are first ditching the packets and making a quick homemade chocolate drink from scratch. It’s easy once you know the ropes, even with simple ingredients like just cocoa powder and milk.
Can I use water instead of milk for the homemade hot cocoa?
You absolutely can if you are using the dry mix, but I have to be honest with you: it won’t be nearly as good! Milk is what gives our homemade hot cocoa that luxurious, creamy texture we worked so hard for. If you are making the drink on the stovetop and only have water, go ahead and use it—it will certainly taste like a delicious chocolate beverage—but it will be thinner. For the mix, water is okay in a total pinch, but if you can use oat milk or almond milk for creaminess, please do! Remember, for a true chocolate experience, we want that fat content.
How do I make this recipe dairy-free?
This is such an important question for all my friends who can’t have dairy! Luckily, the stovetop recipe is incredibly easy to adapt. You can swap out the whole milk for any creamy dairy-free alternative. My absolute favorite is oat milk—it froths up beautifully and has enough body to hold that rich chocolate flavor without tasting watery. Almond milk works too, but it is usually thinner, so you might want to use a little less liquid overall. Also, when you are using the dry mix version, ensure you mix it with your preferred non-dairy milk to get that signature smooth finish.
If you want to dive into some other comforting, rich drinks that are ready in a flash, I have an amazing recipe for chocolate bourbon pecan pie, which pairs perfectly with a mug of this cocoa! For more inspiration on maximizing your cocoa experience, take a peek at the marshmallow topping ideas my friends shared over at Flavor Spire on their easy homemade hot cocoa recipe.
Share Your Decadent Homemade Hot Cocoa Experience
I truly hope this recipe has made your chilly evening a little bit brighter! Making the transition to homemade hot cocoa is such a rewarding change, and I love knowing I’ve helped you replace those dull store-bought packets with something truly rich and velvety smooth.
Now that you’ve tried the stovetop version or prepped your jar of dry mix, I really want to hear about it! Did you add a pinch of cayenne? Did you go all-in with heavy cream? Come down below and give this recipe a solid five stars if it warmed your heart and your tummy. Leave a comment telling me what topping you chose—are you a classic marshmallow person, or do you go for shaved dark chocolate?
Sharing food is my favorite way to connect, and your feedback helps other cooks feel confident trying this ultimate hot cocoa guide. If you’re looking for other fantastic drinks to warm up your holiday season, you should definitely check out my recipe for authentic coquito next!
PrintThe Ultimate Creamy Homemade Hot Cocoa (Stovetop & Mix Options)

Learn how to make rich, creamy hot cocoa from scratch on your stovetop that tastes better than any store-bought mix. This guide also includes a simple recipe for a shelf-stable dry mix for quick, delicious mugs anytime.
- Prep Time: 5 min
- Cook Time: 10 min
- Total Time: 15 min
- Yield: 4 servings 1x
- Category: Beverage
- Method: Stovetop
- Cuisine: American
- Diet: Vegetarian
Ingredients
- 4 cups whole milk (or preferred milk)
- 1/2 cup unsweetened cocoa powder
- 1/2 cup granulated sugar
- 1/4 teaspoon salt
- 1/2 teaspoon vanilla extract
- 2 ounces semi-sweet or dark chocolate, finely chopped (optional, for extra richness)
- For Hot Cocoa Mix: 2 cups powdered sugar
- For Hot Cocoa Mix: 3/4 cup unsweetened cocoa powder
- For Hot Cocoa Mix: 1/4 teaspoon salt
Instructions
- Combine the milk, cocoa powder, granulated sugar, and salt in a medium saucepan.
- Place the saucepan over medium heat. Whisk constantly until the sugar dissolves and the mixture is hot, but do not let it boil.
- If using, stir in the finely chopped chocolate until it melts completely and the cocoa is smooth.
- Remove the saucepan from the heat and stir in the vanilla extract.
- For immediate serving: Pour the rich, creamy hot cocoa into mugs. Top with marshmallows or whipped cream.
- For Hot Cocoa Mix: In a large bowl, whisk together the powdered sugar, cocoa powder, and salt until fully combined and lump-free.
- Store the dry mix in an airtight container. To prepare one serving of mix: Whisk 3 tablespoons of the mix with 1 cup of hot milk or water until smooth.
Notes
- For a thicker, more decadent drink, use half-and-half or heavy cream instead of some of the milk.
- To make the dry mix giftable, layer the ingredients in a mason jar and tie a ribbon around it with instructions attached.
- You can substitute brown sugar for granulated sugar in the stovetop recipe for a slight caramel note.
Nutrition
- Serving Size: 1 cup
- Calories: 250
- Sugar: 30
- Sodium: 150
- Fat: 10
- Saturated Fat: 6
- Unsaturated Fat: 4
- Trans Fat: 0
- Carbohydrates: 35
- Fiber: 3
- Protein: 8
- Cholesterol: 25