
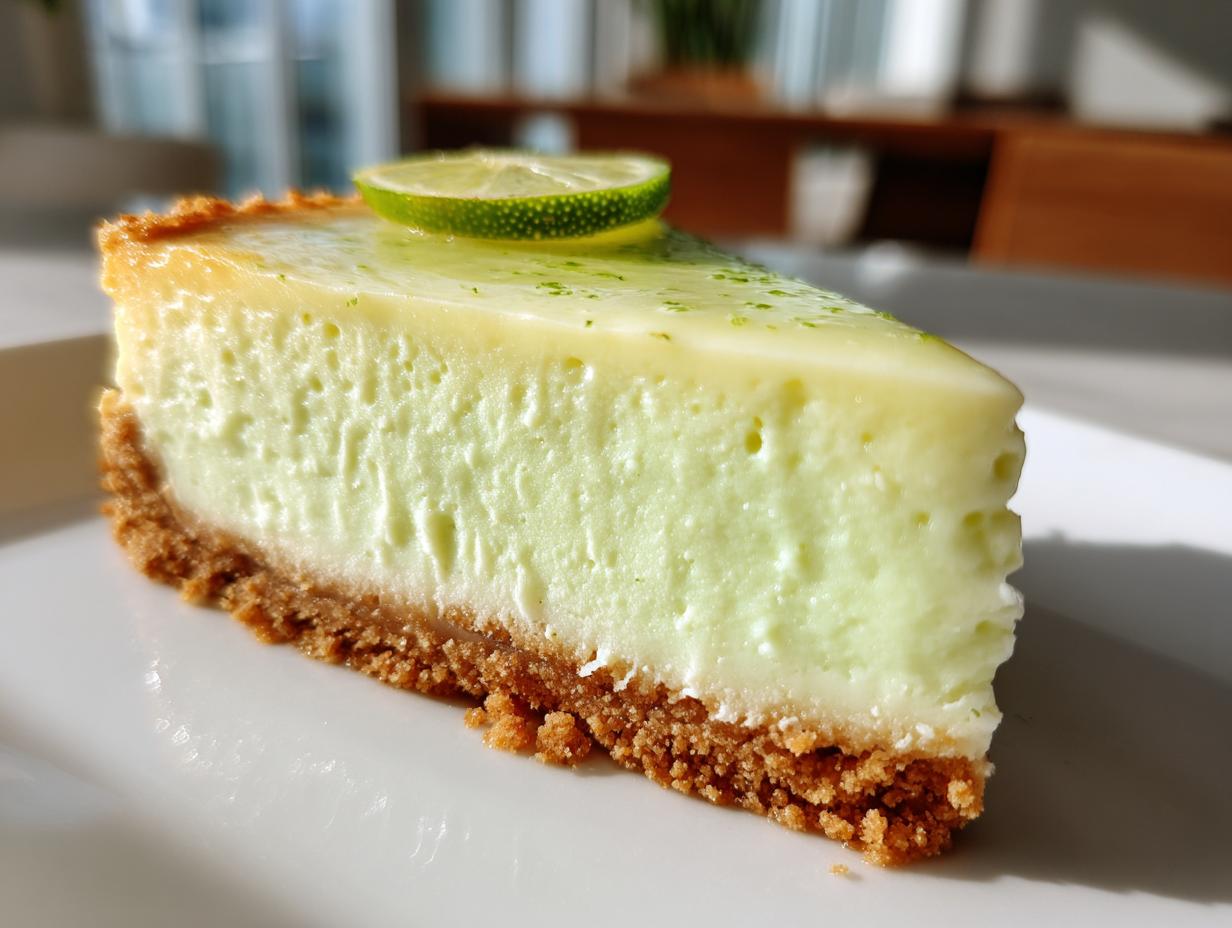
When summer rolls around, I always feel this powerful need to bring something unbelievably refreshing and bright to the table. Forget heavy chocolate—we need zing! That’s why I’m obsessed with the perfect key lime cheesecake. It’s the dessert that instantly impresses guests without needing complicated piping or layers. I learned early on, thanks to my grandmother, that the real secret to anything wonderful isn’t fancy equipment; it’s balance. If you get the creamy texture just right alongside that sharp, tropical tang, you’ve got gold. This recipe, which I’ve tested until it’s flawless, is the one that captures that essential sunny, tart-yet-velvety magic every single time.
- Why This Baked Key Lime Cheesecake Recipe Works
- Ingredients for the Ultimate Key Lime Cheesecake
- Step-by-Step Instructions for Classic Key Lime Cheesecake
- Tips for Achieving Perfect Key Lime Cheesecake Texture
- Variations on Your Key Lime Cheesecake
- Serving Suggestions for a Tangy Lime Dessert
- Storage and Reheating for Your Key Lime Cheesecake
- Frequently Asked Questions About Key Lime Cheesecake
- Estimated Nutritional Data for Key Lime Cheesecake
- Estimated Nutritional Data for Key Lime Cheesecake
Why This Baked Key Lime Cheesecake Recipe Works
Honestly, I’ve thrown out so many cracked, curdled, or just plain *sad* cheesecakes in my day. But this one? This baked key lime cheesecake is consistently perfect. I developed this method because I wanted that restaurant-level richness without the guesswork.
- It delivers that unbeatable ultra-creamy texture because we treat the dairy ingredients right before mixing.
- The tang is bright—not artificial—thanks to relying on fresh lime flavor.
- It’s incredibly reliable! We pre-bake the crust and use a water bath so you get a flawless, silky surface every time, unlike some of the finicky recipes out there. If you want guaranteed results for your next gathering, trust this one. You can read more about my general cheesecake baking tips here!
Ingredients for the Ultimate Key Lime Cheesecake
When we talk about creating an extraordinary meal, the ingredients are everything. I’m not messing around here, especially when it comes to getting that bright, perfect Florida Key Lime Flavor you expect. For this cheesecake to come out right, you need to pay attention to specifics—like making sure your dairy has time to warm up!
For the Buttery Graham Cracker Crust
You want this crust to be sturdy enough to hold up against that rich filling, so we give it a good dose of butter. Grab these three things:
- 1 1/2 cups graham cracker crumbs
- 1/4 cup granulated sugar
- 6 tablespoons unsalted butter, melted
For the Creamy Lime Filling
This is where the magic happens, and why we stress room temperature! Cold ingredients fight each other and create lumps. We need that smooth, dreamy, Perfect Cheesecake Texture, so plan ahead on this list:
- 3 (8 ounce) packages cream cheese, softened (this is important!)
- 1 1/2 cups granulated sugar
- 1/4 cup all-purpose flour
- 1 teaspoon vanilla extract
- 1/4 teaspoon salt
- 4 large eggs, room temperature
- 1/2 cup fresh key lime juice (you’ll need about 10 to 12 little limes!)
- 2 tablespoons key lime zest
- 1/2 cup sour cream, room temperature
Step-by-Step Instructions for Classic Key Lime Cheesecake
Okay, this is the big moment! Making a fantastic key lime cheesecake comes down to following the order. We want smooth, not lumpy, so pay attention to how we mix versus when we mix. Don’t rush the cooling part, either—that’s my secret handshake for avoiding surface cracks. This structured approach is how we guarantee that beautiful, creamy result that wows people every time. Check out a variation of this classic over at The Daily Yummy if you want to see another expert’s take!
Preparing the Graham Cracker Crust and Pan
First things first, get your oven warmed up to 325°F (160°C). Now, take your 9-inch springform pan. Listen, this next step is non-negotiable if you hate sticking: wrap the outside bottom tightly with heavy-duty foil. We are making a water bath, and we don’t want any leaks! In a bowl, mix your graham crumbs, the crust sugar, and the melted butter until it looks like wet sand. Press that firmly into the bottom of your pan. Bake it for just 10 minutes, then pull it out so it can cool off a bit while you tackle the filling.
Mixing the Creamy Cheesecake Filling
Grab that electric mixer! Beat your softened cream cheese until it’s absolutely, utterly smooth; scrape those sides down halfway through. Next, add the main sugar and the flour, and mix those just until they disappear. Now, the eggs go in slowly—one at a time. I mean it! Mix only until the yolk disappears before adding the next one; overmixing eggs whips too much air in, and that leads to texture problems later. Once the eggs are happy, gently stir in the lime juice and zest. Finally, fold in the room-temperature sour cream until everything is uniform and gorgeously creamy. This technique layers the texture perfectly for a top-tier creamy cheesecake recipe.
Baking and Cooling for the Best Key Lime Cheesecake
Time for the water bath trick! Place the foil-wrapped springform pan inside a larger roasting pan. Carefully pour hot water into the roasting pan until it comes halfway up the side of your cheesecake pan. This steamy environment keeps things gentle. Bake for about 55 to 65 minutes. You’re looking for set edges but a slight wiggle in the center—like soft gelatin. When you think it’s done, turn the oven OFF. Crack the door open just a tiny bit, and leave that cheesecake sitting in the residual heat for a whole hour. This slow, gentle cool down is the #1 way to prevent it from sinking or cracking on you!
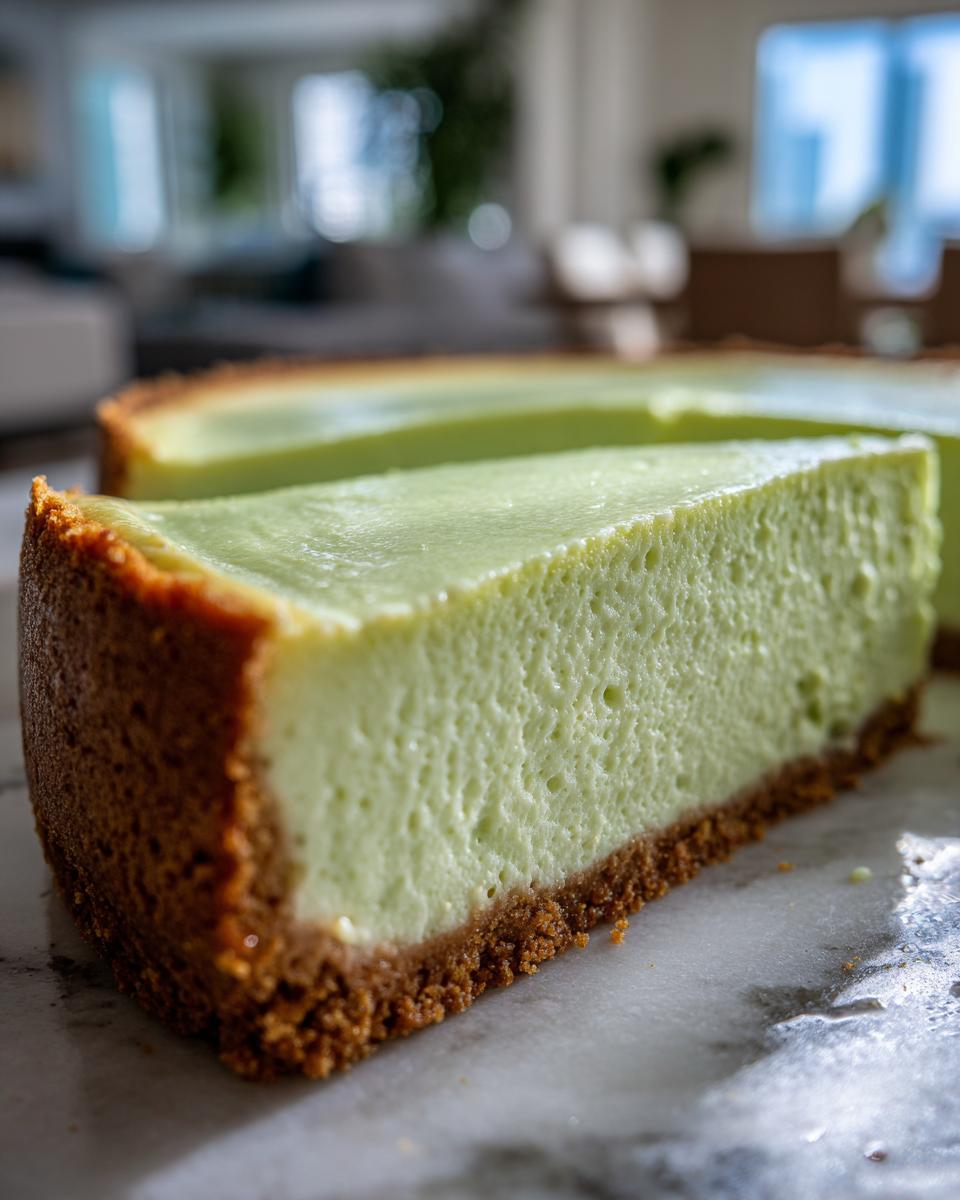
Tips for Achieving Perfect Key Lime Cheesecake Texture
If you’ve ever felt terrified of baking cheesecake because of the dreaded crack, I totally get it. I wasted so many perfectly good cream cheese bricks learning the rules! But achieving that signature silky, smooth mouthfeel in your key lime cheesecake really isn’t impossible. It just requires you to treat those dairy ingredients with a little respect and follow a couple of non-negotiable steps. These are the tricks I learned from hours spent testing until I got that gorgeous, sliceable, unblemished surface.
For starters, forget about pulling your cream cheese out of the fridge five minutes before you start mixing. That’s recipe for lumps! Every single dairy component—the cream cheese, the eggs, and that crucial sour cream—needs to be at true room temperature. When everything is at the same temperature, it emulsifies beautifully, which directly leads to that creamy result you’re chasing. Honestly, giving it two hours before you even touch the mixer is worth the wait. You can see other ways I ensure a creamy result in my red velvet cheesecake guide, too!
Secondly, use fresh limes. Please, please, please use fresh limes! That bright, sharp acidity is what differentiates a good key lime cheesecake from one that tastes… flat. Bottled juice just doesn’t hold up against the richness of the cream cheese, and you lose that beautiful aromatic quality you get from fresh lime zest. If you’re really going for that authentic flavor profile, grating that zest yourself is key. If you want to see how someone else handles technique and flavor balance, check out the inspiration over at Cook Salty.
And finally, the water bath is your best friend against cracking. I know it seems like extra work wrapping that pan in foil and setting it in hot water, but the steam surrounds the cake gently. It cooks evenly and slowly, meaning there are no sudden temperature spikes to make the edges seize up and pull apart. Combined with that hour-long slow cool down *inside* the turned-off oven, you’re putting the cake in the best possible environment for a flawless finish.
Variations on Your Key Lime Cheesecake
While I stand by this baked version for that rich, classic mouthfeel, I know sometimes you just can’t turn on the oven, especially when it’s sweltering outside! Or maybe you just need something quick to feed a crowd. That’s why knowing a couple of simple swaps for making your key lime cheesecake is so important for expanding your dessert repertoire.
If you are hunting for those quick, easy summer desserts, exploring the no-bake route is fantastic. If you skip the baking steps entirely, you get a lighter, almost mousse-like texture that is seriously refreshing. I have a great resource for understanding the tricks behind those speedy mixes, which is perfect if you’re inspired by the no bake cheesecake ideas circulating lately.
Another fun way to present this dessert is scaling it down! Who doesn’t love individually portioned treats? Baking this batter in muffin tins lined with paper liners turns them into adorable mini versions. They set up quickly, and they’re perfect for parties because everyone gets their own neat little slice of tropical heaven. Just keep an eye on the timing, as those individual cheesecakes bake much faster than the full-sized pan.
If you want to try my favorite no-bake hack that still delivers a huge flavor punch, check out my thoughts on my no-bake tiramisu cheesecake adaptation; the principles for a stable crust and creamy filling translate perfectly over to a lime version.
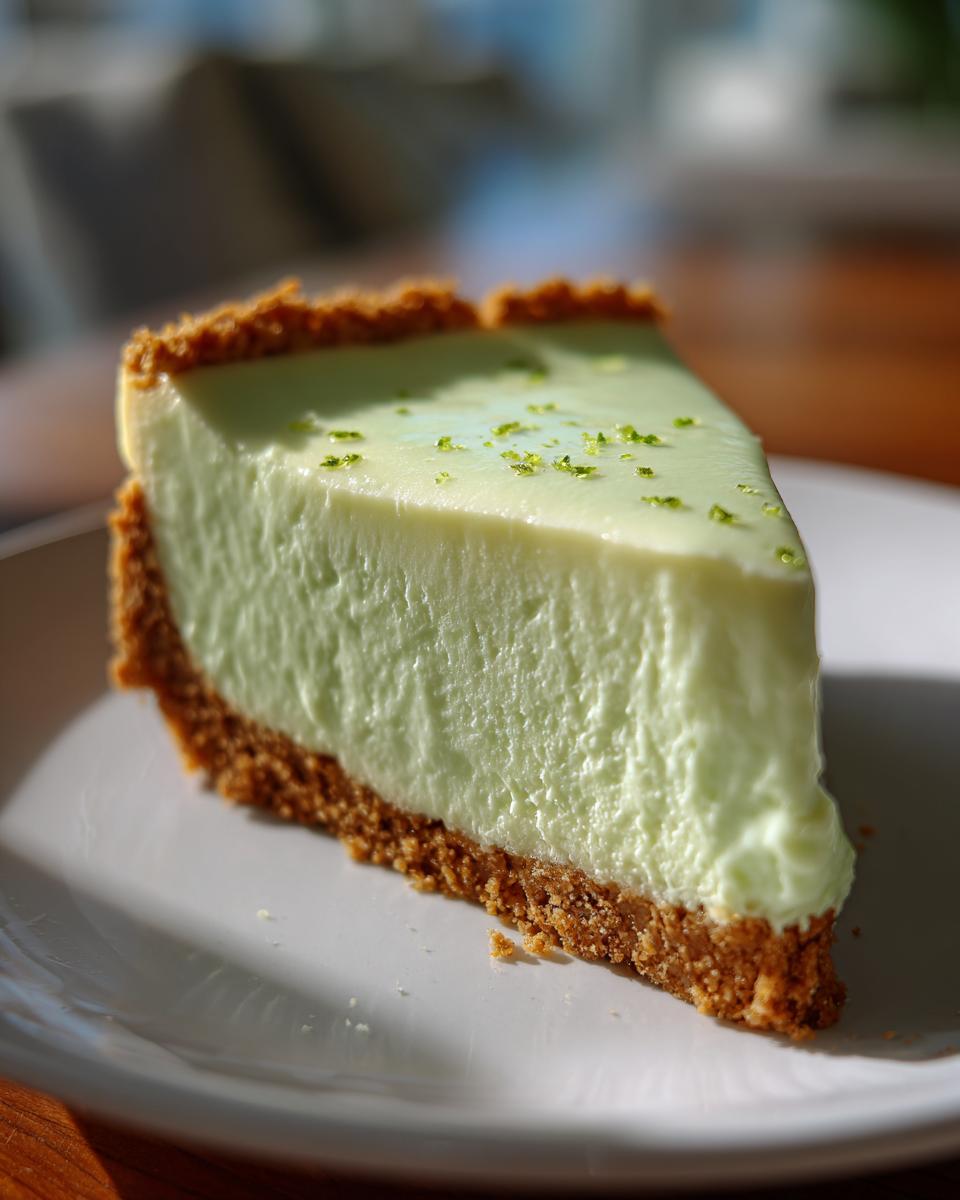
Serving Suggestions for a Tangy Lime Dessert
Once your gorgeous **key lime cheesecake** is perfectly chilled, you have to think about the presentation! This dessert is already so bright and beautiful, meaning you don’t need much fuss to make it a true Impress Guests Dessert. Keep the toppings light to let that incredible lime flavor shine through.
My go-to suggestion is simple: a generous layer of homemade, perfectly fluffy whipped cream, maybe stabilized with a little vanilla buttercream base—I have a great recipe for that if you need the fluffiest topping! A final sprinkle of finely grated lime zest on top adds color, texture, and that amazing aroma we love. If you want it extra shiny, a thin, glossy lime glaze poured right before serving really elevates this tangy lime dessert.
Storage and Reheating for Your Key Lime Cheesecake
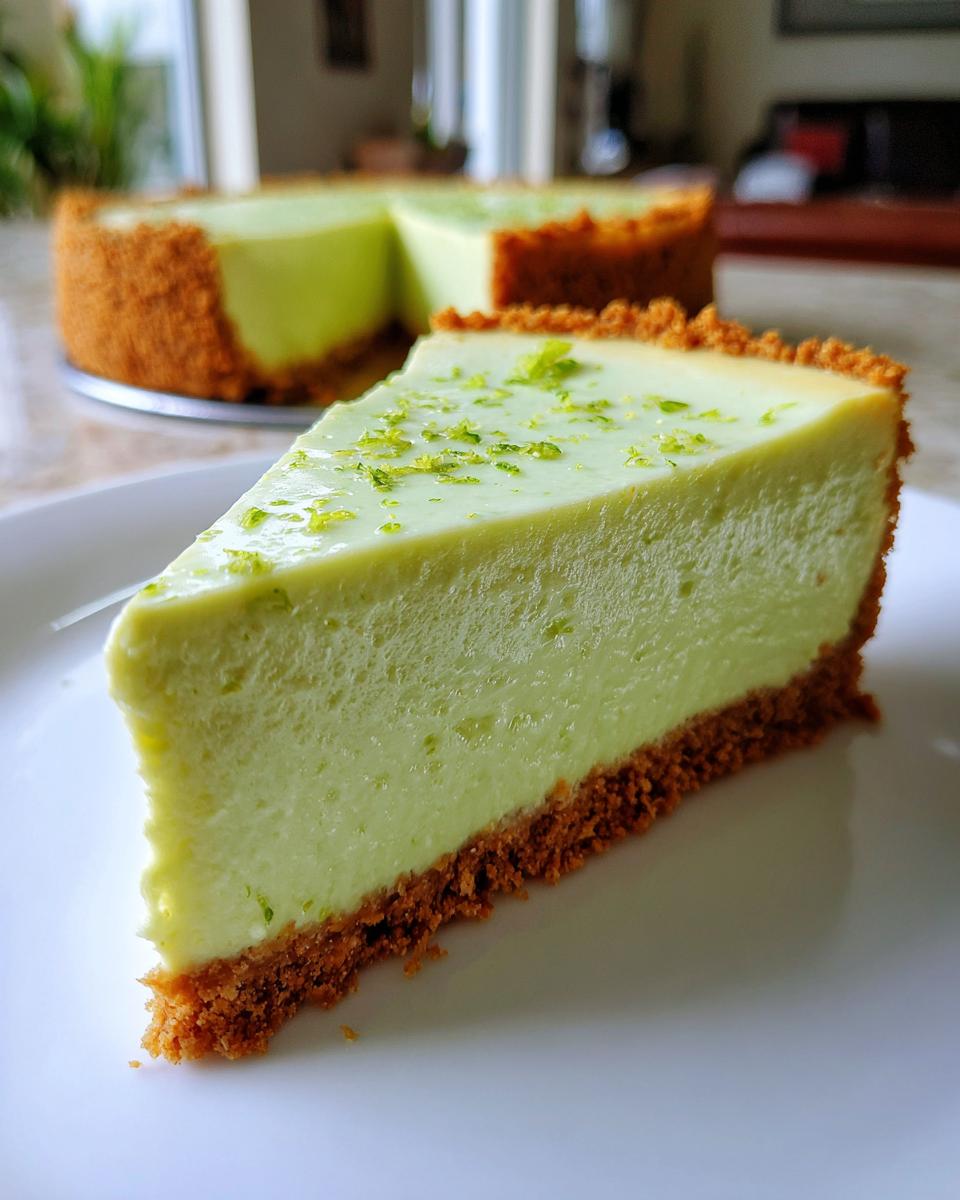
Alright, we finally made it through the baking and the water bath excitement! Now comes the hardest part: waiting. Seriously, I know you want to cut into that beautiful, creamy creation right away, but you absolutely *must* be patient here. Chilling is just as important as baking when we’re aiming for that Perfect Cheesecake Texture we worked so hard for.
You need to let this **key lime cheesecake** chill in the refrigerator for a minimum of six hours, but trust me on this—overnight is the sweet spot. When it’s fully chilled, the filling firms up beautifully, allowing you to get those clean, professional-looking slices without any smushing or collapsing. You don’t want a warm, soft cheesecake; you want that cool, dense, sliceable delight!
Once it’s chilled, cover the pan loosely with plastic wrap, but make sure the wrap doesn’t touch the surface of the cheesecake itself. This keeps excess moisture out while preventing the surface from drying out. It keeps really well in the fridge for up to four days. And honest talk? It tastes even better on day two when those bright lime flavors have truly married with the creamy base.
Now, reheating? Not really necessary, nor recommended for cheesecake! This is a lush, chilled dessert. If for some reason you took leftovers out and they got a little too warm on the counter, just set them back in the fridge until they are completely cold and firm again. We want refreshing, not soft, here!
Frequently Asked Questions About Key Lime Cheesecake
I know you might have a few lingering questions before you dive into making this dessert. That’s totally fine! Sometimes the little details are what separate an okay cheesecake from the show-stopping key lime cheesecake that has everyone reaching for seconds. As someone who spent way too long testing these recipes in my own kitchen, I’m happy to spill all the final secrets right here.
Can I substitute regular lime juice for key lime juice in this key lime cheesecake recipe?
You certainly can, but you’ll notice a difference right away, trust me! Regular Persian limes are much milder and have way less acidity than true Key Limes. If you use standard grocery store limes, you might need to increase the amount slightly—maybe by a tablespoon or two—to compensate for the weaker punch in flavor. If you use regular lime juice, you lose a lot of that unique, sharp ‘tropical’ note that makes this dessert so special. For the best Tangy Lime Dessert experience, hunting down fresh key limes or good quality bottled key lime juice is really the way to go.
How do I prevent my baked cheesecake from cracking?
This is the question I get asked most often! Cracks happen because of sudden temperature changes. We fight that in a couple of ways in the recipe, but to summarize: always use room temperature ingredients so the batter mixes smoothly. Then, while baking, use that water bath method—it keeps the oven environment humid and gentle. The final, most important step is cooling slowly. Don’t pull it straight out! Turn the oven off, crack the door, and let it sit inside for a full hour. That slow transition from hot to cool prevents the cheesecake surface from seizing up, keeping your key lime cheesecake pristine.
Is this the best recipe for a creamy cheesecake recipe?
I sure hope so! I spent hours perfecting the dairy ratios to make sure it’s ultra-smooth. The key to getting that truly fantastic, melt-in-your-mouth creamy cheesecake recipe feel comes down to two things we emphasized: making absolutely certain your cream cheese, eggs, and sour cream are at true room temperature before you turn on that mixer. When they blend seamlessly, you get that beautiful structure. Adding the sour cream last also helps maintain a rich, velvety mouthfeel that cuts through the brightness of the lime beautifully. If you’re curious about another creamy favorite, I have a great one for cottage cheese muffins that also focuses on moist texture!
Estimated Nutritional Data for Key Lime Cheesecake
Since we all want to enjoy things responsibly, here’s a general idea of what you’re looking at per slice of this decadent dessert. Remember, this is just an estimate based on standard ingredients—if you use a different type of graham cracker or extra zest, things might shift a little bit!
- Serving Size: 1 slice
- Calories: 410
- Sugar: 32g
- Fat: 26g
- Carbohydrates: 38g
- Protein: 7g
We aim to give you transparency here on Taste This Plate! For more insight into how various ingredients affect the nutrition of a cheesecake, you can compare it against some other recipes out there, perhaps similar to what they feature over at The Slow Roasted Italian.
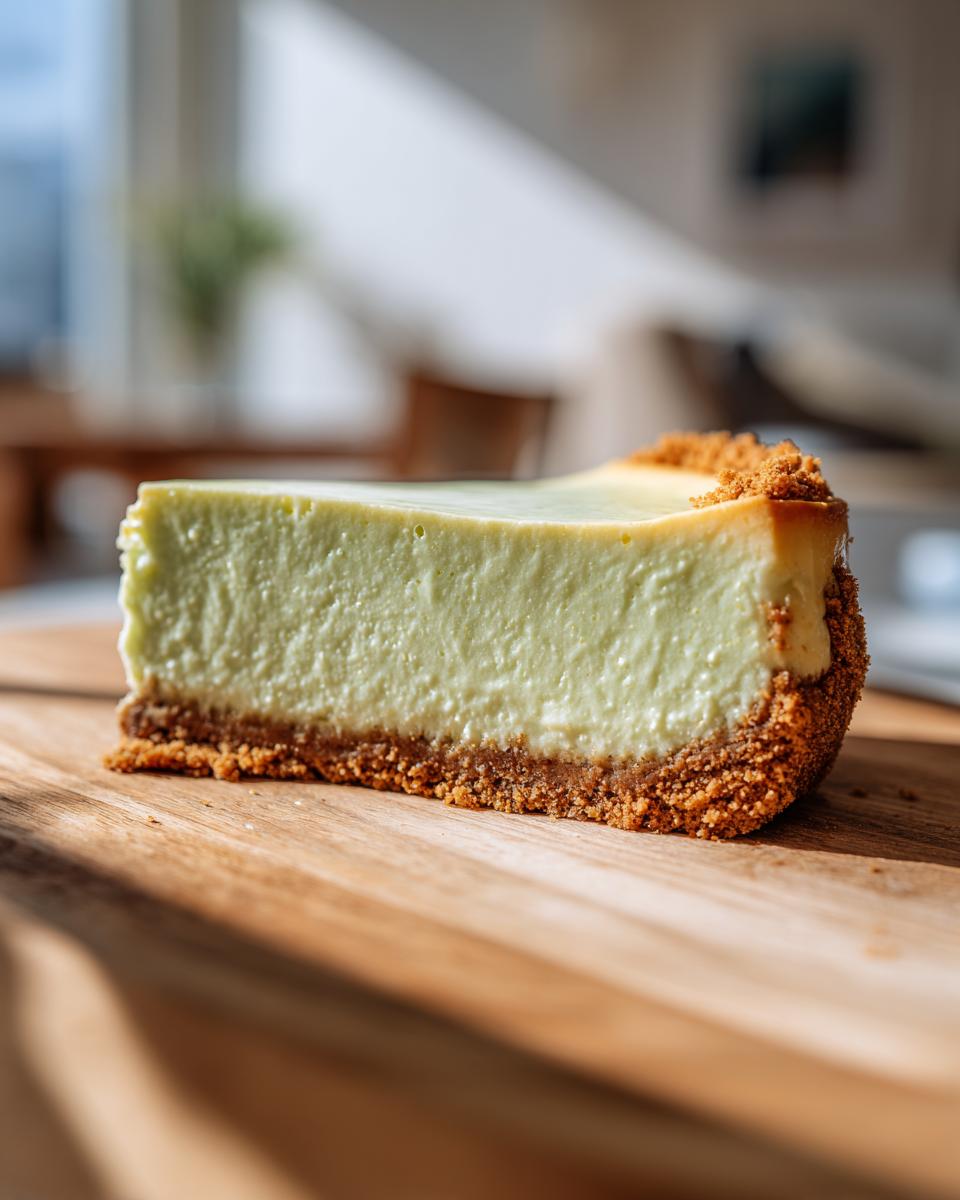
PrintClassic Baked Key Lime Cheesecake with Buttery Graham Cracker Crust

Create a perfectly creamy and tangy Key Lime Cheesecake with a rich graham cracker crust. This recipe delivers the bright citrus flavor you want for an impressive, refreshing dessert.
- Prep Time: 25 min
- Cook Time: 65 min
- Total Time: 8 hr 30 min
- Yield: 12 servings 1x
- Category: Dessert
- Method: Baking
- Cuisine: American
- Diet: Vegetarian
Ingredients
- 1 1/2 cups graham cracker crumbs
- 1/4 cup granulated sugar (for crust)
- 6 tablespoons unsalted butter, melted
- 3 (8 ounce) packages cream cheese, softened
- 1 1/2 cups granulated sugar (for filling)
- 1/4 cup all-purpose flour
- 1 teaspoon vanilla extract
- 1/4 teaspoon salt
- 4 large eggs, room temperature
- 1/2 cup fresh key lime juice (about 10–12 limes)
- 2 tablespoons key lime zest
- 1/2 cup sour cream, room temperature
Instructions
- Preheat your oven to 325°F (160°C). Wrap the outside bottom of a 9-inch springform pan tightly with heavy-duty aluminum foil to prepare for a water bath.
- Prepare the crust: In a medium bowl, mix the graham cracker crumbs, 1/4 cup sugar, and melted butter until evenly moistened. Press the mixture firmly and evenly into the bottom of the prepared springform pan. Bake for 10 minutes. Remove from the oven and let cool slightly.
- Prepare the filling: In a large bowl, use an electric mixer to beat the softened cream cheese until completely smooth. Scrape down the sides of the bowl.
- Add the 1 1/2 cups sugar and flour to the cream cheese mixture. Beat on medium speed until just combined. Mix in the vanilla extract and salt.
- Beat in the eggs one at a time, mixing only until each egg is incorporated. Do not overmix the batter once the eggs are added.
- Gently stir in the key lime juice and zest. Finally, mix in the sour cream until the batter is uniform and creamy.
- Pour the filling over the cooled crust in the springform pan. Smooth the top with a spatula.
- Create a water bath: Place the foil-wrapped springform pan inside a larger roasting pan. Carefully pour hot water into the roasting pan until the water reaches halfway up the sides of the springform pan.
- Bake for 55 to 65 minutes. The edges should look set, but the center 2 inches should still have a slight jiggle when gently nudged.
- Turn off the oven, crack the oven door open slightly, and let the cheesecake cool inside the oven for 1 hour. This slow cooling prevents cracking and helps achieve a perfect cheesecake texture.
- Remove the cheesecake from the water bath and foil. Let it cool completely on a wire rack. Once cool, cover and chill in the refrigerator for at least 6 hours, or preferably overnight, before serving.
Notes
- For the best, brightest flavor, use fresh key lime juice and zest. Bottled juice changes the final taste.
- To prevent cracks, make sure all dairy ingredients (cream cheese, eggs, sour cream) are at true room temperature before mixing.
- If you want a copycat style finish, top the chilled cheesecake with a thin layer of lime-flavored whipped cream or a simple lime glaze before serving.
Nutrition
- Serving Size: 1 slice
- Calories: 410
- Sugar: 32g
- Sodium: 280mg
- Fat: 26g
- Saturated Fat: 16g
- Unsaturated Fat: 10g
- Trans Fat: 0.5g
- Carbohydrates: 38g
- Fiber: 1g
- Protein: 7g
- Cholesterol: 115mg