
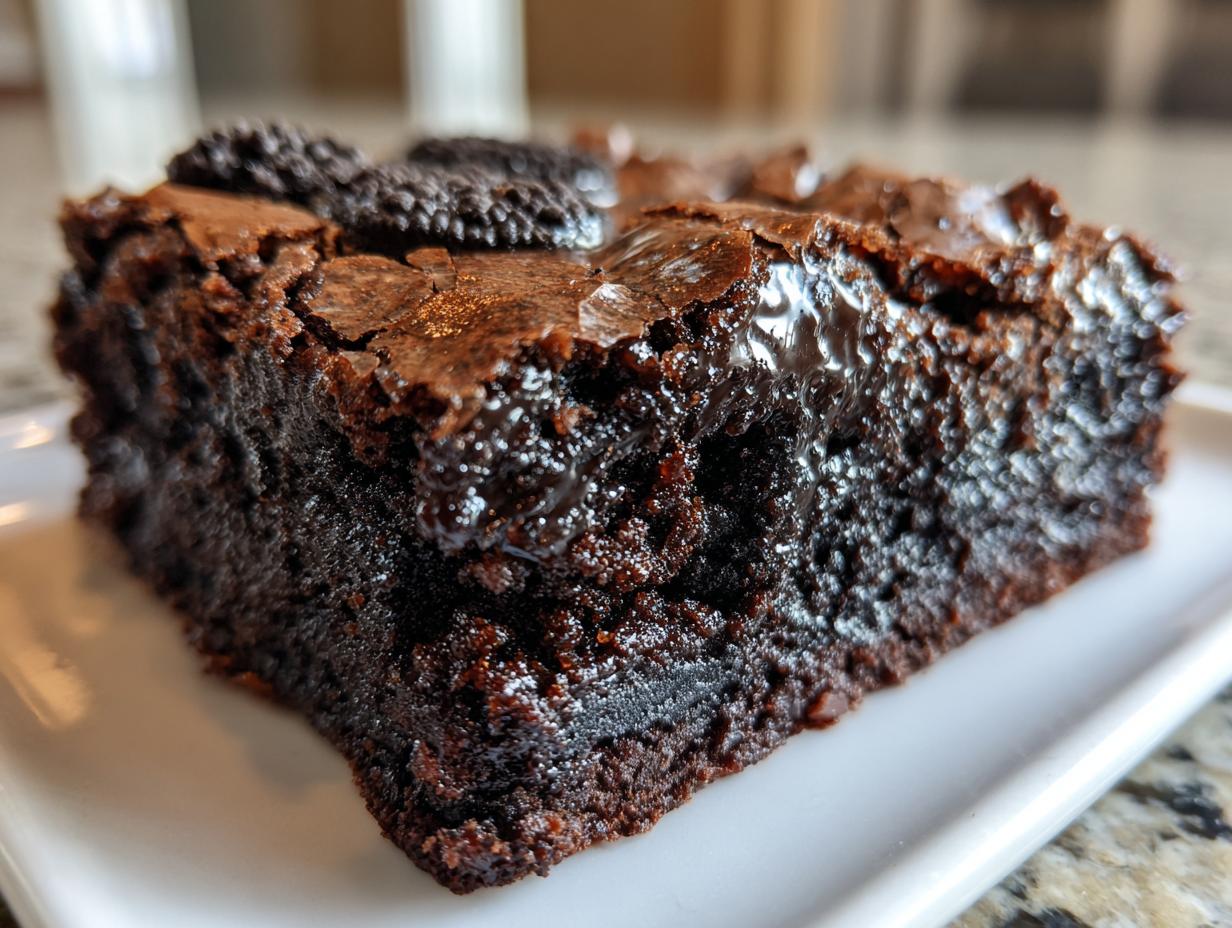
Oh, friends. Sometimes that craving just hits—you know the one. Not for just any chocolate, but that deep, rich, intensely satisfying, slightly gritty, deeply fudgy chocolate that only a fantastic brownie can deliver. And when you throw in those glorious, crunchy, creamy Oreo cookies? Well, then it becomes a mission.
I spent way too long trying to get the texture right. Cakey brownies are fine for some people, but not for the lovers of dark, dense chocolate! After weeks of testing, I finally cracked the code for these Ultimate Fudgy Oreo Brownies. They are completely made from scratch, boast the most desirable shiny, crackly top you’ve ever seen, and they are surprisingly simple. Seriously, ditch the box mix. You don’t need to be a professional chef; you just need the right technique, and I’m going to walk you through it!
- Why These are the Best Fudgy Oreo Brownies You Will Ever Make
- Gathering Ingredients for Perfect Homemade Oreo Brownies
- Step-by-Step Instructions for Easy Oreo Brownies
- Tips for Success with Your Oreo Brownies
- Variations on Classic Oreo Brownies
- Serving Suggestions for Your Chocolate Cookie Brownies
- Storage & Reheating Instructions for Thick Fudge Brownies
- Frequently Asked Questions About Oreo Brownies
- Nutritional Estimates for This Indulgent Baking Recipe
Why These are the Best Fudgy Oreo Brownies You Will Ever Make
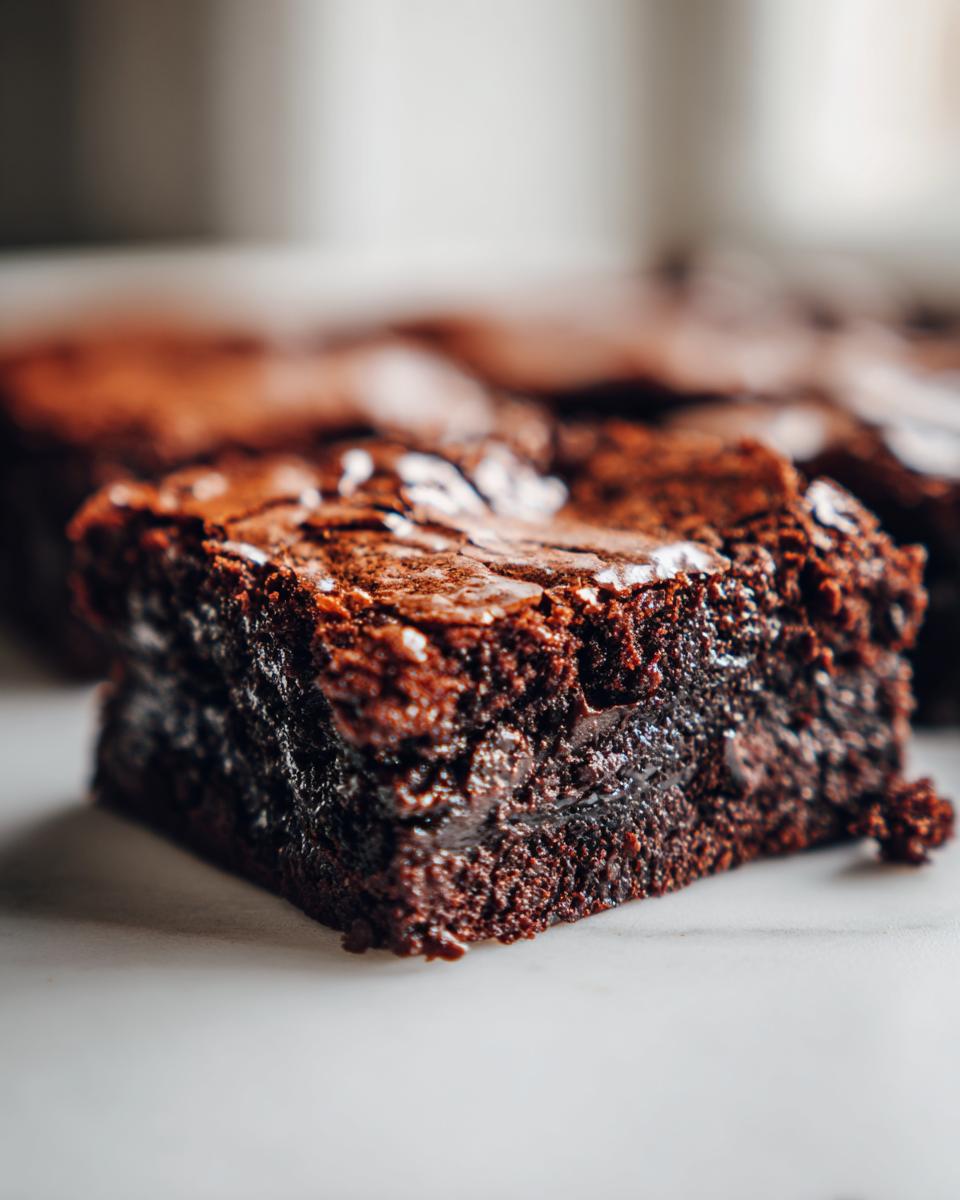
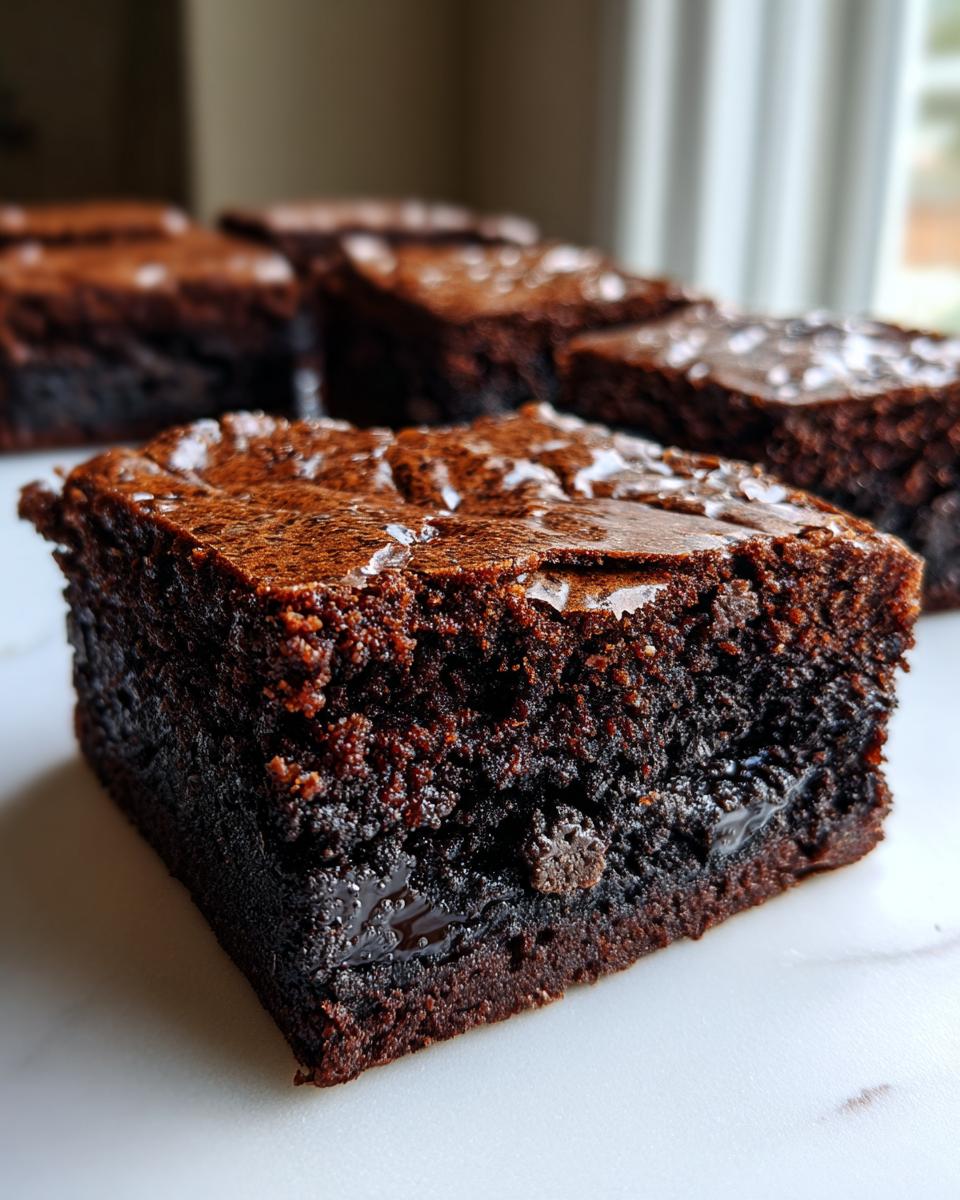
When I say these are the best, I mean it! We are looking for the holy grail here: dense fudginess, a satisfying chew, and a blast of rich chocolate flavor that stands up to those crunchy Oreo bits. Getting that textural trifecta took me a few tries, trust me.
- Texture Nirvana: We don’t want cake; we want fudge! We use a higher ratio of fat and sugar to flour here, which keeps these fudgy oreo brownies incredibly dense and wonderfully chewy.
- Deep Chocolate Flavor: Using both melted butter and high-quality cocoa powder gives us a sophisticated, deep chocolate note that a standard boxed mix just can’t touch.
- That Famous Shine: That glassy, crackly top everyone obsesses over? It isn’t magic; it’s science applied simply.
If you want that glossy crust, you need to pay attention to the very first step. If you skip it, you’ll end up with matte tops, and frankly, that’s just a crying shame!
Achieving the Ultimate Shiny Top on Your Oreo Brownies
This is my absolute favorite technique to share because it feels like cheating! To build that beautiful, crinkly layer, you have to get real serious about that sugar and butter blend early on. After melting your butter right on the stovetop, you whisk both the white and brown sugars into it until everything is smooth. Then, keep whisking those eggs in one by one! You are actually dissolving the sugar crystals into the fat mixture. When the batter looks thick and glossy before you add the dry stuff, you’ve done it right. Trust me on this one; a good, vigorous whisk here is the secret to getting that perfect, glassy crust on your brownies.
Gathering Ingredients for Perfect Homemade Oreo Brownies
Okay, now that we’ve mastered the shine, let’s talk about what goes into these amazing bars. This is where we prove that a great from scratch brownie recipe doesn’t require running to a specialty store for anything fancy. Everything you need for these decadent oreo brownies should be sitting in your pantry right now, or at least be super easy to grab. Since we are aiming for that specific fudgy texture, the measurements have to be pretty accurate, so grab your measuring cups!
Ingredient Clarity and Preparation Notes
When you look at the list, notice we’re using both white and brown sugar—that combination is essential for chewiness and that lovely crust we talked about. Make sure you use light brown sugar that is packed firmly into the cup to get the right molasses flavor and moisture level.
Also, eggs really matter here, so let’s aim for four large eggs, and if you can remember to let them come up to room temperature before you start, it makes your initial whisking much easier! I learned that the hard way once when I tried to rush things, and the mixture looked kind of curdled.
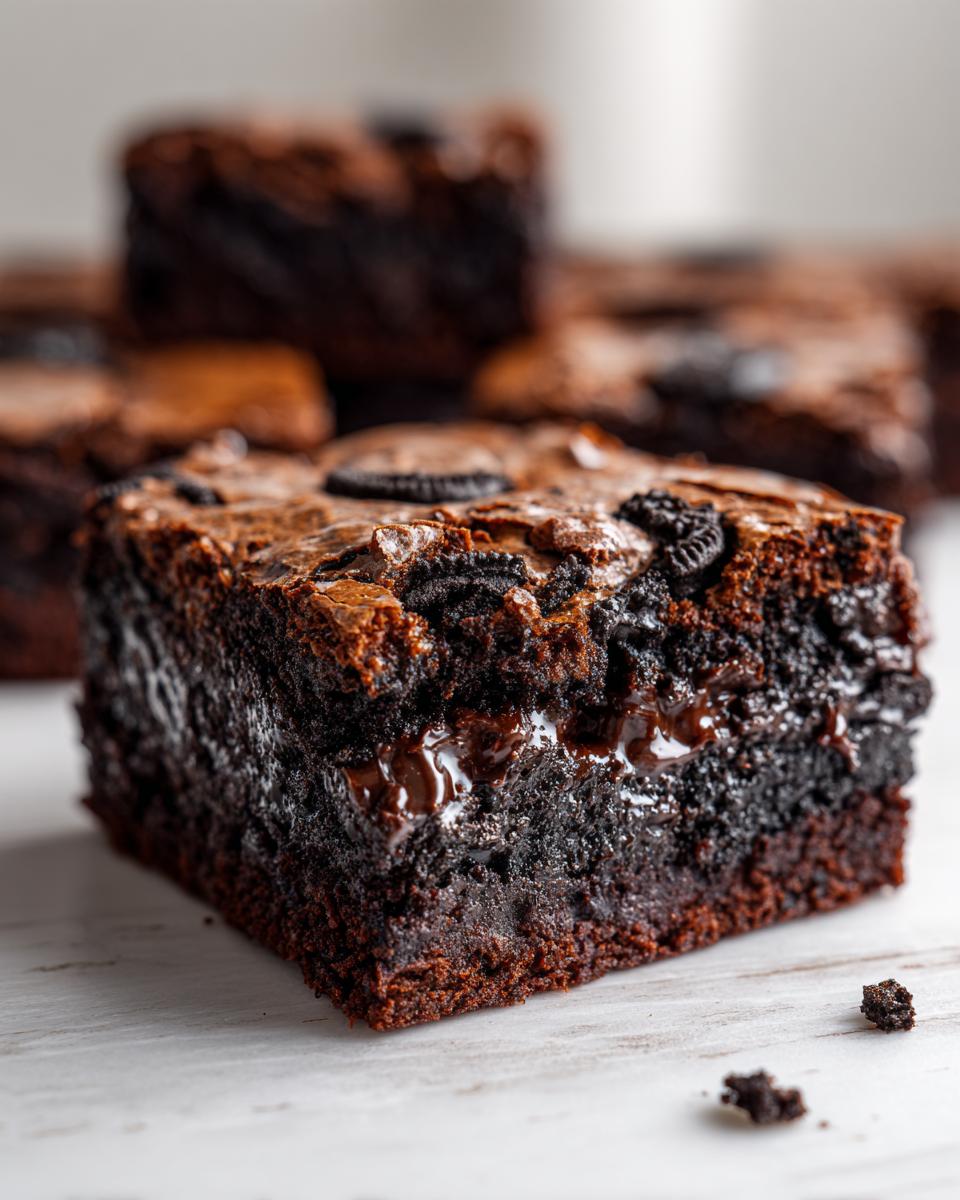
The true star, of course, is the Oreos—we call for 12 cookies total. Here is my pro-tip for the cookies: Don’t pulverize them into dust in the food processor! I mean it! You want a rough chop. Some pieces should be surprisingly big. When you bite into that chewy homemade brownie recipe, those larger chunks of cookie give you that wonderful texture contrast. So grab a knife and give those cookies a serious, rugged chop.
Step-by-Step Instructions for Easy Oreo Brownies
Alright, let’s get straight to the baking! This recipe really is one of my favorites when I need something decadent fast—we’re talking 15 minutes of prep time for truly spectacular results. We’re making these easy Oreo brownies shine, so grab your 9×9 inch metal pan first. Always line it with parchment paper, leaving those handy overhangs on two sides. Trust me, trying to pry out a cooled brownie without parchment is just asking for trouble.
First thing: Get that oven warm to 350°F (175°C). Next, we move to the stovetop. Melt your butter gently, then whisk in both sugars right off the heat. Now, remember what I told you about the shiny top? This is where we earn it! Really whisk that sugar mix until it smooths out before we even think about adding the eggs. If you need some inspiration for other quick cookie desserts, check out my no-bake Oreo balls recipe for a change of pace!
Mixing the Batter for Chewy Brownie Recipe Results
The order of operations is everything if you want that perfect chewy brownie recipe outcome. Add your eggs one at a time, whisking well after each one until the mixture looks glossy and happy. Then, in goes the vanilla. In a separate bowl, just quickly whisk your dry stuff—cocoa, salt, baking powder.
Now, gently fold the dry mixture into the wet ingredients. And I mean gently! As soon as you see no more white streaks, STOP. Overmixing develops gluten, and gluten makes cakey brownies, which we absolutely do not want here. Fold in those chocolate chips next.
Time for the cookies! Pour half your gorgeous batter into the pan. Sprinkle half of your roughly chopped Oreos over that layer. Then, pour the rest of the batter on top, and finish by sprinkling the last of those chunky Oreos all over. Gently use your spatula to press them down just a little bit so they nestle into the top layer.
Baking and Cooling the Brownies with Oreos
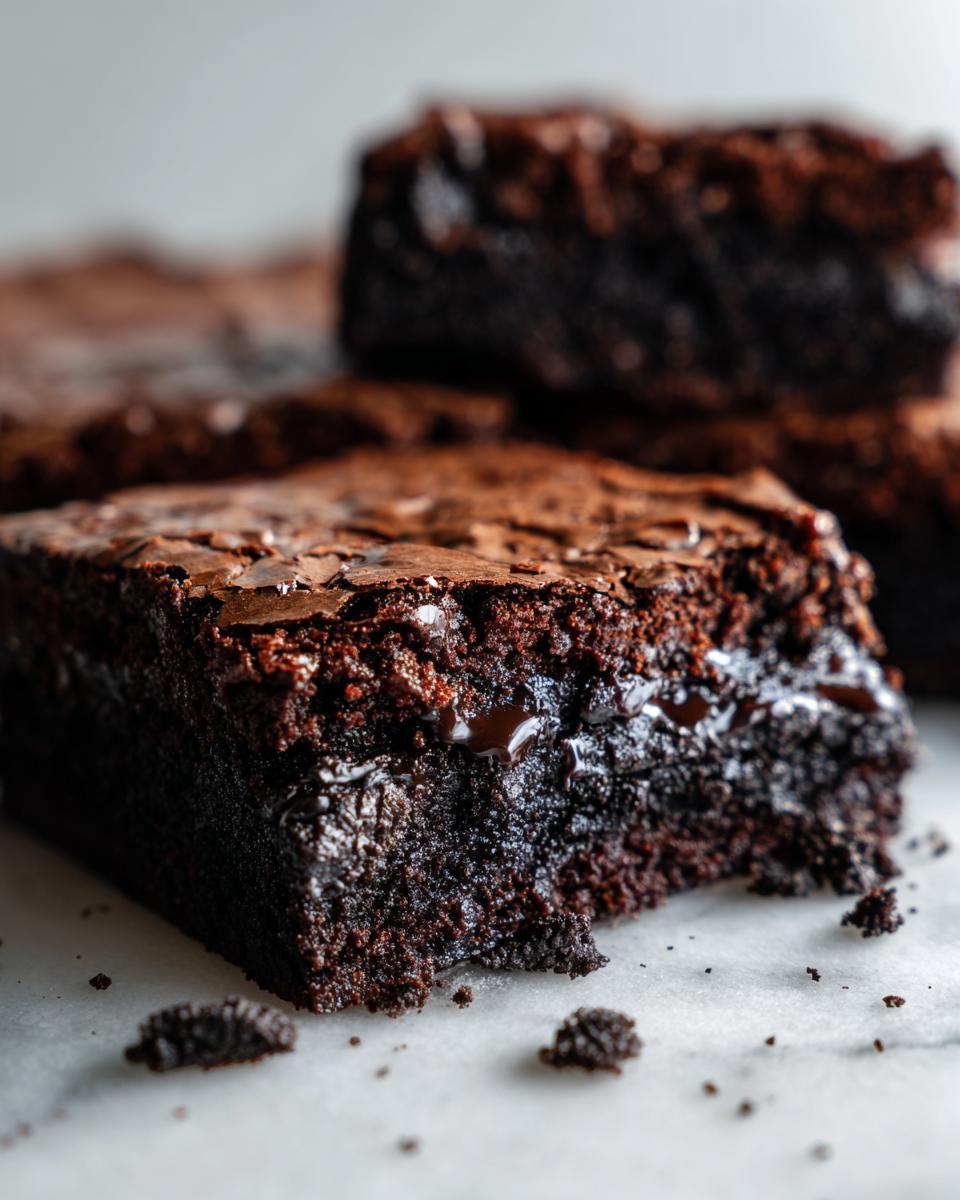
Into the oven they go for about 30 to 35 minutes. How do you know they are done? The toothpick test is king for brownies with Oreos. You want that toothpick to come out with moist, sticky crumbs clinging to it, but absolutely no wet batter. If it comes out totally clean, you’ve gone too far, sweetie—they’ll be dry!
The hardest part? Waiting! These must cool completely in the pan on a rack before you even think about grabbing the parchment overhang to lift them out. If you cut them warm, they’ll fall apart into a delicious, gooey mess. If you want clean squares that showcase that fudgy interior, patience is your superpower here.
Tips for Success with Your Oreo Brownies
Making these oreo brownies isn’t hard, but if you want them to tick every single box—fudgy, chewy, and shiny—you have to know a few of the insider tricks. That’s what we do here at Taste This Plate: we give you the actual ‘why’ so you can bake confidently every time!
First off, let’s talk temperature, specifically the eggs. You absolutely must use room temperature eggs. I learned this the hard way during a chaotic holiday bake-off! I rushed, poured in eggs straight from the fridge, and guess what? My beautiful, vigorous sugar whisking accomplished nothing. The batter looked curdled, and the top never developed that shiny, crackly crust we are fighting for. It was a textural disaster! Room temp eggs emulsify beautifully into the melted butter and sugar, which is key to setting up that glossy top.
Another major factor in texture is the pan size. Our recipe is calibrated perfectly for a 9×9 inch pan, which gives you a nice medium thickness. But if you genuinely want to take this recipe over the top into the stratosphere of decadence, try using an 8×8 inch pan instead. That swap means less surface area, baking the brownies slightly thicker, which guarantees a chewier, more intensely fudgy brownie result. You might need to add 5 to 7 minutes to the bake time, so start checking around the 35-minute mark.
Also, don’t forget about the chocolate chips! If you have some on hand, try tossing them in the freezer for about 10 minutes before you fold them in. Keeping them slightly chilled helps them hold their shape better in the oven so you get distinct pockets of melted chocolate instead of everything just blending into one uniform fudgy layer. It’s one of those tiny things that makes a difference! If you like this fudgy texture, you absolutely have to try my recipe for fudgy crinkle cookies next. They use a similar mindset!
Variations on Classic Oreo Brownies
While I feel like the base recipe we just made is perfection—that ultimate blend of fudgy, chewy, and Oreo-packed goodness—baking is all about making things your own! Once you nail the technique for that shiny top, you have carte blanche to play around. These oreo brownies are just begging for customization, depending on what mood you are in!
Creating Cookies and Cream Brownies with Different Fillings
The first and easiest change is the Oreo itself! If you swap out the standard chocolate Oreos for Golden Oreos, suddenly you have a completely different experience—less intense chocolate, more vanilla cream, but still that satisfying crunch. I sometimes use Double Stuf, too. They are a bit thicker, which means you get a bit more creamy filling baked into your brownie squares. When you add them in step 6, just give the tops a little less pressure so they don’t sink too far.
If you are really leaning into the indulgence factor, you might have heard whispers about mixing in other layers. We don’t go *that* far in this specific recipe, but knowing that you can layer cookie dough beneath the brownie batter—what some call ‘slutty brownies’ because they are so over-the-top—is good to know for future deep-dive baking sessions! For now, keep it simple with your mix-ins.
Another simple way to switch it up is by adding different kinds of chocolate chips. Mixing semi-sweet with milk chocolate chips really brightens the flavor, or if you’re feeling bold, toss in some white chocolate chips. If you like those bright, slightly tart swirls that contrast the deep chocolate, you should definitely look at my recipe for red velvet cheesecake brownies for a different kind of bar!
Serving Suggestions for Your Chocolate Cookie Brownies
Once you battle the urge to eat these warm—which, believe me, is real—you have to decide how to present these incredible chocolate cookie brownies! These are the kind of bars that steal the show at any potluck or get-together. They’re so rich and dark that they instantly qualify as an ultimate Oreo dessert without needing a fancy presentation, but if you want to dress them up, here are my favorite ways.
First, let’s talk temperature. If you baked these to perfection and let them cool fully, they cut into these gorgeous, clean squares. They are fantastic served at room temperature, where you get the full effect of that chewy-fudgy texture. But if you want to dial up the decadence factor, you can serve them slightly warm or toasted!
Here are my go-to pairings for these bars. They need something cool and creamy to balance that intense chocolate rush:
- The Classic Scoop: You really can’t beat a scoop of good vanilla bean ice cream. If you’re feeling extra adventurous, try salted caramel. The salty, cool cream against the warm, rich brownie is heavenly.
- Simple Dusting: Sometimes less is more. If you plan to serve them shortly after they’ve cooled, a simple, light dusting of powdered sugar is elegant and contrasts beautifully with the dark color.
- Extra Chocolate Factor: If you are serving these to serious chocoholics, drizzle them lightly with a simple chocolate ganache or melted dark chocolate chips. But be careful here—you don’t want to hide that beautiful shiny top we worked so hard for!
These are hands-down perfect as party dessert bars just cut into squares on a platter. They hold up beautifully and require no fuss, which is exactly what I love in a good crowd-pleaser. If you want another easy chocolate element to serve alongside them, you should really check out my recipe for homemade chocolate pudding—it’s so much better than the box!
Storage & Reheating Instructions for Thick Fudge Brownies
Now that you’ve managed to hack that shiny top, kept the texture perfectly fudgy, and resisted eating them all in one sitting—major props, by the way!—we need to talk about keeping these thick fudge brownies tasting as amazing on day three as they did on day one. Honestly, I love these brownies even more the day after, once they’ve really set up, but you have to store them correctly.
The best place for these is right on the counter, in an airtight container. Because they have so much fat (butter and those Oreos!), they naturally stay moist for days and days at room temperature. I usually line the container with a paper towel on the bottom just to make sure no condensation builds up, which could soften that gorgeous crackly top we worked so hard for.
I try not to refrigerate them unless your kitchen is ridiculously hot and humid. If you put them in the fridge, the butter solidifies too much, and they go from chewy to almost hard. If they do get a little stiff after a few days, don’t worry one bit! You can absolutely refresh them.
Pop a square into the microwave for about 10 to 15 seconds. That little bit of heat melts the chocolate chips inside again and softens the butter just enough to bring back that decadent, just-baked chewiness. It makes them taste like you just pulled them out of the oven all over again. It’s my favorite secret for convincing everyone that I baked a fresh batch every single day!
Frequently Asked Questions About Oreo Brownies
I know when you find a recipe, you probably have a few little nagging questions about substitutions or tweaks. That’s totally normal! Creating these types of indulgent baking recipes usually requires a little fine-tuning based on what you have on hand. I’ve tried to answer the biggest things people ask me about these oreo brownies so you can bake with total confidence!
Can I use a box mix to make Oreo Brownies?
That’s the million-dollar question, isn’t it? Look, if you are in a real pinch, sure, you can stir chopped Oreos into your favorite box mix. But if you went through all the trouble of chasing down that perfect shiny top and the intense fudgy texture we worked for, you’ll find the box mix just won’t deliver the same results. This is a dedicated from scratch brownie recipe, and that ratio of melted butter to sugar is what locks in that supreme texture. Box mixes are often formulated to be a bit cakier, so you’ll lose that deep, chewy quality we love.
How do I get my brownies to be fudgy instead of cakey?
This is where knowing the ‘why’ really helps! The biggest factor for a fudgy oreo brownie versus a cakey one is the balance of dry versus wet ingredients. Cakey brownies use more flour and a chemical leavener like baking soda to rise higher. For fudge, we use barely any flour—just enough to hold the structure—and we rely heavily on the fat (butter) and the eggs to keep the texture dense and moist. My best advice is to never, ever overmix once you add the dry bits, and please, for the love of chocolate, pull them out when the toothpick still has moist crumbs attached! That slight under-baking is what keeps them gorgeously tender.
Can I use Double Stuf Oreos in this Chewy Brownie Recipe?
Oh, I love that idea! Yes, absolutely you can use Double Stuf Oreos for this chewy brownie recipe. If you use them, you’ll notice an extra little puff of sweetness from the cream filling when they bake. The little bit of extra oil/fat from the filling actually helps keep the brownie even more moist and tender around the cookie pieces. If you’re going for a mint or peanut butter flavor variation, using the Double Stuf version of those works great too!
If you want something sweet to serve alongside these amazing bars, you should totally check out my recipe for the best creamy hot chocolate—it’s perfect for winter months when you need an extra dose of chocolate!
Nutritional Estimates for This Indulgent Baking Recipe
Now, listen up, because while these oreo brownies are pure magic, they are also deeply indulgent—and that’s perfectly okay! We’re celebrating the everyday, and sometimes the everyday requires a serious dose of chocolate and sugar. Since these are such rich treats, my notes show they yield 16 generous squares. Please remember that these numbers are just estimates based on the ingredients I used and are calculated per serving.
This is not a light dessert recipe, but honestly, you won’t want a giant slice anyway because these cookies and cream brownies are so thick and fudgy! You will find the estimated data below. If you’re swapping out Oreos or using different brands of chocolate, the numbers will shift a little bit, so take this as a helpful guideline!
- Serving Size: 1 square
- Calories: 310
- Fat: 18g
- Saturated Fat: 11g
- Total Carbohydrates: 36g
- Sugar: 32g
- Protein: 4g
- Cholesterol: 65mg
See? Decadent! But that’s why we love them! Next time you’re looking for an easy chocolate fix, I hope these bars become your new go-to recipe.
PrintUltimate Fudgy Oreo Brownies with a Shiny, Crackly Top
Make these homemade Oreo brownies from scratch for a rich, dense, and chewy chocolate dessert. This simple recipe delivers a perfect fudgy texture and a desirable shiny, crackly top.
- Prep Time: 15 min
- Cook Time: 35 min
- Total Time: 50 min
- Yield: 16 servings 1x
- Category: Dessert
- Method: Baking
- Cuisine: American
- Diet: Vegetarian
Ingredients
- 1 cup (2 sticks) unsalted butter
- 1 1/4 cups granulated sugar
- 1 cup packed light brown sugar
- 4 large eggs
- 1 tablespoon vanilla extract
- 3/4 cup unsweetened cocoa powder
- 1 teaspoon salt
- 1/2 teaspoon baking powder
- 1/2 cup all-purpose flour
- 1 cup semi-sweet chocolate chips
- 12 Oreo cookies, roughly chopped
Instructions
- Preheat your oven to 350°F (175°C). Line a 9×9 inch metal baking pan with parchment paper, leaving an overhang on two sides for easy removal. Lightly grease the paper.
- In a medium saucepan, melt the butter over low heat. Remove from heat once melted.
- Whisk the granulated sugar and brown sugar into the melted butter until fully combined. This step helps create the shiny top.
- Add the eggs one at a time, whisking well after each addition until the mixture is smooth and glossy. Whisk in the vanilla extract.
- In a separate bowl, whisk together the cocoa powder, salt, and baking powder. Add this dry mixture to the wet ingredients and mix until just combined. Do not overmix.
- Gently fold in the flour and the chocolate chips.
- Pour half of the brownie batter into the prepared pan and spread evenly. Sprinkle half of the chopped Oreo cookies over the batter.
- Pour the remaining batter over the cookies and top with the remaining chopped Oreos. Gently press the top Oreos slightly into the batter.
- Bake for 30 to 35 minutes. A toothpick inserted near the center should come out with moist crumbs attached, not wet batter, for a fudgy texture.
- Let the brownies cool completely in the pan on a wire rack before lifting them out using the parchment overhang.
- Cut into squares and serve.
Notes
- For the best shiny, crackly top, ensure you whisk the sugar and melted butter thoroughly before adding the eggs.
- Use room temperature eggs for better incorporation into the batter.
- If you prefer a thicker, chewier brownie, use a slightly smaller 8×8 inch pan.
- You can substitute regular Oreos with Mint Oreos for a different flavor profile.
Nutrition
- Serving Size: 1 square
- Calories: 310
- Sugar: 32
- Sodium: 180
- Fat: 18
- Saturated Fat: 11
- Unsaturated Fat: 7
- Trans Fat: 0.5
- Carbohydrates: 36
- Fiber: 1
- Protein: 4
- Cholesterol: 65