
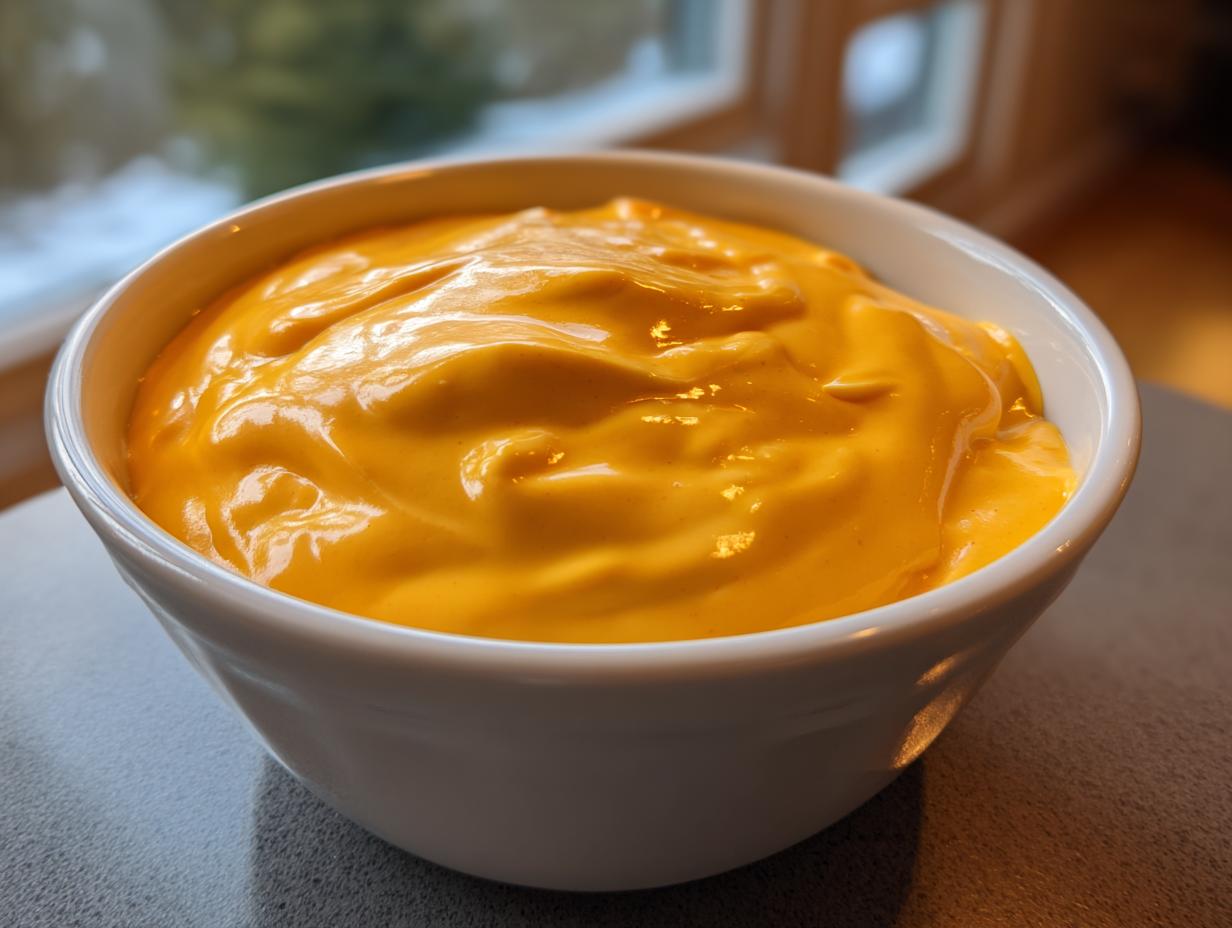
Oh, I know that feeling. That overwhelming, craving-hitting need for that specific, smooth, gloriously orange cheese sauce they serve with chips at the ballpark or the stadium. You know the one! I spent way too much time analyzing how to bring that addictive, vibrant flavor home without any of the stress or the greasy clumps you get when cheese melts wrong. Honestly, simplifying complex, comforting flavors—like this incredible, creamy 5-minute homemade nacho cheese sauce—is exactly why I started Taste This Plate.
Forget dry powdery mixes or sauces that break the minute they touch a warm chip. This recipe is designed to give you that velvety cheese sauce texture, fast. It’s nearly identical to some of the best copycat recipes out there, but you make it right on your stovetop in less time than it takes to find your salsa dish. Trust me, once you see how easy it is to make true nacho cheese from scratch, you’ll never go back to the jarred stuff again. It’s perfect for loading up nachos or dipping anything that needs a cheesy hug!
- Why This 5-Minute nacho cheese Sauce is Your New Go-To Recipe
- Ingredients for the Best nacho cheese Dip
- Step-by-Step Instructions for Stovetop nacho cheese
- Tips for Copycat Taco Bell nacho cheese Success
- Serving Suggestions for Your Cheesy Topping for Nachos
- Storage and Reheating Instructions for Leftover nacho cheese
- Frequently Asked Questions About Homemade nacho cheese Sauce
- Estimated Nutritional Profile of This nacho cheese
- Share Your Experience Making This Quick Cheese Sauce
Why This 5-Minute nacho cheese Sauce is Your New Go-To Recipe
I know what you’re thinking: can cheesy goodness really be ready in just five minutes? Yes, friend, it can! This is the secret weapon you pull out when you realize you have people over suddenly or when that craving hits right before the big game. We designed this recipe to be the most reliable and fast version of nacho cheese you’ll ever make.
- It’s perfectly smooth every single time—no weird clumps or separation, promise!
- It’s fantastic for dipping chips, drizzling over fries, or making epic game day snacks right from the stovetop.
- You probably already have all the ingredients in your pantry right now. Check out all our other quick appetizer recipes while you wait!
Speed and Simplicity of Our nacho cheese
We’re clocking in at 10 minutes total here, which is incredible for a sauce made with real cheese. This isn’t a slow cooker situation; this is a fast, high-impact, stovetop nacho cheese method that works perfectly when you need immediate satisfaction. It’s genuinely so simple, you’ll wonder why you ever bought the stuff in the jar.
Achieving Velvety Texture in Your homemade nacho cheese sauce
The absolute breakthrough here that keeps this homemade nacho cheese sauce from getting sad and grainy is the little bit of flour we use at the very beginning. We make a quick roux, which is just fat and flour cooked together. This roux acts like a tiny net to hold everything together beautifully. It’s the secret to that incredibly rich and velvety cheese sauce mouthfeel we all look for.
Ingredients for the Best nacho cheese Dip
When we talk about making the absolute best nacho cheese, you have to start with quality and technique on the ingredients front. You only need a few things for this easy cheese dip recipe, but how you prepare them makes all the difference in getting that beautiful, melt-in-your-mouth texture. Remember what I always preach? Good ingredients make extraordinary meals!
For the full list, grab these items. I always measure mine out before I even turn on the burner so my 5-minute cook time is real!
- 1 tablespoon unsalted butter
- 1 tablespoon all-purpose flour
- 1 cup whole milk
- 8 ounces sharp cheddar cheese, shredded
- 1/4 cup processed cheese spread (like Velveeta or similar), cubed
- 1/4 teaspoon salt
- 1/4 teaspoon garlic powder
- 1/4 teaspoon onion powder
- 1/4 teaspoon paprika
- 1/4 teaspoon chili powder (optional, for that great flavor)
Now, here is my most important tip for that flawless melt, whether I’m making this stovetop nacho cheese or another sauce like my favorite spicy dip recipe: You must shred your own cheese! Pre-shredded cheese is coated in anti-caking agents—those little powders that keep the shreds from sticking together in the bag. Those anti-caking powders absolutely HATE melting smoothly and they are the number one cause of clumps in your creamy nacho cheese. Skip the bag and shred it right off the block!
Ingredient Notes and Substitutions for Creamy nacho cheese
To help you out, let’s talk about the cheese elements. Cheddar is amazing for that sharp flavor, but make sure it’s sharp—mild cheddar can taste a little flat here. The processed cheese spread—that’s where the magic comes from to keep things truly smooth and reminiscent of that famous fast-food version. If you prefer not to use Velveeta, don’t fret! You can usually substitute it with an equal amount of Colby Jack or even a good melting Monterey Jack, but you might need an extra splash of milk.
Also, think about the spices. The salt, garlic, and onion powder are non-negotiable; they give the sauce depth. The paprika and chili powder? Those are what really push this into that recognizable ‘Taco Bell cheese copycat‘ territory. If you want less heat, just skip the chili powder, but I wouldn’t skip the paprika; it adds beautiful color!
Step-by-Step Instructions for Stovetop nacho cheese
Okay, here is where the magic happens, and I promise you, this is where most people panic! But stay calm, stick with me, and you’re going to have the smoothest nacho cheese known to humankind. We are building this sauce layer by layer, starting with the foundation that prevents any graininess. This whole process, from heat to dip-ready, really does take about 10 minutes total, making it the perfect quick cheese sauce!
If you’ve ever made homemade gravy or that amazing stovetop mac and cheese, you recognize the term “roux.” It’s our secret weapon for ensuring a thick, uniform sauce base before the cheese even goes in. Don’t worry; I’ll walk you through it slowly.
Creating the Roux Base for Smooth nacho cheese
First things first: grab a small saucepan—nothing too big! You want the sides close together to help the whisking process. Set your heat to medium. Melt the butter right in there. Once it’s fully melted, dump in your flour and immediately start whisking! You need to whisk constantly for exactly one minute. This is crucial. We are cooking out that raw flour taste, but we are stopping short of letting it turn brown. We want this roux to stay pale, like a white sauce base, so our nacho cheese comes out that perfect bright orange color.
Once that minute is up, slowly start whisking in your cold milk, just a splash at a time at first, whisking hard to ensure there are absolutely no lumps. Once you incorporate all the milk, keep whisking gently while it heats up. You want this mixture to thicken up nicely enough to coat the back of a spoon—this usually takes about two to three minutes. Keep testing it! If it doesn’t coat the spoon, it needs another minute.
Melting the Cheese for Perfect nacho cheese Consistency
This is the moment of truth! Once your milk mixture is hot and slightly thickened, you must bring the heat down low—like, baby low. If the temperature is too high when you add the cheese, the proteins will seize up, and boom: grainy nacho cheese. We absolutely do not want that!
Add your shredded cheddar and your cubed processed cheese spread (like Velveeta) in batches, stirring gently until each addition is completely melted before adding the next. Keep stirring until everything is incorporated and you have this gorgeous, creamy nacho cheese. Finally, stir in your salt, garlic powder, onion powder, paprika, and chili powder if you’re going for that ultimate fast-food vibe. Pull it right off the burner immediately after the last bit of cheese melts. Perfection!
Tips for Copycat Taco Bell nacho cheese Success
If you’re specifically making this because you miss that bright orange side of cheese from your favorite drive-thru, I totally get it! Recreating that signature flavor isn’t just about melting cheese; it’s about nailing those subtle background notes. I spent an entire Saturday afternoon just testing spice ratios—my husband thought I was nuts, but hey, someone has to be the official taste-tester for science, right?
The key to that iconic profile in our Taco Bell cheese copycat version comes down to two specific seasonings you already have in your pantry: paprika and chili powder. Don’t skip them! The paprika isn’t about heat; it’s all about that visual punch and a little bit of smoky depth that tricks your brain into thinking you’re at the chain restaurant.
When I first tested the recipe without the chili powder, it tasted great—a wonderful easy cheese dip recipe—but it was missing that little shadow of savory spice. Adding just a tiny pinch of chili powder (and I mean tiny, we aren’t making chili here!) gives it that unmistakable *zing* that makes you reach for more tortilla chips before you even realize what you’re doing. This little spice boost elevates this from a generalized great cheese sauce to specifically your favorite quick cheese sauce.
Seriously, try it both ways just once. Make half following the basic rules, and then stir the paprika and chili powder into the other half. You’ll immediately see and taste the difference. It’s the small details like this that make homemade better than the grab-and-go options. If you want to check out the original source that inspired my intense spice testing, you can look at the breakdown over here at Simple Copycat Recipes!
Serving Suggestions for Your Cheesy Topping for Nachos
Now that you have this spectacular, velvety cheese sauce heating up on the stove—seriously, smell that? Amazing!—the only real question is: What are we going to dump it on? While perfectly salted tortilla chips are a classic pairing for any homemade nacho cheese sauce (and trust me, we support 100% chip dipping), this sauce is far too wonderful to limit its uses.
I think of this as my emergency party dip. Any time I need something fast, comforting, and guaranteed to disappear quickly, this is what I pull out. It’s the ultimate game day topping, which is why it deserves its own dedicated spot on the blog. Forget just serving it on the side; let’s get creative!
Here are my favorite ways to use a big batch of this easy cheese dip recipe. The goal is maximum cheesy impact with minimal effort on your part!
- Over Loaded Fries/Tots: This is probably the greatest use. Take a big pile of crispy fries—I highly recommend making crispy potato wedges if you have the time—and just blanket them in this warm nacho cheese. Top it with some pickled jalapeños or maybe even some smoky bacon bits if you’re feeling fancy.
- Pretzel Dipping Station: Forget the yellow mustard! Warm up some soft pretzel bites (store-bought is fine, I don’t judge!) and put this sauce in the center of the platter. It’s heavenly.
- Topping for Baked Potatoes: Add a dollop to a hot baked potato instead of standard shredded cheese. It melts right in, providing incredible flavor and that signature orange color.
- Chili Cheese Fries Upgrade: If you are making chili, use a half-cup of this sauce stirred in right at the end for an instant, rich queso boost that makes your chili feel instantly elevated.
- Vegetarian Nacho Dip Base: If you’re just having a quiet night and want a hearty snack, this sauce layered over a handful of tortilla chips along with some diced tomatoes and maybe some canned black beans? That’s a perfect vegetarian nacho dip right there.
Remember, the best part about making your own sauce is that you are in total control. If you feel like smothering your scrambled eggs with this cheesy topping for nachos sauce next morning, go for it! No shame in maximizing your leftovers.
Storage and Reheating Instructions for Leftover nacho cheese
I always hope there are leftovers because this nacho cheese is just as good the next day, provided you treat it right! Cheese sauces, especially those made with real dairy, can be a little dramatic once they cool down. They tend to stiffen up massively, and if you try to rush the reheating process, you risk that dreaded separation where the oil breaks away from the milk solids.
But don’t worry! Storing and reviving this homemade nacho cheese sauce is ridiculously easy, which is why I love it as a make-ahead party prep item. You need to think of it like a very thick, intense gravy. It just needs a gentle coaxing back to life.
First, cooling and storage: Once you know you have leftovers, let the sauce cool down slightly on the counter—don’t stick piping hot cheese directly into the fridge, that’s just asking for condensation issues. Transfer the remaining creamy nacho cheese into an airtight container. Because we used that amazing flour base (our friendly roux!), it holds up much better than pure queso, but it will still get very dense, almost like a block of cheese. I usually get about four days out of it in the fridge.
The Gentle Reheating Process
When you pull it out later to use it as a cheesy topping for nachos or for dipping, never, ever put it in the microwave in big chunks! It heats unevenly, and you’ll end up with a hard rock in the middle and scorched edges. That’s a disaster.
The best way to bring this quick cheese sauce back is on the stovetop again. Scoop the stiff sauce into a small saucepan over the lowest possible heat setting. You need patience here; we aren’t boiling it, we are just warming it slowly.
As it starts to soften around the edges, you’ll notice it thickening up way too much. This is your cue! Whisk in milk or water, one tablespoon at a time. Seriously, just start with one tablespoon, whisk it in until it disappears smoothly into the sauce, and then reassess. Adding liquid slowly restores the moisture that evaporated during storage and brings back that beautiful, dippable consistency we worked so hard for earlier. Keep adding small splashes until you hit that perfect, velvety cheese sauce texture again. You’ll have the best homemade dip ready in under five minutes!
Frequently Asked Questions About Homemade nacho cheese Sauce
It’s funny, even when a recipe seems dead simple—like this quick cheese sauce—people always have a few final questions bubbling up. I get it! We all want that perfect result so we don’t waste good cheese. I’ve pulled together the most common things I hear from readers after they try making this easy cheese dip recipe at home. Hopefully, this clears up everything so you can get back to dipping!
Can I make this a vegetarian nacho dip without processed cheese?
That’s a very common question, especially for our friends who want a strictly vegetarian snack! Since the processed cheese spread is the heavy lifter for that ultra-smooth texture, pulling it out changes the dynamic a bit. You absolutely can make this a vegetarian nacho dip using only the sharp cheddar.
If you do this, you need to be extra careful and use a technique called ‘low and slow’ melting. You want very little heat. Also, sometimes people try to swap in vegan cream cheese substitutes, but honestly, the results vary wildly! If you want that familiar flavor but need to skip the processed stuff, try whisking in a tablespoon or two of nutritional yeast at the end for an extra cheesy depth. Just know that the texture might lean a little more toward a classic queso than the super-smooth nacho cheese you might be expecting.
How do I fix my nacho cheese if it gets lumpy or separates?
Ugh, the worst! You were just stirring your gorgeous sauce, and suddenly it looks like it’s having a bad day. Don’t panic and don’t throw it out! This usually happens for two reasons: either the heat was too high when you added the cheese, or the mixture just needs a little encouragement to come back together.
Here is my tried-and-true fix for any gloppy or separated homemade nacho cheese sauce. First, pull the pan completely off the hot burner. Seriously, move it to a cool spot. Then grab your whisk and add one tablespoon of cool liquid—milk or even just water works in a pinch—and whisk like crazy incorporating that liquid into the sauce. Keep whisking gently while letting it cool for about 30 seconds, and then add a second tablespoon of liquid. Slowly adding that liquid while whisking in a cooler environment coaxes the fats and the milk solids back into emulsifying. If you start doing this right away, you will save your creamy nacho cheese every single time!
Why does my sauce taste too salty?
This usually happens because the processed cheese spread we add already contains a good amount of salt, and then we add extra salt on top! When you taste-test your sauce before adding the optional chili powder, make sure you are tasting the cheese mixture itself. If it tastes a little sharp on saltiness, try whisking in a tiny splash of whole milk or even a few drops of lemon juice. That tiny bit of acid or extra dairy helps balance out the sodium. Remember, it’s always easier to add salt later than it is to take it out!
Estimated Nutritional Profile of This nacho cheese
I always feel a little funny putting numbers on something so joyous, but since we are talking about a recipe that’s so easy to make often (hello, Tuesday night taco night!), I know you want the full picture for your nacho cheese! Keep in mind, since this recipe uses real dairy cheese and a processed cheese product for the ultimate smooth texture, these numbers lean towards decadence, not diet food, okay?
This entire batch yields about 1.5 cups. The estimates below are based on that total yield, calculated per 1/4 cup serving size. Take these as helpful guidelines, not strict medical facts—we’re cooks here, not dietitians! But it gives you a good idea of what you are dipping into when you grab those chips.
- Serving Size: 1/4 cup
- Calories: 180
- Fat: 15g
- Saturated Fat: 9g
- Trans Fat: 0.5g
- Cholesterol: 35mg
- Sodium: 450mg (Yes, it’s salty—it’s cheese sauce!)
- Carbohydrates: 3g
- Fiber: 0g
- Sugar: 2g
- Protein: 9g
Because we are using sharp cheddar and that delicious processed spread, you are getting fantastic protein here, which helps make this filling!
A quick note on that sodium: If you find 450mg a little scary for your preference, remember that the processed cheese spread is where most of that salt lives. When reheating leftovers, you can use unsalted butter in the roux or reduce the added salt in Step 4 of the instructions to keep this fantastic quick cheese sauce closer to your target!
Share Your Experience Making This Quick Cheese Sauce
Well, that’s it! You’ve officially mastered that beautiful, bright, nacho cheese flavor—all without leaving your kitchen or waiting in a drive-thru line. I truly believe that creating something delicious like this, even something as simple as a quick cheese sauce, is an act of love. It’s about making the everyday moments feel a little bit more special, whether you’re serving it up at a massive party or just treating yourself while watching a movie.
So please, if you made this recipe, I genuinely want to hear about it! Did you try my advice and shred your own cheese? Did you make it spicy or keep it mild? Did you use it as a cheesy topping for nachos or pour it over leftover broccoli (yes, someone confessed they did that!)? Don’t be shy!
Come on over and leave a rating below. Your feedback helps me know which of my recipes are making it into your regular rotation and which ones still need a bit of that Kate Reilly tweaking magic. If you have any final burning questions about keeping your sauce smooth, you can always drop me a line over at the contact page too. Happy cooking, my friends. I hope this easy cheese dip recipe brings tons of cheesy joy to your table!
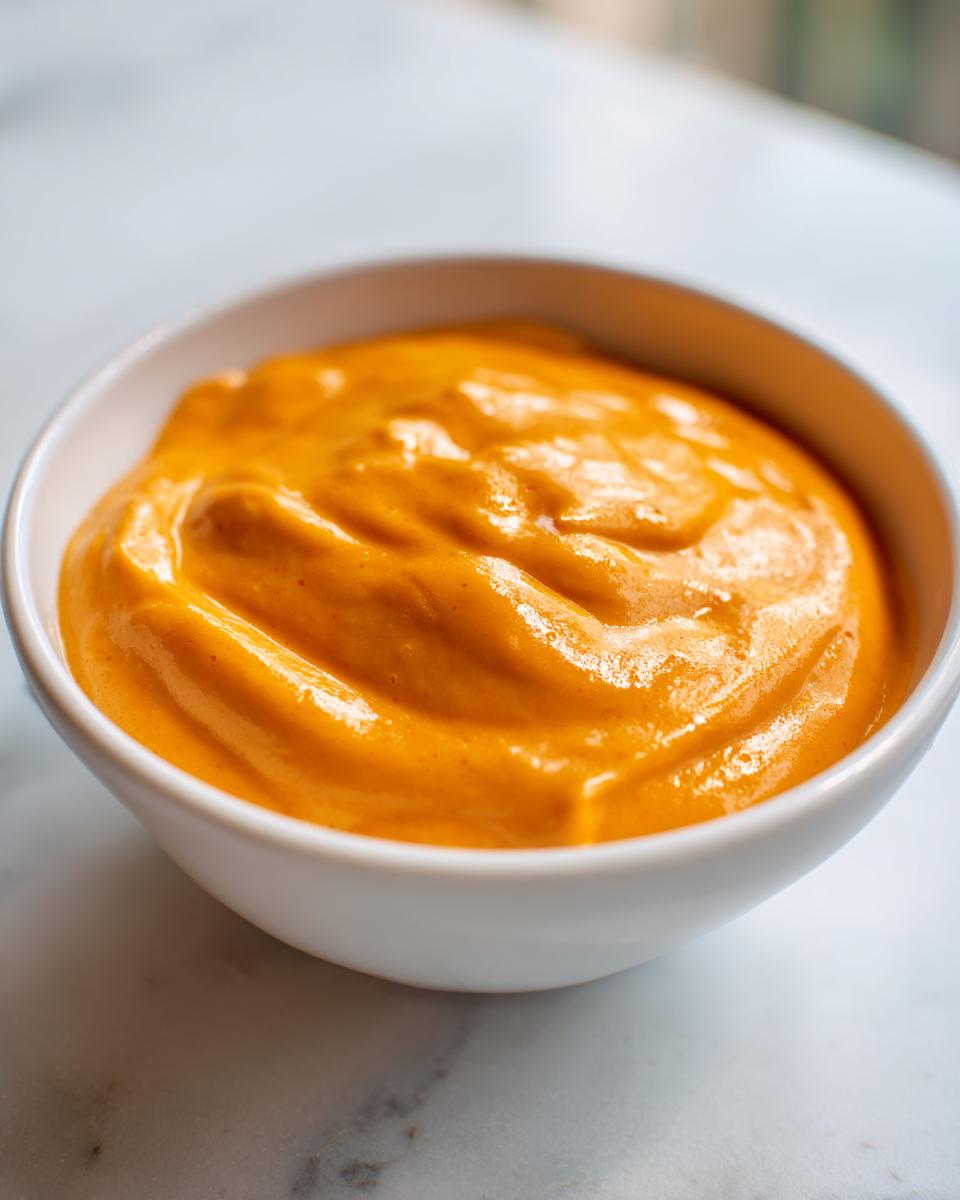
Print5-Minute Creamy Homemade Nacho Cheese Sauce

Make a smooth, velvety nacho cheese sauce at home in just five minutes. This easy cheese dip recipe is perfect for topping nachos, dipping fries, or serving at your next party.
- Prep Time: 5 min
- Cook Time: 5 min
- Total Time: 10 min
- Yield: About 1.5 cups 1x
- Category: Appetizer
- Method: Stovetop
- Cuisine: American
- Diet: Vegetarian
Ingredients
- 1 tablespoon unsalted butter
- 1 tablespoon all-purpose flour
- 1 cup whole milk
- 8 ounces sharp cheddar cheese, shredded
- 1/4 cup processed cheese spread (like Velveeta or similar), cubed
- 1/4 teaspoon salt
- 1/4 teaspoon garlic powder
- 1/4 teaspoon onion powder
- 1/4 teaspoon paprika
- 1/4 teaspoon chili powder (optional, for Taco Bell style flavor)
Instructions
- Combine the butter and flour in a small saucepan over medium heat. Whisk constantly for one minute to create a roux. Do not let it brown.
- Slowly whisk in the whole milk until the mixture is smooth and there are no lumps. Continue whisking and cook until the sauce thickens slightly, about 2 to 3 minutes.
- Reduce the heat to low. Add the shredded cheddar cheese and the processed cheese spread to the saucepan. Stir gently until both cheeses are completely melted and the sauce is smooth.
- Stir in the salt, garlic powder, onion powder, paprika, and chili powder, if using. Taste and adjust seasonings as needed.
- Remove the sauce from the heat immediately. Serve warm over nachos, fries, or use as a party dip.
Notes
- Shred your own cheese from a block; pre-shredded cheese often contains anti-caking agents that prevent smooth melting.
- If the sauce becomes too thick as it cools, whisk in a tablespoon of milk or water until you reach your desired consistency.
- This recipe makes a great vegetarian nacho dip base.
Nutrition
- Serving Size: 1/4 cup
- Calories: 180
- Sugar: 2
- Sodium: 450
- Fat: 15
- Saturated Fat: 9
- Unsaturated Fat: 6
- Trans Fat: 0.5
- Carbohydrates: 3
- Fiber: 0
- Protein: 9
- Cholesterol: 35