
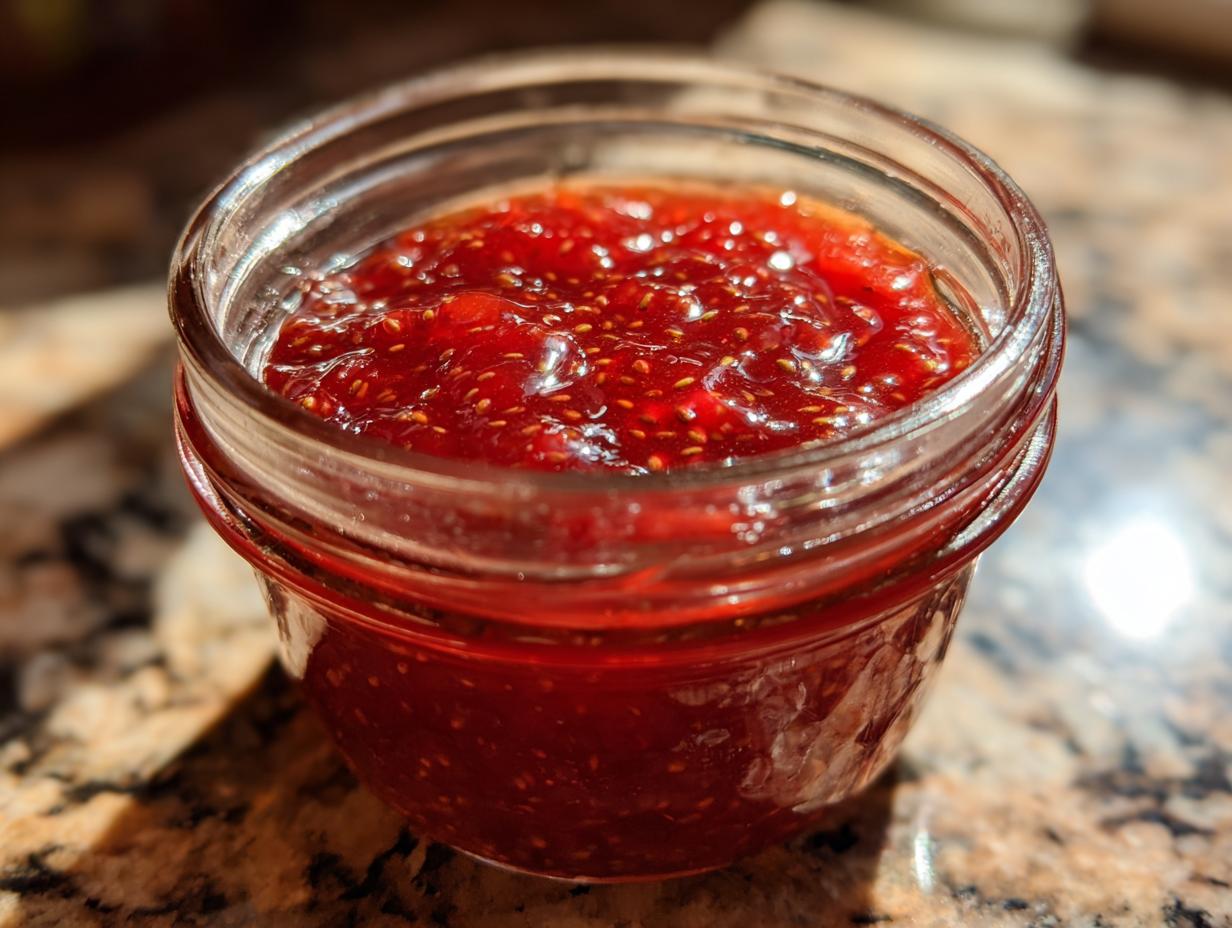
Oh, those glorious peak summer strawberries! There’s truly nothing better than that burst of pure, concentrated sunshine flavor, right? But how do we keep that magic alive when the season is over? You don’t want to mess around with boiling things down and dealing with all the fussy canning steps, especially when you’re just starting out. That’s why I swear by this recipe for strawberry freezer jam. It’s my absolute favorite way to preserve summer fruit because it’s unbelievably fast—we’re talking under 30 minutes of active time!
When I started Taste This Plate, I wanted to show everyone that great homemade food doesn’t require stress or complicated equipment. This no-cook jam is the perfect example. My grandmother always cooked everything down, but honestly, once you skip the heat, the fresh flavor of the berries just sings! This recipe is completely foolproof, which makes it perfect for anyone new to making their own fresh fruit spreads. Trust me, whipping up a batch of this jam is such a simple act of love for your future self. If you’re looking for other super simple meals, you should check out my guide on easy no-cook homemade pizza sauce—same philosophy, just savory!
- Why This is the Best Freezer Jam Method for Fresh Flavor
- Gathering Ingredients for Your Strawberry Freezer Jam
- The Simple Steps to Make Strawberry Freezer Jam
- Storing Your Homemade Strawberry Preserves
- Tips for Perfect Strawberry Freezer Jam Every Time
- Serving Suggestions for Fresh Fruit Spreads
- Frequently Asked Questions About Jam Without Canning
- Estimated Nutritional Data for Strawberry Freezer Jam
- Share Your Homemade Strawberry Creations
Why This is the Best Freezer Jam Method for Fresh Flavor
Look, I love a traditional cooked jam, but when you want that absolute taste of sunshine, you absolutely have to skip the heat. That’s why this is the best freezer jam method for flavor preservation. By keeping things raw, we keep all those bright, vibrant strawberry notes intact. It’s truly the closest you can get to eating berries straight from the patch!
Plus, this whole process is designed for real life. We aren’t waiting around for hours—we’re moving fast! Making your own homemade strawberry preserves shouldn’t feel like a science project, and this recipe proves it.
Quick Jam Recipe: Ready in Minutes
Seriously, you won’t believe how fast this comes together. The active steps take less than 15 minutes! This isn’t just a slightly faster recipe; it’s a truly quick jam recipe designed for weeknights when you suddenly realize your toast is boring. You mix, you rest for ten minutes, and you’re done mixing. Wow!
Beginner Jam Making: No Water Bath Needed
If the word “canning” sends shivers down your spine, I totally get it. That’s the beauty of creating jam without canning. There is no hot water bath needed here, which makes this perfect for beginner jam making. We aren’t preserving these for years on the shelf; we are creating a fresh spread to keep happy in the freezer for a few weeks. It’s totally foolproof, and I promise you’ll feel like a preservation wizard!
If you’re looking for another quick technique that skips the stovetop, have you checked out my recipe for easy homemade mayonnaise? It’s another kitchen trick that proves you don’t need fussy equipment to get incredible results.
Gathering Ingredients for Your Strawberry Freezer Jam
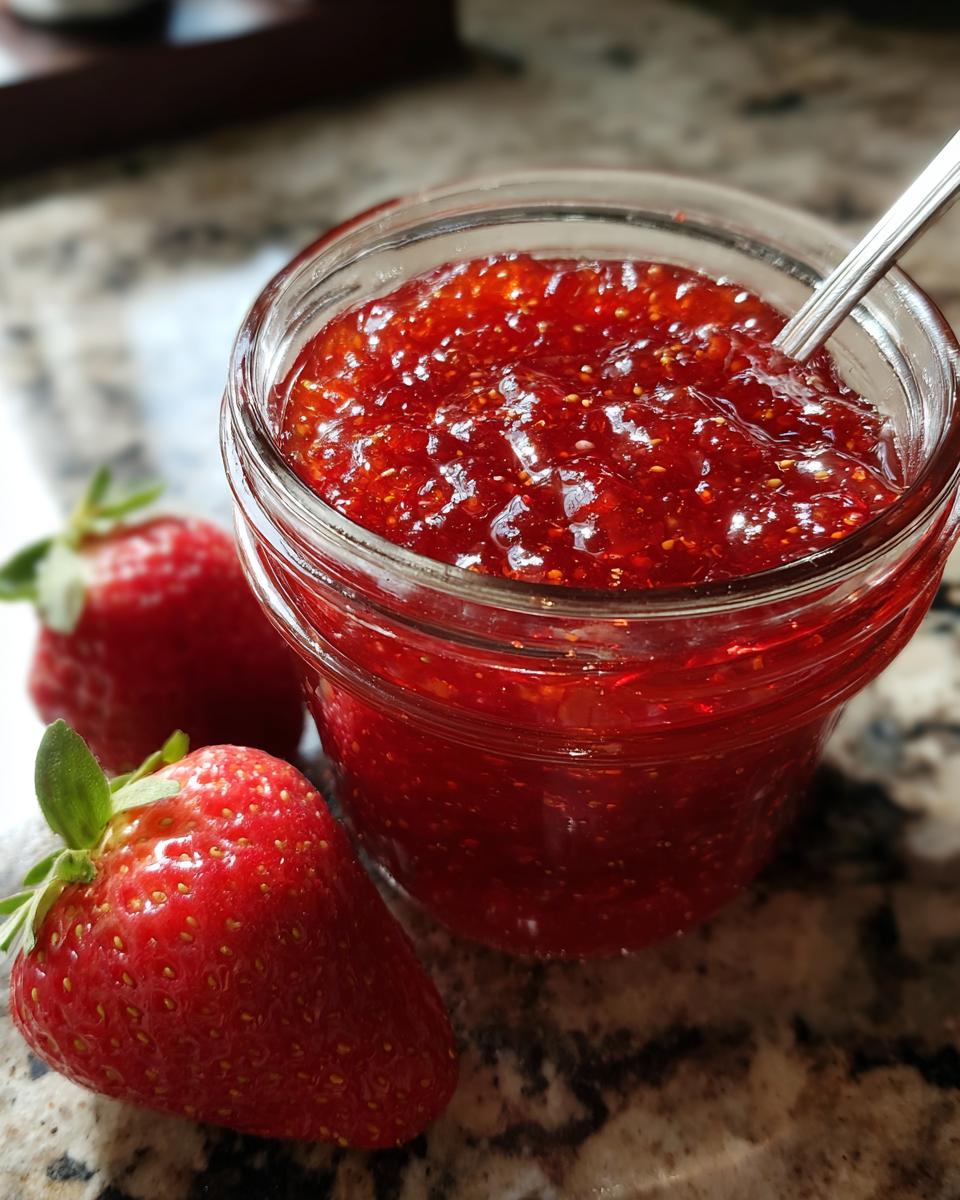
Okay, let’s talk about what you need! Because this is a no-cook strawberry freezer jam, the quality of the fruit really matters. We aren’t hiding anything behind heat, so grab the best strawberries you can find. Remember, this list is short, which is part of what makes this recipe so amazing for busy cooks!
Here is what you will need for about two cups of jam:
- 4 cups fresh strawberries, hulled and crushed
- 1/2 cup granulated sugar (this is standard, but we can talk tweaks below!)
- 1 tablespoon lemon juice
- 1 package (1.75 oz) powdered low-methoxyl pectin (this is optional, but helps those jam-starved mornings!)
See? Super simple. I always keep an extra loaf of quick bread or some easy homemade garlic naan bread ready just so I have something to smother with the first batch of this jam!
Ingredient Notes and Substitutions for Strawberry Freezer Jam
The biggest question I always get is about the pectin. If you want a slightly softer, more spreadable texture—almost like thickened syrup—you can totally skip it. But if you follow the recipe and use the pectin, you get that classic, reliable set. If you go the pectin route, look for a low-methoxyl type. People often ask me about Sure-Jell; their powdered products work wonderfully here, but just follow the package instructions for mixing it with sugar if you choose that brand!
Now, let’s talk sugar. We use 1/2 cup of granulated sugar as our baseline for a great flavor balance, but if you are aiming for a low sugar jam option, you can cut that down to just 1/4 cup. If you do cut the sugar, be warned: that beautiful set might not happen unless you use the pectin. Sugar does help the jam gel, even without heat, so less sugar means you should rely on the pectin.
And what about the fruit prep? Your berries must be hulled (stems off!) and then crushed. You can crush them by hand in a bowl if you like some texture, or pulse them a couple of times in a food processor if you want it smoother.
The Simple Steps to Make Strawberry Freezer Jam
Okay, here’s the fun part! Since we’re skipping the whole stovetop drama, these steps are all about quick assembly. We’re moving fast, but we still need to be precise so that beautiful strawberry flavor in our strawberry freezer jam sets up just right. Remember, this is all about maximizing that fresh fruit taste and keeping things easy. I want you enjoying this jam today, not scrubbing pots for an hour!
If you want to see this process in action, I highly recommend checking out this tutorial; it really shows how quick it is to make strawberry freezer jam without cooking.
Preparing the Fresh Fruit for Strawberry Freezer Jam
This is where we start waking up those berries! First things first: wash them thoroughly, pull off those green tops—that’s the hulling part—and get rid of any sad-looking spots. For Step 1, you need to crush them up.
I know some people are purists and they use a potato masher or just mash them vigorously with a fork right in the bowl. That gives you a nice, chunky homemade strawberry preserves texture, which I personally love. But if you’re watching me, you know I sometimes pull out the food processor. If you use one, just pulse it a few times! Don’t blend it into soup! I’m aiming for maybe 3–4 quick pulses just to break them down a bit so the sugar can work its magic. You want some rustic texture left behind, that’s the sign of real, fresh fruit!
Mixing and Setting the No Cook Jam
Once your berries are prepped, we move straight into Step 2: mixing everything! Grab a medium bowl—make sure it’s big enough so you don’t spill anything, because strawberries stain! Gently combine your crushed strawberries, the granulated sugar, and the lemon juice. You just need to stir until that sugar starts dissolving. It takes about two minutes of gentle stirring, and you’ll notice the mixture gets a little shinier.
Now, for Step 3, the pectin decision. If you decided to use the powdered pectin for a firmer set, sprinkle it right over the fruit mixture now. You need to stir that vigorously for a full three minutes to make sure it fully incorporates. If you’re skipping pectin entirely, just keep stirring lightly for about a minute to combine everything well, and then move on to Step 4.
This next part is crucial for any no cook jam: we let it rest! Let the mixture sit on the counter for a full 10 minutes. This resting time lets the flavors bond together and gives the sugar a chance to dissolve completely. Stir it once or twice while it’s resting. This small pause is key before we get to the jarring! If you want tips on how to serve this later, check out my ideas for ultimate whipped ricotta toast recipes, because this jam is amazing on top!
Storing Your Homemade Strawberry Preserves
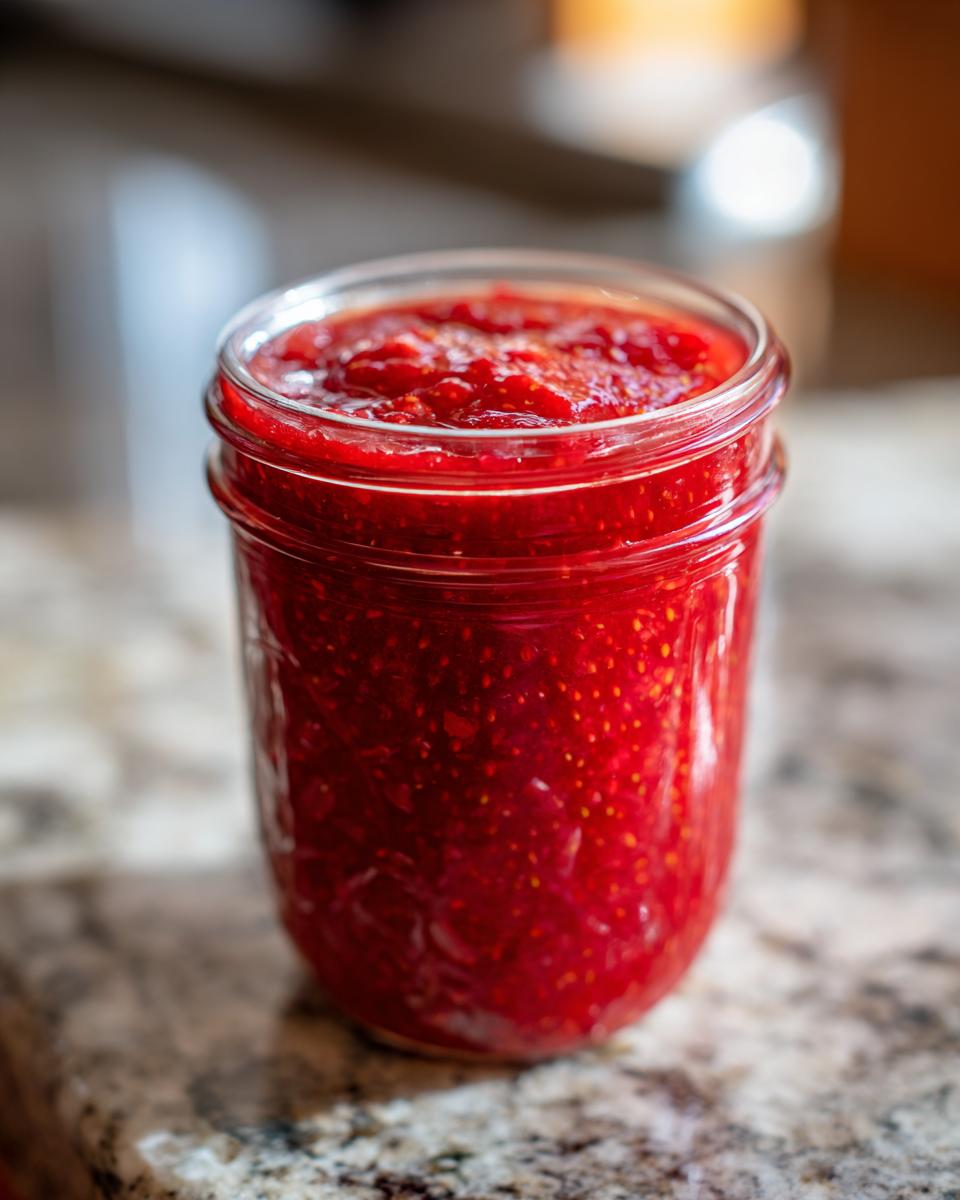
We’ve done all the hard work—the mixing, the crushing, the waiting—and now it’s time to get this deliciousness tucked away until we need it! This final step, handling the storage, is what makes this such an easy way to preserve summer strawberries. Since this is freezer jam and not canned jam, the rules are a little different, which is great for us beginners.
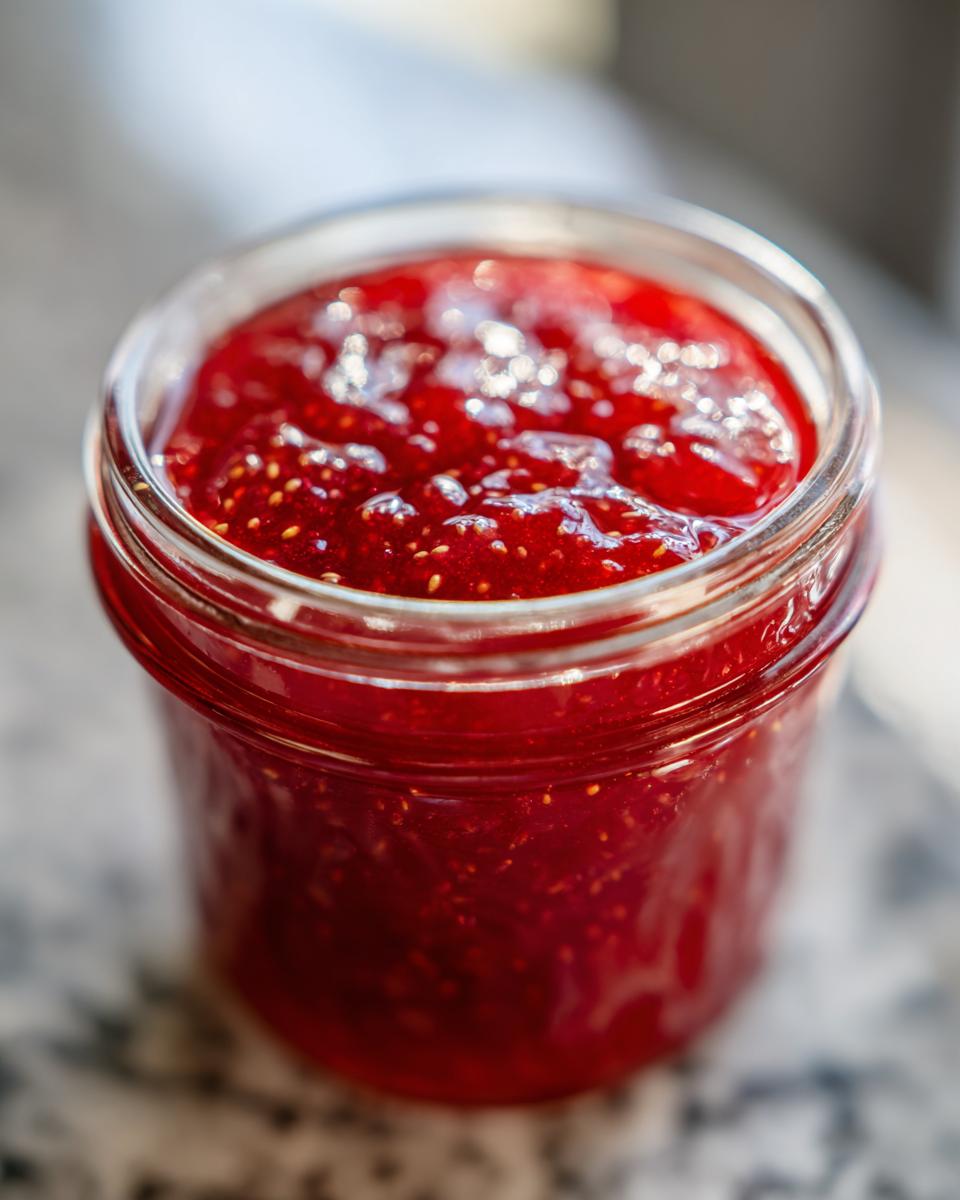
First up is Step 5: filling your containers. You need freezer-safe jars or containers for this. Glass jars are great, or even sturdy plastic tubs work. The most important thing I need you to remember is headspace! Do not fill those jars right to the very top. You need to leave about half an inch of empty space between the jam and the lid. Why? Because when liquids freeze, they expand, and if you don’t leave room, you’ll end up with shattered jars when you go to grab your homemade strawberry preserves later. Yikes! That’s a cleanup I don’t wish on anyone.
Once you’ve filled your containers, put the lids on snugly—not impossibly tight, just secure—and leave them on the counter for about 30 minutes to cool slightly. We don’t want to shock the freezer by putting very warm things right inside, even though this jam isn’t hot! After that little cool-down period, transfer everything carefully to the freezer. That’s it! You are done preserving!
Now for Step 6, the best part: eating it! When you want a jar, just pull it out. You can plan ahead and thaw it completely in the refrigerator—that usually takes a few hours. Or, if you’re desperate for breakfast goodness *right now*, you can let the sealed jar sit on the counter for about an hour. It thaws surprisingly fast because it’s not under pressure like canned goods. Just remember, for the absolute best flavor and texture, try to get through your stash within three weeks of freezing. It keeps longer, but the flavor is always best when it’s fresh from the chill!
It’s almost as satisfying as pulling a fresh, warm batch of sweet potato cobbler out of the oven, but it takes a tiny fraction of the time!
Tips for Perfect Strawberry Freezer Jam Every Time
You have your first few jars chilling, and I’m so excited for you! But let’s talk troubleshooting for a minute, because even in a super easy recipe like this strawberry freezer jam, things can sometimes go a little sideways. Don’t panic if your jam isn’t setting exactly how you pictured. Learning these little quirks is what separates a good cook from a confident one!
We’ve done the main recipe steps, but these tips are about fine-tuning things to ensure your next batch is absolutely perfect. It’s all about maximizing that fresh summer flavor we worked so hard to capture.
Achieving the Right Set: Pectin vs. No Pectin Technique
If you open your jar and your jam looks more like pink juice than a spreadable delight, chances are you skipped the pectin or didn’t stir enough if you did use it. Pectin is just a natural fiber that helps fruit juices thicken up into that classic jelly or jam texture. When you skip it, you are asking the sugar and the lemon juice to do all the heavy lifting, which can sometimes lead to a runny result.
If you prefer the absolute freshest taste and want to risk a softer set—which I call a fruit sauce, honestly—that’s fine! Just know what you are getting. If you need it firmer, use the pectin. If you use the powdered variety we listed, make sure you stir it in really well as directed. A quick tip: If your no-pectin jam comes out runny, don’t toss it! Save it for drizzling over apple dumpling crescent rolls or mixing into drinks. It’s still delicious!
Using Frozen Strawberries in Your Jam
Sometimes you just can’t get to the market for fresh strawberries, or maybe you want to keep making this long past June. Can you use frozen berries? Absolutely, yes! This is a fantastic way to preserve summer strawberries when you buy them in bulk when they are cheap and perfectly ripe.
The key difference is moisture. Frozen berries hold a lot more water since they’ve been broken down by the freezing process. If you substitute frozen berries, you want to thaw them slightly first inside a colander so the excess liquid can drip away before you start mashing. You won’t be able to crush them quite as easily, so you might want to grab that food processor for this version. You can see a great method for handling frozen fruit when making easy freezer jam with frozen strawberries linked here, which works well with this base recipe!
Serving Suggestions for Fresh Fruit Spreads
Seeing those beautiful jars of homemade strawberry freezer jam sitting in the freezer is one thing, but eating it is the real reward! Because this jam tastes so incredibly fresh—it really sings of summer—you don’t want to hide those flavors under heavy sauces or complex preparations. I’ve found that the best applications are the simplest ones, the ones where the jam can shine through as a bright, concentrated burst of berries.
This spread is seriously versatile. If you’re looking for endless inspiration on how to bring more joy into your daily meals, my collection of easy breakfast and brunch ideas is a fantastic place to start!
Here are my absolute favorite ways to use these fresh fruit spreads:
- The Classic Toast Companion: Obviously, you have to try it on toast! I love it spread thick on a slice of toasted sourdough or a flaky croissant. It makes even a rushed morning feel like a treat. This is the easiest breakfast topping you could make all week.
- Yogurt Swirl: Skip the sugary flavored yogurts! Take a plain Greek yogurt, add a big spoonful of your jam, and swirl it gently. The slight tartness of the yogurt balances the sweetness of the berries perfectly. It’s fantastic over overnight oats, too.
- Dessert Filling Magic: Have you ever needed a quick filling for a shortcake or a layer cake? This jam is sublime. You can spoon it between layers of whipped cream and angel food cake for an instant, impressive dessert. It’s also amazing warmed slightly and poured over vanilla ice cream.
- Cheese Board Star: Don’t just stick to savory jellies! A dollop of this bright strawberry jam pairs shockingly well with mild, creamy cheeses like brie or fresh goat cheese. It’s unexpected, but absolutely delicious for entertaining.
Honestly, once you realize how easy it is to make this jam, you’ll find yourself grabbing a jar every single day. It’s the simplest way to elevate everyday food!
Frequently Asked Questions About Jam Without Canning
I know when you dive into a new recipe, especially one involving preservation, you end up with a few nagging questions buzzing around in your head—and that’s perfectly normal! Remember, my whole goal here at the blog is to make you feel confident, so let’s clear up some common worries about making this super easy freezer jam without diving into scary canning territory.
If you’re looking for another hearty recipe that keeps well, you might want to peek at my recipe for creamy crockpot cheeseburger soup, although that’s definitely not dairy-free!
How long does this strawberry freezer jam last?
Since this is a jam without canning, it relies on the deep freeze for preservation. I strongly recommend using your strawberry freezer jam within about three weeks for the most vibrant, fresh taste. It will keep safely in the freezer for up to three months, but honestly, strawberries lose a little bit of that intense flavor spark after that point. Once you thaw it, you must keep it in the refrigerator, and try to eat that jar within two to three weeks.
Can I use other fruits, like raspberries or blueberries, for this quick jam recipe?
That’s a great question! Yes, you can definitely use other soft fruits. This is a fantastic base for all sorts of summer fruit preservation. However, the ratios change depending on the natural pectin and sugar content of the fruit. If you use raspberries or blueberries, you might find they release more liquid, so I highly suggest using the powdered pectin mentioned in the recipe to ensure you get a proper set. It’s easy, foolproof, and you get amazing results every time!
My jam is runny! How do I fix it?
This is the most common issue with no pectin jam technique. If your jam is too liquidy after thawing, don’t throw it out! It is still safe and delicious. The easiest fix is to strain the liquid off, add just a tiny bit more powdered pectin (only about a teaspoon for a single jar), whisk it vigorously, and let it sit for five minutes before putting it back in the freezer. Next time around, make sure you’re using the full amount of pectin the recipe calls for to avoid this!
Can I make this a low sugar jam option for my family?
You absolutely can! As I mentioned earlier, you can cut the granulated sugar down to around 1/4 cup. But I have to underline this: if you reduce the sugar significantly in a no-cook recipe, you really need to rely on the pectin to help it gel up properly, because sugar plays a major role in setting the jam. If you skip both sugar and pectin, you are essentially making a beautiful, sweet strawberry sauce, which is still amazing on pancakes, but won’t be sliceable on a biscuit!
Estimated Nutritional Data for Strawberry Freezer Jam
Okay, I know some of you are like me—you want to make sure you have an idea of what you’re putting on your morning toast. Because this strawberry freezer jam recipe is so simple and fresh, the nutrition is pretty straightforward, relying mostly on the fruit and the sugar you choose to add. It’s one of the great perks of making your own fresh fruit spreads!
Now, before we get into the numbers, I always have to give a little disclaimer here at the blog. Since we are dealing with fresh fruit that varies in size and ripeness, and since folks adjust the sugar amount for their personal low sugar jam option, these numbers are estimates based on the standard recipe provided. Think of this as a good ballpark figure!
Here’s a quick look at what one serving (about two tablespoons) of our standard strawberry freezer jam usually looks like:
- Serving Size: 2 Tablespoons
- Calories: 55
- Sugar: 14g (This is why we talk about cutting back if you need to!)
- Carbohydrates: 14g
- Protein: 0g
- Fat: 0g
- Sodium: 1mg
- Cholesterol: 0mg
See? Pretty clean! If you’re using this as an occasionally breakfast topping or swirling it into yogurt, it’s a wonderful way to enjoy tons of actual fruit flavor without a lot of the extra stuff you find in commercial spreads. Keep enjoying those simple, fresh ingredients!
Share Your Homemade Strawberry Creations
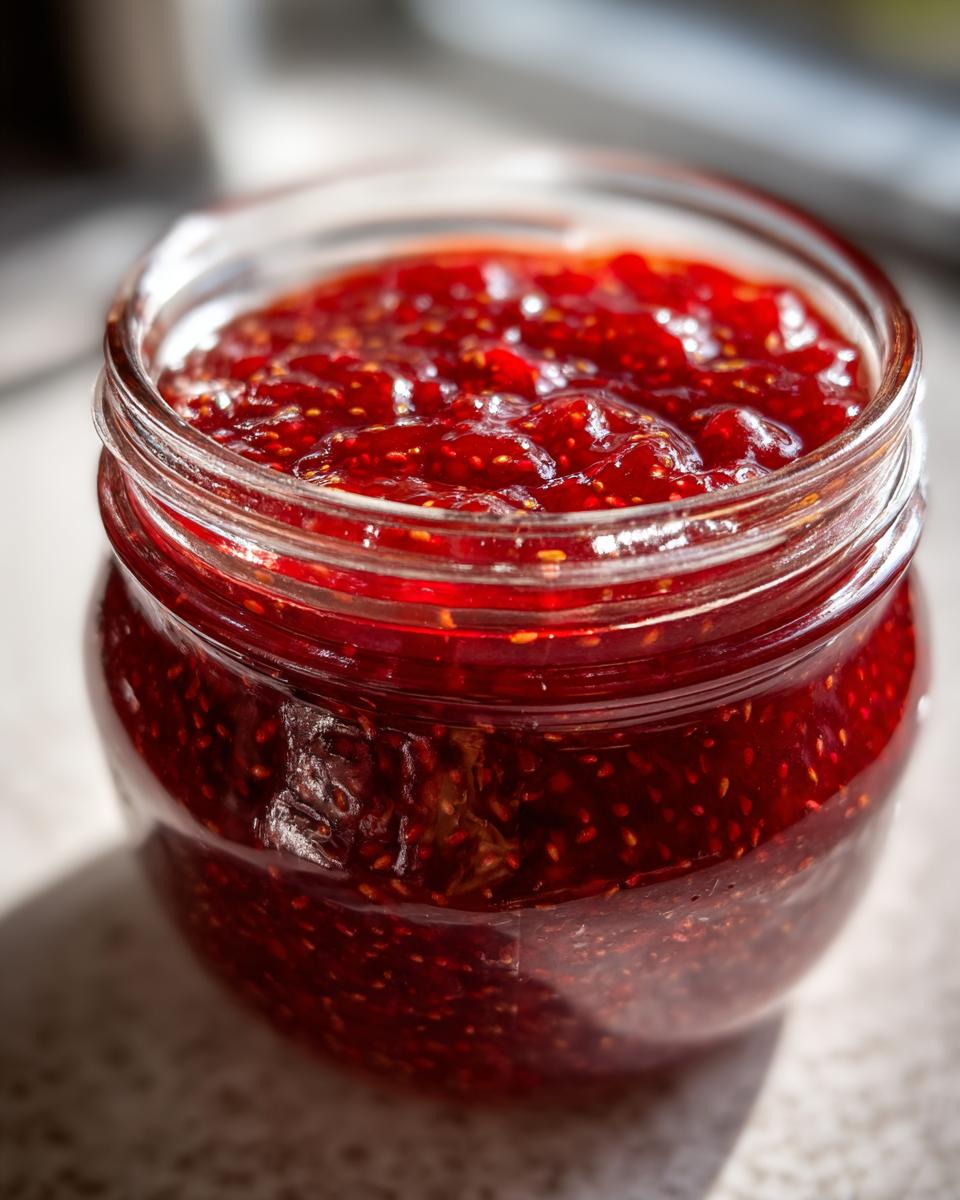
And that’s it! You’ve done it! You have successfully captured the essence of summer in a jar (or a freezer-safe container, anyway!). Honestly, seeing that vibrant color pop out of the freezer once you’ve made your first batch of strawberry freezer jam is one of the most rewarding, simple kitchen victories there is. You didn’t even have to turn on the stove!
Now comes my favorite part: hearing from you! Did you try the no-pectin route? Did you sneak in a little vanilla extract like I’ve been known to do sometimes? Please, don’t be shy. I want to know all about your experience making this quick jam recipe.
If you followed the instructions and ended up with the best homemade jam you’ve ever tasted, please consider leaving a star rating right here on the recipe card. It genuinely helps other new cooks feel confident enough to give it a try. And if you snapped a gorgeous picture of your jam spread thick on a biscuit or swirled into a bowl of yogurt, tag us on social media! It truly makes my day to see your successes.
If you have any lingering questions that I didn’t cover in the FAQs, or if you want to share ideas for using your fresh fruit spreads (like maybe a fun cocktail idea?), pop into the comments below or reach out to me directly through the contact page. I love hearing from our community. Thank you so much for cooking with me today, and happy spreading!
PrintSuper Easy No-Cook Strawberry Freezer Jam
Capture the fresh taste of summer strawberries in under 30 minutes with this beginner-friendly, no-cook strawberry freezer jam recipe. This method requires no canning and delivers vibrant flavor perfect for toast or yogurt.
- Prep Time: 15 min
- Cook Time: 0 min
- Total Time: 15 min
- Yield: About 2 cups 1x
- Category: Preserves
- Method: No Cook
- Cuisine: American
- Diet: Vegetarian
Ingredients
- 4 cups fresh strawberries, hulled and crushed
- 1/2 cup granulated sugar (or adjust for low sugar jam option)
- 1 tablespoon lemon juice
- 1 package (1.75 oz) powdered low-methoxyl pectin (optional, for a firmer set)
Instructions
- Prepare your strawberries: Wash, hull, and crush the fresh strawberries. You can crush them by hand or pulse them briefly in a food processor until they reach your desired consistency.
- Combine ingredients: In a medium bowl, mix the crushed strawberries, granulated sugar, and lemon juice. Stir well until the sugar dissolves, about 2 minutes.
- Add pectin (if using): If you are using pectin for a firmer set, sprinkle the powdered pectin over the fruit mixture and stir vigorously for 3 minutes. If you skip pectin, proceed to the next step.
- Rest the mixture: Let the jam mixture sit at room temperature for 10 minutes to allow the flavors to meld and the sugar to fully incorporate. Stir occasionally.
- Jar and freeze: Pour the jam mixture into clean, freezer-safe containers, leaving about 1/2 inch of headspace. Seal the containers and let them cool on the counter for 30 minutes before transferring them to the freezer.
- Thaw before serving: When ready to eat, thaw the jam in the refrigerator for several hours or on the counter for about an hour. This jam is best used within 3 weeks from the freezer for peak flavor.
Notes
- For a low sugar jam option, you can reduce the sugar to 1/4 cup, but using pectin is highly recommended in that case for a proper set.
- This recipe captures the fresh taste of summer fruit preserves better than cooked jams because it avoids heat processing.
- This jam is excellent as a quick breakfast topping on toast, mixed into plain yogurt, or used as a filling for simple desserts.
- If you prefer a smoother texture, use a blender (like a Blendtec) to pulse the strawberries until smooth before mixing in the sugar.
Nutrition
- Serving Size: 2 Tablespoons
- Calories: 55
- Sugar: 14g
- Sodium: 1mg
- Fat: 0g
- Saturated Fat: 0g
- Unsaturated Fat: 0g
- Trans Fat: 0g
- Carbohydrates: 14g
- Fiber: 1g
- Protein: 0g
- Cholesterol: 0mg