
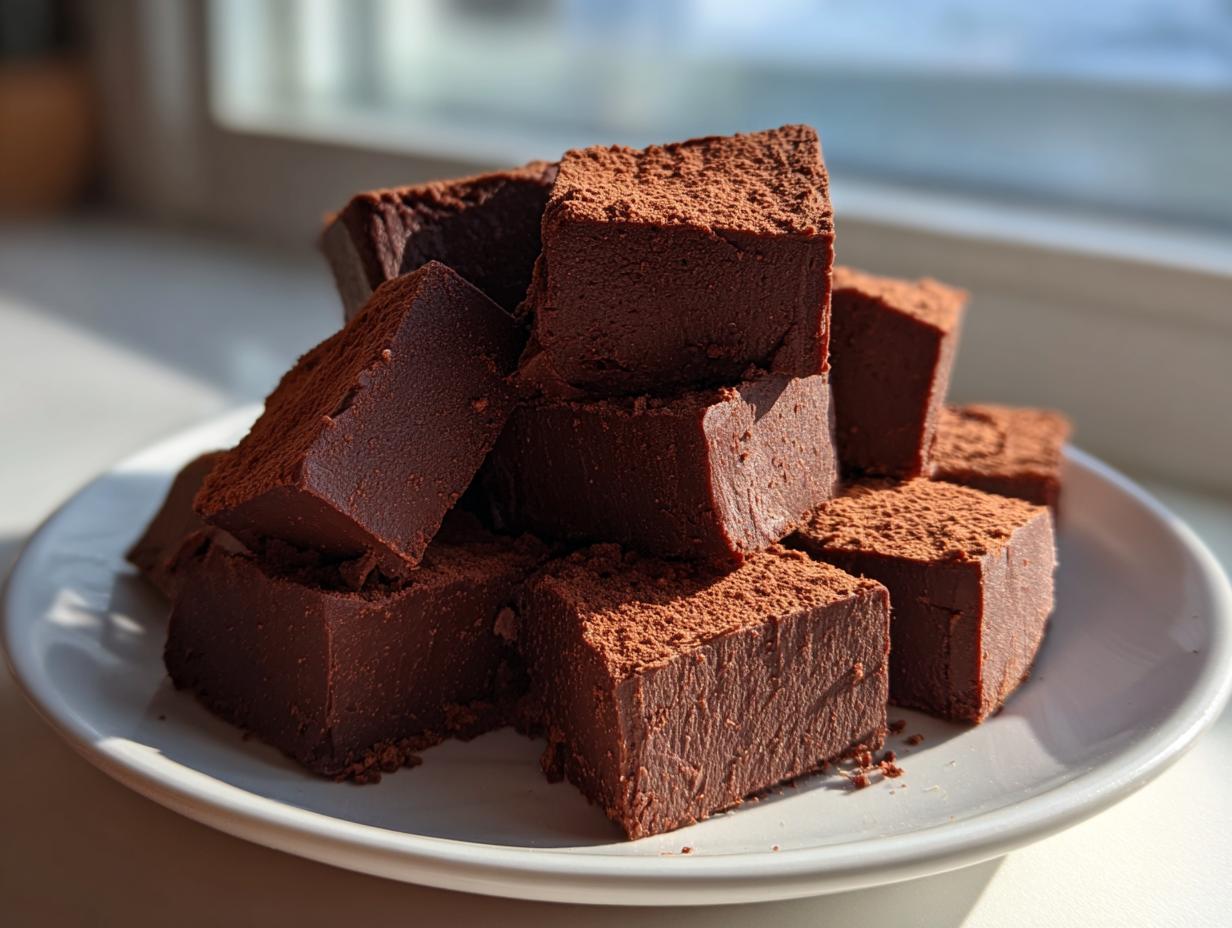
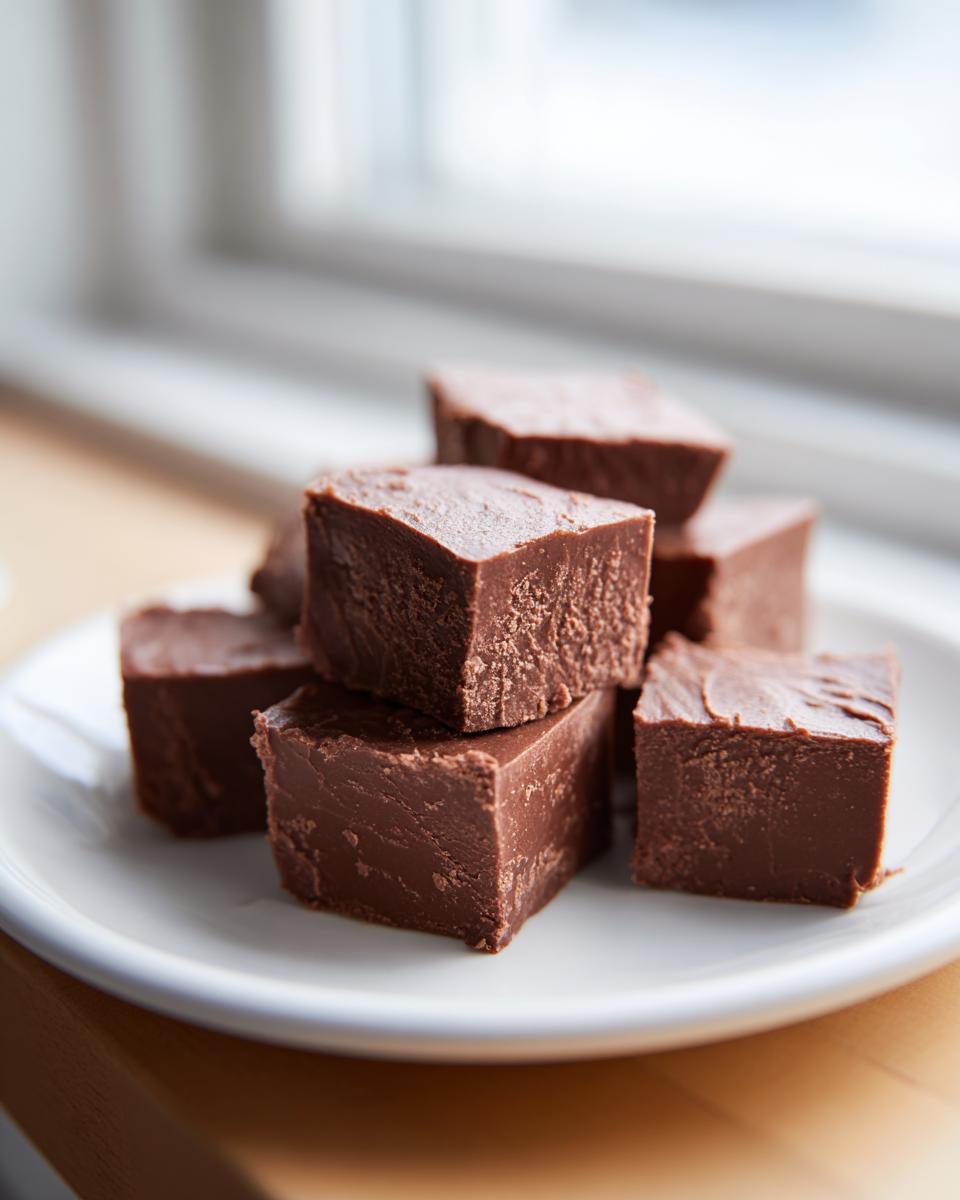
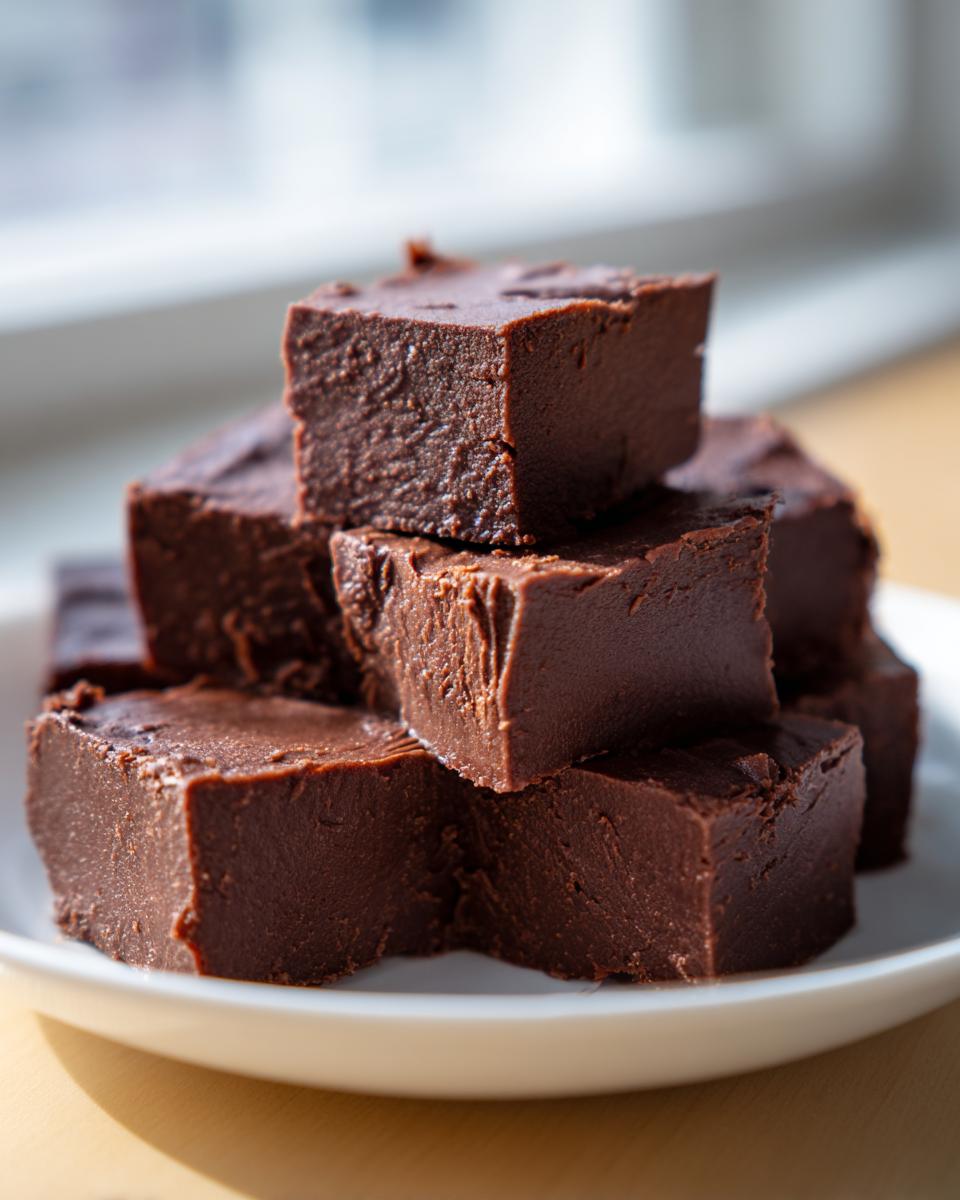
I absolutely believe the best desserts shouldn’t require a full science degree or stress you out after a long day. Sometimes, you just need that rich, sweet hit, and you need it fast! Forget fussy stovetop stirring and worrying about the candy thermometer. Here at Taste This Plate, I’m dedicated to bringing you recipes that actually work on a Tuesday night, and this Ultimate 3-Ingredient Creamy Chocolate Fudge is the definition of home-tested perfection. Trust me, this simple recipe delivers the most decadent chocolate fudge you’ve ever managed to whip up with almost no effort at all.
We’re keeping things straightforward because that’s my whole philosophy—simple ingredients creating extraordinary meals. If you’re looking for that sweet cravings fix without the hassle, you’ve absolutely landed in the right place. I’ve tested this combination until it was absolutely flawless so you don’t have to worry about grainy results. For more easy, decadent treats, check out my recipe for flourless chocolate cake!
- Why This 3 Ingredient Creamy Chocolate Fudge is Your New Go-To
- Gathering Ingredients for Your Ultimate 3-Ingredient Creamy Chocolate Fudge
- Step-by-Step Instructions for Quick & Creamy Fudge
- Expert Tips for the Best Homemade Fudge Results
- Making Fudge for Holiday Candy and Food Gift Ideas
- Storing and Reheating Your Creamy Chocolate Fudge
- Frequently Asked Questions About Quick Fudge
- Nutritional Estimates for This Decadent Dessert
- Share Your Sweet Creations
Why This 3 Ingredient Creamy Chocolate Fudge is Your New Go-To
I know you’re busy, and honestly, who has time for traditional fudge that takes hours of stirring? That’s why this has become my absolute favorite easy fudge recipe. It hits all the right notes—rich, satisfying, and incredibly fast. It’s the ultimate quick dessert when you need something magical without the commitment.
- Speed King: We’re talking minutes of active time. Seriously, this is quicker than brewing a pot of coffee!
- Beginner Friendly: This is one of the best fudge recipes for beginners. There’s virtually no way to mess it up, which means guaranteed success for you.
- Decadent Results: Despite the simplicity, the texture is pure, homemade fudge heaven—smooth, soft, and unbelievably creamy.
If you love how easy this is, you have to try my recipe for fudgy brownies next! They use that same principle: simple technique, maximum flavor.
The Secret to Foolproof Fudge
Most old-fashioned fudge recipes rely on heating milk and sugar to a precise temperature, which is where things go wrong for most home cooks. We need that beautiful, smooth, and delightfully creamy fudge texture, right? Well, the magic here is the sweetened condensed milk working with the chocolate chips.
That mixture, when melted slowly in the microwave, handles all the heavy lifting. It emulsifies perfectly, giving you that dreamy, dense, yet yielding texture. No candy thermometer required, no risking sugar crystals—just pure, reliable results every single time this fudge turns out perfectly.
Gathering Ingredients for Your Ultimate 3-Ingredient Creamy Chocolate Fudge
The best part of this recipe, besides how quickly it comes together, is how few things you need to grab! We aren’t dealing with loads of obscure items here; these are pantry staples that make this the perfect homemade fudge. For this specific batch, you’ll need exactly one 14-ounce can of sweetened condensed milk—make sure it’s the sweetened kind, not evaporated milk!
Next up, you’ll want two full cups of semi-sweet chocolate chips. I usually grab a large bag because I always seem to sneak a little snack while prepping. Finally, to round it out and bring that classic flavor home, grab just one teaspoon of pure vanilla extract. Keep those three things on hand, and you are already 90% done!
Ingredient Notes and Substitutions for Perfect Fudge
Ingredient quality really matters, even when it’s only three items. Using standard, good-quality chocolate chips ensures you get that signature melt instead of a crumbly mess. This is key if you want that truly creamy fudge texture we are aiming for.
Now, if semi-sweet isn’t your jam, don’t panic! You can swap those chips out completely. Feel free to use milk chocolate chips for a sweeter result, or go darker with bittersweet chips if you prefer something richer. Just stick to the chip format rather than using baking chocolate bars. Using the right chocolate chips versus chopped baking chocolate can sometimes change how smoothly that mixture melts down, and we want zero fuss here.
Step-by-Step Instructions for Quick & Creamy Fudge
Okay, now that we have our ingredients ready, let’s get this luscious chocolate fudge into the pan! This is the part where you realize just how much time you’ve saved compared to old-time fudge methods. Remember, our goal is that stunningly smooth, quick, and creamy fudge texture. We need to move swiftly but carefully through the heating process so we don’t burn those beautiful chips.
First things first, before we even look at the microwave, you need to get your dish ready. This prevents that sticky nightmare where you can’t get the fudge out in one piece. If you skip this, you are gambling with your happiness, and we are not taking chances with this easy fudge recipe!
Preparing Your Pan for Easy Fudge Removal
Grab an 8×8 inch baking pan—this size gives us the perfect thickness. Line it completely with parchment paper. Here’s the trick: make sure that parchment hangs over the sides by an inch or two on opposite sides. These overhangs act as natural handles later on. Once that fudge is chilled and firm, you just lift the entire block right out. It’s so satisfying, and it’s the key to succeeding if you are a beginner cook!
Melting and Mixing for Decadent Fudge
Combine your sweetened condensed milk and your semi-sweet chocolate chips right into a medium microwave-safe bowl. Don’t even try stirring them yet. Pop the bowl into the microwave and set the timer for 30 seconds on high. When it buzzes, pull it out—even if it looks like nothing has happened—and give it a really good stir.
Put it back in for another 30 seconds. Most batches are perfectly melted and smooth after one more 30-second blast, maybe a quick 15 seconds if your microwave is super powerful. The absolute most important thing is to stir until it’s completely glossy and there are no dry pockets of chocolate left. Once smooth, rush in that teaspoon of vanilla and stir it through. You’re basically done! Now, pour it into that prepared pan and spread it evenly. Then, patience: stick it in the fridge for at least two hours until it’s completely set before cutting.
If you want to see another great no-bake idea, check out my recipe for no-bake Oreo balls!
Expert Tips for the Best Homemade Fudge Results
Listen, I learned about fudge the hard way many years ago when I tried to rush an old fashioned fudge recipe on the stovetop. I ended up with grainy, slightly scorched chocolate instead of that divine, smooth texture we want. That’s why I obsessively test easy fudge recipes like this one!
The biggest takeaway here is to respect the gentle melting process. When you microwave the chocolate and condensed milk, resist the urge to nuke it for a full minute straight. It seems faster, but those intense hot spots scorch the sugar mixture, which is what causes graininess later on. You want creamy, gooey fudge, not a chocolate brick!

Always stir thoroughly between those short bursts. Those 30-second intervals are your best friend because they allow the heat to distribute evenly through the mixture as you stir. You might think it’s not melted enough after the first buzz, but trust the process! Keep stirring until that mixture looks like liquid silk. This attention to detail is what separates this simple recipe from a disappointing attempt at homemade fudge.
Once it’s set, don’t rush the cutting! If it’s still soft, your knife will tear the lovely texture. For sharp, clean squares that look beautiful for gifting, make sure it’s rock solid after its chill time. If you’re looking for more rich chocolate goodness, you have to take a peek at my recipe for chocolate fudge cake!
Making Fudge for Holiday Candy and Food Gift Ideas
Honestly, once you taste this decadent fudge, you’ll realize it’s way too good to keep all to yourself! This is such a fantastic item to have on hand when you need quick holiday candy or last-minute edible gifts. Since it sets up so beautifully firm after chilling, it transports really well, too.
When cutting, aim for small squares, maybe one inch by one inch. People tend to eat huge chunks because it’s so delicious, so smaller servings help make that batch last longer! For gifting, ditch the big container. I like to wrap each piece individually using small squares of wax paper or cellophane. Tie them with a bright ribbon, and bam—you have thoughtful, beautiful food gift ideas ready to go!
If you want another simple, wrap-friendly treat that pairs perfectly with this chocolate fudge, you must check out my tried-and-true recipe for peppermint bark. It always disappears first at parties!
Storing and Reheating Your Creamy Chocolate Fudge
Now that you’ve got this glorious, creamy fudge set up, the next big question is: how do I keep it perfect until I eat it all? Good news! Because this recipe is so simple and relies on sweetened condensed milk, it’s actually quite stable.
Generally, I keep my fudge right on the counter in an airtight container. If your kitchen is super warm or humid, though, you might want to put it in the fridge. The refrigeration usually keeps it firm for longer, and honestly, I sometimes prefer that slightly colder, denser bite!

You can expect this homemade fudge to stay wonderfully fresh for at least two weeks when stored properly in a sealed container. If you try to freeze it, it might get a little weird texture-wise when it thaws, so I really don’t recommend trying to store it for the long haul that way. Small batches are best for this quick dessert because it disappears fast anyway!
Frequently Asked Questions About Quick Fudge
I always get so many questions once people try this recipe because they’re amazed at how simple it is! It’s designed to be one of the easiest no bake fudge options out there, but sometimes little things come up. Let’s make sure you have all the answers you need to feel totally confident making this divine fudge!
Can I make this fudge without a microwave?
Absolutely, you can! We use the microwave here because it’s hands-down the fastest method for melting chocolate evenly into the condensed milk. If you don’t have a microwave or just prefer sticking to the stovetop, that’s perfectly fine for this classic fudge recipe. Just create a gentle double boiler. Put about an inch of water in a saucepan, bring it to a bare simmer, and then set a heat-safe bowl on top, making sure the bottom of the bowl doesn’t touch the water.
Add your chocolate chips and condensed milk to that bowl and stir slowly and consistently until it’s smooth. You have more control this way, but you have to watch it closely so the steam doesn’t make the mixture too hot. Once melted, take it right off the heat and stir in your vanilla!
How long does this easy fudge recipe take to set?
For the best texture, I always recommend chilling it in the refrigerator for at least two solid hours. That gives the chocolate and milk solids enough time to firm up into that perfect, sliceable square. If you are in a real pinch and need that quick dessert right now, you can carefully place the pan in the freezer.
However, watch it closely—maybe just 30 to 45 minutes. If you leave it in too long, the temperature change can sometimes affect the smoothness, making it brittle instead of yielding. The fridge offers the most stable chill for the best results for fudge recipes for beginners.
If you’re looking for another great no-bake classic that sets up beautifully, you might want to try my recipe for no-bake grasshopper pie!
Nutritional Estimates for This Decadent Dessert
Now, I know when we’re baking something this purely wonderful, nutrition isn’t usually at the forefront of our minds—we’re chasing that sweet fix! But since I want you to feel completely informed about everything that goes into these treats, I’ve pulled together the general estimates for this decadent dessert.
Please keep in mind that these numbers are just a guide, based on the standard ingredients listed (semi-sweet chips, etc.) and divided into 36 small squares. When you make your own homemade fudge, the actual counts might shift a tiny bit based on the brands you use, but this gives you a really solid ballpark figure.
- Serving Size: 1 small square (out of 36 total)
- Calories: Approximately 120
- Total Fat: About 6g (with 4g being saturated fat)
- Carbohydrates: Roughly 16g
- Sugar: Around 15g
- Protein: About 2g
See? It’s a decent hit of sugar and fat, exactly what you expect from a piece of rich chocolate fudge, but since you’re only eating one tiny square (ha!), it’s perfect for satisfying that craving without diving headfirst into a massive block. Enjoy it guilt-free, because you made it yourself!
Share Your Sweet Creations
That’s it! You’ve made incredibly decadent, impossibly easy chocolate fudge in less time than it takes to decide what to watch on TV. Now comes my favorite part: hearing from you! When you make this recipe, I really want to know how it turned out for you.
Did you manage to stick to the three ingredients, or did you sneak in some sea salt on top? Did you find this divine fudge truly lived up to the ‘creamy’ promise? Please jump down to the comments below and leave me a star rating—it helps other cooks know this recipe is worth their time. I read every single comment, seriously!
And if you managed to get a beautiful picture of your finished squares before they vanished (which is half the battle with this stuff!), please tag me on social media. Showing off your beautiful results really inspires me to keep testing and sharing these simple, yet perfect, home recipes. Happy baking, and I can’t wait to see what you create!
If you’re looking for another super simple breakfast or brunch favorite, maybe you could try my extremely easy banana pancakes recipe next time you need a quick win in the kitchen!
PrintThe Ultimate 3-Ingredient Creamy Chocolate Fudge
You can make rich, decadent chocolate fudge with just three simple ingredients. This foolproof recipe delivers creamy, classic fudge perfect for holiday candy or a quick sweet craving fix.
- Prep Time: 5 min
- Cook Time: 2 min
- Total Time: 127 min
- Yield: 36 small squares 1x
- Category: Dessert
- Method: Microwave
- Cuisine: American
- Diet: Vegetarian
Ingredients
- 1 (14 ounce) can sweetened condensed milk
- 2 cups semi-sweet chocolate chips
- 1 teaspoon vanilla extract
Instructions
- Line an 8×8 inch baking pan with parchment paper, leaving an overhang on the sides for easy removal.
- In a medium, microwave-safe bowl, combine the sweetened condensed milk and chocolate chips.
- Microwave on high in 30-second intervals, stirring well after each interval, until the mixture is completely smooth and melted. This usually takes 1 to 1.5 minutes total.
- Stir in the vanilla extract until fully combined.
- Pour the fudge mixture into the prepared pan and spread it evenly.
- Refrigerate for at least 2 hours, or until the fudge is firm enough to cut.
- Lift the fudge out of the pan using the parchment paper overhang. Cut into small squares.
Notes
- For a different flavor, substitute the semi-sweet chips with milk chocolate or dark chocolate chips.
- If you prefer a firmer fudge, chill it for an extra hour before cutting.
- This recipe makes a great food gift idea when wrapped individually.
Nutrition
- Serving Size: 1 square
- Calories: 120
- Sugar: 15
- Sodium: 25
- Fat: 6
- Saturated Fat: 4
- Unsaturated Fat: 2
- Trans Fat: 0
- Carbohydrates: 16
- Fiber: 1
- Protein: 2
- Cholesterol: 5