
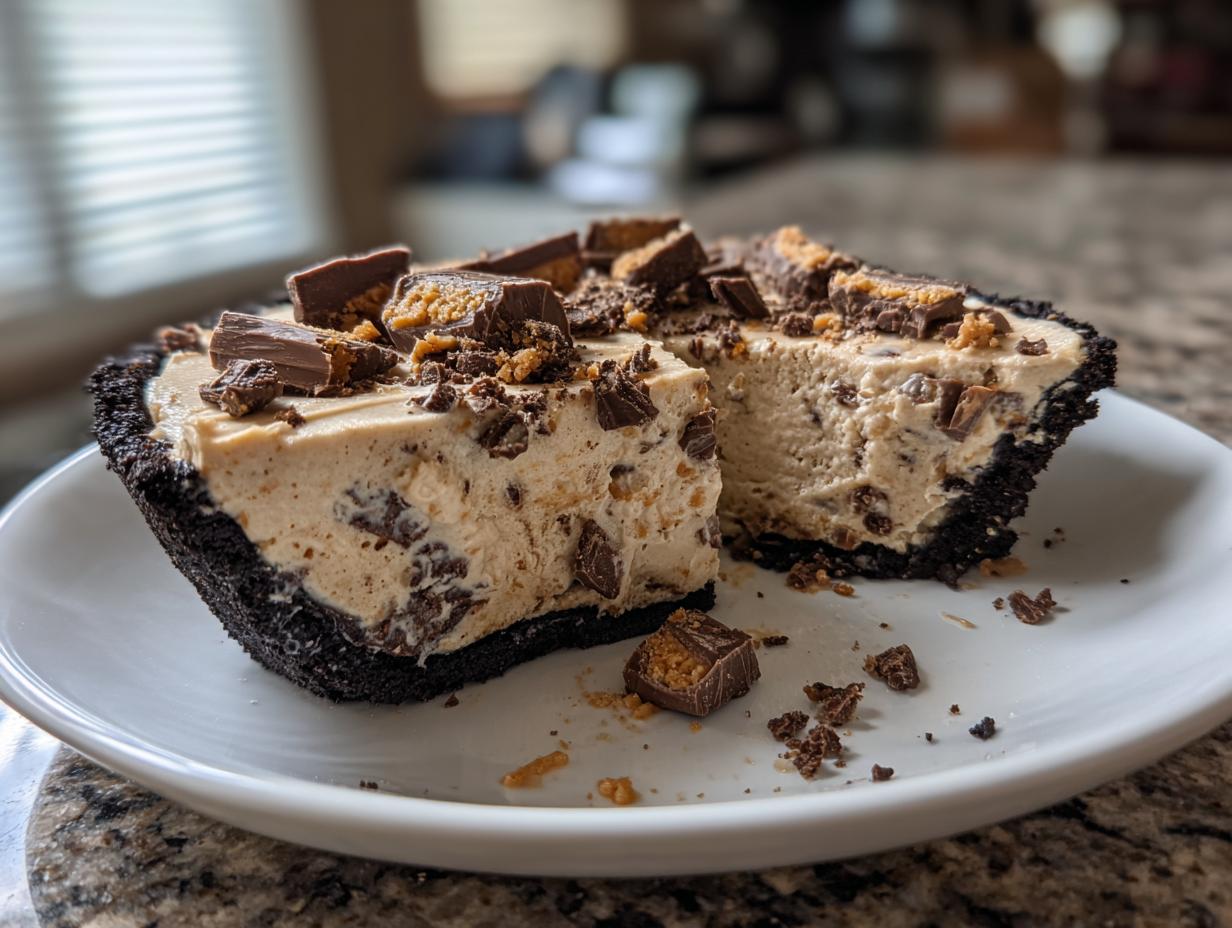
When I think about the meals that truly bring people together—the ones that get oohed and aahed over at a potluck or backyard BBQ—it’s rarely the complicated, multi-stage bake. It’s the desserts that are outrageously flavorful but secretly simple! That’s exactly what we have here in this incredibly rich, creamy, **butterfinger pie**. We skip the oven entirely, relying on the magic of cream cheese, peanut butter, and crunchy candy to build a masterpiece on a chocolatey Oreo crust base. Bringing people simple joy through food, without the stress? That’s my whole mission here at Taste This Plate. This pie makes everyone feel like a baking hero!
- Why This Creamy No-Bake Butterfinger Pie Is Your New Favorite Easy Candy Dessert
- Gathering Ingredients for Your Butterfinger Pie Recipe
- How to Assemble the Oreo Crust Pie Base
- Creating the Creamy No-Bake Butterfinger Pie Filling
- Finishing Touches: Topping Your Indulgent Candy Bar Treats
- Tips for Success with This Make Ahead Dessert
- Serving Suggestions for This Family Favorite Pie
- Frequently Asked Questions About Making Butterfinger Pie
- Estimated Nutritional Data for This No Oven Dessert Recipe
Why This Creamy No-Bake Butterfinger Pie Is Your New Favorite Easy Candy Dessert
If you are looking for quick dessert ideas that sound way more complicated than they actually are, you’ve hit the jackpot. This butterfinger pie nails that craving for an easy candy dessert because we aren’t turning on the oven! Seriously, the hands-on time is only about 20 minutes, and then the fridge handles the rest of the heavy lifting. It’s that perfect blend of cool, creamy peanut butter filling, sweet chocolate crust, and that essential “crispety, crunchety” snap from the candy bar.
Meeting the Demand for a Simple Summer Dessert
When the weather heats up, the last thing I want to do is spend an hour baking. That’s when a no-bake approach is absolutely essential. Seriously, this recipe is built for those times! You can whip it up right after lunch, know it will be perfectly set and cold by dinner, and then you’ve got a guaranteed winner for any occasion. It’s dependable, it’s rich, and it travels beautifully, making it a fantastic holiday potluck dessert.
Gathering Ingredients for Your Butterfinger Pie Recipe
I love that this butterfinger pie relies on ingredients you probably already have hiding in your pantry or freezer, which is such a relief when you need a fast, indulgent treat. We aren’t dealing with complicated syrups or flaky pastry here—just basics coming together for maximum flavor impact. I always check to make sure my chocolate cookies and candy bars are ready before I even pull out the mixer. That way, once the filling is mixed, we can move fast!
Ingredient Notes and Substitutions for the Fluffy Peanut Butter Filling
Let’s talk about the texture magic, because achieving that cloud-like filling for this No Bake Pie Recipe is key! First thing: your cream cheese absolutely has to be softened. If it’s rock hard, you’ll get little lumps, and nobody wants a lumpy peanut butter cloud. Just leave it on the counter while you crush your cookies. Same goes for the frozen whipped topping—make sure that’s fully thawed before you start folding it in; we want soft and pliable, not icy!
Also, regarding the topping: I included a recipe for homemade whipped cream on top because, well, it tastes better, but if you are in a huge rush, remember the note in the recipe card! If you skip the heavy cream and extra sugar, you can usually substitute it with just one more container of frozen whipped topping. Just gently fold in about a quarter cup of extra peanut butter so it doesn’t taste too plain against the rich filling underneath. Easy swaps like that are what make this an amazing Make Ahead Dessert.
How to Assemble the Oreo Crust Pie Base
Alright, let’s get our foundation set! Before we even think about that luscious peanut butter center, we need a spectacular crust. Since we are making a no bake pie recipe, the crust structure is super important—it has to hold everything together without any oven reinforcement. I use Oreos for this because who doesn’t love that deep chocolate flavor paired with peanut butter? Pulse those cookies until they are fine crumbs. If you need a quick tutorial on crushing them down perfectly, I have a post on making Oreo balls that shows you exactly how fine you want those crumbs!
Once your crumbs are ready, drizzle in that melted butter and mix it until the whole mixture looks like wet sand. Now comes the pressing part, and this is where you show that crust who’s boss! Use the bottom of a measuring cup or just your very clean fingers to press that buttery mixture firmly into the bottom and all the way up the sides of your 9-inch pie plate. Don’t be shy here; you want a sturdy Oreo crust pie that won’t crumble when you slice into that beautiful filling later. Toss that plate into the freezer for at least 30 minutes while you prepare the filling. That chill time makes all the difference for a clean slice!
Creating the Creamy No-Bake Butterfinger Pie Filling
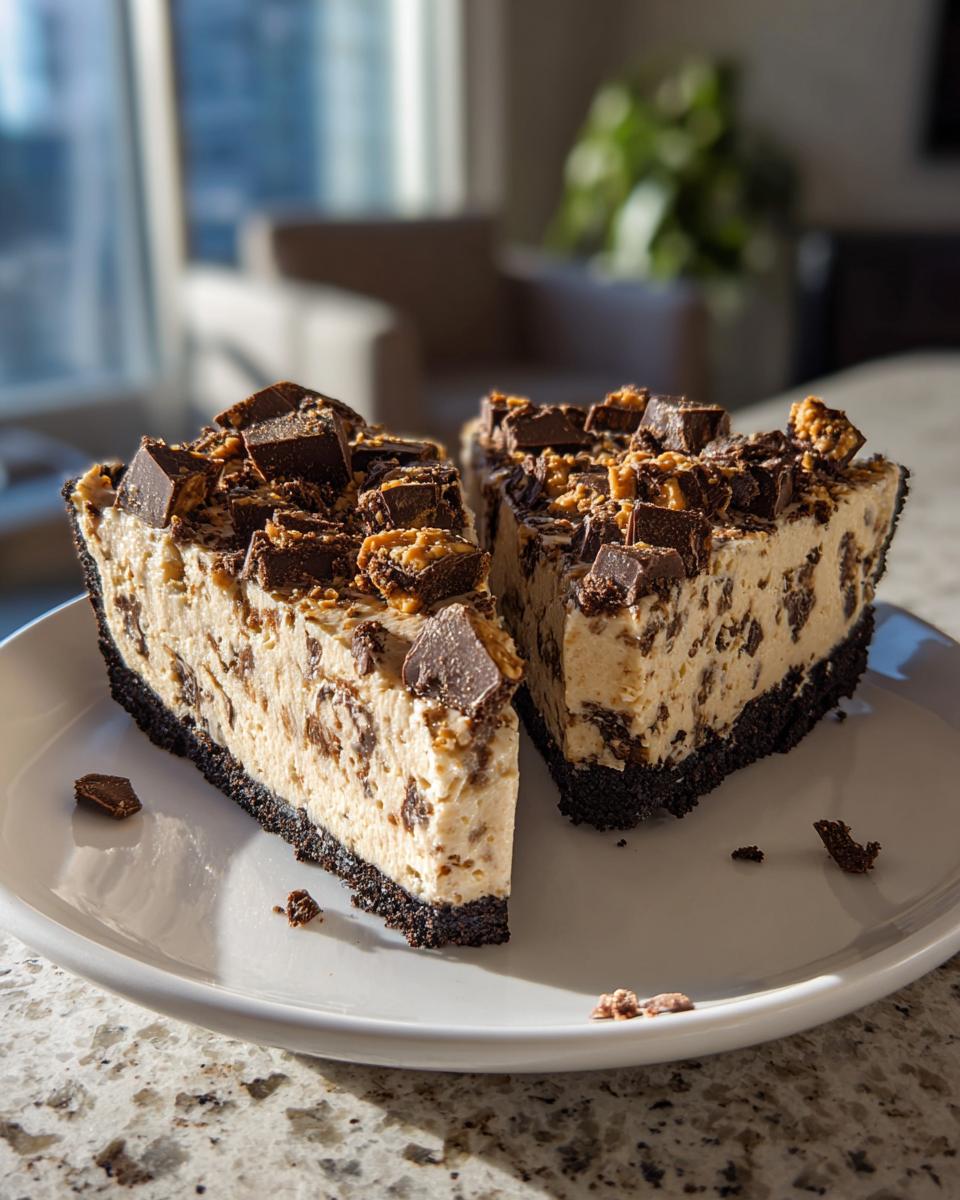
Okay, the foundation is set and chilling nicely—time for the star of the show! This is where we build that signature fluffy peanut butter filling that makes this butterfinger pie taste like pure heaven. In a big bowl, you’re going to mix your softened cream cheese with the first cup of powdered sugar until it’s absolutely smooth. Then, beat in the creamy peanut butter. Make sure you mix this base until it’s wonderfully uniform, just like you were making a simple peanut sauce—I actually have a guide on making an easy 5-minute creamy peanut sauce recipe that uses similar blending principles, but this one is sweetened up for dessert!
Now, pay attention here, because this next move ensures your pie remains light and dreamy, not dense and heavy like concrete. We are using thawed whipped topping, and you need to *fold* it in, not beat it in! Folding gently means you are incorporating the airy topping without knocking all the air bubbles out. Keep folding until you see no more white streaks poking through. Once that’s done, toss in about one cup of your chopped Butterfinger pieces. Fold those in quickly—they are going to provide that amazing texture contrast when you bite into the pie!
Spoon that gorgeous peanut butter mixture evenly into your chilled Oreo crust. Use an offset spatula or the back of a spoon to get the top as level as you can. Then, it’s back into the cold you go! This step is non-negotiable for a successful no bake pie recipe.
Achieving the Perfect Chill Time for Your Butterfinger Pie
I know it’s hard waiting when something smells this good, but skipping the chill time is the difference between a perfect slice and a glorious, delicious puddle on your plate. We need this pie to set up properly so it holds its shape for serving, which is the whole point of a layered No Bake Pie Recipe.
The recipe calls for at least two hours in the refrigerator, but honestly, if you can let it go for three or even longer, that’s even better! The chill time allows the cream cheese and peanut butter to set up properly around the crunchy crumbs, giving you those beautiful, clean wedges when you serve it. If it looks set and firm to the touch, go ahead and pull it out. You’ve earned it!
Finishing Touches: Topping Your Indulgent Candy Bar Treats
We are so close to digging into this amazing butterfinger pie! The filling is firm, the flavors have melded, and now it’s time for the grand finale. This is what takes it from a simple peanut butter pie to a truly indulgent candy bar treat that screams celebration. We are going to make a quick, lovely homemade whipped cream topping because, frankly, the store-bought stuff just doesn’t offer the same airy brightness against all that rich peanut butter.
In a clean, cold bowl—and this is important for whipping cream—combine your heavy cream, the final two tablespoons of powdered sugar, and that splash of vanilla extract. Grab your mixer and beat it! You want to go until you see stiff peaks forming. When you pull the whisk attachment out, the cream should hold its shape straight up without drooping over; that means you’ve got perfect, fluffy topping stability. If you need a refresher on whipping cream, I walk through the technique for creating a super stable vanilla buttercream that translates perfectly to whipped cream!
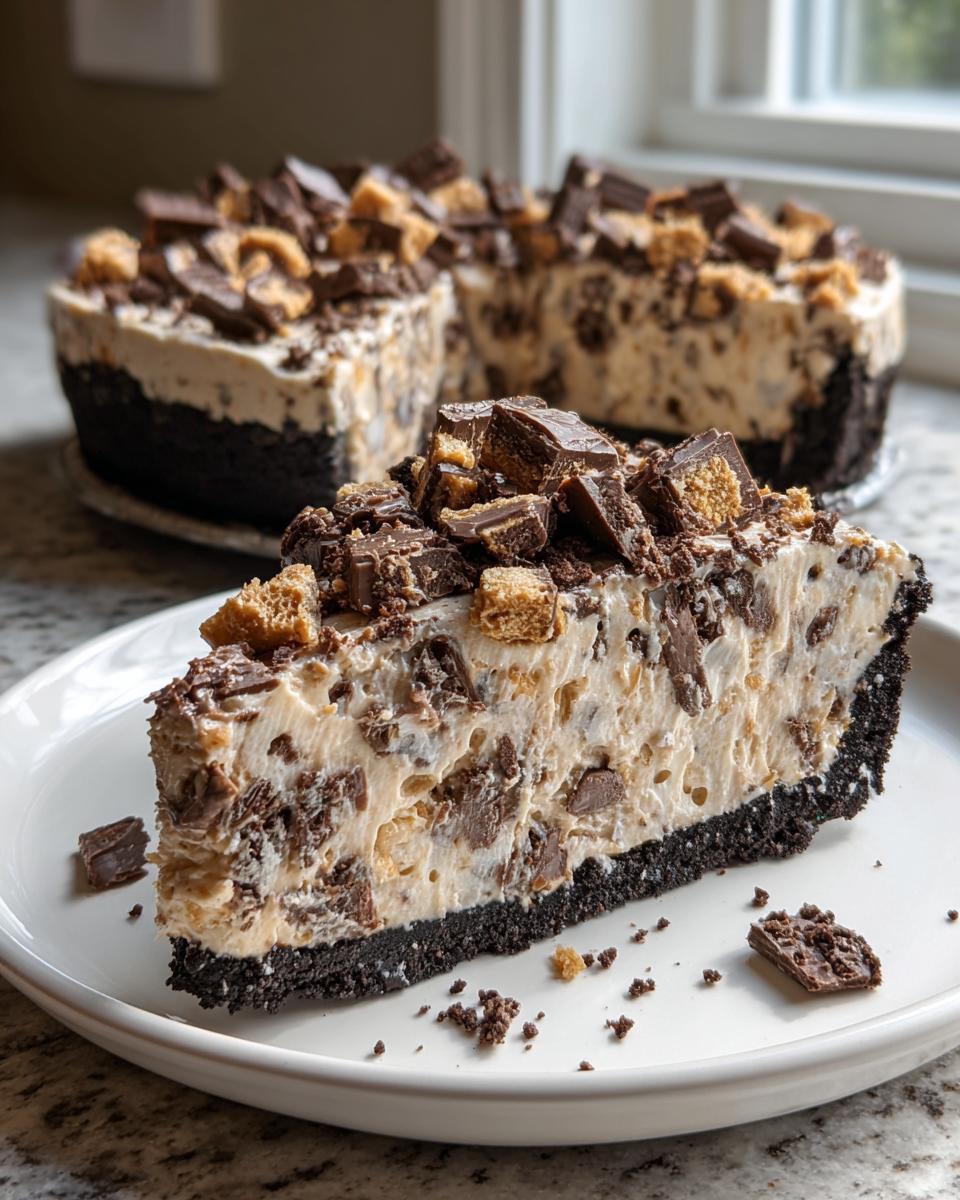
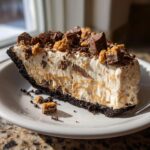
Once your fresh cream is ready, gently spread it right over the chilled peanut butter filling. Don’t press down; just let it sit lightly on top. Remember those chopped Butterfingers we held back? Now is their moment to shine! Sprinkle the remaining half cup of crunchy candy right over the top of the whipped cream. This final layer gives you the textural contrast we’ve been waiting for—creamy, rich, and then that satisfying crunch!
That’s it! Seriously, that’s the whole thing. No baking required for this spectacular easy candy dessert. Pop the finished pie back into the fridge just so the topping firms up a little bit while you set the table. Keep it covered, and it’s ready to slice and serve. Get ready for rave reviews—this butterfinger pie is an absolute showstopper!
Tips for Success with This Make Ahead Dessert
Like any great make ahead dessert, the success of this butterfinger pie really comes down to a few little details we nail down before we even start mixing. Since this is a no-bake recipe, we don’t have to worry about oven temperatures or dry edges, but we *do* have to focus on texture. My goal is always to ensure that every single slice is perfectly structured, creamy, and packed with those crunchy candy bits.
First, let’s talk about crushing those Butterfingers. You can totally use a food processor like you might for the crust, but if you don’t want to dirty another gadget, just throw them in a sturdy zip-top bag and attack them with a rolling pin! Just be careful not to smash them into dust—we want chunks for texture, not sand! Also, I mentioned this earlier, but I’ll say it again: room temperature cream cheese is your best friend here. It really blends into that smooth, velvety base for the fluffy peanut butter filling effortlessly.
The great news is this pie is an absolute dream for planning ahead. You can get the crust and the main peanut butter filling assembled a day before you plan to serve it, which means less stress when company arrives. Just cover it well and keep it tucked away in the fridge. It holds up beautifully!

Storage and Reheating Instructions for Your Butterfinger Pie
This pie is just heavenly when served cold, so refrigeration is a must. Because it is so rich in dairy and peanut butter, it keeps really well. You can comfortably store this pie, covered tightly, in the refrigerator for about three to four days. The crust might soften up *slightly* over that time, but the flavor stays incredible—it might even taste better the next day!
Now, about freezing it—since this is definitely aiming for that rich, creamy frozen dessert vibe, yes, you can freeze it! If you plan to freeze it, I recommend leaving off the fresh whipped cream topping until *after* it thaws. Whipped cream doesn’t always freeze and thaw perfectly nicely. Pop the whole pie (without the top layer) into an airtight container or wrap it tightly in plastic wrap and foil. It freezes beautifully for up to a month. When you want to serve it, just move it to the fridge overnight to gently thaw. You’ll have that amazing no bake pie recipe ready to go!
Serving Suggestions for This Family Favorite Pie
Because this butterfinger pie is so incredibly rich and indulgent—it’s truly a decadent treat!—you don’t need much fuss alongside it. When I bring this out at gatherings, I keep the sides super simple so the pie remains the undisputed star. It pairs wonderfully with something light, maybe some fresh raspberries or strawberries served on the side to cut through the richness a bit.
If you are serving this during a big dinner, skip heavy sides and instead offer a simple, refreshing drink. I always keep a pitcher of plain iced tea or maybe sparkling water with a big wedge of lemon nearby, as those bright flavors really balance the peanut butter and chocolate! For drink ideas, you can check out some of my simple recipes over at the drinks and cocktails section. These lighter sips really complement this amazing family favorite pie!
Frequently Asked Questions About Making Butterfinger Pie
I always get asked the same few things when people first try this recipe, which is great because it means everyone wants to make this amazing butterfinger pie! Since this is a no bake pie recipe, people often wonder about ingredient swaps or how to change the texture slightly. I’ve gathered the questions I hear most often and answered them right here for you!
Can I make this butterfinger pie using a graham cracker crust instead of Oreos?
You absolutely can! While I personally love the deep chocolate note that the Oreo crust adds to balance out all the peanut butter and candy bar goodness, graham crackers make a fantastic alternative. If you use graham crackers, you’ll still follow the instructions exactly: use 1 1/2 cups of fine crumbs and mix with 6 tablespoons of melted butter. It will result in a slightly sweeter, less intense chocolate base, making it a great option if you are worried about making it too chocolate-heavy. It’s a perfect switch if you don’t have Oreos on hand for this easy candy dessert!
Since this is a no-bake recipe, can I make this a truly frozen dessert?
Yes, you certainly can steer this toward being a creamy frozen dessert if that’s what you prefer! The main filling has a high enough fat and sugar content that it won’t turn into an ice block if you freeze it, which is wonderful. For the best result, I would highly recommend freezing the pie solid after step 5 (after chilling for 2 hours and before adding the fresh whipped cream). If you freeze it completely, just let it sit on the counter for about 15 to 20 minutes before you plan to slice it. That short time lets it soften just enough to cut cleanly, but it still stays wonderfully cold! You can find more general tips on making desserts ahead over on my general make-ahead section.
What if I don’t have peanut butter? Can I make a Reese’s Candy Pie Alternative?
That’s a tricky one! Since peanut butter is the backbone of the filling flavor, swapping it out completely changes the entire profile of the pie. If you absolutely cannot do peanut butter, you might be better off looking for a specific chocolate cream pie recipe. For this version, the peanut butter really works with the cream cheese and the topping to create that authentic candy bar flavor. If you wanted to make it a Reese’s Candy Pie Alternative, you could try swapping out *half* the smooth peanut butter for an equal amount of smooth peanut butter or chocolate hazelnut spread (like Nutella), but I wouldn’t recommend removing it entirely for this specific structure.
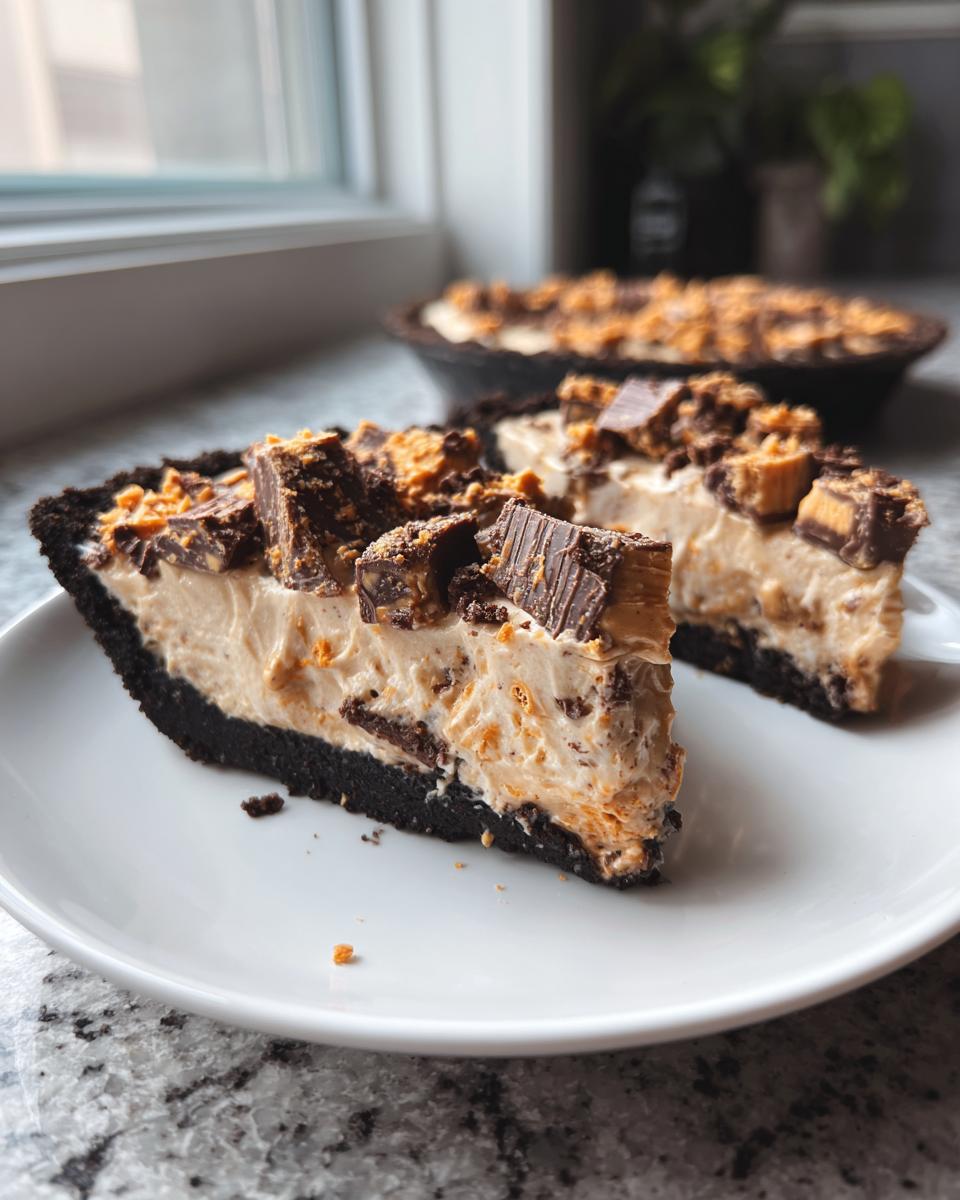
How small should the Butterfinger pieces be for maximum enjoyment?
This totally impacts the texture of your indulgent candy bar treats! You don’t want dust, but you also don’t want huge, untamed chunks. When chopping the candy bars, aim for pieces that are roughly the size of a small pea or maybe slightly larger, so you get a nice crunch in every solid spoonful of filling. I chop mine roughly with a big knife on a cutting board. Remember to chop them *after* you’ve mixed most of the filling ingredients together, so you can reserve about half for that beautiful topping!
Estimated Nutritional Data for This No Oven Dessert Recipe
Now, I know many of you are looking at this incredibly rich and decadent butterfinger pie and worrying just a little bit about the numbers. And you know, you wouldn’t be wrong to think that! This treat is definitely designed for indulgence, not for counting calories. Food is meant to be enjoyed, especially when we gather for holidays or celebrations, and this is certainly a showstopper!
Below, you’ll find the estimated nutritional breakdown based on the recipe provided and assuming we get 8 perfect slices from this pie. Please remember these are just my best estimates based on standard ingredient packages—actual values might vary slightly depending on the brands of cream cheese or peanut butter you grab at the grocery store. This is certainly a recipe to treat yourself with, not an everyday snack!
- Serving Size: 1 slice
- Calories: 450
- Total Fat: 30g (That’s where a lot of the creamy magic comes from!)
- Carbohydrates: 42g
- Protein: 7g
- Sugar: 35g
As you can see, this No Oven Dessert Recipe packs a punch of flavor, fat, and sugar—that signature combination that makes a candy bar dessert so satisfying. Enjoy it guilt-free as the treasured, easy-to-make indulgence that it is!
PrintEasy No-Bake Butterfinger Pie with Oreo Crust
Make this rich and creamy no-bake Butterfinger Pie using a chocolate Oreo crust. This simple candy dessert comes together quickly and is perfect for potlucks or family gatherings.
- Prep Time: 20 min
- Cook Time: 0 min
- Total Time: 2 hr 20 min
- Yield: 8 servings 1x
- Category: Dessert
- Method: No Bake
- Cuisine: American
- Diet: Vegetarian
Ingredients
- 1 1/2 cups chocolate cookie crumbs (about 25 Oreos, filling removed)
- 6 tablespoons unsalted butter, melted
- 1 (8 ounce) package cream cheese, softened
- 1 cup powdered sugar
- 1 cup creamy peanut butter
- 1 (12 ounce) container frozen whipped topping, thawed (like Cool Whip)
- 1 1/2 cups chopped Butterfinger candy bars, divided
- 1 cup heavy cream
- 2 tablespoons powdered sugar
- 1/2 teaspoon vanilla extract
Instructions
- Prepare the crust: Combine the chocolate cookie crumbs and melted butter in a medium bowl. Press the mixture firmly into the bottom and up the sides of a 9-inch pie plate. Place the crust in the freezer while you prepare the filling.
- Make the filling base: In a large bowl, beat the softened cream cheese with 1 cup of powdered sugar until smooth. Beat in the peanut butter until fully combined.
- Fold in the topping: Gently fold in the thawed whipped topping until no streaks remain. Fold in 1 cup of the chopped Butterfinger pieces.
- Fill the crust: Spoon the peanut butter mixture evenly into the chilled Oreo crust. Spread it out with a spatula.
- Chill the pie: Place the pie in the refrigerator to set for at least 2 hours, or until firm. This step is important for a clean slice.
- Prepare the whipped topping: In a separate bowl, beat the heavy cream, 2 tablespoons of powdered sugar, and vanilla extract until stiff peaks form.
- Top and finish: Spread the homemade whipped cream over the chilled pie filling. Sprinkle the remaining 1/2 cup of chopped Butterfinger pieces over the top.
- Serve: Keep the pie refrigerated until ready to serve. Slice and enjoy this indulgent candy bar treat.
Notes
- For the easiest crust, pulse the whole Oreos (cream filling included) in a food processor until fine crumbs form.
- If you do not have heavy cream for the topping, you can use an additional container of frozen whipped topping, folding in 1/4 cup of peanut butter for flavor.
- You can make this make-ahead dessert up to one day in advance. Keep it covered in the refrigerator.
Nutrition
- Serving Size: 1 slice
- Calories: 450
- Sugar: 35g
- Sodium: 310mg
- Fat: 30g
- Saturated Fat: 12g
- Unsaturated Fat: 18g
- Trans Fat: 0.5g
- Carbohydrates: 42g
- Fiber: 2g
- Protein: 7g
- Cholesterol: 45mg