
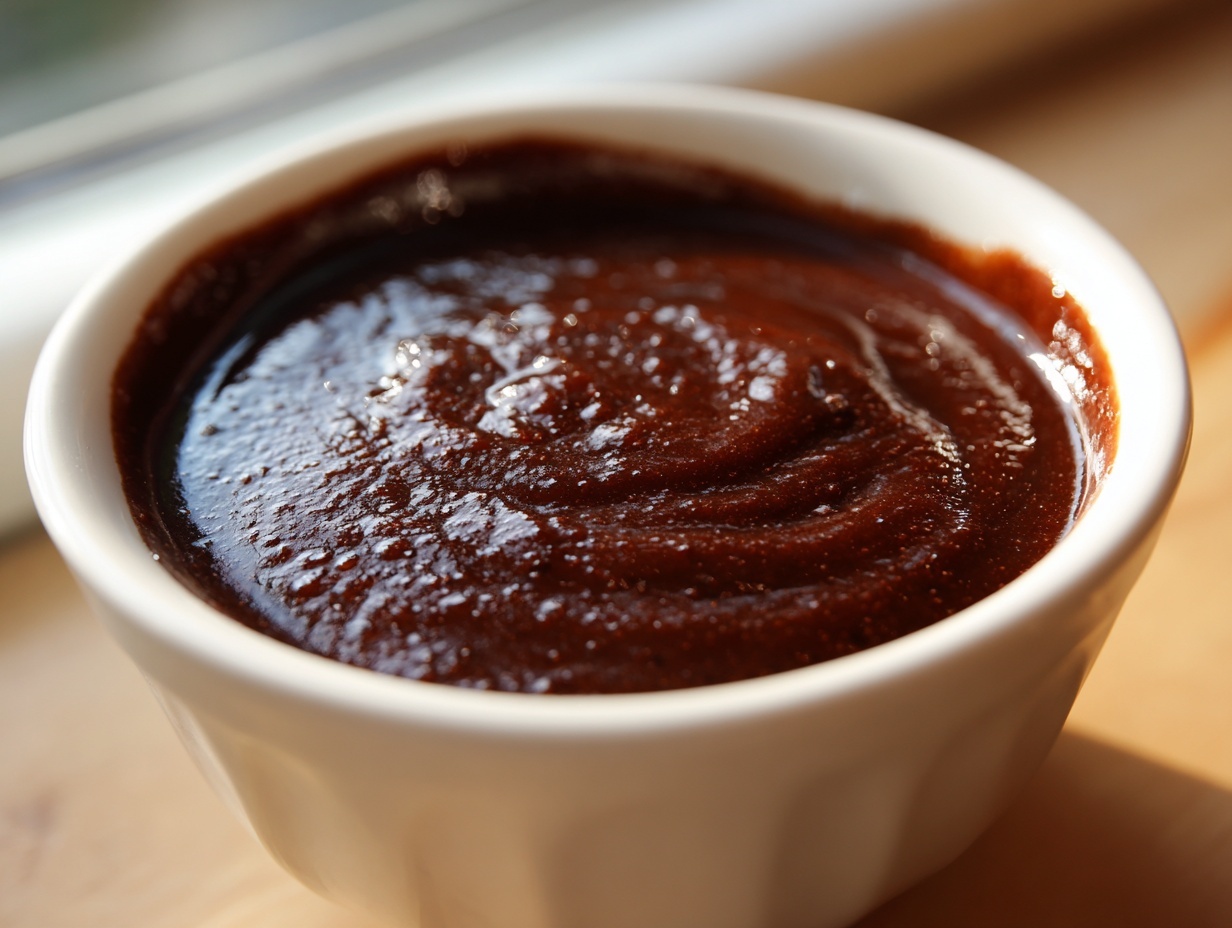
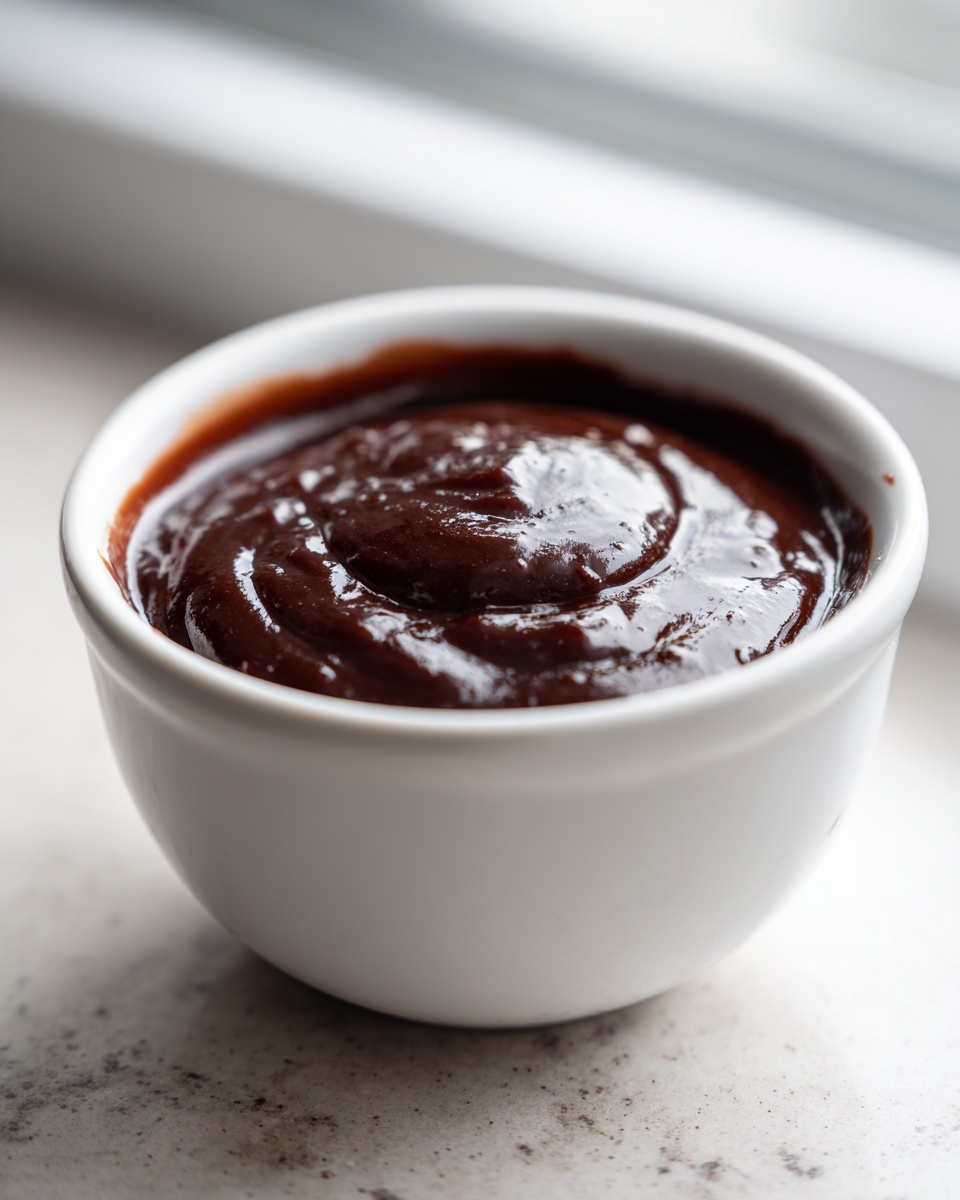
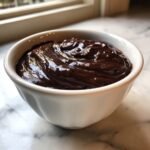
You know those moments when you have a simple dessert—maybe a scoop of vanilla ice cream or some plain brownies—and you just need that *perfect*, decadent finish? That’s where jarred syrups just don’t cut it. Here at Taste This Plate, we think the easiest way to elevate the everyday is by using incredibly simple, high-quality pantry staples. That’s why I’m thrilled to share this recipe for the ultimate 5-minute, rich, and glossy homemade chocolate sauce. Honestly, it’s faster than running to the store, and the flavor difference is staggering. This versatile, no-fuss topping is perfect for drizzling, dipping, or swirling into your morning coffee. It’s proof that the most comforting treats come from just a few fantastic ingredients mixed with a little bit of love.
- Why This Homemade Chocolate Sauce Recipe Works So Well
- Gathering Ingredients for the Best Homemade Chocolate Sauce
- Step-by-Step Instructions for Your Quick Dessert Sauce
- Flavor Variations for Gourmet Chocolate Sauce At Home
- Serving Suggestions for Your DIY Chocolate Topping
- Storage Tips for Chocolate Sauce and Reheating Homemade Chocolate Sauce
- Frequently Asked Questions About Homemade Chocolate Sauce
- Final Thoughts on Making Homemade Chocolate Sauce
Why This Homemade Chocolate Sauce Recipe Works So Well
I test recipes over and over again here in my kitchen so you don’t have to, and this homemade chocolate sauce is one I stand behind 100%. It’s reliable, it’s quick, and it tastes like the best quality chocolate you can find, yet it uses ingredients you likely already have. We skip the corn syrup entirely, which is a big win in my book!
- It’s ready to go in about 10 minutes total.
- It uses simple pantry mainstays like sugar and cocoa powder.
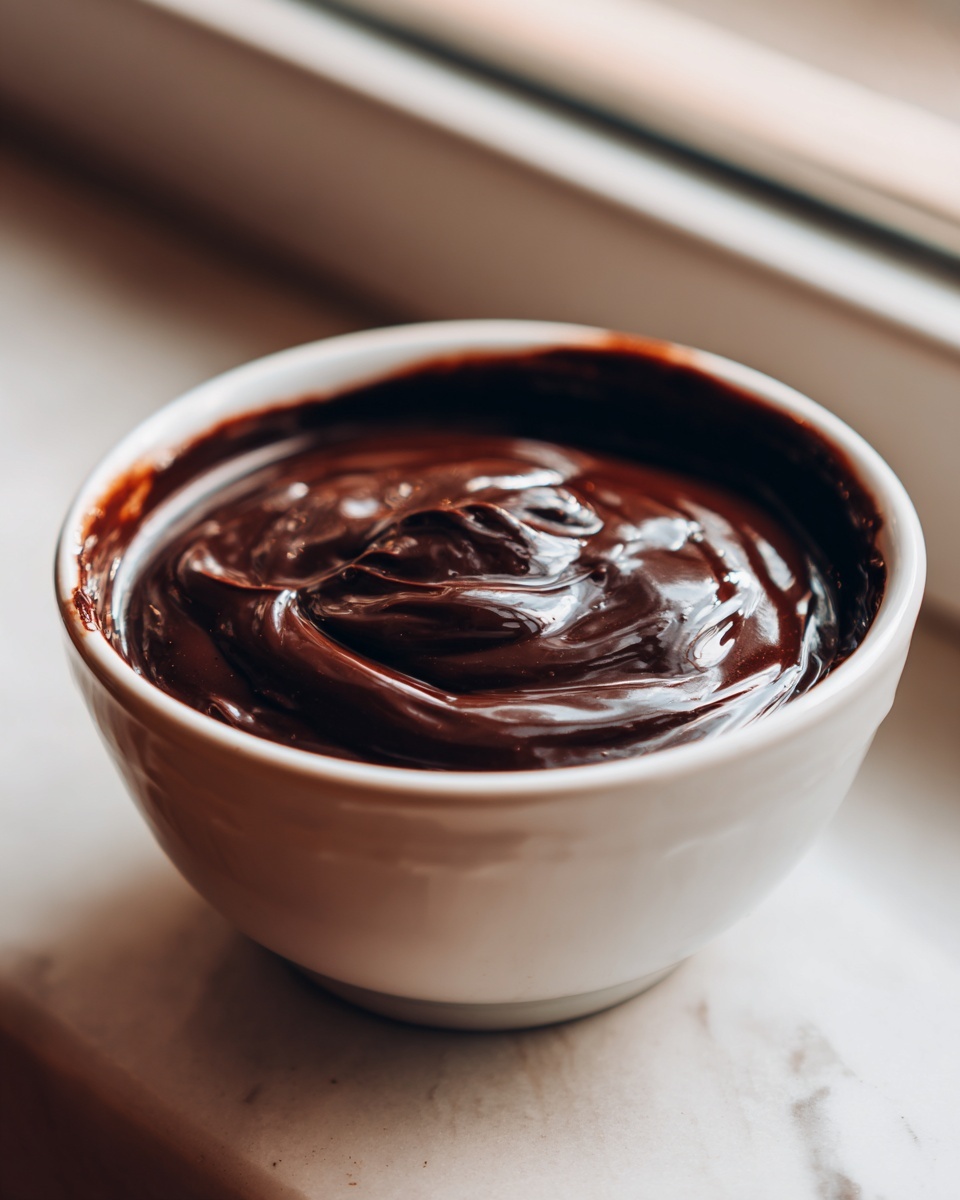
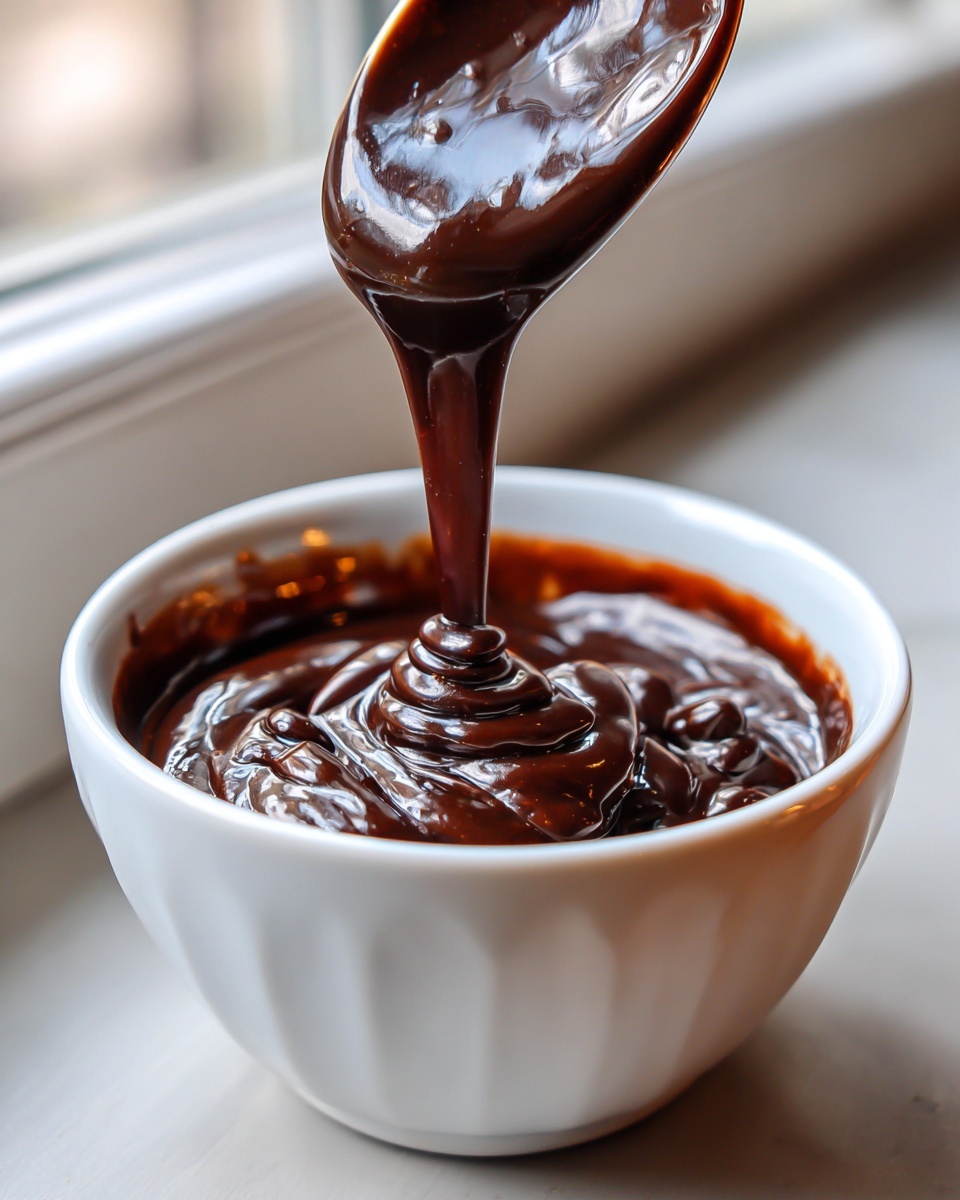
- The resulting sauce has an incredible, show-stopping gloss.
- It thickens perfectly as it cools down.
Achieving the Perfect Consistency for Your Homemade Chocolate Sauce
The magic truly lies in the simplicity of ratios here. If you want a thinner chocolate syrup for drizzling into iced lattes, use a touch more water than specified. If you prefer something that really holds its shape, like the absolute best Thick Ice Cream Topping, stick to the recipe measurements!
The secret weapon for the structure is boiling the sugar and water mixture for *exactly* one minute after it starts bubbling. I know, I know, watching the clock sounds stressful, but that short boil properly dissolves the sugar without letting it crystallize later. This guarantees a smooth topping every single time.
Gathering Ingredients for the Best Homemade Chocolate Sauce
When I talk about simple ingredients, I mean it! This recipe for homemade chocolate sauce relies on things I always have either on the counter or in the pantry. There’s no need to run to a specialty shop when you need a quick dessert fix. We are using everyday granulated sugar, good quality unsweetened cocoa powder, a little salt to wake up those chocolate notes, and the magic trio: water, heavy cream, and unsalted butter.
If you want to try the recipe right now, you can jump over to my main guide for the full measurements, but I wanted to take a moment to talk about customizations first. These little tweaks ensure this sauce meets exactly what you’re craving. You can see how I adjust the water ratio here, which is key for texture.
Ingredient Notes and Simple Cocoa Powder Sauce Substitutions
You asked about swaps, and yes, we can absolutely adapt this! If dairy isn’t your friend right now, making a Vegan Chocolate Sauce Option is totally doable. Just swap the heavy cream for the thick, solid cream portion from a can of full-fat coconut milk—don’t stir the can first! You’ll also want to use your favorite vegan butter block.
If you’re chasing that deep, complex bakery flavor, think about using a darker cocoa powder. Switching to a Dutch-process cocoa will give you a much deeper, almost bittersweet flavor profile, yielding a glorious Rich Dark Chocolate Sauce that tastes like it simmered for an hour, not five minutes. The key is always starting with quality pure vanilla extract, though; it really makes everything shine.
Step-by-Step Instructions for Your Quick Dessert Sauce
I’m obsessed with how fast this Easy Chocolate Sauce Recipe comes together. Seriously, grab a medium saucepan—nothing fancy needed—because we are moving fast. The first thing you absolutely must do is whisk your dry ingredients together: the sugar, the cocoa powder, and that little bit of salt. You want to break up every single lump of cocoa powder before we introduce any liquid. Trust me; this pre-whisking step is non-negotiable for a smooth sauce!
Once that’s fluffy, whisk in your water until it looks completely uniform. Now, place it over medium heat. We are bringing this to a gentle boil, stirring often, and this is the most important timing step: let it boil for precisely one minute. That’s it! Do not walk away. Once that minute is up, yank it off the heat immediately. Now, while it’s piping hot, whisk in your cold heavy cream and the butter until everything is melted and shiny. Finally, stir in the vanilla. If you like smooth pudding, you know this cooling stir is essential, and it’s just as true here!
Expert Tips for Smooth Homemade Chocolate Sauce
The number one fear people have when making homemade syrup is that it ends up grainy, or worse, turning into hard candy. We are making a gorgeous Homemade Chocolate Sauce here, not fudge, so listen close for these three smoothness secrets!
- Always, always, always whisk your dry ingredients—sugar and cocoa—before you add that water. Starting with smooth powders means a smooth final product, especially since we aren’t using corn syrup to prevent crystallization.
- Stick to that one-minute boil! Over-boiling the sugar solution is the fastest way to mess up the texture and make your lovely sauce gritty.
- The cooling process matters. Stir it frequently as it starts to cool down in its jar. This constant agitation keeps the glaze glossy and prevents any sugar crystals from forming on the sides or top.
Flavor Variations for Gourmet Chocolate Sauce At Home
I love that this base recipe for homemade chocolate sauce is so adaptable. It’s already fantastic, but if you’re looking to step up your dessert game for a party or just feel like experimenting, this is where you can play around! If you want a really deep, almost fudgy backdrop, a tiny bit of instant espresso powder added right in with the cocoa is magic. It doesn’t make it taste like coffee, it just makes the chocolate taste like more chocolate, if that makes sense!
You can also add a small pinch of cayenne pepper if you like things spicy—that Mexican hot chocolate vibe is seriously addictive over vanilla ice cream. For a holiday feel, a dash of pure peppermint extract instead of vanilla makes an incredible dip for shortbread cookies. Feel free to peek at my recipe for making homemade hot cocoa mix; some of those flavor profiles cross over perfectly here!
Making a Rich Dark Chocolate Sauce or Hot Fudge Sauce Recipe
Everyone asks about making this thicker, right? Because without corn syrup, we rely on the sugar and cream ratio. If you want a true Hot Fudge Sauce Recipe that clings beautifully to a warm brownie, you just need to cut down the water in the original recipe by about a third—say, use 1/3 cup of water instead of 1/2 cup. That reduction in liquid will concentrate the sugars, making the final product a super dense, gooey Fudgy Chocolate Drizzle.
Contrast that to making a thinner syrup for sundaes; I would actually go up to 3/4 cup of water if you want it lighter and more pourable. The key is adjusting that initial liquid before you boil it!
Serving Suggestions for Your DIY Chocolate Topping
The best part of waiting those few minutes for your homemade chocolate sauce to cool just enough is deciding what to drown in it! This sauce is so rich and simple that it honestly tastes better than anything you can find pre-made.
Of course, it’s incredible warm, poured generously over a scoop of vanilla bean ice cream. But don’t stop there! It’s fantastic with fresh strawberries or slivered bananas. If you’re making my fudgy brownie cookies, you need this sauce to drizzle right over the top before serving—it locks in that extra gooey factor!
Also, try using this as a decadent swirl in your morning coffee instead of plain syrup, or gently fold a spoonful into plain Greek yogurt for an instant chocolate treat. You’ll find yourself reaching for this jar constantly!
Storage Tips for Chocolate Sauce and Reheating Homemade Chocolate Sauce
One of the biggest headaches with store-bought syrups is worrying about when they’ll go bad, but when you make this homemade chocolate sauce yourself, you are 100% in control! Since we used real dairy—the heavy cream and butter—it won’t last forever, but it holds up surprisingly well. You should aim to store this creation in a very clean, airtight jar.
I’ve found that keeping it in the refrigerator means it stays perfectly fresh for about two weeks. That’s plenty of time for ice cream nights and brownie drizzling! You’ll notice that as it chills, it firms up quite a bit, maybe becoming closer to a soft caramel consistency. Don’t panic! That’s normal, and it’s why we need a quick reheating step. These Storage Tips for Chocolate Sauce make sure you get that perfect texture every time you dip into the jar.
To bring it back to that gorgeous, pourable texture we love so much (especially when making a DIY Chocolate Topping), you have two easy options for reheating. If you need just a little bit, pop about two tablespoons into a microwave-safe bowl and zap it for 10 to 15 seconds, stirring halfway through. If you need a larger batch, cover the jar loosely and heat it gently right on the stovetop over very low heat, stirring constantly until it’s glossy again. It comes back beautifully every time!

Frequently Asked Questions About Homemade Chocolate Sauce
Can I make this homemade chocolate sauce ahead of time?
Absolutely, yes! I always try to make a double batch on Sunday because it’s so fast and lasts for almost two weeks in the fridge. Since this homemade chocolate sauce doesn’t use corn syrup, it relies on that dairy content and its texture will firm up when chilled. That’s why the reheating tip in the storage section is so important. You want to reheat it gently on the stove or in short bursts in the microwave until it’s glossy and pourable again. It truly is the best make-ahead topping!
My sauce came out grainy. Why is my sauce grainy?
Don’t you worry, this happens to everyone when dealing with straight sugar and cocoa powder! Graininess usually comes from two things. First, if you didn’t whisk the dry ingredients thoroughly enough before adding the water, you’ll have pockets of undissolved sugar. Second, and more often, it happens if you boil the sugar mixture for too long or too vigorously. Remember, we only want exactly one minute of rolling boil. If you see any stiff, almost crystalline texture forming, try adding an extra teaspoon of hot water and whisking vigorously off the heat until it re-emulsifies—it often works!
Can I use regular milk instead of heavy cream?
You can, but I really caution against it if you want that rich, almost fudgy texture you see in the pictures. Heavy cream brings essential fat content, which is what stabilizes the sauce and gives it that premium gloss. If you use regular milk, the sauce will be much thinner—more like a thin hot chocolate than a true Best Homemade Chocolate Syrup. If milk is all you have, try substituting 1/4 cup of the water with milk, but you’ll likely end up with a much less satisfying topping.
Is there a way to make this a pourable chocolate ganache alternative?
That’s a great question! A true ganache uses chocolate bars and heavy cream, but we can get close here with a slight adjustment. If you want something thicker and richer than our standard sauce, just reduce the water amount down from 1/2 cup to 1/3 cup. This concentrates the sugar and cocoa solids, resulting in a thicker coating perfect for dipping strawberries. For more complex ratios, you can check out some of my other emulsion-focused recipes here, though this sauce is much simpler!
Final Thoughts on Making Homemade Chocolate Sauce
I truly hope you give this wonderfully quick homemade chocolate sauce a try! Once you see how easy it is, you’ll never go back to the store-bought stuff. Please come back and rate this recipe below—I’d absolutely love to know your favorite way to use this DIY Chocolate Topping, whether it’s over ice cream or whisked into coffee. If you want to learn more about our mission of simple, real cooking, check out our story here! Remember, wonderful meals shouldn’t be complicated; they should just be made with love.
PrintThe Ultimate 5-Minute Rich & Glossy Homemade Chocolate Sauce
Make a rich, glossy chocolate sauce from scratch in just five minutes using simple pantry staples. This recipe creates a versatile topping perfect for ice cream, brownies, or coffee drinks.
- Prep Time: 5 min
- Cook Time: 5 min
- Total Time: 10 min
- Yield: About 1 1/2 cups 1x
- Category: Dessert Topping
- Method: Stovetop
- Cuisine: American
- Diet: Vegetarian
Ingredients
- 1 cup granulated sugar
- 1/2 cup unsweetened cocoa powder
- 1/4 teaspoon salt
- 1/2 cup water
- 1/2 cup heavy cream
- 2 tablespoons unsalted butter
- 1 teaspoon pure vanilla extract
Instructions
- Combine the sugar, cocoa powder, and salt in a medium saucepan. Whisk these dry ingredients together well to break up any cocoa lumps.
- Pour in the water and whisk until the mixture is smooth.
- Place the saucepan over medium heat. Bring the mixture to a gentle boil, stirring constantly. Let it boil for exactly one minute, stirring occasionally. This step dissolves the sugar and blooms the cocoa.
- Remove the saucepan from the heat. Immediately whisk in the heavy cream and butter until both are completely melted and incorporated.
- Stir in the vanilla extract.
- Pour the sauce into a heatproof jar or container. Allow it to cool slightly before using. The sauce will thicken as it cools.
Notes
- For a thicker hot fudge sauce, reduce the water to 1/3 cup. For a thinner chocolate syrup, increase the water to 3/4 cup.
- To customize the flavor, add 1/2 teaspoon of instant espresso powder along with the dry ingredients for a deeper chocolate taste.
- If you need a vegan chocolate sauce option, substitute the heavy cream with full-fat canned coconut milk (the thick cream part) and use a vegan butter substitute.
- Store this homemade chocolate sauce in an airtight container in the refrigerator for up to two weeks. Reheat gently on the stovetop or in the microwave to return it to a pourable consistency.
- To prevent graininess, stir the sauce frequently as it cools. Do not over-boil the mixture.
Nutrition
- Serving Size: 2 tablespoons
- Calories: 150
- Sugar: 18
- Sodium: 35
- Fat: 8
- Saturated Fat: 5
- Unsaturated Fat: 3
- Trans Fat: 0
- Carbohydrates: 20
- Fiber: 1
- Protein: 1
- Cholesterol: 20