
Let’s be honest, you deserve better than that jar of thick, overly sweet stuff lurking in your pantry. Seriously, why settle for something artificial when you can whip up something utterly decadent in less time than it takes to find the clean spoons to eat it with? My mission here at the kitchen table is always to show you that even the simplest staples can be completely transformed with just a little know-how. This recipe for homemade chocolate syrup is my go-to fix. It’s truly the best you will ever make—rich, silky, and ready in under 10 minutes. I’ve tested this simple formula countless times right here in my own kitchen to ensure it delivers flawless results every single time. This is pure, honest chocolate goodness, exactly the kind of simple recipe that brings joy to an everyday meal, or elevates a simple scoop of vanilla ice cream!
- Why This Homemade Chocolate Syrup Recipe Beats Store-Bought
- Gather Your Pantry Ingredients for Chocolate Syrup
- How to Make Easy Chocolate Syrup Recipe in 10 Minutes
- Tips for Success When Making Homemade Chocolate Sauce
- Creative Ways to Use Your Rich Chocolate Topping
- Storage and Reheating for Your DIY Chocolate Syrup
- Variations: Making Vegan Chocolate Syrup or Sugar Free Chocolate Sauce
- Frequently Asked Questions About Our Chocolate Syrup
- Sharing Your Homemade Chocolate Syrup Creation
Why This Homemade Chocolate Syrup Recipe Beats Store-Bought
You might think bottled syrup is convenient, but trust me, once you taste this fresh batch, you’ll never look back. That stuff on the shelf has stabilizers and ingredients we just don’t need taking up space in our clean pantries! When you make your own rich chocolate topping right here, you take control of the flavor, the sweetness, and honestly, the wow factor.
This is truly Better Than Store Bought Syrup, and the difference is noticeable immediately:
- You control the ingredients—no weird preservatives, ever.
- It has an infinitely deeper, purer chocolate flavor.
- The texture is naturally silky, avoiding that overly thick, gluey quality of commercial brands.
We’re aiming for a syrup that melts beautifully into cold milk or drizzles perfectly over a warm brownie. It requires just a few minutes on the stove, and the results are spectacular. You can even follow along with my directions for making quick chocolate pudding using a similar base—it’s magic!
The Secret to the Best Ever Chocolate Syrup
The real game-changer isn’t the sugar or the cocoa; it’s the cooking time. You have to let the cocoa powder and sugar bloom together with the water before you let it boil. We aren’t making fudge; we just need a brief, hot moment where the cocoa releases its deepest flavor compounds. A minute of boiling is truly all it takes for this to become the Best Ever Chocolate Syrup contender. We heat it just enough to dissolve everything perfectly, ensuring a smooth, velvety finish that coats a spoon beautifully. That velvety finish is what separates a good syrup from a great one!
Gather Your Pantry Ingredients for Chocolate Syrup
The best part about making this luxurious homemade chocolate sauce? You probably have everything you need sitting on your shelf right now! That’s the beauty of a true Pantry Staple Syrup—there’s no last-minute trip to the specialty store required. We are relying on basic building blocks to create something truly gourmet. You’ll need just five simple components, and you can have this batch of pure chocolate magic ready in about 10 minutes.
Here’s what you need to pull together for this quick recipe:
- 1 cup granulated sugar
- 1 cup unsweetened cocoa powder
- 1 cup water
- 1 teaspoon vanilla extract
- Pinch of salt
Ingredient Notes and Simple Substitutions
Now, let’s talk about why these few things work so well together. That little pinch of salt might seem silly in a sweet syrup, but trust me, it performs magic! It balances the sweetness and really wakes up the deep chocolate flavor of the cocoa powder. Don’t skip it!
Also, for a truly next-level experience—and this is something I do often when I want a mocha vibe instead of just regular milk—you can substitute the one cup of water with one cup of brewed coffee. Oh my gosh, talk about rich! The coffee deepens that chocolate note beautifully without making it taste distinctly like coffee. It just tastes *more* like chocolate, if that makes sense. It’s one of my favorite little secrets when making a rich chocolate topping!
How to Make Easy Chocolate Syrup Recipe in 10 Minutes
I know you’re eager to slather this on something immediately, and that’s the beauty of this 5 Minute Syrup Recipe! Seriously, the stovetop time is almost nothing. We are moving fast here, but precision matters when dealing with melted sugar and cocoa powder, so stick close to the heat. The entire process once you start cooking takes about 5 minutes total, which is why this is the perfect solution when you suddenly realize you need a decadent topping for movie night!
Step-by-Step Guide to Perfect Chocolate Syrup
The magic happens quickly, so have your jar or container ready nearby. Follow these steps exactly, and you’ll have the best chocolate syrup ever.
- First, grab a small saucepan—nothing too wide, we want the ingredients concentrated. Combine the sugar, your cocoa powder (make sure that cocoa is unsweetened!), and the water together in that pan. You don’t need to heat it yet.
- Put that pan over medium heat. Now, this is important: whisk constantly, but gently, until you see the sugar completely dissolve. You shouldn’t feel any grit when you rub a little mixture between two fingers. It needs to look totally smooth before it gets hot enough to stick!
- Once it’s smooth, turn up the heat slightly and bring the whole mixture to a gentle boil. I mean a *gentle* boil. Let it bubble for exactly 60 seconds. Seriously, set a timer! Over-boiling this will result in a crystalized or grainy sauce later on. We aren’t looking for that thick texture yet.
- As soon as that minute is up, whisk in your vanilla extract and the tiny pinch of salt we talked about before.
- Take the pan *off* the heat immediately. Pour this glorious liquid into your clean storage jar. Don’t panic if it looks way thinner than you expected! That’s normal. You can check out my tutorial on easy side dishes if you need something quick to go alongside your newly made dessert.
That’s it! The resting and cooling process is where the thickness develops. As this homemade chocolate sauce cools down completely on the counter, it will magically transform into the thick, glossy syrup you were hoping for.
Tips for Success When Making Homemade Chocolate Sauce
I know you just followed those steps—and hopefully, you smelled that amazing chocolate aroma filling your kitchen! Making a truly fantastic Homemade Chocolate Sauce isn’t just about following directions; it’s about understanding the tiny spots where things can go wrong. Since we aren’t using the corn syrup that keeps those store-bought bottles perpetually liquid, we need to be a little more attentive to the cooling process. That’s where we build trust with our readers—we tell you exactly what to do if the syrup isn’t quite right!
If you are worried about graininess or it seems too thin right now, take a deep breath. Remember, the boiling needs to be brief and constant, and that 60-second window is what ensures the sugar fully suspends in the water without recrystallizing later. If you followed that closely, you shouldn’t have that dreaded texture issue.
Achieving a Silky Chocolate Glaze Texture
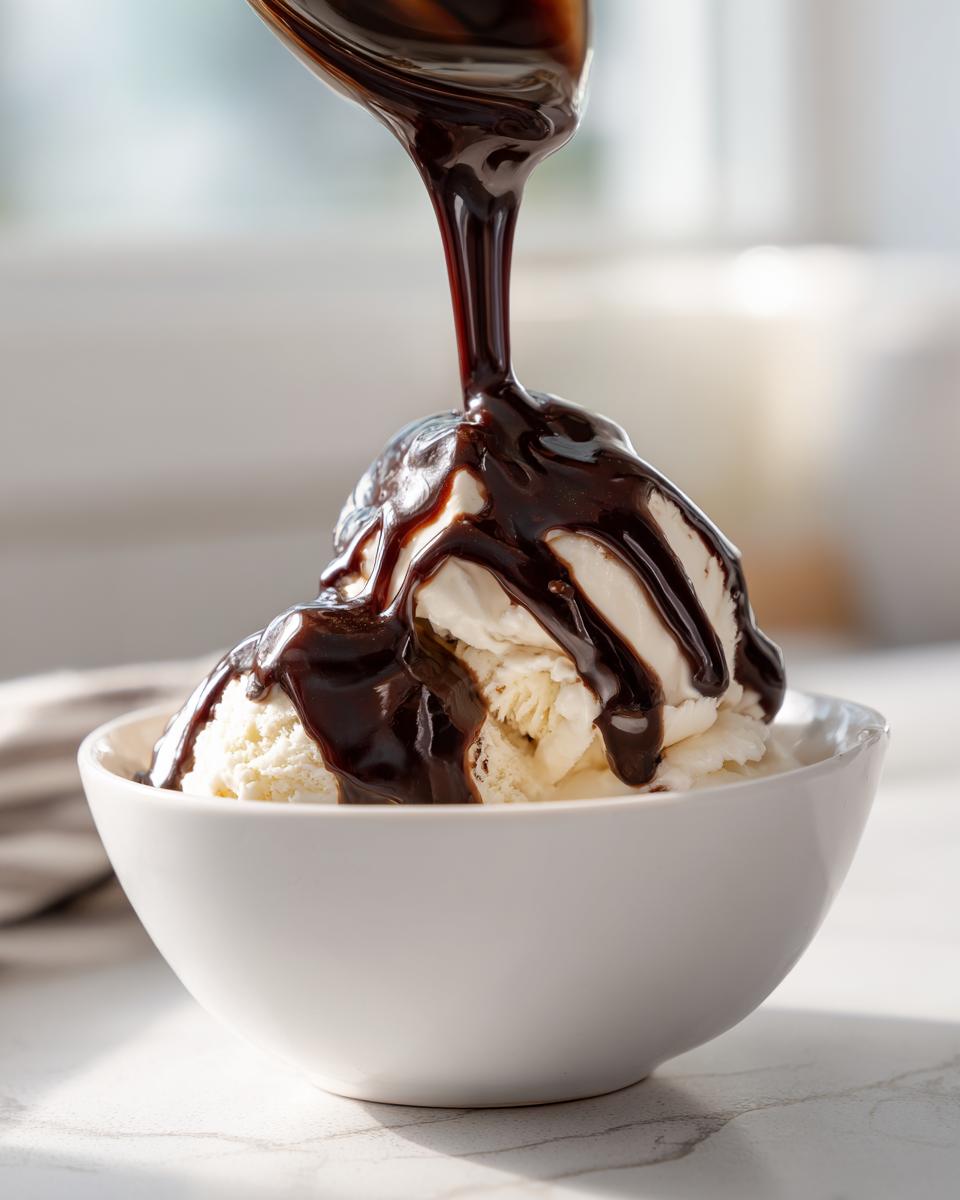
The texture is everything, right? We are aiming for that perfect coating texture, like a luxurious chocolate glaze that slowly drips down an ice cream cone. The science here is simple: the ratio of sugar to water is precisely what allows the cocoa to emulsify smoothly when heated, and the quick boil sets that suspension just right. If your syrup seems too thin after it has cooled down completely in the fridge—say, it’s running off your spoon too quickly—don’t worry! You don’t have to throw it out. Just pour the slightly cool syrup back into your saucepan. Heat it gently and let it simmer for another 30 seconds or so, whisking constantly. That extra minute of cooking reduces the water content just enough.
Now, the opposite problem: what if it turned out too thick? This happens if you accidentally boiled it for 90 seconds instead of one minute, or if you are storing it in a really cold part of the fridge. If this happens next time, I suggest trying out some of my tips for dressing recipes; they all rely on gentle emulsification! If your syrup is too thick now, just scoop what you need out, put it in a small bowl, and warm it very gently on the stovetop or in the microwave for about 10 seconds. It will loosen right back up to that perfect, pourable, silky consistency. See? No need to stress when you’re cooking from scratch!

Creative Ways to Use Your Rich Chocolate Topping
Okay, now that you’ve mastered making this luxurious sauce, the real fun begins—figuring out all the ways to use it up before your sweet tooth insists you double the recipe! Seriously, this chocolate syrup is so much better than anything mass-produced, and it begs to be drizzled, mixed, and smothered over everything you eat. I keep a jar of this in the fridge constantly because it’s just too useful to be without. I, myself, use it religiously for an easy morning mocha; just a spoonful stirred into strong coffee with some steamed milk makes me feel like I’m at a fancy café.
You asked how to use it, and honestly, the possibilities are endless. This really is the ultimate dipping and topping ingredient. Forget searching for a specific Ice Cream Topping Recipe; you’ve already made the best one!
Here are a few ways my family puts this rich chocolate topping to work:
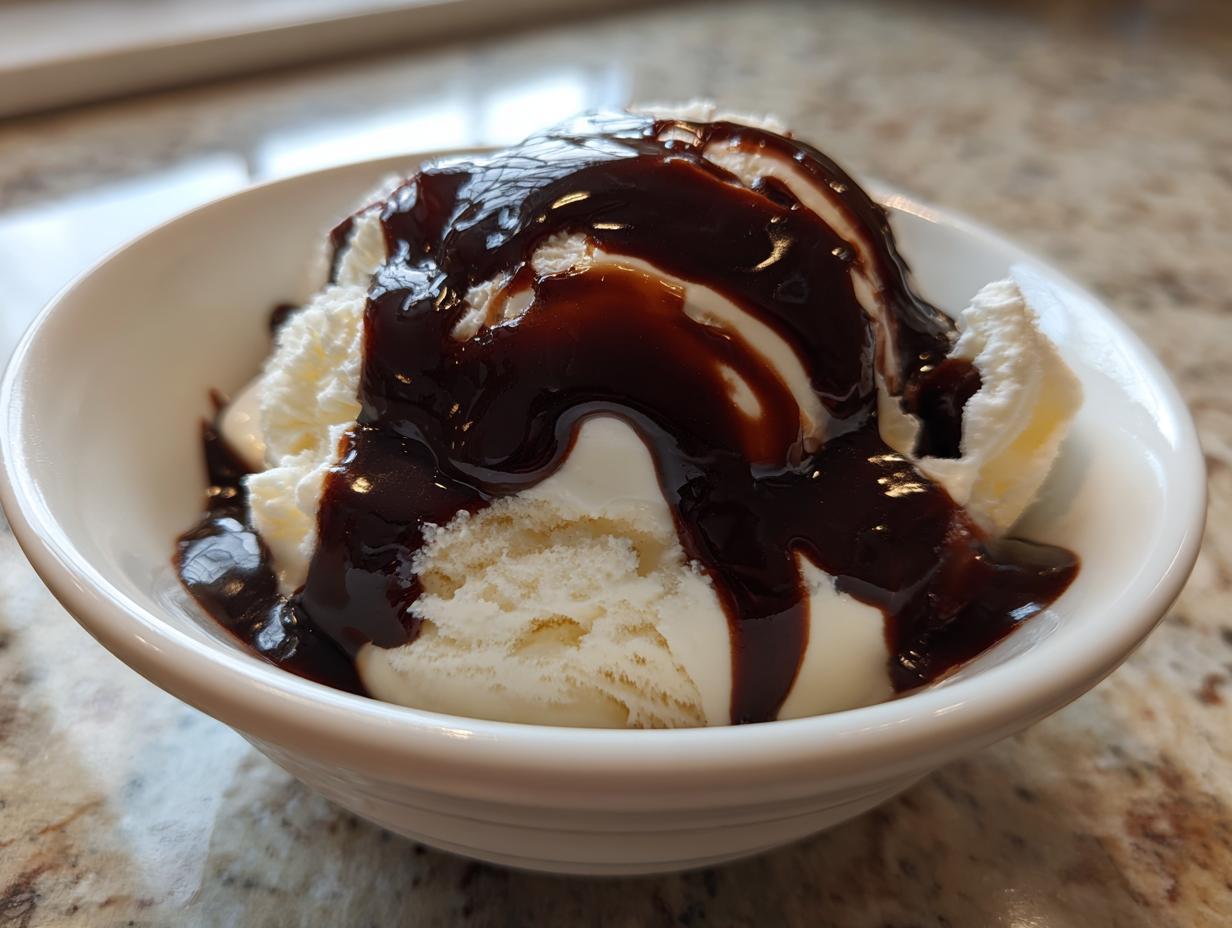
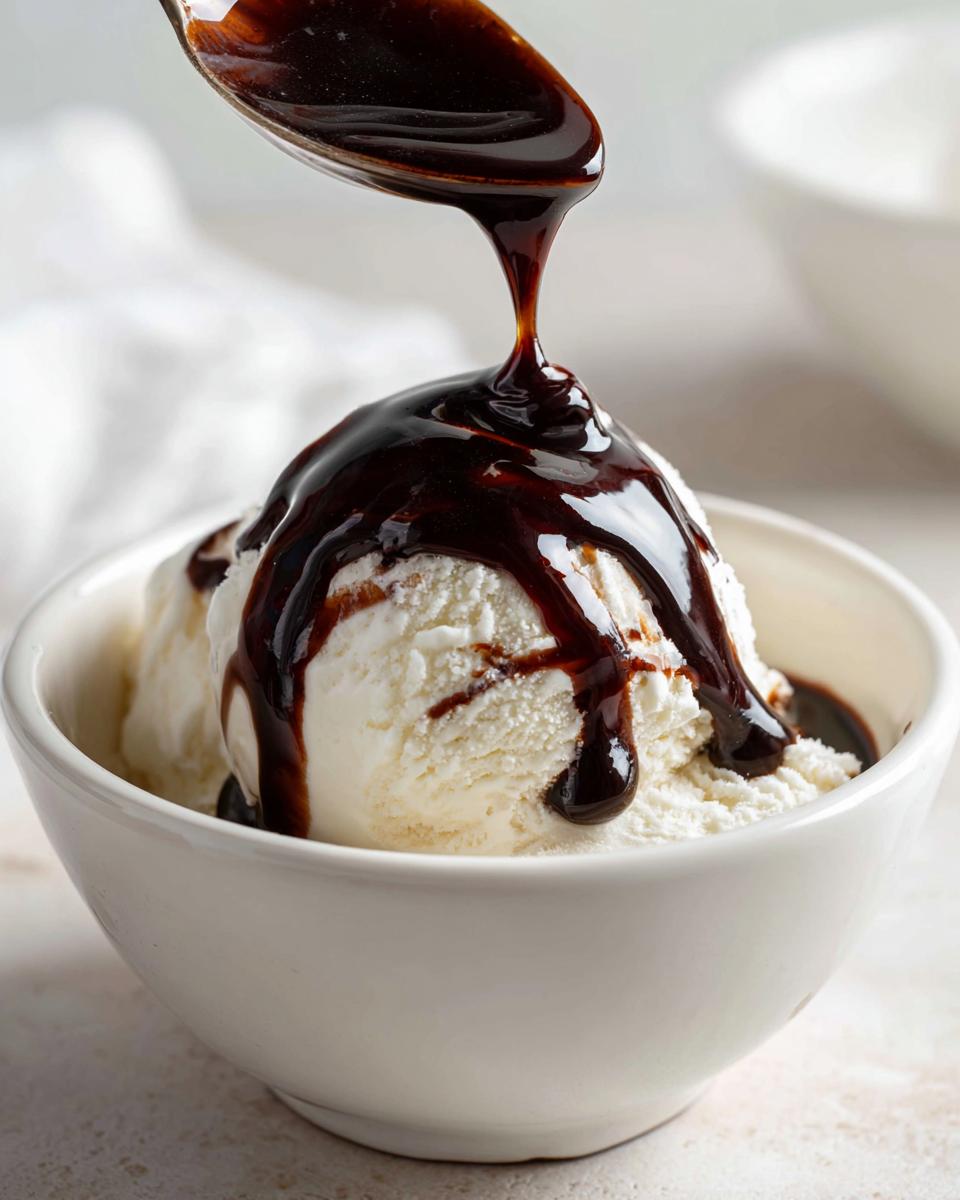
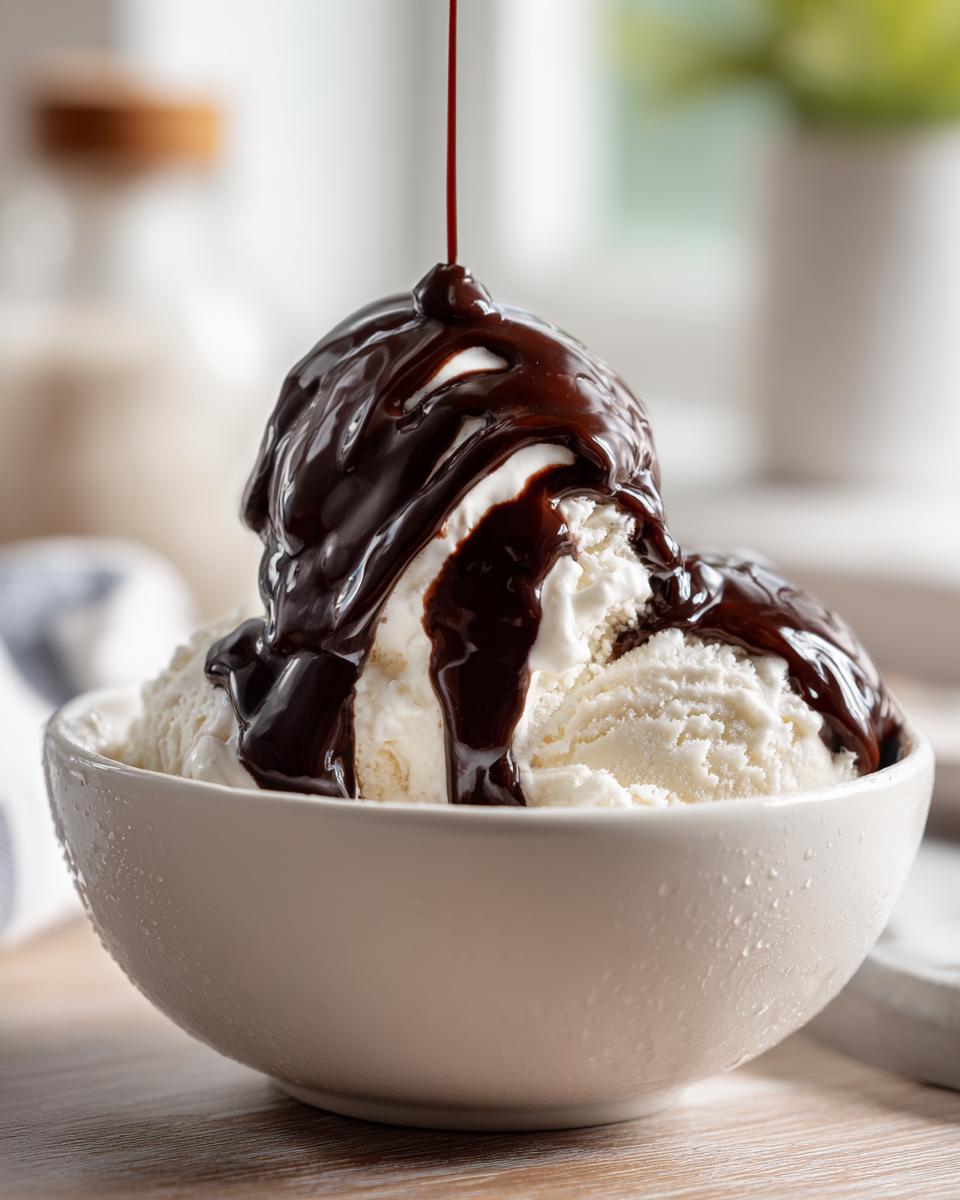
- The Obvious Winner: Ice Cream. Pour it heavily over vanilla, coffee, or strawberry ice cream. The cold instantly sets the syrup slightly, giving you layers of texture.
- The Ultimate Chocolate Milk Recipe: This is where you save the most money. Forget those chalky powders! Stir just two tablespoons into a cup of cold milk. Whisk it well, and you have the freshest, smoothest glass of chocolate milk you’ve ever tasted. It wakes up even plain dairy milk!
- Coffee House Drinks: As I mentioned, it’s amazing in lattes and frappés. If you are making mochas, especially, this homemade sauce really lets the coffee flavor shine through those rich chocolate notes.
- Breakfast Upgrade: Drizzle it generously over pancakes, waffles, or French toast. If you’re making my fluffy sourdough pancakes, this is the mandatory finishing touch—don’t skimp!
- Fruit Dipping: It makes a wonderful, slightly thinner dip for strawberries or banana slices when you need a quick, satisfying treat.
It’s versatile, it’s quick to make, and it lasts long enough in the fridge that you’ll have plenty of time to use it all up.
Storage and Reheating for Your DIY Chocolate Syrup
So you’ve made an amazing batch of homemade chocolate syrup, and now the crucial question is: how do I keep this liquid gold fresh? Storing homemade condiments can sometimes feel tricky, but this recipe is very forgiving, which builds my trust in sharing these simple pantry methods. Because we cooked the sugar and water mixture correctly, this syrup holds up beautifully in the fridge!
The key to maintaining that silky texture and flavor is using the right container. Make absolutely sure the jar you pour it into is clean and completely dry before you add the warm syrup. Then, seal it tightly. You want it stored in an airtight container—a mason jar with a tight lid is my personal favorite here. This keeps any fridge odors out and locks in that fantastic, fresh chocolate flavor.
If you follow that advice, your DIY Chocolate Syrup should stay perfectly delicious and usable for up to two weeks in the refrigerator. I’ve honestly pushed it slightly past that, but two weeks is the reliable window I stick to for perfect quality. Keep an eye out for any cloudiness or off smells if you go longer, but if you’re making this often, I doubt it will last that long!
Now, let’s talk about reheating, because this is where people sometimes get nervous. I mentioned earlier that after a few days in the fridge, your syrup is going to thicken up a bit—it might even look almost solid if your fridge runs cold. This is absolutely normal! That thickness is just the sugar solidifying slightly, which is a sign that you didn’t use any corn syrup fillers. Don’t panic, and don’t try to stir it with a spoon like cement!
Reheating is super simple and builds confidence in making your own things. You have two easy options. Option one: If you only need a little bit, scoop out the amount you need into a microwave-safe bowl and zap it for about 10 to 15 seconds. Stir it, check the texture, and repeat until it flows again. The second, and my preferred way, is to gently heat the amount you need right back on the stovetop. Put it in a tiny saucepan over very low heat—we aren’t bringing it back to a boil, just warming it through until it loosens up. A minute on low heat, stirring occasionally, and it will return to that glorious, pourable consistency, ready for your coffee or ice cream!
Variations: Making Vegan Chocolate Syrup or Sugar Free Chocolate Sauce
I want every single person who visits Taste This Plate to feel like they can make something delicious, even if they have special dietary needs! Just because we’re avoiding certain ingredients doesn’t mean we have to sacrifice that deep, decadent chocolate flavor we worked so hard to create. This basic framework for our chocolate syrup is super adaptable. We can pivot quickly to create versions that suit more folks, whether you’re sticking to a plant-based diet or cutting back on refined sugar.
For those of you looking to make a wonderful Vegan Chocolate Syrup, the swap is surprisingly easy, though I must give you a little warning—it changes the final texture. Instead of using granulated sugar, you can try substituting it one-for-one with pure maple syrup. Because maple syrup is already a liquid, you might need to slightly reduce the amount of water you add initially. You’ll still need to heat it gently to dissolve the cocoa, but maple syrup will give the syrup a slightly different, fruitier note and a softer set when cool. It is absolutely divine, though, especially if you want to treat yourself to a vegan mocha!
If you are exploring keto or other low-sugar methods for a Sugar Free Chocolate Sauce, the general idea is the same: replace the granulated sugar with your favorite granular zero-calorie sweetener, like monk fruit blend or erythritol. Now, here’s the tricky part about adapting that ‘Simple Syrup Recipe Chocolate’ base: I’ve found that pure sugar alcohols sometimes struggle to dissolve completely and can settle out when cooled. You’ll absolutely need to whisk this mixture extremely well on the stove, and you may get a slightly thinner result right off the bat. If you find that is the case, you might want to increase the cocoa powder by just a tablespoon or two, or consider adding just a tiny pinch of xanthan gum while whisking off the heat to help stabilize that texture. If you’re interested in other great swaps that focus on eliminating regular sugar, you should check out my recipe for moist vegan banana bread—it’s full of helpful tips for natural sweeteners!
Frequently Asked Questions About Our Chocolate Syrup
Whenever I share a recipe that’s this simple and this good, I usually get a flood of great questions! It’s wonderful that you’re thinking through the logistics of making something from scratch, and I want you to feel totally prepared before you even grab your saucepan. These FAQs cover the most common things I hear about making and storing this wonderful chocolate syrup at home.
Does this homemade chocolate syrup need corn syrup to be glossy?
That’s a great question, and the short answer is a big, emphatic no! One of the primary reasons I developed this recipe was so we could skip the corn syrup entirely. Store-bought versions rely on that to stay liquid and glossy on the shelf, but honestly, it tastes artificial. We achieve our wonderful, slightly thick texture naturally through the careful balance of sugar, water, and the quick 60-second boil. When it cools, it sets up perfectly! If you find it gets too thick *after* refrigeration, just warm it gently, as I mentioned before, and it flows beautifully.
How thick should the chocolate syrup be right after I take it off the heat?
This is where a lot of folks get nervous! Right when you pour it out of the saucepan, your homemade chocolate sauce will look surprisingly thin—almost watery. Don’t panic! It’s supposed to look that way. The final texture develops as the mixture cools down; that heat is what keeps everything suspended, but once the temperature drops, that sugar sets up, giving you that textbook, dippable consistency. Give it a good hour or two to cool on the counter, and you should see a big difference.
Is this recipe safe for long-term canning and preserving?
This is an important safety point, and if you’re interested in preserving for the long haul, you’ll want to read up on proper canning methods, often involving pressure canners depending on the acidity. Since this recipe relies on a very simple water/sugar/cocoa ratio, I can only vouch for its safety when stored in the refrigerator using an airtight seal for up to two weeks. For shelf-stable long-term storage, you really need to follow tested canning procedures, often involving adjustments to the sugar or water content, or potentially using an acid like lemon juice, which we aren’t doing here. If you need foolproof canning instructions, I always recommend checking resources like the National Center for Home Food Preservation. If you prefer an easy-to-store item, check out my recipe for easy cannoli cookies—those store wonderfully!
Can I easily turn this into a sugar-free chocolate sauce?
Yes, you absolutely can adapt this to make a wonderful sugar-free chocolate sauce! While I haven’t perfected the exact ratios for every single sweetener out there, the method is the same. You’ll swap the granulated sugar for your favorite bulk zero-calorie sweetener. Just remember what I said about thickeners—artificial sweeteners sometimes don’t suspend quite as well as real sugar does. You may need to whisk a tiny bit longer or use that trick of adding just a touch more cocoa powder off the heat to help it set up a little thicker when it chills. It’s worth the experimentation to get that sugar free chocolate syrup just right for you!
Sharing Your Homemade Chocolate Syrup Creation
You’ve done it! You’ve taken simple pantry staples and transformed them into something spectacular. That’s what cooking is all about—taking ingredients and infusing them with a little bit of love and technique to create happiness. I truly hope you are already raiding the pantry or setting aside some milk for the best glass of chocolate milk you’ve ever had.
I would absolutely love to hear how you used your fresh batch of chocolate syrup! Did you drizzle it over pancakes? Did you stir it into your morning coffee like I do? Did it survive the week in your fridge, or did you end up eating it with a spoon hidden in the back of the cupboard? (Don’t worry, I won’t tell if you did the latter!)
Please, take a minute once you’ve tested out this recipe to leave a rating and a quick comment below. Your feedback means the world to me here at the kitchen table. It helps me know these simple recipes are working for you and that my mission to make home cooking approachable is succeeding. If you snapped a picture of your decadent creation, tag me on social media! I adore seeing how you bring these recipes to life in your own kitchens.
If you ever have questions about the texture, storage, or want to chat more about simplifying your favorite dishes, please don’t hesitate to reach out through my contact page. Keep learning, keep tasting, and remember that every delicious thing you make at home is a small celebration. Happy cooking until next time!
PrintQuick Homemade Chocolate Syrup: Better Than Store-Bought

Make this rich, silky chocolate syrup from scratch in under 10 minutes using simple pantry ingredients like cocoa powder. It is the best topping for ice cream, milk, or coffee.
- Prep Time: 5 min
- Cook Time: 5 min
- Total Time: 10 min
- Yield: About 1.5 cups 1x
- Category: Dessert Topping
- Method: Stovetop Cooking
- Cuisine: American
- Diet: Vegetarian
Ingredients
- 1 cup granulated sugar
- 1 cup unsweetened cocoa powder
- 1 cup water
- 1 teaspoon vanilla extract
- Pinch of salt
Instructions
- Combine the sugar, cocoa powder, and water in a small saucepan.
- Place the saucepan over medium heat. Whisk constantly until the sugar dissolves and the mixture is smooth.
- Bring the mixture to a gentle boil, stirring occasionally. Let it boil for exactly 60 seconds. Do not overcook.
- Remove the saucepan from the heat. Stir in the vanilla extract and salt.
- Pour the syrup into a clean jar or container. Allow it to cool completely before using. The syrup will thicken as it cools.
- Store the homemade chocolate syrup in an airtight container in the refrigerator for up to two weeks.
Notes
- For chocolate milk, mix 2 tablespoons of syrup into 1 cup of cold milk.
- For a richer flavor, substitute the water with brewed coffee.
- If the syrup thickens too much after refrigeration, warm it slightly on the stovetop or in the microwave before serving.
Nutrition
- Serving Size: 2 Tablespoons
- Calories: 100
- Sugar: 24g
- Sodium: 5mg
- Fat: 0.5g
- Saturated Fat: 0.3g
- Unsaturated Fat: 0.2g
- Trans Fat: 0g
- Carbohydrates: 25g
- Fiber: 1g
- Protein: 1g
- Cholesterol: 0mg