
I don’t know about you, but sometimes I just crave that takeout-level crispiness, the kind that makes that satisfying sound when you bite into it. You know? The issue is, most recipes make the authentic korean fried chicken recipe seem like it requires a culinary degree. Well, I’m Kate, and that’s exactly what I’m here to fix! My whole philosophy here at the blog is turning those intimidating restaurant meals into something totally achievable in your own kitchen using reliable techniques. We aren’t messing around with one fry; we are doing the famous double-fry method. Trust me, this technique is the absolute secret weapon for achieving that perfectly brittle, shatteringly crisp crust every single time.
- Why This korean fried chicken recipe Delivers Restaurant Style Fried Chicken at Home
- Gathering Ingredients for Your korean fried chicken recipe
- The Double Fried Chicken Method: Mastering the korean fried chicken recipe
- Creating the Perfect Korean Chicken Glaze Variations
- Tossing and Serving Your Crispy Fried Chicken Recipe
- Tips for Success with Your korean fried chicken recipe
- Storage & Reheating Instructions for Juicy Homemade KFC
- Common Questions About Making the Best korean fried chicken recipe
- Serving Suggestions for Your Asian Chicken Dinner Idea
Why This korean fried chicken recipe Delivers Restaurant Style Fried Chicken at Home
I know you’ve been there: you make amazing wings, toss them in sauce, and ten minutes later, they’re soggy pillows. Ugh! That’s why this korean fried chicken recipe relies on preparation and—most importantly—the double fried chicken method.
We’ve engineered this recipe to eliminate the usual pitfalls of homemade fried chicken. You get that signature texture that holds up to the sticky glaze, even if you’re making it ahead for game day.
- It’s shock-fried twice, creating an impenetrable, crunchy fortress around juicy meat.
- We use starches, not just flour, for that paper-thin, crackly crust.
- The technique guarantees you get tender inside crispy outside chicken, just like at your favorite spot. You can check out my classic wing recipe here for comparison, but this is different!
The Secret to Tender Inside Crispy Outside Chicken
It starts before the fryer! First, the chicken must be bone dry. Seriously, take your time and pat every piece down. Any surface moisture turns instantly to steam and ruins the crust. Second, we use potato starch or cornstarch mixed with the flour. These starches hydrate differently than flour, creating a much thinner coating that blisters beautifully when fried, ensuring nothing weighs down that wonderful crunch.
Gathering Ingredients for Your korean fried chicken recipe
Okay, let’s talk supplies! Getting the right stuff together is half the battle, and I’ve made sure this korean fried chicken recipe uses things you can find easily. No fancy trips to specialty stores needed! Remember, precision matters here, especially with our coating, which is what delivers that ultimate crunch we talked about before.
We are prepping for two flavor options because why choose just one? I’m also linking to my homemade mayo recipe in case you need a creamy side dip later, but for now, let’s gather what goes *on* the chicken.
For the Chicken and Crispy Coating
For the chicken itself, grab about 2 lbs of wings or boneless thighs—keep those pieces uniform so they cook evenly! For the batter, you’ll need:
- 1 cup all-purpose flour
- 1/2 cup potato starch or cornstarch (this is key!)
- 1 teaspoon baking powder
- 1 teaspoon salt and 1/2 teaspoon black pepper
- 1/2 cup ice-cold water or even club soda (the bubbles help!)
Make sure that liquid is ice cold; it creates steam pockets which puff up the crust perfectly!
Glaze Option 1: Soy Garlic korean chicken
If you want savory instead of spicy, this glaze is for you. It’s deeply satisfying:
- 1/2 cup soy sauce
- 1/4 cup honey or corn syrup
- 2 tablespoons brown sugar
- 1 tablespoon minced garlic
- 1 teaspoon grated ginger
Glaze Option 2: Go-Chu-Jang Glaze Recipe
This is the classic sweet and spicy coating that makes KFC famous. If you love heat, this Go-Chu-Jang Glaze Recipe is your jam:
- 1/2 cup Gochujang (that wonderful Korean chili paste)
- 1/4 cup honey or corn syrup
- 2 tablespoons rice vinegar
- 1 tablespoon soy sauce
- 1 tablespoon minced garlic
We’ll finish it off with toasted sesame seeds and chopped green onions for garnish. Easy, accessible, and totally worth it!

The Double Fried Chicken Method: Mastering the korean fried chicken recipe
Alright, deep breaths! This is where the magic happens, and honestly, it’s what separates good homemade fried chicken from the truly show-stopping korean fried chicken recipe you’re craving. If you follow these steps for the double fried chicken method, you’ll get that famous crunch that lasts!
Temperature control is everything here; don’t rush it. You need enough oil to completely submerge the pieces comfortably. And please, never, ever crowd your pot! Overcrowding drops the oil temperature instantly, and that leads straight to greasy, sad chicken. We want crisp perfection, remember? I’ve got a great guide on air frying wings if you ever want a break from oil, but for this authentic crunch, we stick to the fryer!
Step 1: Preparation and Thin Batter Application
First things first—pat that beautiful chicken completely dry. I mean bone dry! Then, whisk up your batter until it’s just combined. A few lumps? Perfect! We are aiming for a very thin coating here. Dip each piece in the batter, letting the excess drip off for a second or two. You only want a sheer layer covering the meat; too thick, and you lose that delicate crispness.
Step 2: The First Fry (Cooking Stage)
Get your oil heated precisely to 325°F (160°C). Fry in small batches for about 6 to 8 minutes. The chicken will look lightly golden, not dark brown yet. Once they come out, place them on a wire rack over a baking sheet. Now, this is crucial: you must let them chill out and rest for a full 15 minutes. This rest allows moisture inside to redistribute and sets up the crust for the second fry. If you skip this, you skip the crunch!
Step 3: The Second Fry (Crisping Stage)
Time for the big finish! Kick that oil temperature up to 375°F (190°C). Return the *already cooked* chicken to the extremely hot oil, again in small batches. They only need 2 to 3 minutes this time. You are looking for that beautiful, deep golden brown color. This quick blast of high heat evaporates the surface moisture and locks in that incredible, shatteringly crisp texture. You can read more great techniques for taking your fried chicken game up a notch over at Majestic Menu!
Creating the Perfect Korean Chicken Glaze Variations
Now that our chicken is shatteringly crisp—seriously, give a piece a tap if you can resist eating it!—it’s time for the flavor upgrade. This is where you get to choose your adventure! We have that savory, deep Soy Garlic korean chicken, or we have the classic, fiery sweet heat. Both of these Korean Chicken Glaze Variations come together fast, but remember the rule: the glaze should never be boiling when you toss the chicken in it.
I like to heat the sauce gently until it just barely simmers. That usually takes about 3 minutes once it starts bubbling. Take it right off the heat immediately after that. You only want it warm enough to coat beautifully, not so hot that it steams the beautiful crispness right off our hard work! I’ve shared a great recipe for quick fried noodles that pairs perfectly with this, if you need a side dish idea.
Preparing the Sweet & Spicy Sticky Chicken Recipe Glaze
For that famous sweet and spicy kick, we start with that powerhouse ingredient, Gochujang. If you are serving kids or light spice lovers, don’t be scared to use only 1/3 cup of paste and bulk up the rest with a little extra honey. You can totally adjust the heat level!
We simmer the Gochujang, honey, rice vinegar, soy sauce, and garlic until it’s nice and syrupy—remember, just a quick 3 minutes. If you want more ideas for authentic Korean flavors, check out this amazing guide on Wasian Cookery. It’s all about nailing those bold flavors!
Tossing and Serving Your Crispy Fried Chicken Recipe
Okay, the chicken is perfectly hot and golden, and the glaze is glossy and ready to go. Now we work fast! This is the moment of truth for preserving that glorious crunch we worked so hard for. Don’t be shy! Dump the piping hot, crunchy chicken right into a big bowl—the biggest one you have!
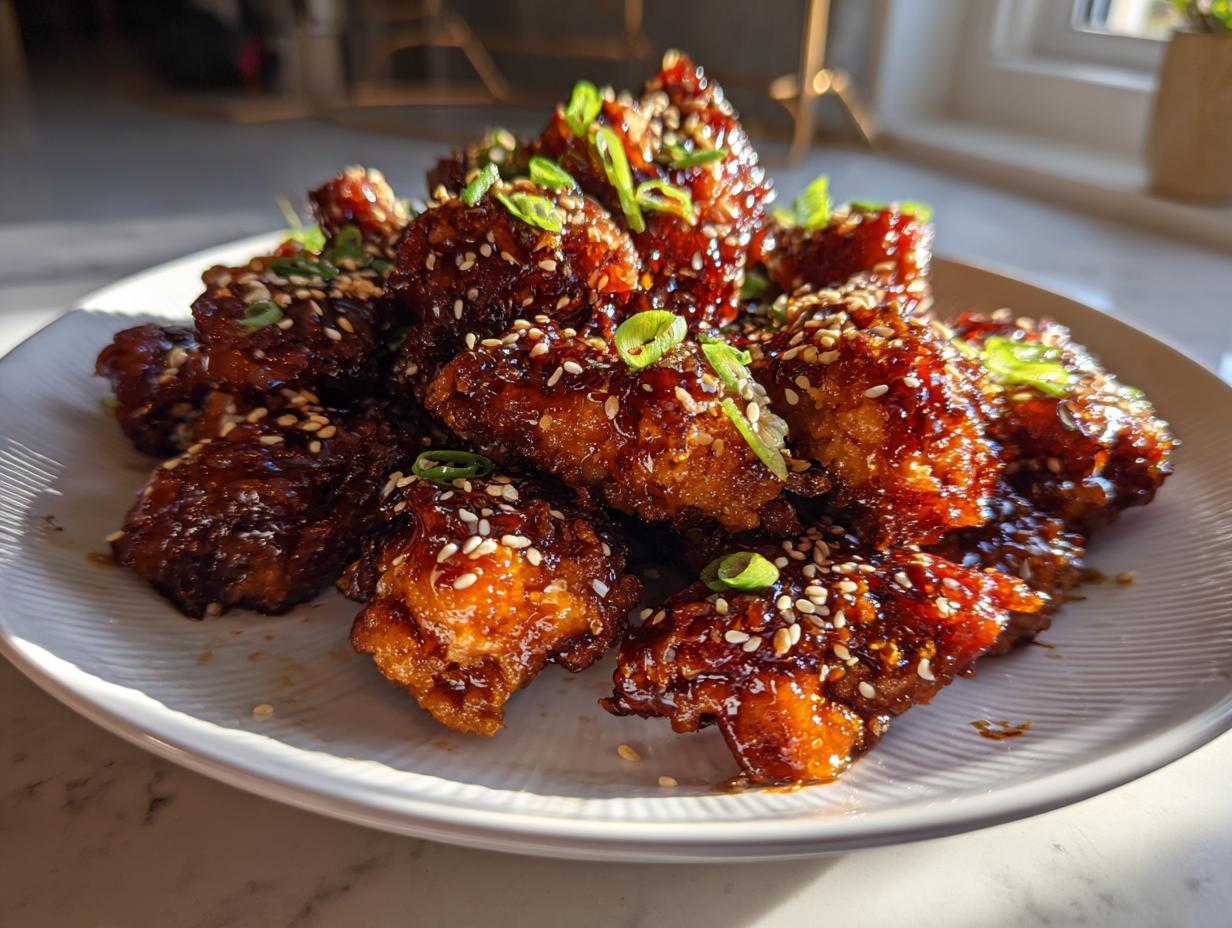
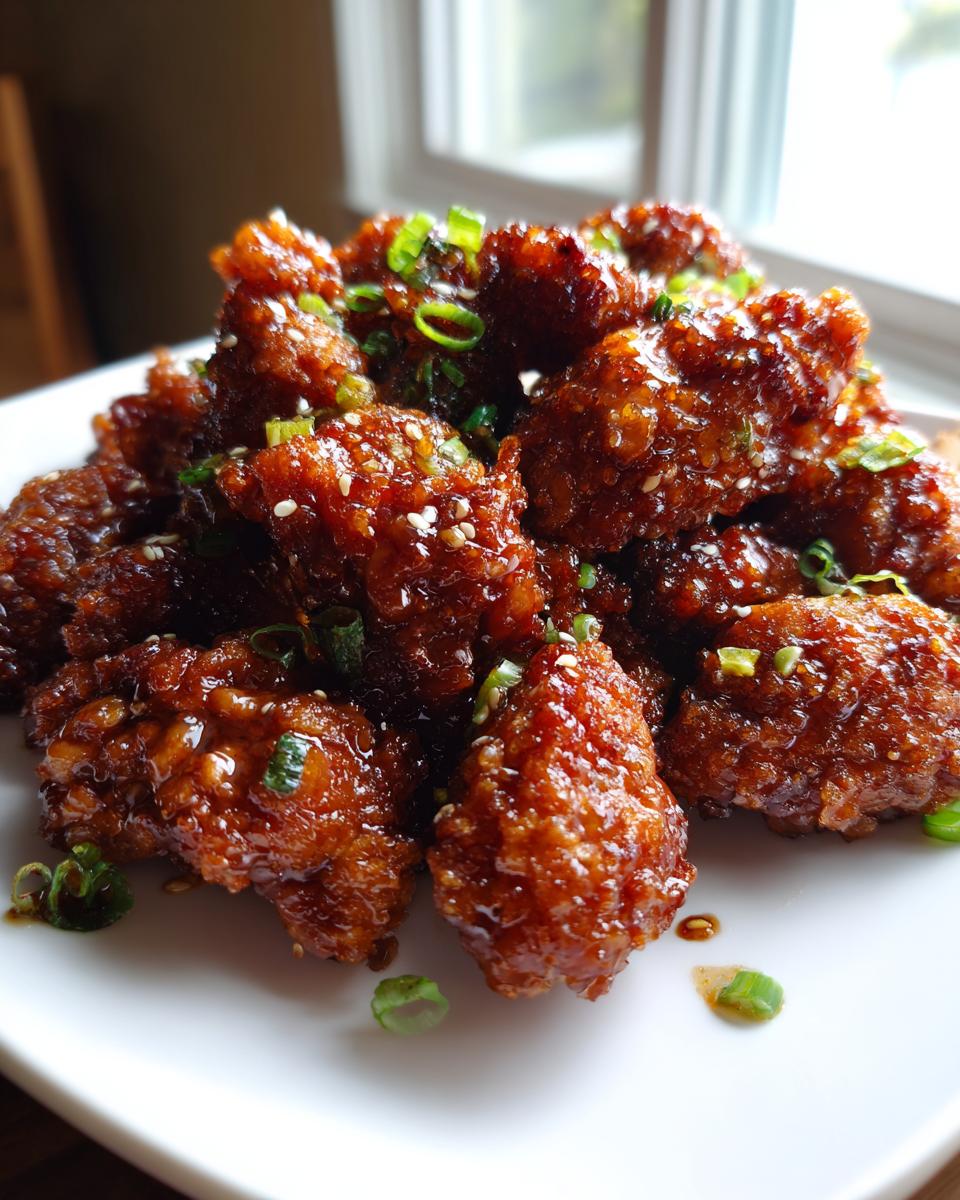
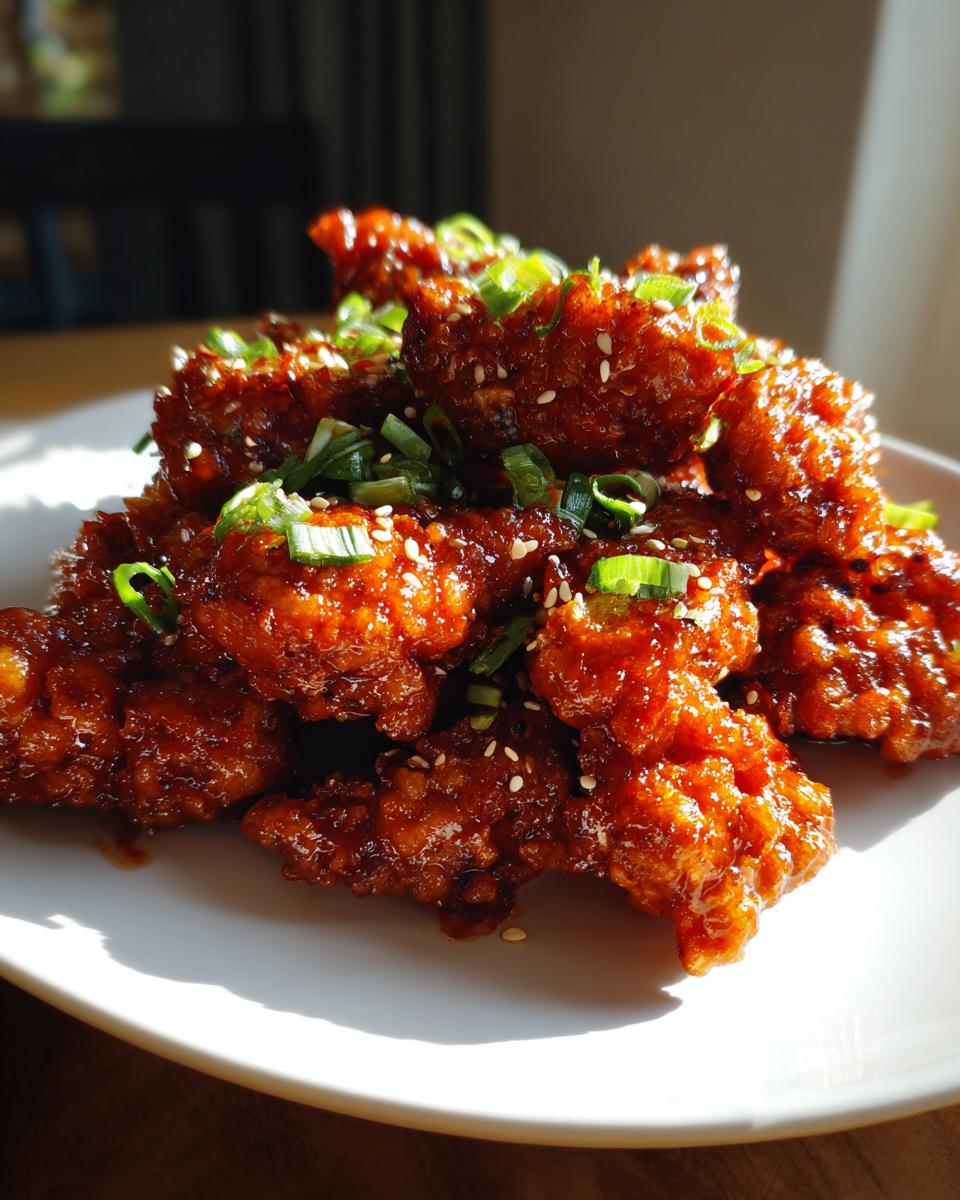
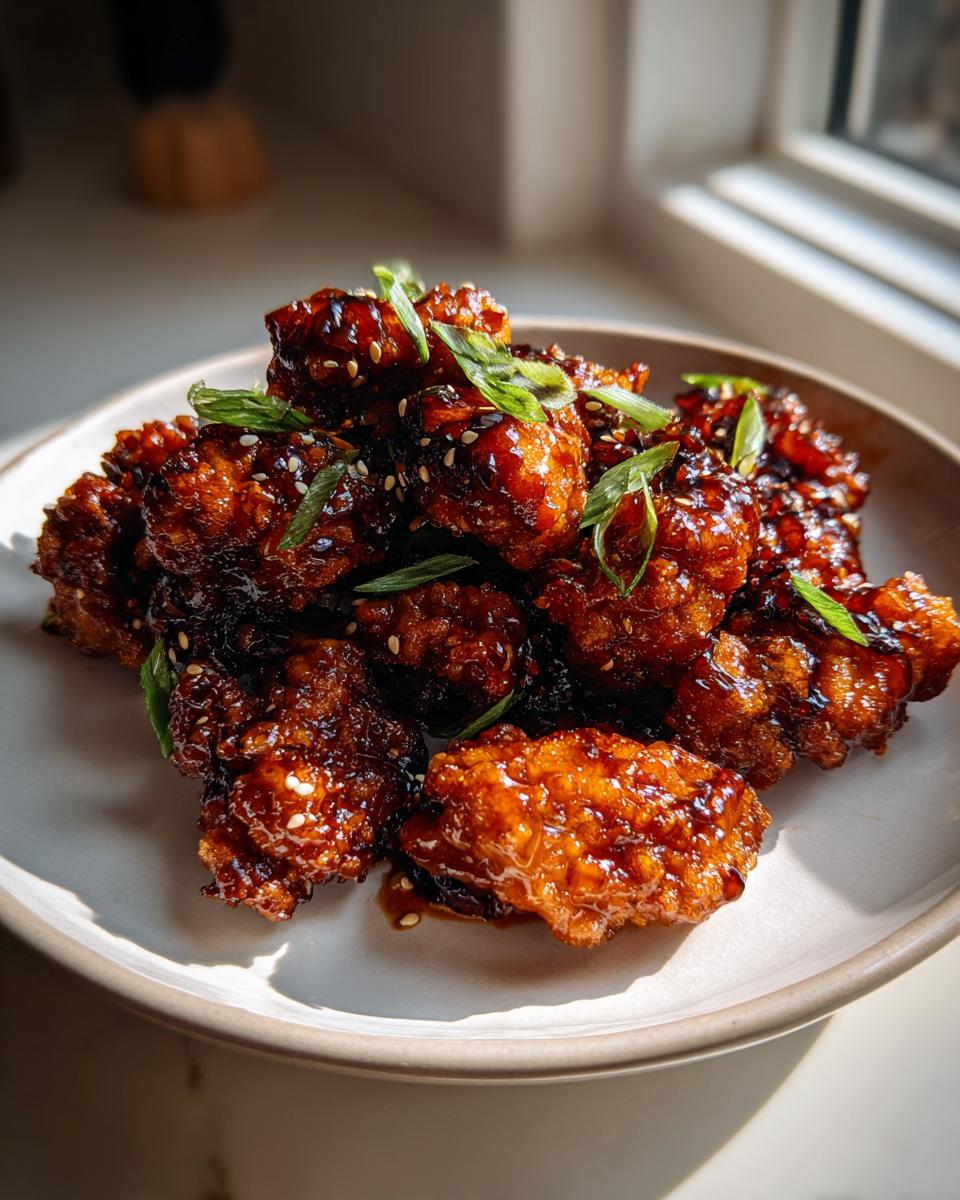
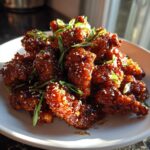
Pour that warm glaze right over the top. Gently, but quickly, toss everything until every single piece of our crispy fried chicken recipe is coated. Seriously, toss it right away! Once it’s glazed, sprinkle generously with toasted sesame seeds and chopped green onions. Trust me, this dish needs to hit the table immediately. It’s finger-licking good chicken at its finest!
If you’re looking for something cool and refreshing to scoop up alongside it, I highly recommend my recipe for easy chicken satay, though that’s great with rice, this KFC shines best all by itself!
Tips for Success with Your korean fried chicken recipe
I want you guys to have total success making this korean fried chicken recipe, and honestly, it all comes down to two main concepts: temperature and the right coating material. I poured over those notes my recipe testers left, and these are the takeaways that made the difference between good chicken and absolutely legendary crunch!
First up, that double-fry technique isn’t just for show; it’s essential. The first fry cooks it through, and the second fry brings the heat up high to expel moisture trapped inside your coating. If you want the secret to that ultra-crisp coating that stays crunchy even after you toss it in sauce, you have to stick to those temperature ranges I gave you. Aiming too low on that second fry? You’ll end up soaking up too much oil, which is the opposite of what we want!
Also, ditch the all-purpose flour-only crowd. That special ingredient, the potato starch, is what creates that signature thin, shatteringly crisp crust characteristic of authentic KFC. If you’re looking for other ways to use chicken without all the frying, I wrote up a lovely chicken piccata recipe perfect for a quick weeknight meal. But for this crispy goodness, make sure you’re using starches! It makes all the difference. For more insight into mastering that crunch, take a peek at this great guide from 10 Minute Zone.
Storage & Reheating Instructions for Juicy Homemade KFC
Listen, the very best way to enjoy this is straight out of the bowl after it’s been tossed in the glaze. It’s finger-licking good chicken, and you want that immediate crunch! But, if you happen to have leftovers—which I doubt, honestly—we need a plan to bring back the texture. Okay? Please, for the love of crispiness, do not reach for the microwave! The microwave generates steam, and steam is the sworn enemy of crunchy chicken.
The absolute best way to revive your Juicy Homemade KFC is to use dry heat. I love using the oven set to about 375°F (190°C) for about 8 to 10 minutes. If you have an air fryer, even better! A quick 5-minute blast in the air fryer will crisp things right back up. It won’t be exactly the same as fresh, but it gets you 95% of the way there. While the chicken rests, you might be craving something creamy, so check out my recipe for easy crockpot potato soup for an ideal pairing!
Common Questions About Making the Best korean fried chicken recipe
I totally get it—when you’re making something this exciting, you want zero guesswork! These questions pop up all the time when folks are tackling the korean fried chicken recipe for the first time, especially around managing that crunch and knowing what substitutions are safe. I’ve pulled the most common ones based on what you guys are asking me!
We want you to succeed, so we’re diving into the details. If you’re looking for something incredible to soak up any extra sauce, my no-knead garlic bread is an unrelated but delicious addition to the table!
Can I use chicken breasts instead of wings for this korean fried chicken recipe?
You absolutely can swap out the wings or thighs for boneless chicken breasts if that’s what you prefer! Just know that breasts are leaner, so they can dry out faster if you aren’t careful. Since they are often thicker, you might need to adjust the first fry time slightly longer, maybe bumping it up to 10 minutes at 325°F, just to ensure the center is fully cooked before we hit that high crisping temperature. For the juiciest result, though, I always push people toward chicken thighs. They handle the double fry like champions!
What if I don’t have potato starch? What is the best substitution for the Crispy Coating Technique for Chicken?
This is such an important question for mastering the Crispy Coating Technique for Chicken! Potato starch is my gold standard because it creates that super light, almost translucent crust. If you can’t find it, don’t panic—cornstarch is the second-best option, and you can use a 1:1 swap for the amount needed. Here’s the catch: cornstarch tends to produce a slightly heavier, more opaque crust compared to the delicate crunch of potato starch. It’s still miles better than using only flour, but keep an eye on it during that second fry!
How long does the crunch last after tossing in the glaze?
Let’s be real: nothing stays absolutely shatteringly crisp forever once it’s drenched in a sticky sauce, right? The beauty of the Double Fried Chicken Method is that it creates a barrier that drastically slows down sogginess. If you eat it immediately, it’s perfection. If you have leftovers the next day, it will have softened considerably, but it should still hold a decent chew—much better than a single-fried approach! For the best experience, toss generously right before serving, but know that the double fry buys you at least 20 minutes of fantastic texture that single-fried chicken loses in five!
Serving Suggestions for Your Asian Chicken Dinner Idea
This amazing Asian Chicken Dinner Idea is rich, tangy, and deeply flavorful, so we need sides that are bright and refreshing to cut through that richness, right? You don’t want heavy sides here—we want balance!
First up, plain steamed white rice is non-negotiable; it’s the perfect vehicle for scooping up any extra glaze left in the bottom of your bowl. Beyond that, I always whip up a batch of quick refrigerator pickles. Cabbage or cucumber slices tossed with a little rice vinegar and sugar balance the heat beautifully.
If you need something green, a simple shredded cabbage slaw dressed lightly with sesame oil and a squeeze of lime works wonders. If you’re looking for a slightly more involved but still easy side dish, check out my recipe for easy Mexican pizza—I know, totally different cuisine, but sometimes you just need a fun, contrasting flavor on the table!
PrintAuthentic Korean Fried Chicken Recipe with Double-Fry Crunch
Make restaurant-style Korean Fried Chicken at home using the double-fry method for an ultra-crispy crust and juicy interior. Choose between a savory Soy Garlic glaze or a sweet and spicy Gochujang glaze for this ultimate crowd-pleaser.
- Prep Time: 25 min
- Cook Time: 20 min
- Total Time: 60 min
- Yield: 4 servings 1x
- Category: Dinner
- Method: Deep Frying
- Cuisine: Korean
- Diet: Low Lactose
Ingredients
- 2 lbs chicken pieces (wings or boneless thighs), cut into uniform size
- 1 cup all-purpose flour
- 1/2 cup potato starch or cornstarch
- 1 teaspoon baking powder
- 1 teaspoon salt
- 1/2 teaspoon black pepper
- 1/2 cup cold water or club soda
- Vegetable oil, for deep frying
- For the Glaze (Choose One):
- Soy Garlic Glaze: 1/2 cup soy sauce, 1/4 cup honey or corn syrup, 2 tablespoons brown sugar, 1 tablespoon minced garlic, 1 teaspoon grated ginger
- Sweet & Spicy Glaze: 1/2 cup Gochujang (Korean chili paste), 1/4 cup honey or corn syrup, 2 tablespoons rice vinegar, 1 tablespoon soy sauce, 1 tablespoon minced garlic
- Garnish: Toasted sesame seeds, chopped green onions
Instructions
- Prepare the Chicken: Pat the chicken pieces completely dry with paper towels. This step is key for crispiness.
- Make the Batter: In a medium bowl, whisk together the flour, potato starch (or cornstarch), baking powder, salt, and pepper. Gradually whisk in the cold water or club soda until you have a thin, slightly lumpy batter. Do not overmix.
- Coat the Chicken: Dip each piece of chicken into the batter, allowing excess to drip off. You want a thin coating.
- First Fry (Cooking): Heat 2 inches of vegetable oil in a deep, heavy-bottomed pot or Dutch oven to 325°F (160°C). Fry the chicken in batches, ensuring you do not overcrowd the pot. Fry for 6 to 8 minutes until lightly golden and cooked through. Remove chicken and drain on a wire rack set over a baking sheet. Let the chicken rest for at least 15 minutes.
- Second Fry (Crisping): Increase the oil temperature to 375°F (190°C). Return the rested chicken to the hot oil in small batches. Fry for an additional 2 to 3 minutes until the crust is deep golden brown and extremely crispy. Drain well on a clean wire rack.
- Prepare the Glaze: While the chicken rests, combine the ingredients for your chosen glaze (Soy Garlic or Sweet & Spicy) in a small saucepan. Bring to a simmer over medium heat, stirring until the sugar dissolves and the sauce thickens slightly, about 3 minutes. Remove from heat.
- Toss and Serve: Place the hot, crispy chicken in a large bowl. Pour the warm glaze over the chicken and toss quickly to coat every piece evenly. Garnish immediately with sesame seeds and green onions. Serve right away for the best texture.
Notes
- The double-fry method is the secret to achieving that shatteringly crisp coating that stays crunchy even after being tossed in sauce.
- Using potato starch or a mix of starches over all-purpose flour helps create a thinner, crispier crust characteristic of authentic Korean Fried Chicken.
- If you prefer a less spicy glaze, reduce the amount of Gochujang and add a little more honey or sugar.
Nutrition
- Serving Size: 4 pieces
- Calories: 550
- Sugar: 22
- Sodium: 850
- Fat: 30
- Saturated Fat: 7
- Unsaturated Fat: 23
- Trans Fat: 0
- Carbohydrates: 35
- Fiber: 1
- Protein: 38
- Cholesterol: 110