
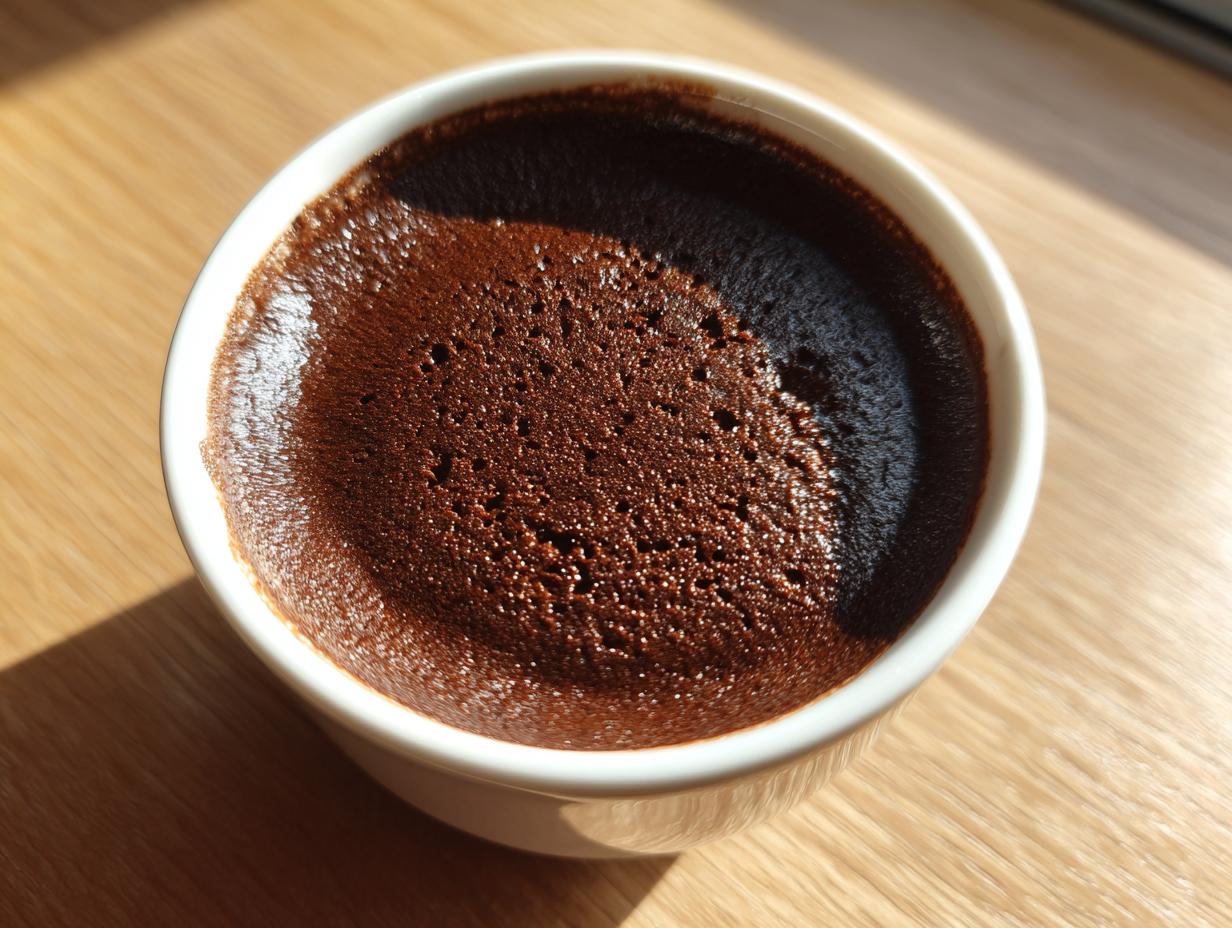
Oh, pudding. There is nothing quite like that first spoonful of cold, creamy indulgence, is there? It’s pure childhood magic, the ultimate comfort food waiting in the back of the fridge. When I think about making food that shows love, this velvet-smooth treat always comes to mind. Store-bought boxes just can’t touch the richness you get when you make it yourself, trust me!
That’s why I’m sharing my absolute favorite recipe for homemade chocolate pudding. This is the best, richest, and most velvety version you can make from scratch using a simple stovetop method. It really is the easiest way to get a truly decadent dessert that tastes exactly like the care you put into it. Forget the shake-and-wait powders; we are making real pudding today!
If you are looking for more simple, cozy desserts that feel special without all the fuss, you might also want to check out my recipe for chocolate fudge cake—it hits that same nostalgic spot. This pudding, though, is quicker, simpler, and wonderfully satisfying. This classic stovetop recipe uses ingredients you probably already have, proving that the most memorable food doesn’t require complicated steps or specialty shops. You can even see how others who love making classics do it over at this great resource!
- Why This Homemade Chocolate Pudding is Your New Favorite Simple Dessert Recipe
- Gathering Ingredients for Your Best Chocolate Pudding From Scratch
- The Classic Stovetop Pudding Method: How to Make Pudding
- Chilling Your Velvety Pudding Treat for Perfect Set
- Tips for Success with Your Easy Chocolate Pudding Recipe
- Serving Suggestions for Decadent Chocolate Comfort Food
- Variations on the Homemade Chocolate Pudding Base
- Frequently Asked Questions About This Comfort Food Pudding
- Nutritional Estimate for Your Simple Dessert Recipe
Why This Homemade Chocolate Pudding is Your New Favorite Simple Dessert Recipe
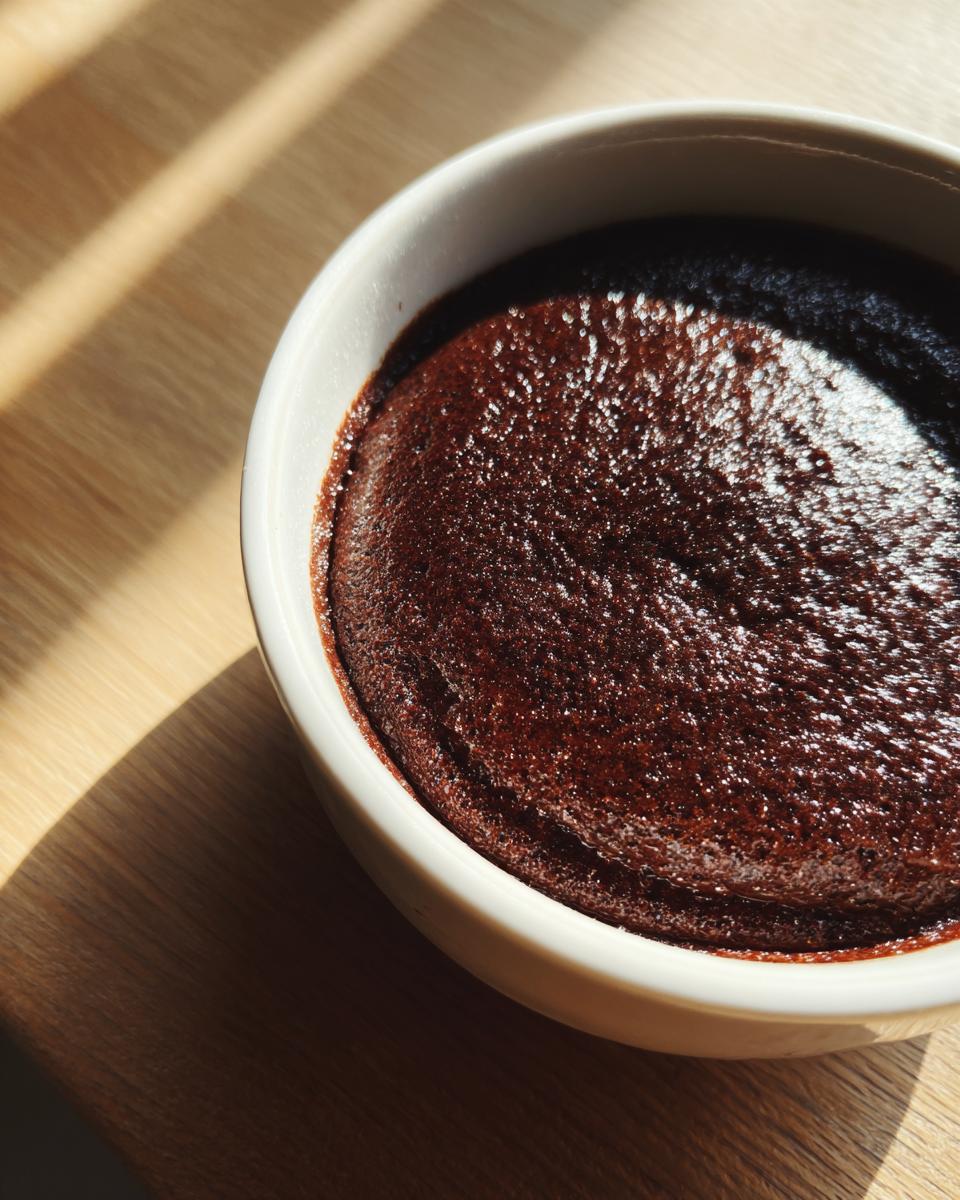
Seriously, once you taste this creamy chocolate pudding, you’ll wonder why you ever bothered with the box. This isn’t just dessert; it’s a bowl of pure, velvety comfort. The richness you get from using real milk, butter, and egg yolks is just leagues ahead of anything else. It’s a rich chocolate dessert that requires almost no effort—perfect for those times when you need a low effort pudding but want maximum flavor payoff.
It’s the ultimate simple dessert recipe, using only common ingredients. I promise, this classic stovetop pudding is so easy and satisfying that it will quickly become your secret weapon for impromptu sweet cravings.
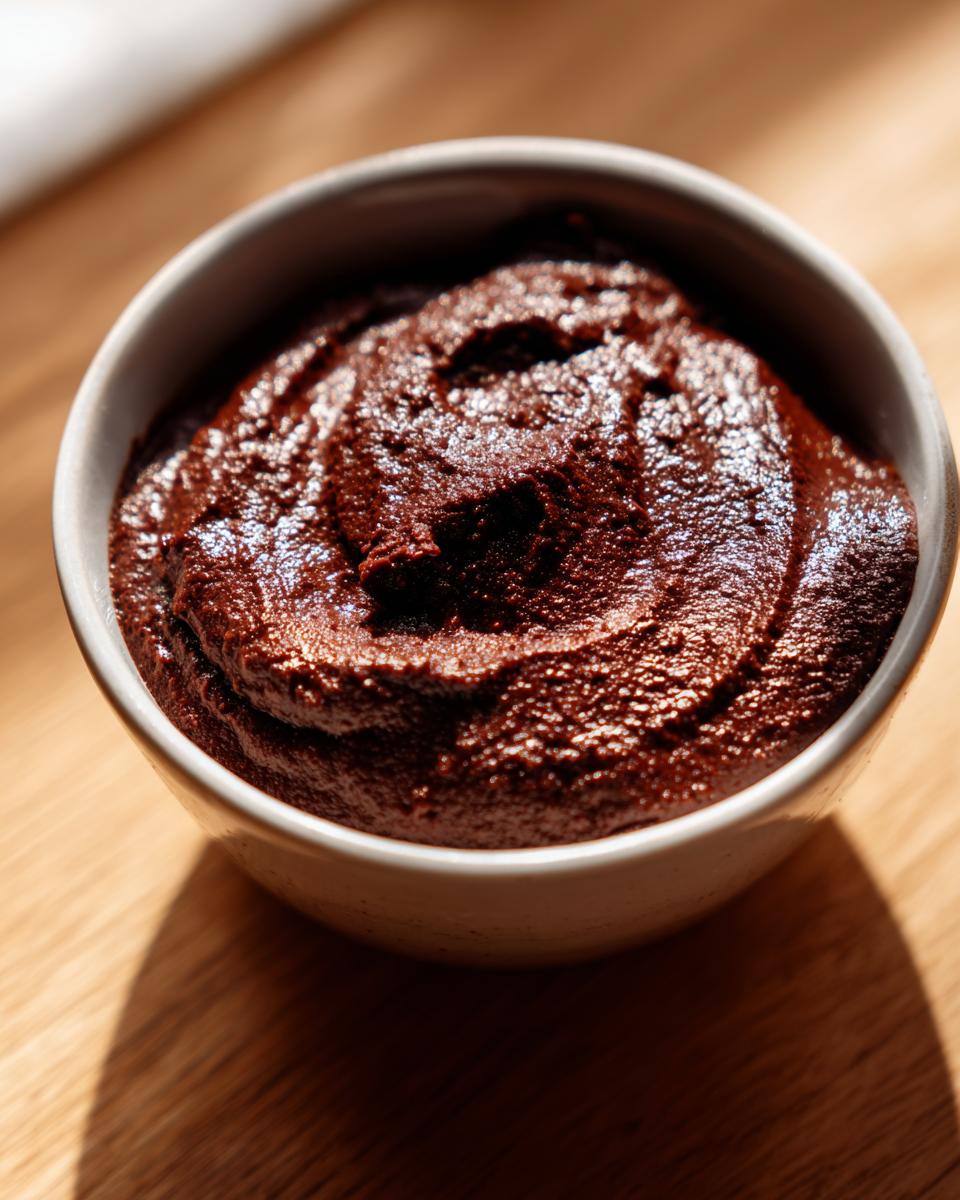
- It’s incredibly rich and tastes deeply chocolatey, like a true decadent chocolate comfort food.
- It relies on pantry staple desserts, so you can whip it up anytime.
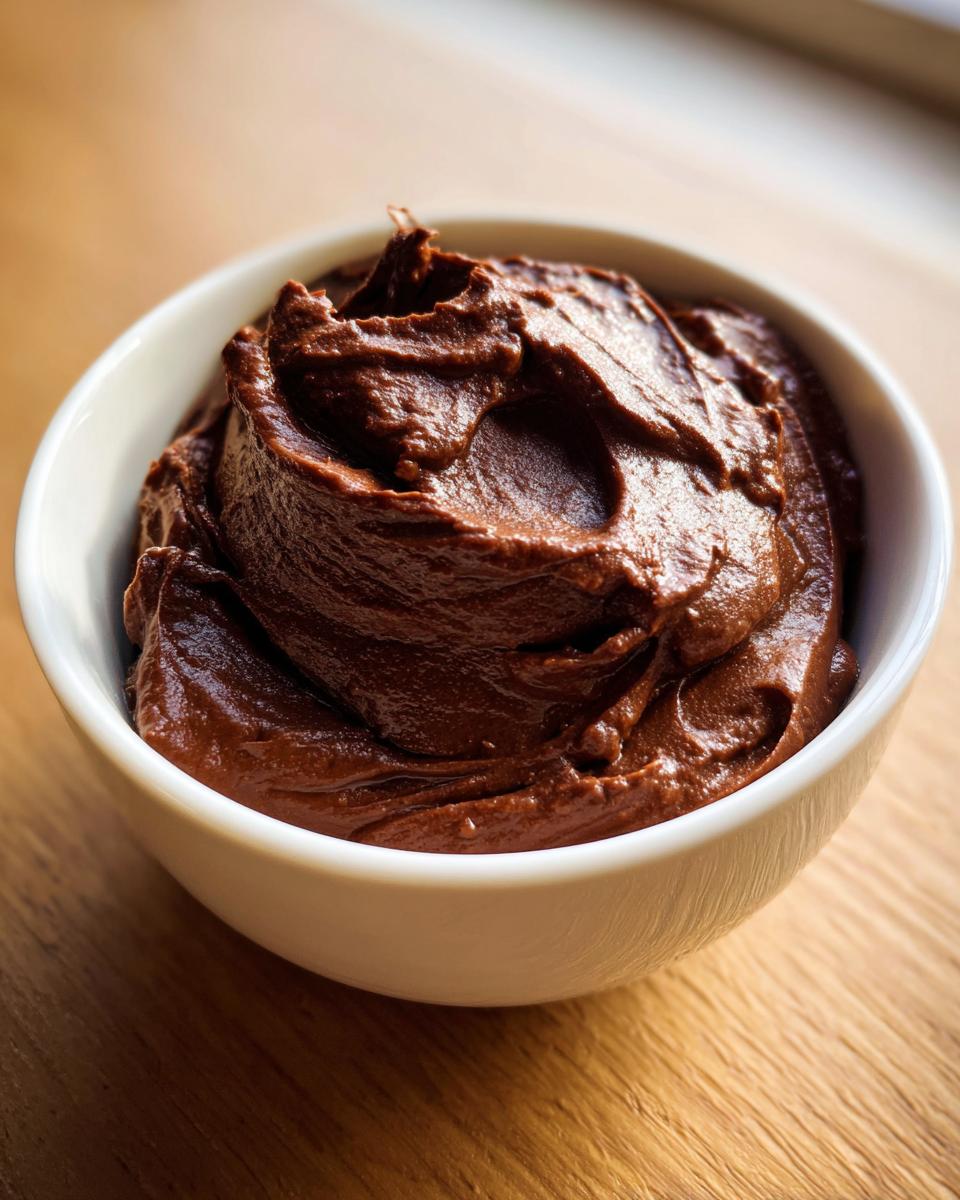
- The final texture is that perfect, silky smooth pudding you dream about.
- It’s way faster and better than any no bake chocolate dessert that requires setting overnight!
Achieving That Silky Smooth Pudding Texture
I know the fear: the dreaded *lump*. That grainy texture ruins the whole moment, right? My kitchen guarantee here is that you will avoid lumps completely if you just follow the **homemade chocolate pudding** instructions exactly. The secret isn’t magic; it’s technique!
When we mix the dry ingredients—sugar, cocoa, cornstarch, and salt—first, the cornstarch gets perfectly coated in cocoa dust before any liquid hits it. Then, when you slowly whisk in the milk, everything dissolves evenly. This simple pre-mixing step is the number one key to that wonderfully velvety pudding treat. Don’t skip it, or you might end up stirring for way too long! If you want to be extra extra sure, check out my guide on making fudgy brownies; we use a similar theory for ultra-smooth batters there.
Gathering Ingredients for Your Best Chocolate Pudding From Scratch
The best part about this rich, comforting dessert is that 99% of what you need is already tucked away in your cupboard! Seriously, this allows you to switch from “I need a quick dessert” to having homemade chocolate pudding ready in under 30 minutes total.
We aren’t messing around with fancy stabilizers or obscure flavorings here. We are sticking to the classics that make for the ultimate comfort food pudding. These simple pantry staples are the building blocks for the creamiest texture imaginable, making this the best chocolate pudding from scratch you’ll ever need. You can see another great list of pantry-friendly baking items over at this site!
Here is what you need for four perfect servings:
- 1/2 cup granulated sugar
- 1/3 cup unsweetened cocoa powder (Dutch process recommended for deep flavor)
- 1/4 cup cornstarch
- 1/4 teaspoon salt
- 2 cups whole milk (or your preferred milk)
- 2 large egg yolks
- 2 tablespoons unsalted butter
- 1 teaspoon vanilla extract
Ingredient Notes and Substitutions for Homemade Chocolate Pudding
A couple of quick notes so you nail the flavor profile. If you can swing it, use Dutch process cocoa powder. It’s less acidic than natural cocoa, which gives us that deep, dark, almost fudge-like chocolate flavor we are aiming for in this homemade dessert idea. If you only have natural, don’t worry, but know the final color will be a bit lighter.
For the milk, yes, you can use 2% or even almond/oat milk, but using whole milk gives you that undeniable richness and helps stabilize the final texture. Whole milk is my go-to for any classic stovetop pudding. And those egg yolks? They are crucial! They emulsify the fats and liquids perfectly, which is how we achieve that incredible, luxurious mouthfeel that makes this pudding superior.
If you want to explore other simple kitchen staples, take a peek at how I use them in my homemade mayo—it’s shockingly easy!
The Classic Stovetop Pudding Method: How to Make Pudding
This is where the magic happens, friends! Making your own homemade chocolate pudding is genuinely a lesson in patience, but it’s so rewarding when you nail that velvety texture. I remember standing next to my Grandma trying to figure out the tempering step when I was small. I rushed it once, and *poof*—scrambled eggs meant we had to start over! She taught me that slow and steady wins the dessert race, especially on the stovetop.
Watch your heat and keep that whisk moving! If you want to see how I use these simple stovetop techniques for other things, like balancing flavors in my apple cinnamon oatmeal, check out that post! Remember, for the best results, you want to cook this until it’s thick enough to coat the back of a spoon, but we are careful not to let it boil too violently once the eggs are in. This classic method beats any time-saving powders, delivering that truly rich chocolate dessert flavor.
Here are the steps to follow:
- In a medium saucepan, whisk together the sugar, cocoa powder, cornstarch, and salt until no lumps remain. This step prevents lumps later.
- Gradually whisk in the milk until the mixture is smooth.
- Place the saucepan over medium heat. Cook, stirring constantly with a whisk, until the mixture thickens and just begins to bubble. This usually takes 8 to 10 minutes. Keep stirring to prevent scorching on the bottom.
- In a small bowl, lightly beat the egg yolks. Temper the yolks by slowly whisking about 1/2 cup of the hot pudding mixture into the yolks. This prevents the eggs from scrambling.
- Pour the tempered yolk mixture back into the saucepan with the remaining pudding. Continue to cook over medium heat, whisking constantly, for 1 to 2 minutes until the pudding is very thick. Do not let it boil rapidly once the eggs are added.
- Remove the saucepan from the heat. Stir in the butter and vanilla extract until the butter is fully melted and incorporated.
- Pour the pudding into individual serving dishes or a single bowl. Press plastic wrap directly onto the surface of the pudding to prevent a skin from forming.
- Chill in the refrigerator for at least 2 hours, or until completely cold and set.
If you are curious about other recipes that nail that perfect texture without much fuss, this guide on making the best chocolate pudding is excellent!
Step 1: Building the Lump-Free Base for Creamy Chocolate Pudding
Don’t gloss over this part! Before the heat turns on, you must combine all your dry stuff—that sugar, cocoa, cornstarch, and salt—in the saucepan. Whisk it like you mean it! Once that powder is uniform, *then* you slowly stream in your two cups of milk while continuously whisking. If you dump the milk in too fast, the cornstarch clumps up instantly. We want a beautifully smooth base for our creamy chocolate pudding, not tiny cocoa rocks!
Step 2: Cooking and Thickening the Homemade Chocolate Pudding
Now, turn the heat on to medium. This step requires your full attention for about 8 to 10 minutes. Stir constantly, making sure your whisk scrapes the bottom and sides of the pot—that’s where scorching happens! You’ll see it transform from runny chocolate milk into something that looks like thin gravy. Wait until you see the first tiny bubble break the surface. That’s your cue to pull it off the heat momentarily to get ready for the yolks!
Step 3: Tempering Eggs for the Ultimate Rich Chocolate Dessert
This is the move Grandma taught me, and it’s why my homemade chocolate pudding never ends up tasting like scrambled eggs! Tempering is just a fancy word for slowly warming up those egg yolks because raw yolks hate being shocked by boiling liquid. Take about half a cup of that hot pudding mixture from your pan and drizzle it *very slowly* into your beaten egg yolks while whisking the yolks non-stop. See how they look creamier now? You’ve successfully introduced them to the heat! Now, you can pour that warmed yolk mixture right back into the main pot. Continue cooking just until it gets super thick—about two more minutes—and you’ve secured that rich chocolate dessert quality!
Chilling Your Velvety Pudding Treat for Perfect Set
Okay, we’ve done the stovetop work, and your rich chocolate dessert is ready, but don’t just stick that bowl in the fridge uncovered! If you do that, you get what I call the ‘pudding skin’—that undesirable, rubbery film that ruins the luxurious feel of your velvety pudding treat.
Here is the hack you absolutely must know: Take a piece of plastic wrap and gently press it directly onto the entire surface of the pudding in the bowl. I mean touching the pudding itself! This traps the moisture right where it belongs and keeps that beautiful, silky top layer intact while chilling. It needs about two hours minimum for that perfect, firm set, but honestly, overnight is always better for maximum flavor melding!
Once it’s super cold and firm, remove the wrap and maybe swirl in a dollop of whipped cream for a super fun homemade dessert idea, like the ones we make with these no-bake Oreo balls!
Tips for Success with Your Easy Chocolate Pudding Recipe
We’ve whipped this up on the stovetop, but now let’s talk about keeping that perfect creamy chocolate pudding flawless until serving time. Getting the initial texture right is half the battle, but making it last is where a confident home cook shines! This is where knowing the small tricks really pays off, ensuring every batch of your easy chocolate pudding recipe is as good as the first.
For instance, if you are really trying to jazz up the flavor without adding much effort, try whisking in a teaspoon of instant espresso powder right along with your dry cocoa. It doesn’t make it taste like coffee—it just deepens the chocolate flavor so dramatically! It truly elevates this into something incredibly special, much like how I enhance flavors in my grasshopper pie.
Making Homemade Dessert Ideas Ahead of Time
Good news! This is a fantastic make-ahead dessert, which makes planning dinner parties a breeze. Once it’s chilled completely (the full two hours minimum we talked about), it will keep beautifully in the fridge for up to four days. Just keep that plastic wrap pressed tightly to the surface to avoid drying out or forming that skin again.
If you are making it even further out, say three or four days ahead, I recommend waiting to add your final toppings. It’s best looking perfect the day you serve it. If you want to explore other options for making desserts ahead of schedule, this site offers some great healthy chocolate pudding ideas that often include make-ahead tips too!
Serving Suggestions for Decadent Chocolate Comfort Food
Now that you’ve made the creamiest, richest homemade chocolate pudding known to humankind, we have to talk about the grand finale: how to serve it! A dessert this good deserves a little fanfare, even if you’re just eating it straight from the bowl while standing in the kitchen (no judgment here!).
Because this pudding is so deeply flavorful and satisfying, you don’t need much to dress it up, which keeps it feeling like an easy dessert recipe.
My number one suggestion is always fresh, lightly sweetened whipped cream. Nothing beats that cool, pillowy cloud sitting right on top of the chilled, dense pudding. It cuts the richness just perfectly. If you want to get really fancy, you can make your own homemade marshmallows—it sounds scary, but I promise my marshmallow recipe is surprisingly straightforward and they melt ever so slightly into the warm pudding if you serve it immediately!
For texture and color contrast, try one of these simple additions:
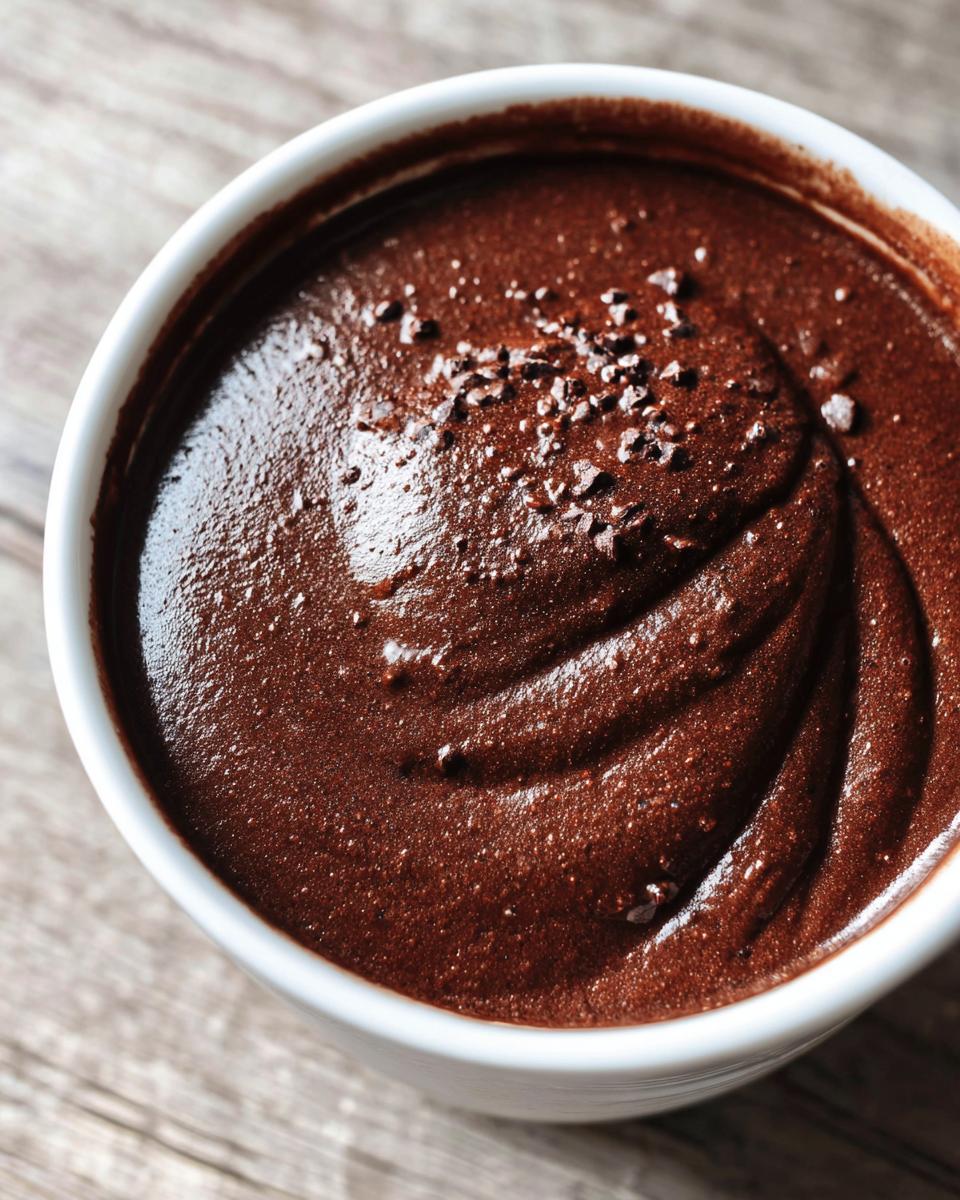
- A light grating of high-quality dark chocolate for a beautiful dusting.
- A flurry of toasted, chopped pecans or walnuts, if you don’t have any allergies to worry about.
- A few perfectly ripe raspberries or strawberries—the tartness makes the chocolate pop!
When you serve this decadent chocolate comfort food, remember that presentation matters, even for a simple bowl treat. Using vintage glass cups or little mason jars always makes it feel extra special. Enjoy every last bit!
Variations on the Homemade Chocolate Pudding Base
We’ve established this recipe for homemade chocolate pudding is perfect as is—rich, thick, and classic. But you know me; I can never just leave a good thing alone without seeing how far I can push the flavor envelope! These small add-ins turn your basic, yummy dessert into something completely new without adding any extra work to the stovetop cooking time.
Remember, since this uses simple pantry staples, it’s super adaptable. If you want a little kick, try my secret booster that I use in my Mexican hot chocolate recipe—it works wonders here too!
Here are my top three ways to switch things up when you’re ready for a change of pace with your comfort food pudding:
- Mocha Magic: If you want that deep, complex flavor that feels expensive but is honestly so easy, whisk in one teaspoon of instant espresso powder right along with your cocoa and sugar in Step 1. It won’t taste like coffee, but it will make the chocolate flavor sing! This is my favorite late-night treat upgrade.
- Double Chocolate Decadence: For true aficionados, leave the milk exactly the same, but right after you turn the heat off (Step 6), toss in two ounces of finely chopped semi-sweet or bittersweet chocolate chips along with the butter. Whisk until it’s completely melted and smooth. This creates the fudgiest, most luxurious texture imaginable—think of it as a quick, chilled ganache pudding!
- A Hint of Spice: This is a subtle one, but it gives your creamy chocolate pudding a warm background note. Add just 1/8 teaspoon of ground cinnamon or a tiny pinch of cayenne pepper with your dry ingredients. It’s not enough to scream “cinnamon roll,” but it adds a wonderful depth that makes people wonder what your secret is!
See? You don’t need a whole new recipe to keep things exciting. A few little tweaks to your easy chocolate pudding recipe base is all it takes to create an entirely new homemade dessert idea!
Frequently Asked Questions About This Comfort Food Pudding
I get so many messages asking about this comfort food pudding, so let’s tackle the most common questions right here! I want to make sure everyone can enjoy this silky smooth pudding without any trouble. Don’t worry if your first batch felt tricky; that’s why we have these tips!
Can I make this eggless chocolate pudding?
That’s a great question, and yes, you absolutely can! Egg yolks are what give our best chocolate pudding from scratch that amazing richness, but if you need to skip them, it’s simple. You just need to boost the cornstarch slightly. I suggest going up to 1/3 cup plus 1 extra tablespoon of cornstarch total. This helps replace the thickening power the yolks usually provide. You get a slightly different texture, but it’s still a fantastic, simple dessert recipe! If you want a dedicated version, I’ve got a full eggless chocolate pudding recipe linked here!
Why is my homemade chocolate pudding grainy instead of creamy?
Graininess almost always comes from one of two places with this classic stovetop pudding. First, did you cook it long enough? Cornstarch needs time and heat to fully activate and thicken properly. Second, and more common, is that the eggs might have scrambled a tiny bit when you added them back in, making little solids. That’s why the tempering step (adding hot liquid *slowly* to the yolks before adding them to the pot) is so vital for that creamy chocolate pudding finish.
Can I use skim milk instead of whole milk for this easy chocolate pudding recipe?
You *can*, but if you ask me, it totally changes the character of the homemade chocolate pudding! Whole milk brings necessary fat into the equation, which is what gives you that beautiful, decadent, mouth-coating texture. Skim milk will turn out much thinner because it lacks the fat content needed to emulsify properly with the other ingredients. If low-fat is a must, at least consider using canned evaporated milk instead of skim; it has higher protein and fat content and works much better!
How long does this rich chocolate dessert last in the fridge?
Because we are cooking this down thoroughly on the stove, our rich chocolate dessert lasts quite well! If you seal it up tightly with plastic wrap pressed right onto the surface—remember that crucial step—it stays fresh and delicious for about four days in the refrigerator. That’s four days of ready-to-go comfort food pudding! Just give it a quick stir before serving in case the bottom settled slightly.
Nutritional Estimate for Your Simple Dessert Recipe
Now, I know we aren’t making this simple dessert recipe because we are counting every single macro, but I do always like to provide some baseline information about what goes into our delicious bowls of homemade chocolate pudding. Understanding the basics helps us enjoy these treats guilt-free when they fit into our busy lives!
Please know that these numbers are just estimates based on using standard whole milk and the specific ingredients listed in our recipe. If you swap out the milk for almond or use a high-quality dark chocolate bar in the variations, those numbers will shift a little bit. Treat this as a helpful guide rather than a guarantee!
Here is what you can generally expect per serving (this recipe makes about 4 servings):
- Calories: 285
- Sugar: 32g
- Fat: 11g (with 6g saturated)
- Protein: 7g
- Carbohydrates: 40g
See? Even though it’s rich, it’s coming from whole ingredients like milk and eggs, not totally empty calories. Enjoy this rich chocolate dessert knowing you made it with love right on your stovetop!
PrintThe Best Creamy, Rich, and Easy Homemade Chocolate Pudding From Scratch
Create a comforting hug in a bowl with this rich, velvety homemade chocolate pudding. This easy stovetop recipe uses simple pantry staples to deliver a silky smooth dessert that beats any store-bought version.
- Prep Time: 10 min
- Cook Time: 15 min
- Total Time: 25 min
- Yield: 4 servings 1x
- Category: Dessert
- Method: Stovetop Cooking
- Cuisine: American
- Diet: Vegetarian
Ingredients
- 1/2 cup granulated sugar
- 1/3 cup unsweetened cocoa powder (Dutch process recommended for deep flavor)
- 1/4 cup cornstarch
- 1/4 teaspoon salt
- 2 cups whole milk (or your preferred milk)
- 2 large egg yolks
- 2 tablespoons unsalted butter
- 1 teaspoon vanilla extract
Instructions
- In a medium saucepan, whisk together the sugar, cocoa powder, cornstarch, and salt until no lumps remain. This step prevents lumps later.
- Gradually whisk in the milk until the mixture is smooth.
- Place the saucepan over medium heat. Cook, stirring constantly with a whisk, until the mixture thickens and just begins to bubble. This usually takes 8 to 10 minutes. Keep stirring to prevent scorching on the bottom.
- In a small bowl, lightly beat the egg yolks. Temper the yolks by slowly whisking about 1/2 cup of the hot pudding mixture into the yolks. This prevents the eggs from scrambling.
- Pour the tempered yolk mixture back into the saucepan with the remaining pudding. Continue to cook over medium heat, whisking constantly, for 1 to 2 minutes until the pudding is very thick. Do not let it boil rapidly once the eggs are added.
- Remove the saucepan from the heat. Stir in the butter and vanilla extract until the butter is fully melted and incorporated.
- Pour the pudding into individual serving dishes or a single bowl. Press plastic wrap directly onto the surface of the pudding to prevent a skin from forming.
- Chill in the refrigerator for at least 2 hours, or until completely cold and set.
Notes
- For the silkiest texture, use a fine-mesh sieve to strain the pudding mixture into the saucepan after whisking the dry ingredients together.
- If you want a richer, more decadent flavor, substitute 1/4 cup of the milk with 2 ounces of finely chopped bittersweet chocolate, stirring it in with the butter at the end.
- This recipe is naturally vegetarian. If you need an eggless version, increase the cornstarch to 1/3 cup plus 1 tablespoon.
Nutrition
- Serving Size: 1 serving
- Calories: 285
- Sugar: 32
- Sodium: 150
- Fat: 11
- Saturated Fat: 6
- Unsaturated Fat: 5
- Trans Fat: 0
- Carbohydrates: 40
- Fiber: 2
- Protein: 7
- Cholesterol: 85