
If you’ve ever felt like baking a truly delicious cake means having twelve different bowls and spending half the afternoon measuring herbs, I completely get it. That feeling used to stop me in my tracks! But trust me, some of the best, most reliably moist desserts come from the simplest formulas. That’s why I’m so excited to share this condensed milk cake. It is my go-to recipe when I need honest flavor without the fuss. We’re talking pantry staples here—often just four core ingredients are all you need to guarantee a sweet, creamy result every single time. It reminds me of why I started Taste This Plate: great food doesn’t need complexity, it just needs a little love and a trustworthy guide!
- Why This Four-Ingredient Condensed Milk Cake is Your New Favorite Easy Cake Recipe
- Gathering Ingredients for Your Condensed Milk Cake
- Step-by-Step Instructions for the Perfect Condensed Milk Cake
- Baking Times and Cooling for Your Simple Dessert Ideas
- Tips for Success: Mastering the Creamy Cake Recipe
- Variations: Making a Tropical Cake Recipes or Coffee Cake Loaf
- Storage and Make Ahead Desserts for Your Condensed Milk Cake
- Frequently Asked Questions About This Ultimate Sweet Cake
- Sharing Your Perfect Condensed Milk Cake Creation
Why This Four-Ingredient Condensed Milk Cake is Your New Favorite Easy Cake Recipe
If you’ve ever felt like baking a truly delicious cake means having twelve different bowls and spending half the afternoon measuring herbs, I completely get it. That feeling used to stop me in my tracks! But trust me, some of the best, most reliably moist desserts come from the simplest formulas. That’s why I’m so excited to share this condensed milk cake. It is my go-to recipe when I need honest flavor without the fuss. We’re talking pantry staples here—often just four core ingredients are all you need to guarantee a sweet, creamy result every single time. It reminds me of why I started Taste This Plate: great food doesn’t need complexity, it just needs a little love and a trustworthy guide! If you love seeing how simple ingredients can turn into something spectacular, this is for you—it’s just as mind-blowing as when you see how minimal ingredients make a decadent flourless chocolate cake work!
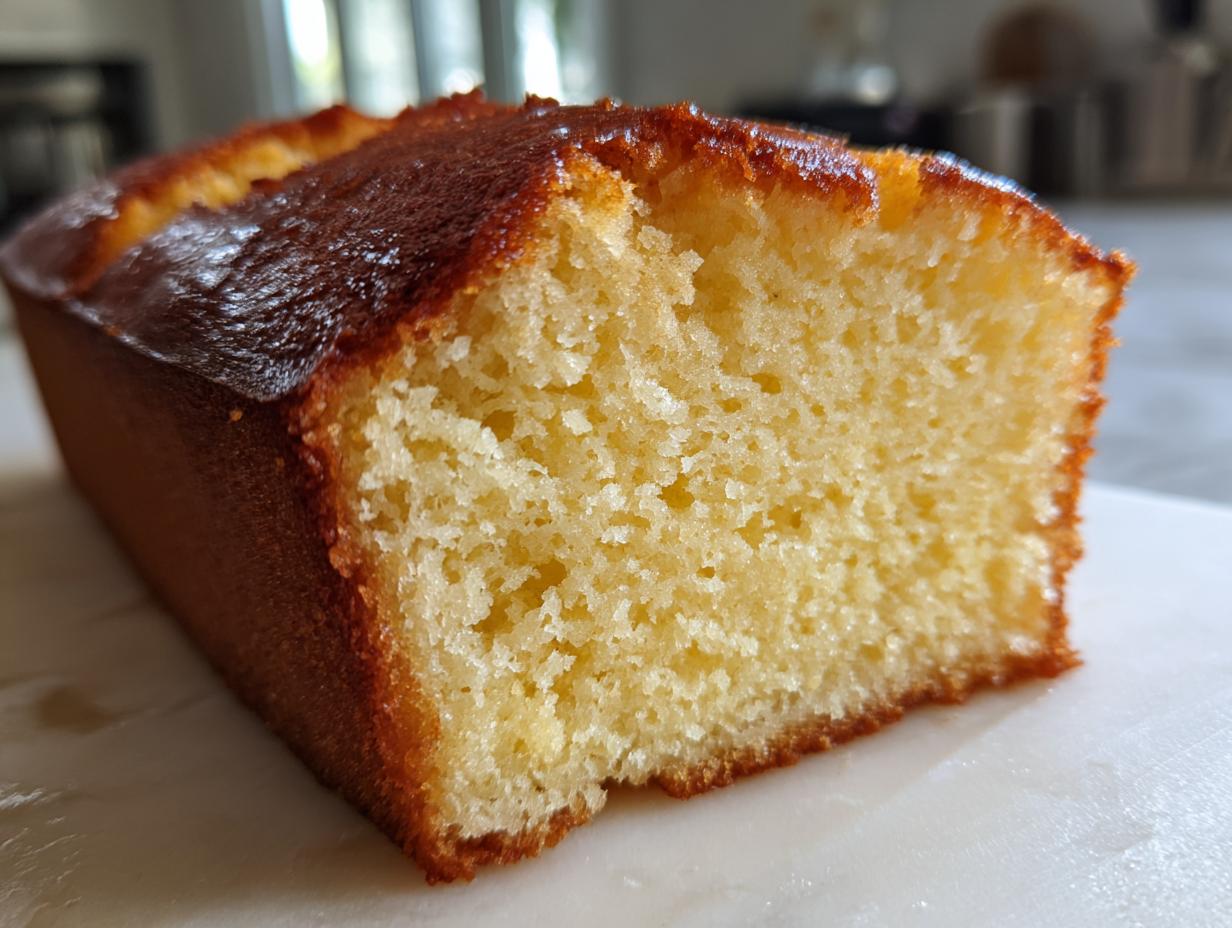
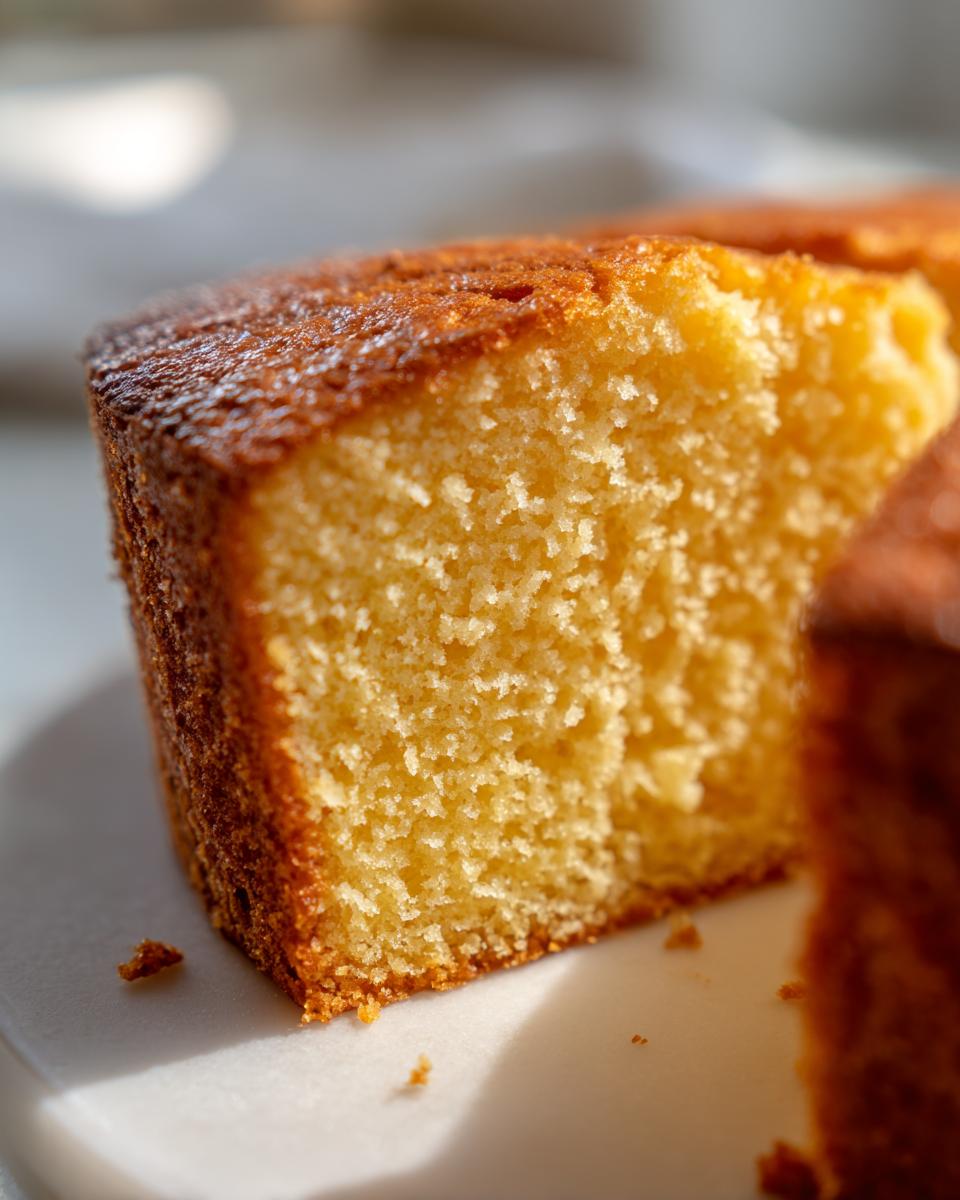
Achieving That Signature Moist Homemade Cake Texture
The secret sauce here is that rich, thick magic in the can. Sweetened condensed milk isn’t just sugar; it’s sugar suspended in fat from the milk. When you bake it, that high concentration of sugar and fat does heavy lifting, resulting in a beautifully tender crumb. It’s what makes this such a rich and creamy cake recipe. It locks in moisture so well, you won’t believe the cake is so simple!
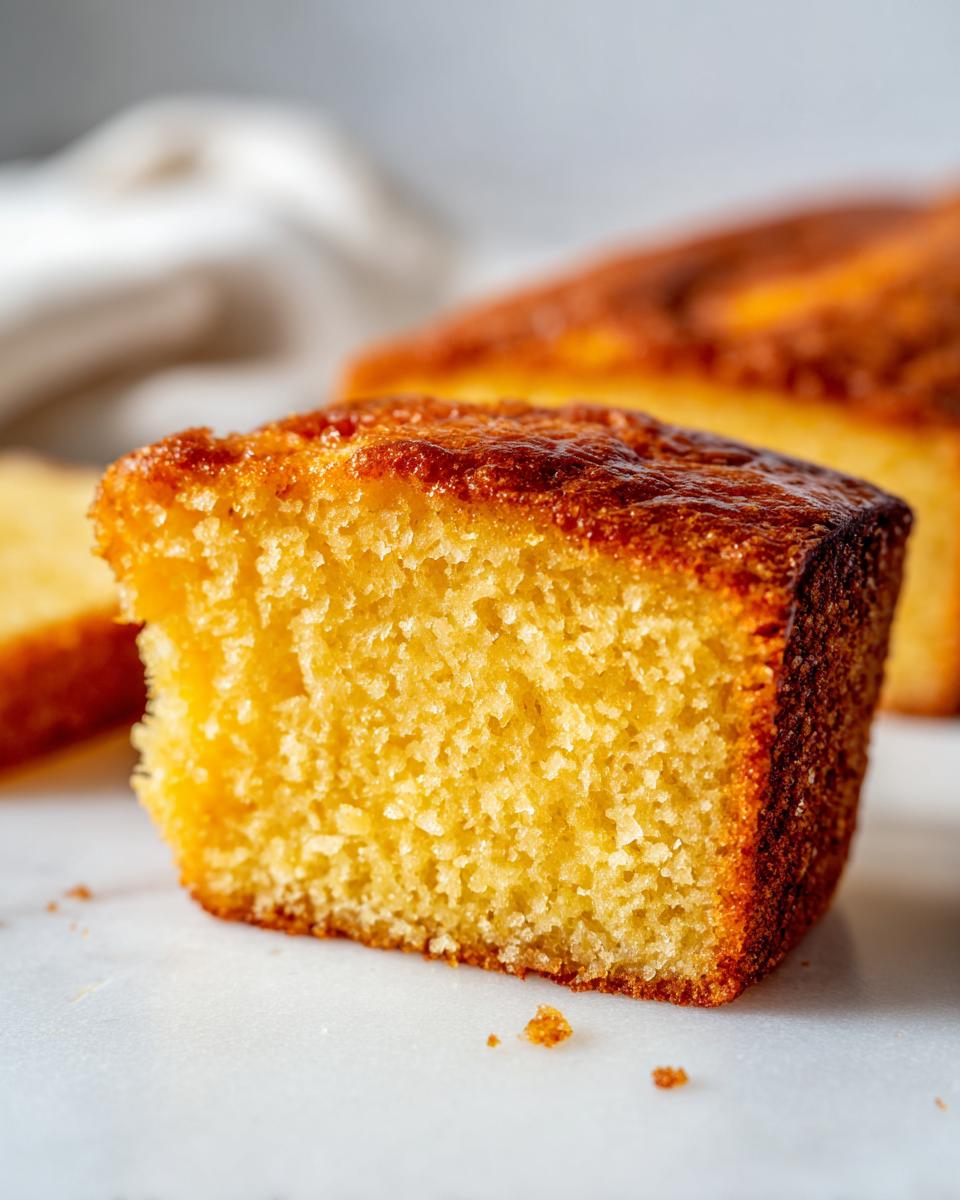
The Ultimate Sweet Cake with Minimal Effort
This is peak no fuss baking, folks. Honestly, if you can stir two things together in a bowl, you can master this recipe. It’s incredibly sturdy, too, which makes it perfect for transporting to events or just cutting into thick slices for little hands. Because the technique is so straightforward—just mix and bake—it’s one of my top recommendations for beginner baking recipes.
Gathering Ingredients for Your Condensed Milk Cake
One of the huge draws to this recipe, beyond the amazing texture, is that we are pulling almost everything we need right out of the cabinets! This truly shines as one of those brilliant pantry staple recipes. You don’t need specialty items or anything you won’t use again next week. But because we are relying on just four components for flavor and structure, precision matters. We can’t hide a slightly off measurement behind spices or extracts here, so let’s get specific about what you need before we start mixing!
Ingredient Clarity and Preparation Notes
I need you to grab these exact items, and pay attention to the details I learned over testing this little gem. First, you absolutely must use one full 14 ounce can of sweetened condensed milk—don’t use evaporated milk, that’s a total disaster in this context! For the dry items, we need one cup of all-purpose flour. I usually give it a quick whisk in a separate bowl along with the single teaspoon of baking powder just to ensure everything is distributed evenly and prevent those annoying little dry pockets from forming later. Finally, we need two large eggs. Make sure they are large, as they help provide the lift we are missing out on since we aren’t using much leavening!
Step-by-Step Instructions for the Perfect Condensed Milk Cake
Now that we have our specific ingredients ready, let’s get this easy cake recipe into the oven! Since this is such a straightforward bake, the structure comes entirely from how we combine these simple elements. If you look at other recipes, you might see complex creaming methods, but not here! We are going for speed and reliability, which means paying close attention to mixing order. If you want to dive into another example of rich baking using minimal ingredients, check out my recipe for fudgy brown butter brownies—it’s the same philosophy!
Preparing the Pan and Oven for Your Condensed Milk Cake
First order of business: get that oven warmed up immediately. We need it at 350°F (175°C) before we do anything else. While that’s heating, you need to prep your vessel. I find an 8×8 inch square pan works beautifully for this standard batch size, but a loaf pan is also great if you want those satisfying thick slices. Take some butter or a light oil and grease the pan thoroughly—every nook and cranny! Then, dust it with a spoonful of flour and tap out the excess. This simple step is non-negotiable if you want your cake to release nicely later, especially since this is a high-sugar, condensed milk cake. For more simple baking ideas, check out this great Condensed Milk Cake guide!
Mixing Wet and Dry Components for the Condensed Milk Cake
Let’s start with the wet ingredients. In your mixing bowl, gently whisk those two large eggs until they look slightly bubbly and pale. Now, pour in that whole can of sweetened condensed milk. Whisk those two together until they are one homogenous, creamy liquid. Next, it’s time for the dry ingredients—the flour and baking powder we already whisked separately! Add them to the wet mixture slowly, using a rubber spatula for folding. Here’s the most important part for keeping this a success: mix until *just* combined. If you see a few streaks of flour left, stop! Overmixing develops the gluten in the flour, and we want soft and tender, not tough, when making this amazing condensed milk cake.
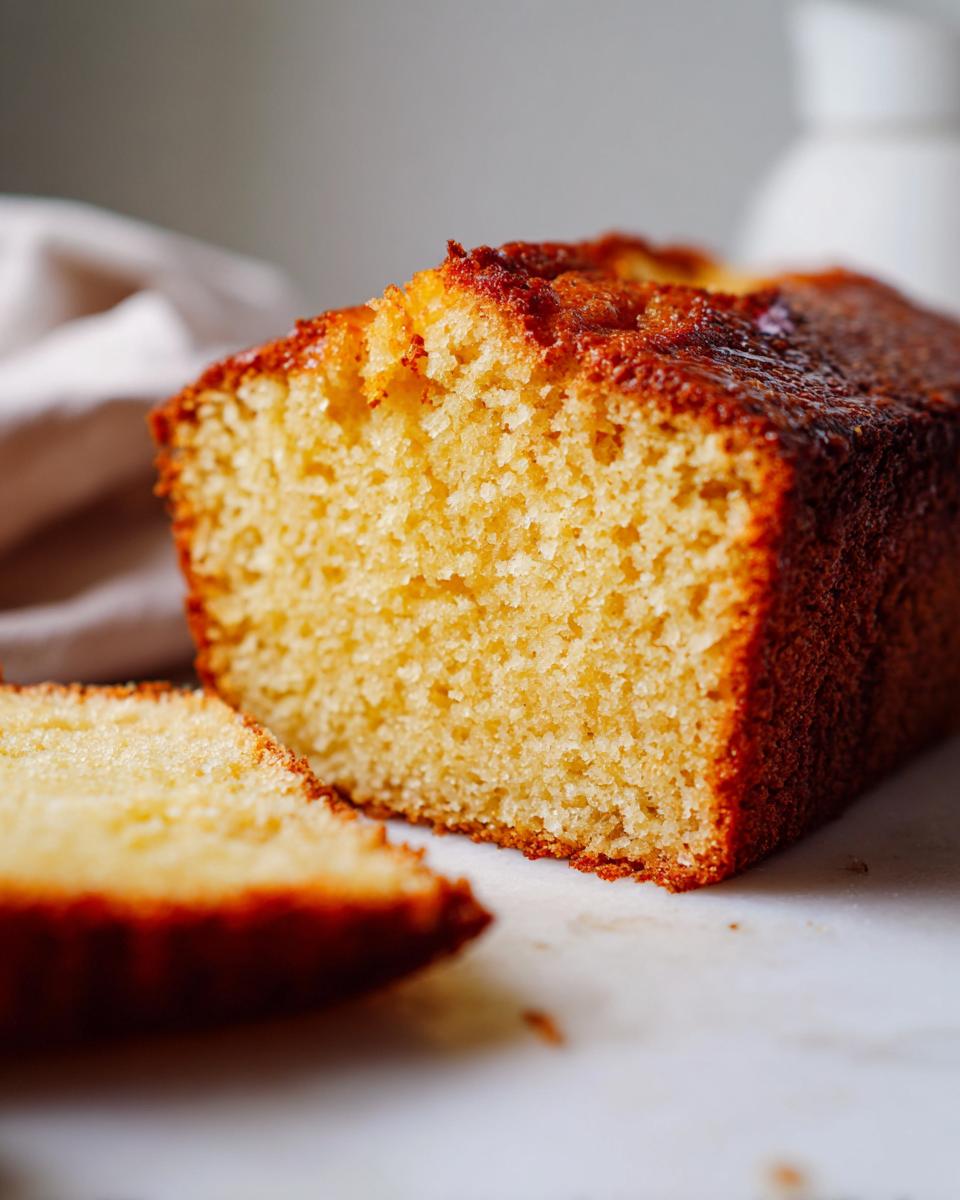
Baking Times and Cooling for Your Simple Dessert Ideas
Okay, the batter is mixed, and you’re watching the oven door like a hawk, right? I totally get it! Waiting for a cake to bake when you know it’s only four ingredients can feel agonizing. But don’t worry, because this recipe is generally very fast, making it one of the best simple dessert ideas for when you need something sweet *now*. The main thing to remember is that your pan shape dictates your timing significantly.
For that standard 8×8 inch square pan, you are usually looking at about 25 to 30 minutes. If you opted for a deeper loaf pan, you’ll definitely need to add about ten more minutes onto that time—sometimes closer to 40 total. We don’t want to guess, though! The absolute signal that it’s finished isn’t the timer; it’s the classic toothpick test. Insert one right into the center, and if it comes out clean or maybe with just a couple of moist crumbs attached, you’re golden. If you see wet batter, give it five more minutes and test again.
Once it passes the test, resist the urge to dump it straight onto a cooling rack, please! This cooling period is vital for preventing crumbling. Let the cake sit right there in the warm pan for about 10 minutes. This little bit of residual heat helps the edges set firm. After those ten minutes, run a thin knife around the edge just to make sure it’s loose, then carefully invert it onto a wire rack to cool completely. Trust me, patience during the cool-down ensures you get that gorgeous, intact slice when you finally cut into your amazing condensed milk cake.
Tips for Success: Mastering the Creamy Cake Recipe
I know this recipe is lean, but that doesn’t mean we can’t tinker with it a tiny bit to make it absolutely perfect for you! Making a few minor tweaks based on what I learned testing this condensed milk cake is how we turn a good recipe into a fantastic one. Because the ingredient list is so short, every component really has to shine. If you want to see a different take on a moist bake using pantry items, I always point people toward my sourdough cornbread—it’s comfort food perfection!
Flavor Boosts and Ingredient Swaps for Your Condensed Milk Cake
While it’s amazing with just four things, I occasionally want a little something extra in flavor or texture. If you’re looking to level up this dessert, try swapping out about a quarter cup of that all-purpose flour for almond flour. It instantly adds a little richness and density that complements the milk beautifully. Another wonderful secret for cutting through the intense sweetness is adding one teaspoon of fresh lemon zest right into the batter with the wet ingredients. That little bit of brightness makes the entire cake taste cleaner! It’s a subtle touch, but it elevates this simple treat, just like the richness achieved in this detailed Condensed Milk Cake recipe!
Variations: Making a Tropical Cake Recipes or Coffee Cake Loaf
The beauty of having such a simple, reliable base like this condensed milk cake means we can totally branch out without stressing over complicated chemistry! Since this recipe is based on just four core ingredients, it’s the perfect canvas for adding flair, whether you want something fruity or something perfect for your morning coffee.
If you’re looking for ways to expand beyond the basic sweet profile, think about how well tropical flavors pair with that creamy base. This method is wonderful for creating a delightful fruit condensed milk cake. If you’re feeling adventurous, a great place to start is a wonderful cherry cake adaptation, but for a real tropical punch, pineapple is king here!
Adapting the Recipe for a Fruit Condensed Milk Cake
If you want to move toward those tropical cake recipes, crushed pineapple is your friend. But listen closely: you MUST drain it really, really well first. I mean wickedly well. Use a fine-mesh sieve and press down on the pineapple to get rid of as much liquid as possible. Adding too much water from the fruit is the fastest way to turn this sturdy cake into a puddle. Just fold in about half a cup of the well-drained pineapple during that last gentle mix, and you’ve got a totally new dessert!
For a totally different vibe, maybe you want a coffee cake loaf? You can easily adapt this into a lovely breakfast treat! Try swapping out about a third of the flour for a good quality instant coffee powder that you dissolve into a tablespoon of warm milk first, giving you excellent flavor without messing with the batter structure too much. You can find a great inspiration for that rich flavor profile over at this post about condensed milk coffee cake!
Storage and Make Ahead Desserts for Your Condensed Milk Cake
One of the things I absolutely adore about this condensed milk cake is how perfectly it holds up over time. We all love something that tastes amazing fresh out of the oven, but knowing you can bake something today and enjoy it later is real sanity-saving magic! This is definitely one of my favorite make ahead desserts because it actually tastes *better* the next day once those sweet flavors have settled in.
You want to store this cake simply. Once it’s completely cool—and I mean totally room temperature, don’t rush this step!—wrap it tightly in plastic wrap or place it in a truly airtight container. Storing it on the counter at room temperature is just fine, and honestly, that’s where it stays in my house for up to three days. Because of the high sugar content from the condensed milk, it stays beautifully moist. If you’re somehow having trouble keeping your hands off it, you can check out my recipe for easy no-bake Oreo balls, because those disappear fast!
If you decide you need to store it longer, it freezes like a dream! Just be sure to wrap it well, maybe even put a layer of foil over the plastic wrap to prevent any freezer burn. When you are ready to serve it later, let it thaw overnight on the counter. If you want to give a tip on long-term storage, you can see how they handle their cakes for later enjoyment over at this resource. It’s such a versatile treat, isn’t it?
Frequently Asked Questions About This Ultimate Sweet Cake
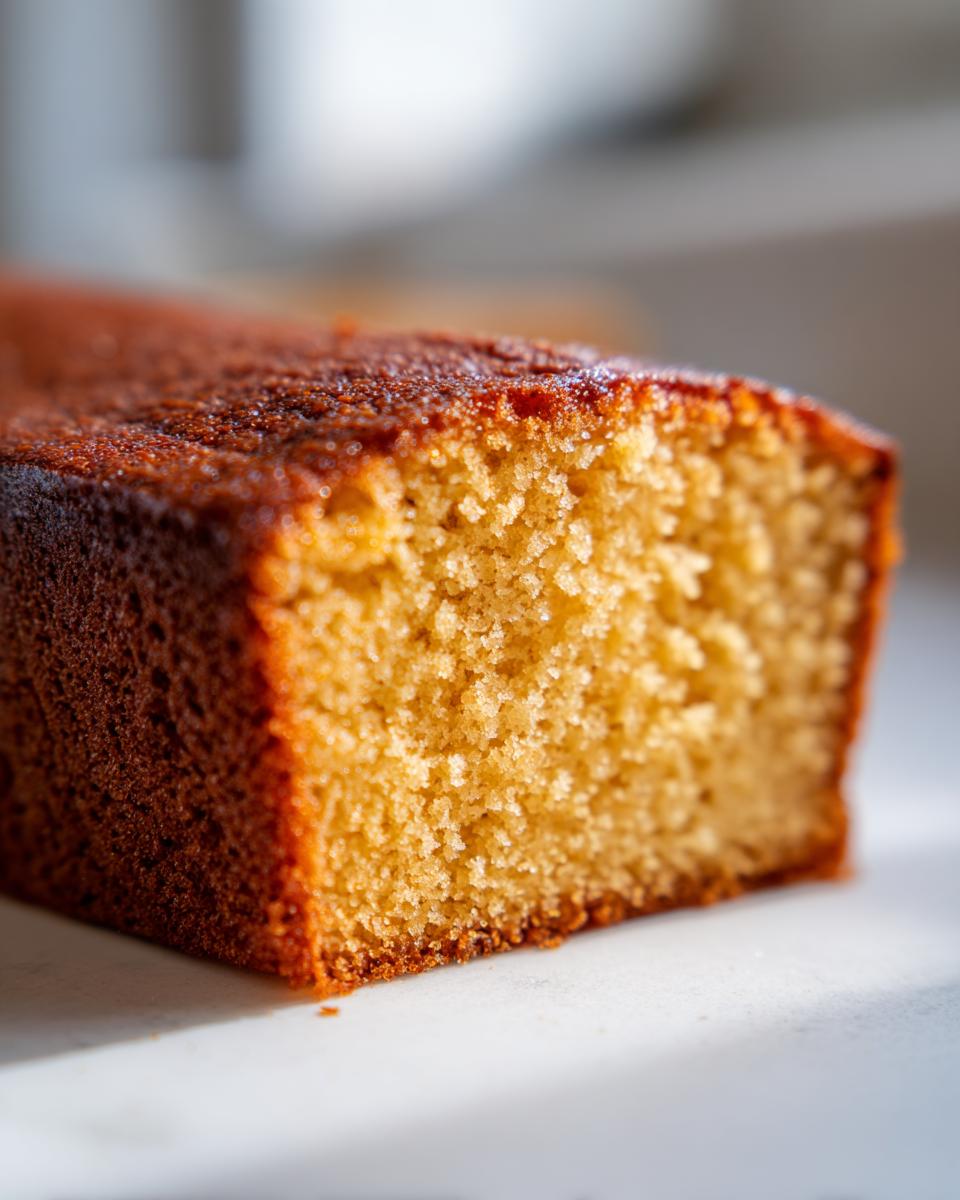
Can I make this a pound cake variations style cake?
That’s a great question! When you bite into this, you definitely get that dense but incredibly rich texture that makes people think of a pound cake. It certainly fits into the category of pound cake variations because it’s so sturdy. However, a traditional pound cake relies on creaming a large amount of butter and sugar together to create those air pockets. This specific condensed milk cake uses the liquid milk solids and high sugar content of the can instead to achieve that delightful density. So, while it shares the texture, the method is happily much easier than a classic pound cake!
Is this a no mixer cake recipe?
Yes! And I hear that music loud and clear! This recipe is absolutely designed to be a total no mixer cake situation. You just need a standard mixing bowl, a sturdy whisk for bringing the eggs and the milk together, and a rubber spatula for gently folding in the dry ingredients. That’s it! It reinforces that wonderful no fuss baking element, meaning you can whip this up anytime, even if you just realized you need a quick sweet snack in thirty minutes.
Sharing Your Perfect Condensed Milk Cake Creation
Well, you did it! You took four simple ingredients and turned them into something truly memorable. Honestly, finishing a bake like this is one of the most satisfying feelings in the kitchen, and it’s made even better when you know you didn’t spend hours scrubbing equipment afterward. That’s the magic of this condensed milk cake, and I hope you find yourself reaching for this recipe again and again for quick treats.
Now that you’ve enjoyed your sweet, moist slice, I would genuinely love to hear what you think! Did you serve it plain, or did you add a dusting of powdered sugar like some of the purists do? Did you try the lemon zest trick I mentioned? Drop a star rating down below so other home cooks know how reliable this recipe is for them. Seeing your results—whether it’s a perfect square or a slightly wonky loaf—is genuinely the best part of sharing my kitchen secrets.
If you ended up loving how easy this was and are looking for another staple to anchor your beginner baking repertoire, you absolutely have to try my recipe for easy homemade mayonnaise. It seems crazy to compare a cake to mayo, but they share that same spirit of taking simple stuff and making something incredible that you thought you had to buy forever!
Thank you so much for baking with me today. If you’ve got a minute, pop over and see how others made their cake at this source. Happy baking, and I hope to see you back at the table soon!
PrintEasy Four-Ingredient Condensed Milk Cake
Create a wonderfully moist and sweet cake using just four simple pantry staples. This recipe proves that the best desserts do not require complicated steps or many ingredients.
- Prep Time: 10 min
- Cook Time: 30 min
- Total Time: 40 min
- Yield: 9 servings 1x
- Category: Dessert
- Method: Baking
- Cuisine: American
- Diet: Vegetarian
Ingredients
- 1 (14 ounce) can sweetened condensed milk
- 1 cup all-purpose flour
- 2 large eggs
- 1 teaspoon baking powder
Instructions
- Preheat your oven to 350°F (175°C). Grease and flour an 8×8 inch baking pan or a standard loaf pan.
- In a medium bowl, whisk together the eggs until they are slightly frothy.
- Pour the entire can of sweetened condensed milk into the bowl with the eggs. Whisk until the mixture is smooth and fully combined.
- In a separate small bowl, whisk together the flour and baking powder. This step prevents clumps.
- Gradually add the dry ingredients to the wet ingredients. Mix gently with a spatula until just combined. Do not overmix; a few small lumps are fine. Overmixing develops gluten and makes the cake tough.
- Pour the batter into your prepared pan and spread it evenly.
- Bake for 25 to 30 minutes, or until a toothpick inserted into the center comes out clean. For a loaf pan, baking time may extend to 40 minutes.
- Let the cake cool in the pan for 10 minutes before turning it out onto a wire rack to cool completely.
Notes
- For a richer flavor, you can substitute 1/4 cup of the flour with almond flour.
- This cake keeps well stored in an airtight container at room temperature for up to three days.
- If you want a slight tang, add 1 teaspoon of lemon zest to the batter before baking.
Nutrition
- Serving Size: 1 slice
- Calories: 210
- Sugar: 20
- Sodium: 95
- Fat: 5
- Saturated Fat: 2
- Unsaturated Fat: 3
- Trans Fat: 0
- Carbohydrates: 37
- Fiber: 0
- Protein: 5
- Cholesterol: 45